
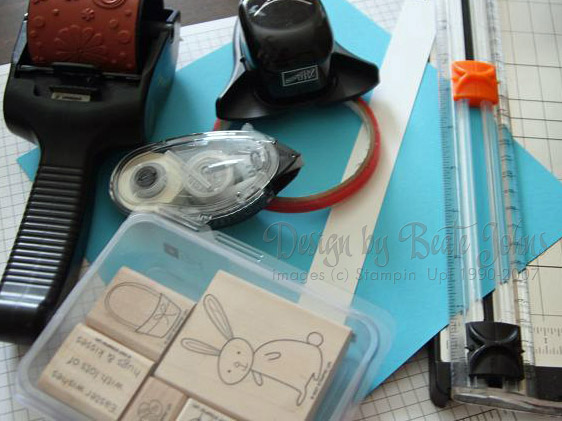
Supplies:
-
Square piece of cardstock that can be divided into three, e.g. 12″, 9″ , 6″ square. (I used a turquoise 8 1/4″ square)
-
Sticky Tape
-
Paper cutter with cutting and scoring blade
-
Strip of cardstock for handle (I used 1″ x 12″ strip of whisper white cardstock)
-
Stamps or wheel to decorate the basket
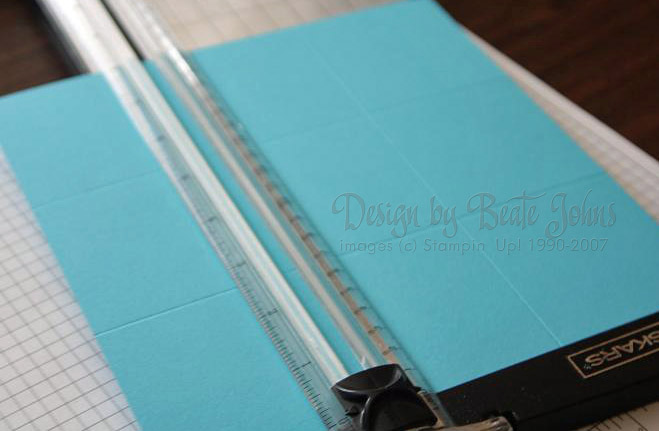
Step one:
Score your cardstock into nine equal squares. For my 8 1/4″ square I scored at 2 3/4″ and 5 1/2″ both horizontally and vertically.
For 6″ square score at 2″ and 4″. For 9″ square score at 3″ and 6″ and for 12″ square score at 4″ and 8″.
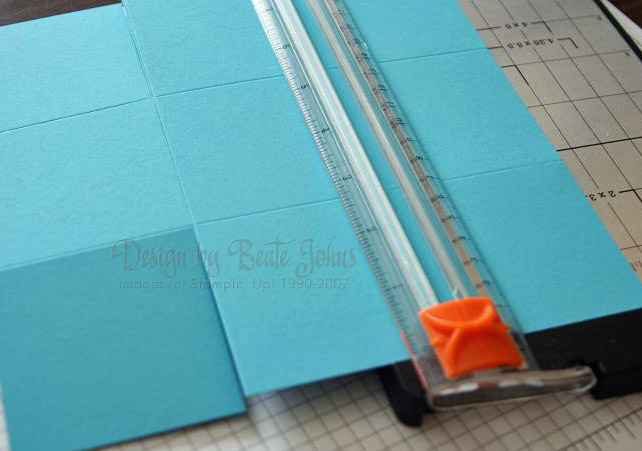
Step two:
Cut the two scored lines to the first horizontal score on two opposing sides.
(For a better picture that shows the whole cardstock after the cuts, check the picture for step seven.)
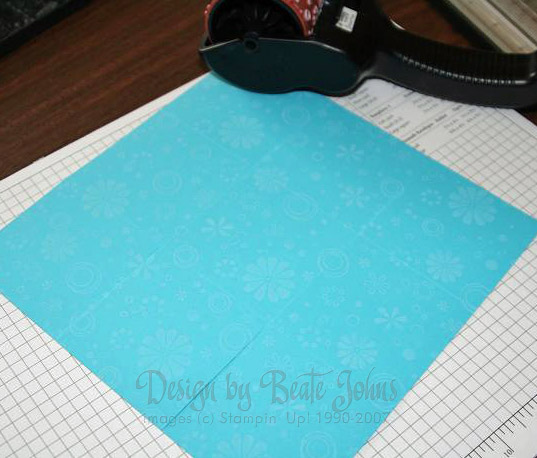
Step three:
Decorate your cardstock. I used the Petals Jumbo wheel from the Stampin’ Up! Spring mini catalog and wheeled in white on the turquoise cardstock.
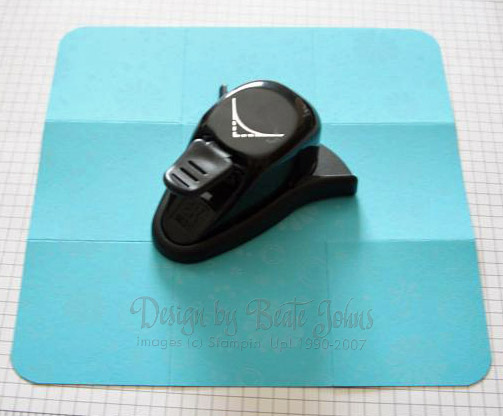
Step four (optional):
Corner round your edges.
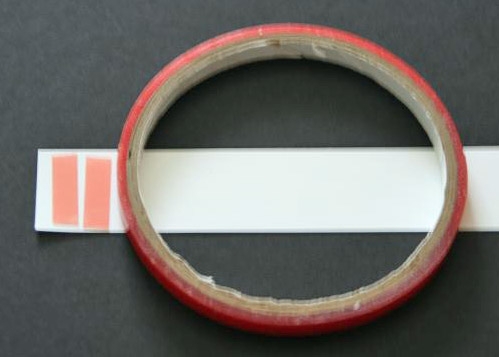
Step five:
Add some sticky strip on both ends of your basket handle.

Step six:
Tape one end of your basket handle to one center square of the basket that has the two cuts one each side. Tape the handle on the outside section of the basket. It will be covered later by the two sides next to it.

Step seven:
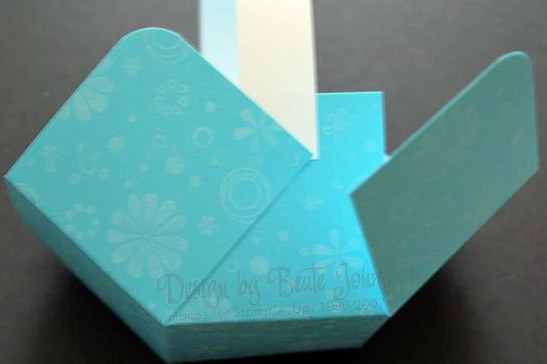
Turn your cardstock over so you see the basket inside (unstamped side). Add strips of sticky tape as shown. Don’t have the sticky tape go all the way to the scored line. That might show when you fold the sides in to make the basket shape.
Step eight:
Fold both sides over your center square and tape them down over your basket handle.
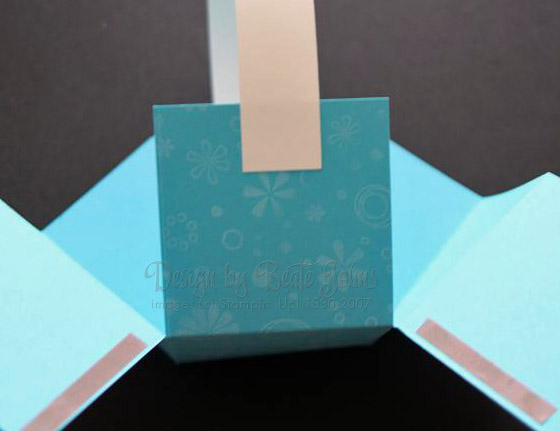
Step Nine:
Tape the second end of your basket handle on the opposite square on the basket.
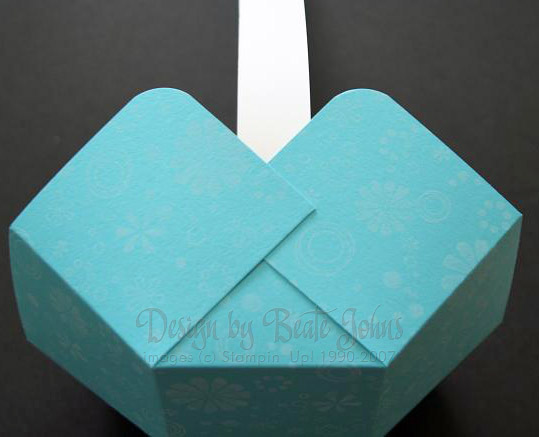
Step ten:
Again fold both the left and the right square over the middle square, covering the basket handle.
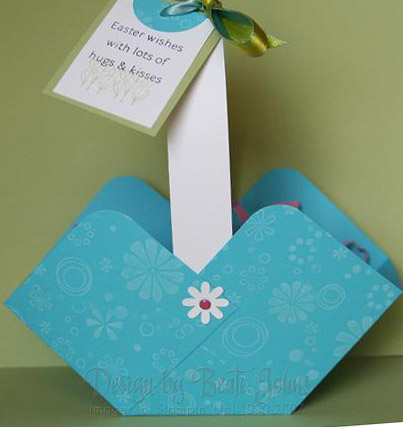
Finish your basket.
Beate
14 Responses to “Simple Basket tutorial”
Sorry, the comment form is closed at this time.


Wow, that was a FAST tutorial! You’ve been busy since you’ve been back! Love the basket! I’ll have to make a couple for my daughters! 🙂
AnnL on SCS—Thank you so much for posting that tutorial. You are fast. Glad to hear that you had a nice visit over Spring Break and are home safely. You ARE the “Queen of Creative!”
What a cute basket – thanks for your tutorial. I just found your blog recently but have loved your tutorials on SCS, most recently the Triangle Trifold. Being quite new to card making, your tutorials have been a big help to me. Thanks so much.
Wow! I was just thinking I needed to put something together for the girls in my office. This will do the trick! Thanks Beate for helping me out. BTW, welcome home, it feels like you never left. (wink)
Charmaine G
Your basket is adorable!!! I need to make some of these…the kids would love them! Thanks so much for another awesome tutorial! 😉
You have been very busy since returning!! Great tutorial! I’ll have to add a link to it from my basket since I’ve had a few requests for more detailed instructions!!
Huggs,
Jana
Fantastic tutorial and as usual so clearly demonstrated, TFS.
sweet tutorial, Beate! I was needing one on a basket, thanks!
Great Tutorial & just in time for Easter. You sure are a busy bee!! Thanks so much for writting it up so we all can enjoy it.
Thank you so much for the easy tutorial. It was very clear and easy to understand. I just discovered tutorials and am loving them, especially yours. I just made three baskets to put out on my two year old daughter’s little table for her and friends as favor baskets when we have guests for July 4th. I know they’ll be a big hit and that my friends will be amazed at how crafty I am! I’ll definitely pass along your blog so they can get creative too!
[…] piano piano cresce!!! P.s. Kushiiii e Desiii senza saperlo allo scorso meeting abbiamo creato un “simple basket” … son soddisfazioni eh??? […]
Thanks for share … here is my version fro Easter
http://crearenelwebdigiulia.wordpress.com/2009/03/28/scatoline-porta-ovetti/
[…] il passo-passo qui sul blog di Beate. To view the tutorial visit the Beate’s […]
So cute! thanks for sharing.