
Jan 122008
In my previous post I said I like to emboss my images more then once to achieve a smooth, not so bumpy glaze over the image.
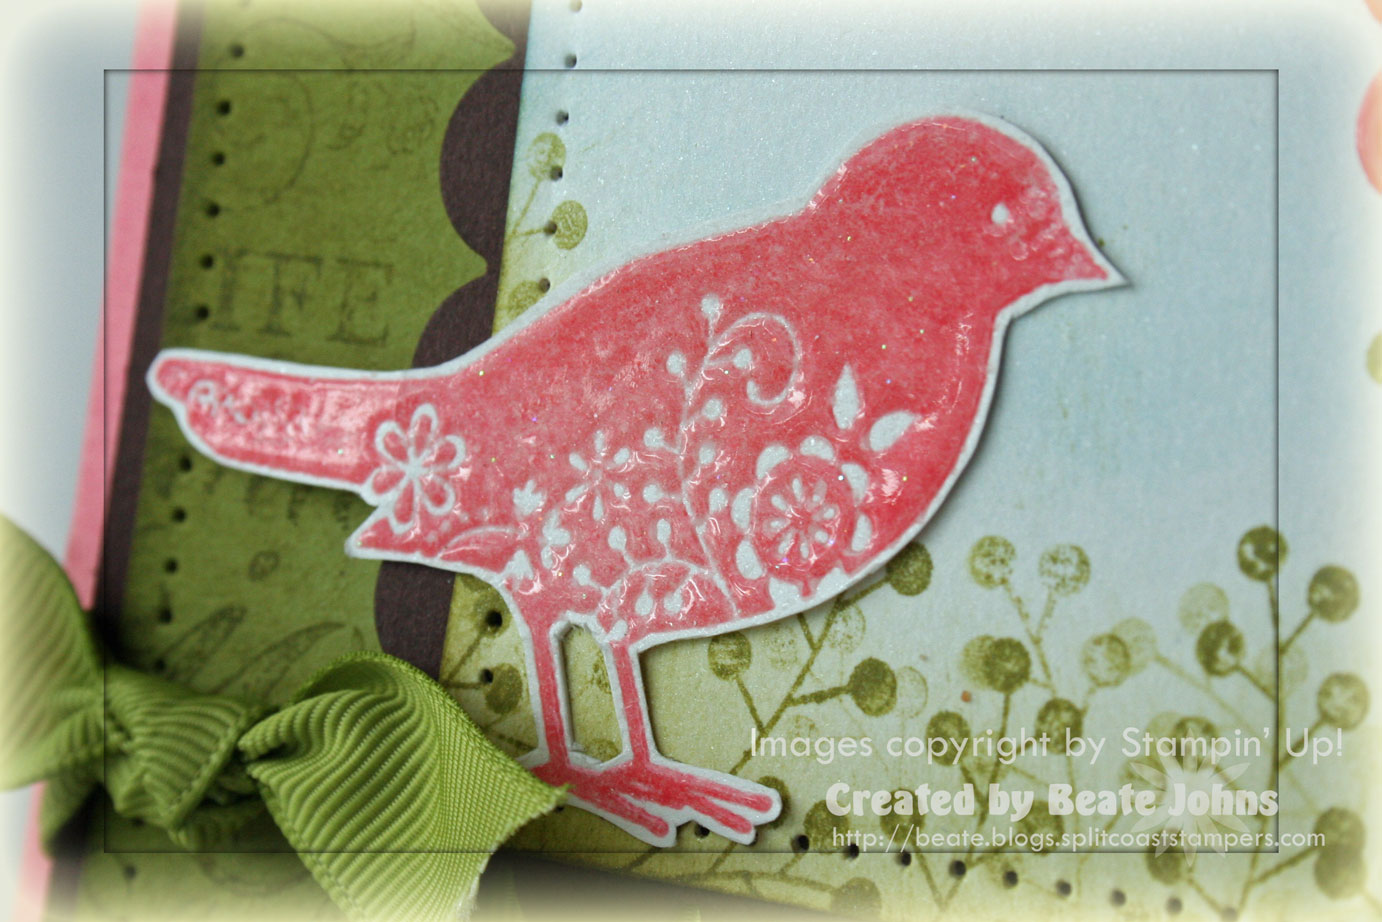
Embossing images several times is easy.
After you melt the embossing powder for the first time, cover it again with embossing powder.
You will have to work quickly, while the first layer is still warm.
Then heat the image again. As long as the first layer of embossing powder is still warm it will be sticky, holding the second layer of embossing powder in place.
Continue to repeat to add embossing powder and heat it until you like the way your embossed image looks.
Beate
17 Responses to “Embossing images more then once”
Sorry, the comment form is closed at this time.


Beate! Thank you so much for this info. I’ve been stamping forever and I’ve never tried this technique.
OH…beautiful…this is one of the few sets on my list. BEAUTIFUL!
Hi Beate, I have been reading your blog for awhile and I really enjoy it. Not many blogs go on my favorites list but you are definitely on the top! I love this bird card that you made, I am doing an SU workshop in a couple of weeks with this very set. I didn’t even think about embossing it! Thanks for all of your helpful info on this blog. I blog a little but am still trying to figure out all the quirks. There isn’t a whole lot on it,but if you have the time and want to check it out I think it will show up with this comment. Hope you are having a great January, keep up the good work!
Great tip, Beate!! You are always so full of wonderful wisdom! Have a great day!
I was taught to re-ink the image in between embossing layers. Good or bad? It gets pretty thick and non pliable.
I love this bird and can’t wait to buy it. It is one of my first sets on the list for the new catalog. Can you believe I’m a demo that hasn’t ordered anything new yet?
I really love the double-emboss effect. Thanks for explaining !
You’ve done so many amazing cards…can’t wait to do the sketch and try the faux silk technique! Thanks Beate!
Thanks for the great info! I am going to give it a go! Deb
wow! That looks so great! Have to give it a try!
I tried doing this the other day and discovered something… it doesn’t work particularly well with anything but clear embossing powder. The second batch of opaque ep melted onto the bare paper and couldn’t be removed prior to reheating, so I ended up with rather a mess.
I love this set! The embossed bird is so pretty. Thanks for the great tip.
Are you using regular embossing powder or UTEE for this technique? Thanks–Darlene L
Thanks for the tip! Your bird is beautiful! (Can’t wait to get my set).
This is a set that has been on my list since I received my new catalog, I love what you have created with it! Beautiful!
Beate,
Sometimes I just cover something I cut out (a frame, or a decorative corner) with embossing ink and clear (or colored, as the mood strikes me) embossing powder and do as you do, embossing several times. It give a leathery texture and weight when applied solidly over a piece, which can be very nice.
I so do LOVE your blog, and all of your fabulous tutorials!!!
I have never embossed before. It looks so beautiful but how often do you use it just making cards?