
Here is another sample made with the beautiful Thank you set from Flourishes. I made it for last week’s color challenge on SCS.
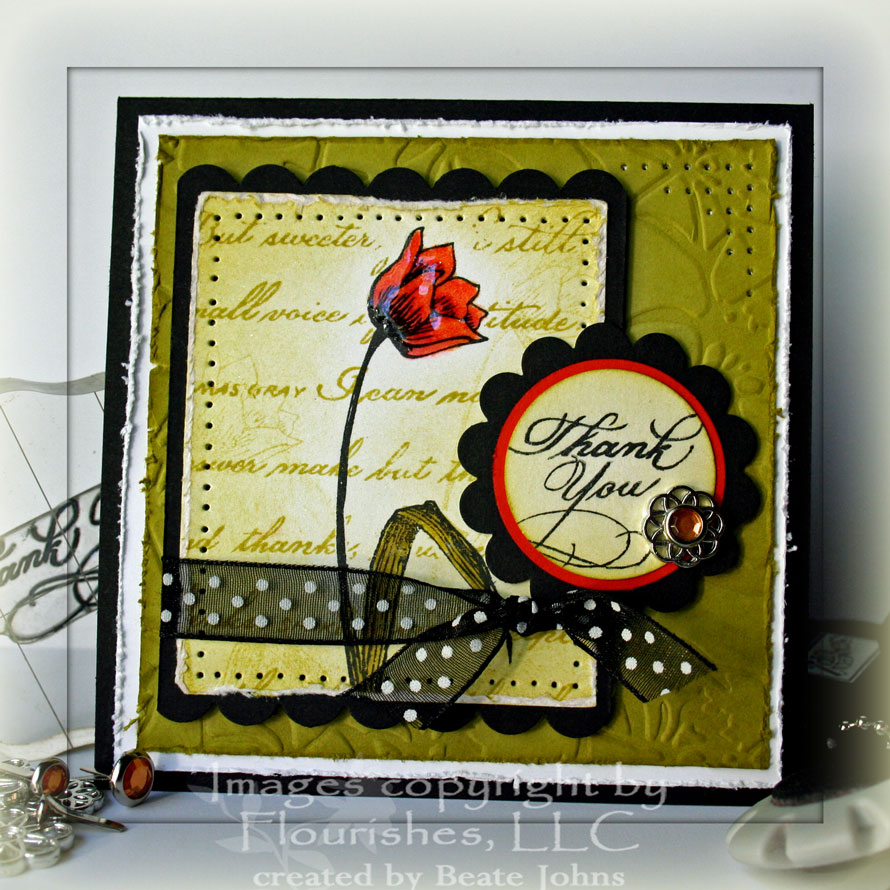
The card base is a 4 1/4″ x 8 1/2″ piece of Basic Black cardstock folded in half. Next is a 4″ square of Whisper White cardstock that was distressed with the cutter kit.
The 3 3/4″ Kiwi Kiss square was embossed with the cuttlebug folder Floral Screen, the edges were distressed and sponged. The top right edge was paper pierced.
For the main image I stamped the tulip in Black Brilliance Ink. Once it dries (a good hit with the heat gun did that), I colored it with Pixie Pink (darker section of the flower head), Tangerine Tango and Kiwi Kiss and Aqua Painter. I masked the flower and stamped the script over the flower with Kiwi Kiss. The edges of the Shimmery White cardstock was distressed, layered on a slightly bigger piece of Basic Black cardstock and paper pierced. The Basic Black cardstock had been scalloped on top and bottom with the Scallop Edge punch. May Arts ribbon was tied around the lower part of the image layers.
The sentiment was stamped with Black Brilliance ink on Shimmery White cardstock and punched out with my 1 1/4″ circle punch. The edge was sponged with Kiwi Kiss. It was first layered on a 1 3/8″ Tangerine Tango circle, then on a black scallop circle. I added a small Filigree brad that was topped with a Fire Circle Rhinestone brad to the bottom right of the sentiment layers.
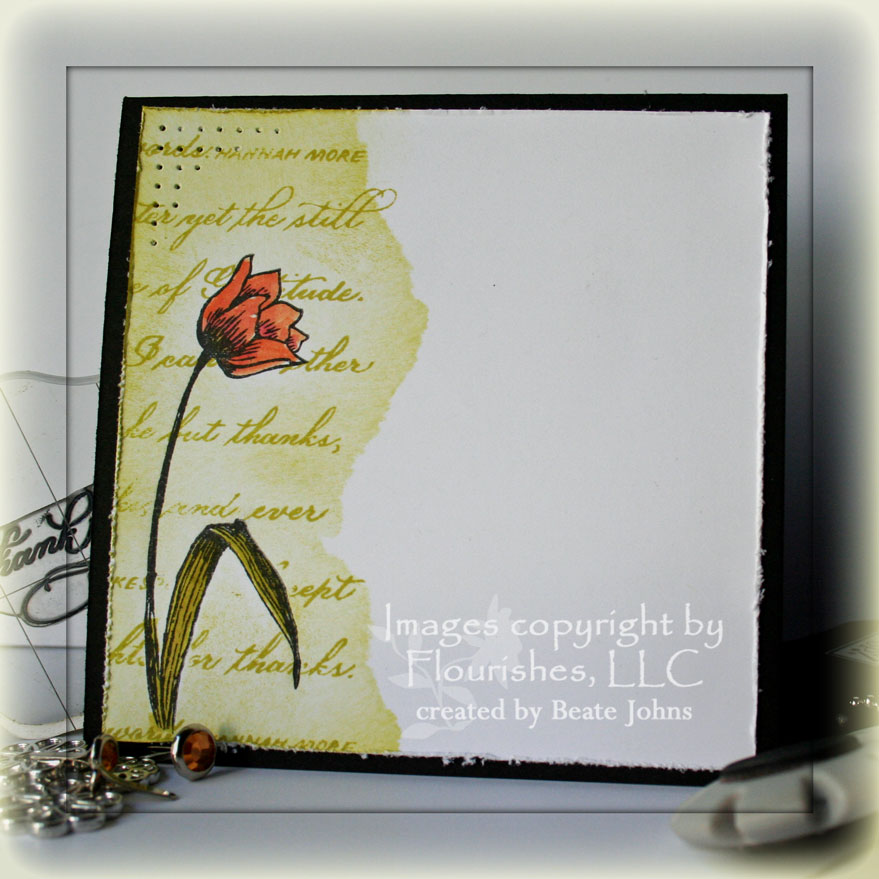
For the inside of the card, I stamped the flower in Black Brilliance ink and colored it with Classic inks and Aqua painters, just like the flower on the front.
I masked the flower, covered part of the 4″ Whisper White square with a scrap paper that I had torn, sponged the left side with Kiwi Kiss ink and stamped the Script over it (Faux Tearing).
Again I distressed the edges with my cutter kit. This time I paper pierced the top left corner.
Once the card was completely done, I added a Crystal Effect layer over the flower head on the card front and set it aside to dry.
Beate
25 Responses to “Tangerine Thanks”
Sorry, the comment form is closed at this time.


Miss Beate: This beauty is worthy of an art gallery. Love it and all the hard work you put into your projects. The masking is marvelous!
Hugs, Mary
Gorgeous, inside and out! Boy, is that insert gorgeous! I love how elegant this card turned out, the wonderful color combo and all the beautiful little touches you added, like the filigree with the rhinestone brad. A real beauty, this one!
Cindy
Sooo genial!
Beate, deine Karte ist so klasse.
Mir gefällt die Farbkombi besonders gut, die Karte erinnert mich an Kaminwärme…;-) WUNDERSCHÖN!
Herzliche Grüße, Silke
Gorgeous Beate! This is one of my all time favorite sets. I might have to case this one. hee hee :0)
this is gorgeous! I love the inside with the sponging and the torn edge…I am gonna have to try that one! 🙂
OMG!!! This is gorgeous! I love all the detail you put into each of your cards. They have such depth and the colors are FAB.
Just gorgeous, Beate! WOW! Stunning colors!
I love the bg you created behind the flower. The ribbon and brad are also gorgeous. 😀
I forgot to mention how I LOVE the faux tearing on the inside! Oh my goodness is THAT stunning! I will definitely have to use that technique sometime!
Oh this is so beautiful! I love the inside, too!
Wow Beate! I love your use of color, it has such depth. So beautiful!
a beautiful card.
By the way: I’m fan of all your tutorials and I thank you for sharing your wonderful Ideas. I look the Splitcoastnews with all my stampfriends:-))
Hugs,
Anja from germany
ok, I gasped when I saw the inside, and I was already in love with the outside!! WOW.
Absolutely stunning!!! Your cardmaking always astounds me!
🙂
Thud. That’s me falling off my chair. Another perfect card, my friend. Beautiful.
Beautiful card! Did you use a Cuttlebug embossing folder for this one? If so, which one is it?
This is gorgeous, and I loooooove how you did the inside!!
Ohhhh… That is so nice and elegant! It looks as if it should be framed!
Wunderbar! I love the inside of the card. now have to go and try that faux tearing effect.
How beautiful is this! I LOVE it! Hope you are doing well! 🙂
Wow! Gorgeous card! And I love what you did on the inside!
~Lacey Stephens
Holy smokes Beate! This is stunning…really stunning! Love the distressing and sponging of the shimmery white…sure makes it POP! The CE on your beautiful flower is perfect too!
Oh my….this is sooo very beautiful, Beate!! I LOVE the colors, all of your distressing and sponging, and piercing…and well everything!!
so pretty has a vintage feel, love the script background!
Great card! I like it that you spent so much time on the inside too. I never think about that. Maybe I will now. Thanks!