
Today’s tutorial on SCS is written by Brenda Quintana and shows you how to make a darling Peek-a-Boo Box. I made my sample to match the Halloween card I posted on Monday. I really like the new Cast-a-Spell Designer Paper.

The skull from From the Crypt is stamped in Black Stazon on textured White cardstock.
It was punched out with the 1 3/8″ circle punch and adhered to an Old Olive cardstock scrap piece. I cut close around it and layered that on to a Rich Razzleberry Scallop Circle. Clear Rhinestone brads in the eye socket finish of my centerpiece.
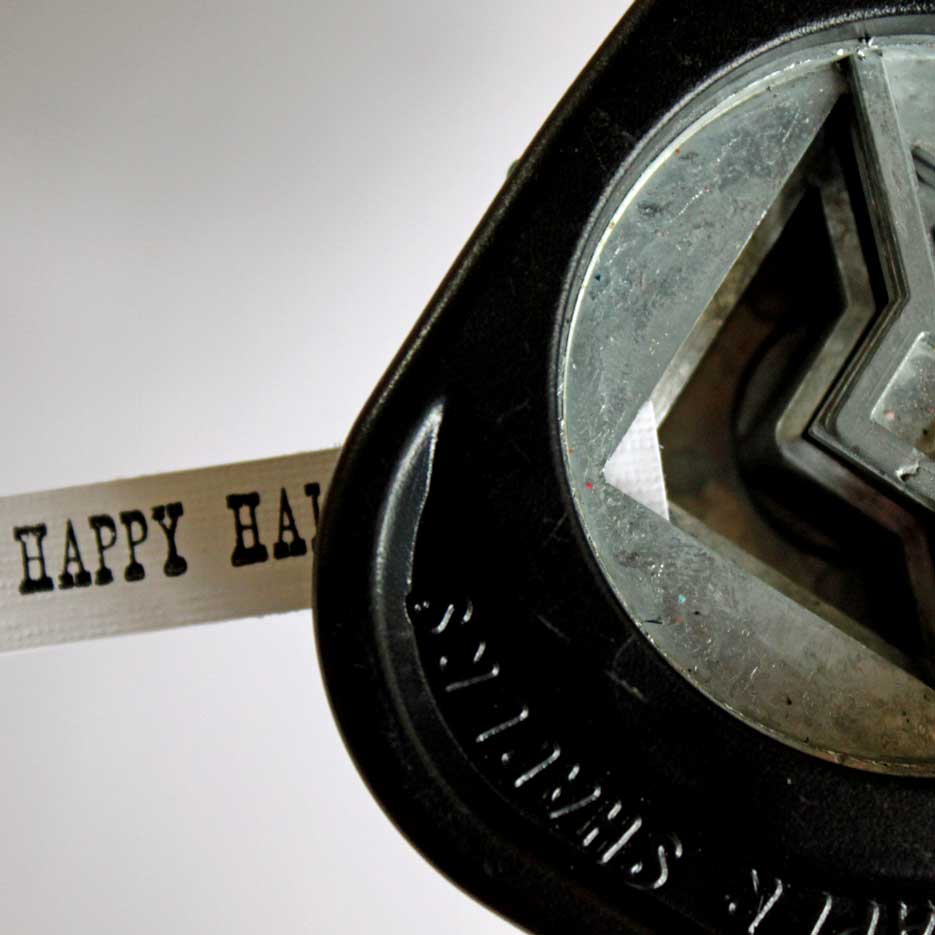
The sentiment is from All Holidays. It was stamped on Textured White cardstock. in Black Stazon.
The left edge of the cardstock was punched partially with the Photo Corner Punch to create the banner edge.
I shaped it slightly with mountain/valley waves and taped the sentiment to the box top with Sticky Strip. The center image was adhered to the box with dimensionals.
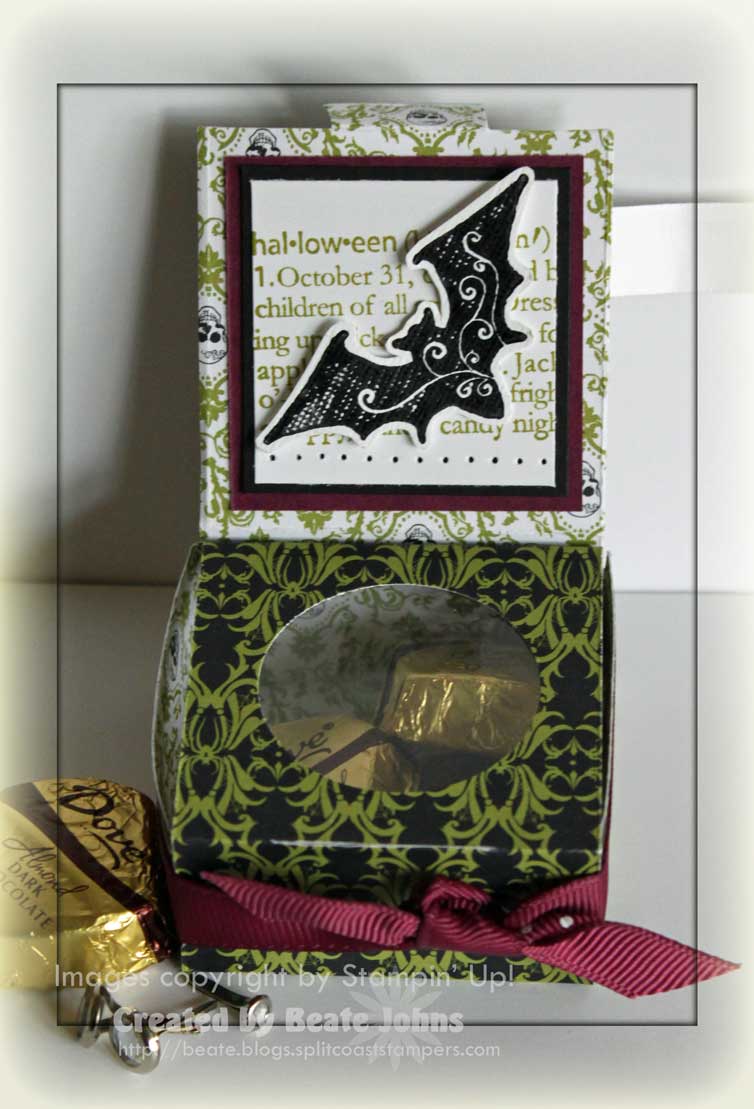
The 1 1/2″ Whisper White cardstock square was stamped with a stamp from Eat, Drink & Be Scary in Old Olive.
It was layered on a 1 5/8″ Basic Black square and a row was paper pierced on the bottom edge. Then it was layered on a 1 3/4″ Rich Razzleberry square and taped to the inside of the box top.
The bat is from the From the Crypt set and was stamped in Black Stazon on Textured White Cardstock. It was cut out and taped with dimensionals under the wings over the sentiment.
I know it’s a bit early for Halloween projects, but I just love that set and paper.
Have a wonderful day! Hugs and smiles
Beate
12 Responses to “Tutorial on SCS – Peek-a-Boo Box”
Sorry, the comment form is closed at this time.


So glad to see you back…love your work. Thanks for sharing with us.
So totally cool!!! I love Halloween stuff 🙂
And aren’t you clever, using your photo corner punch to make the end of the banner… I’m having one of those “why didn’t I think of that” moment.
TFS!
Cindy 🙂
Very fun! This such a cute Halloween treat box!
Oh, Beate! I’m so glad you’re posting again. I’ve missed you! As a fellow “Ohioan”, I can tell you we are having an unseasonably cooler summer this year. Best wishes to you and your family as you adjust to your new location.
cute! You are going to be ready for Halloween! Ü
Hallo liebe Beate…
du stempelst wieder!!!!!!!!!!!! Welch Segen für die Stemplerwelt! ich freu mich so sehr! Das ist eine so tolle Nachricht!!!!
Deine Box gefällt mir absolut…. Später werde ich mir alle neuen SAchen auf deinem Blog wieder anschauen!
Schön, dass du wieder da bist!!!!!
Sei liebe gegrüßt…;-)
Dein *hugs and smiles* hat mir auch so gefehlt!
Great box – just the right size for halloween treaties… will keep it in mind… those rhinestones make the guy look so real *shiver*
You knocked this one out of the park (as you always do !!!) Fantastic !!!
Girl, you are so on top of things! I haven’t even given Halloween a thought yet. If I did, then summer would be over and well you know how it is up here…SHORT…haha!
I’m loving the look of that new dsp too! Will definitely be ordering some now…thanks for enabling!
Oh my goodness….your Halloween box is too cute, Beate!! You are making me want those papers and that set too!!
This is such a wonderful, box. Thank you for sharing. Brina
wd a battery operated tea light fit in this? I saw a SU demo one time on a birthday one similar with cupcake deco and a tea light, Do you know a link for something that sounds like that? Thanks so much for your time, Beatte.