
I am sorry I was so quiet over the weekend. Saturday I received the first Season of Eli Stone. I love that show and am sad it won’t come back this year. Austin and I watched the entire first season on Saturday. Sunday we had a cold front come in and with it came a nasty migraine. Yesterday was the first day of school for my smaller two and a BIG cleaning day for me.
I was excited to have all morning to play and checked out the Color challenge right after my (super fast) walk. Kraft, Chocolate and Real Red sounded like another Christmas Color combo to me, especially since I had just received JustRite’s Old Fashioned Christmas the day before.
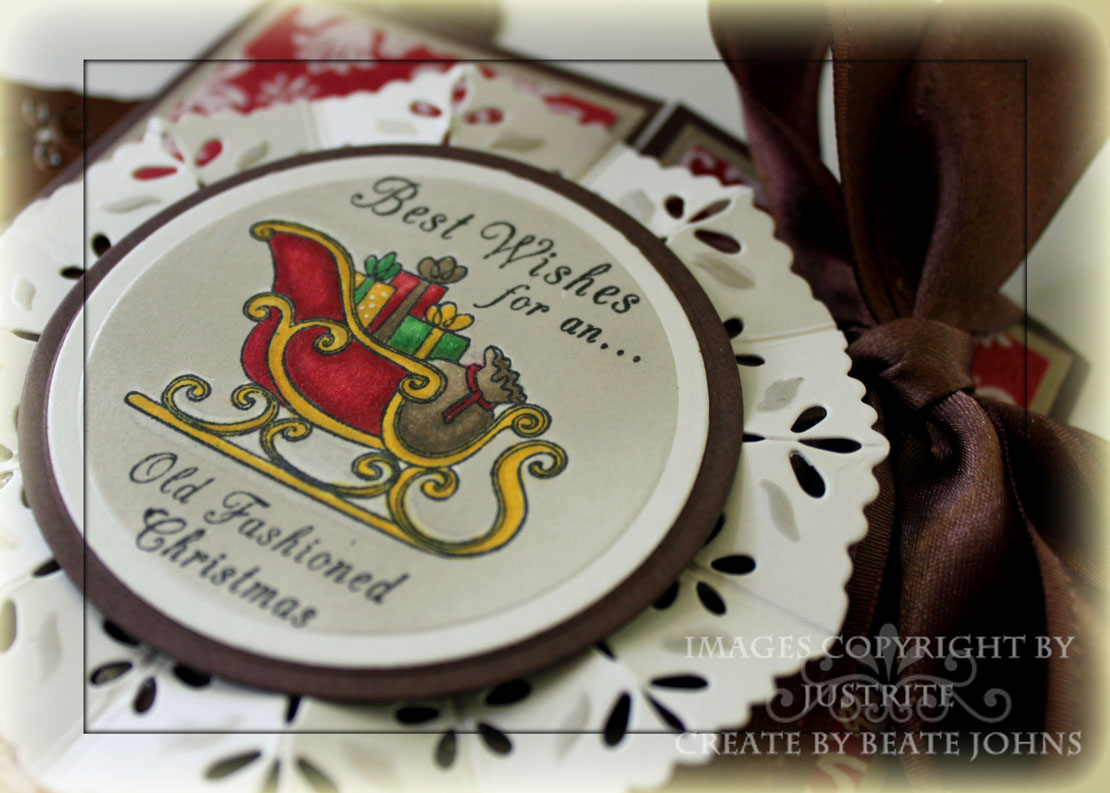
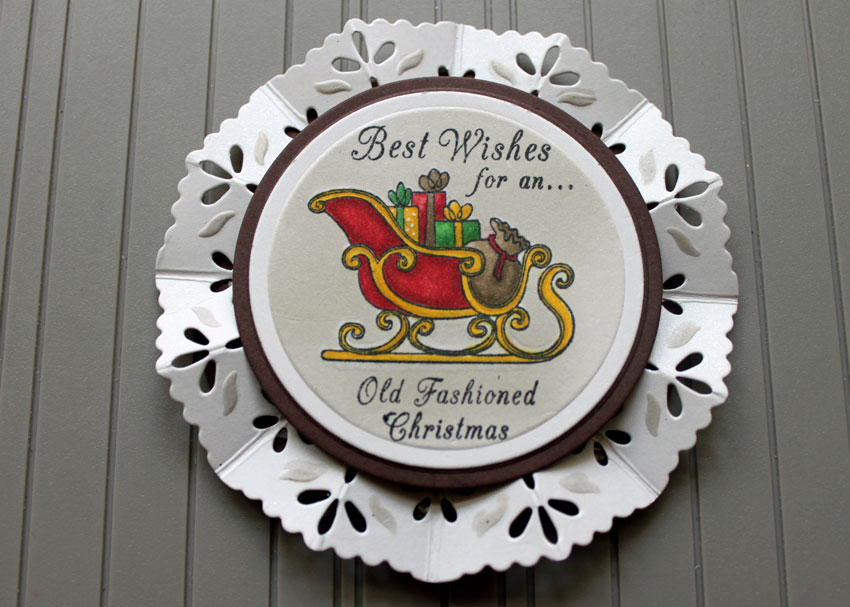
I started by stamping the image in Black Memento Ink on Shimmery White cardstock. It was cut with Circle Nestabilities, Air Brushedwith W1 Copic Marker and then colored with Copic Markers (Browns: E43, E44, Yellows: Y18, Y26, Green: YG06, G07, Red: R22, R27, R29). Next it was layered on a slightly bigger Chocolate chip circle, then on a ruffled base made with Eyelet Shapeabilities. Check the bottom of this post if you are interested in how I created the ruffled base.

My card base is a 4 1/4″ x 8 1/2″ piece of Chocolate chip. I was scored and folded at 2 1/8″ and 6 3/8″ to create a Gate Fold Card. The Kraft cardstock measures 1 15/16″ x 4 1/16″ and the Christmas Cocoa Specialty Paper measures 1 3/4″ x 2 7/8″. The ribbon is from last years Holiday Mini catalog. I love that Satin ribbon.
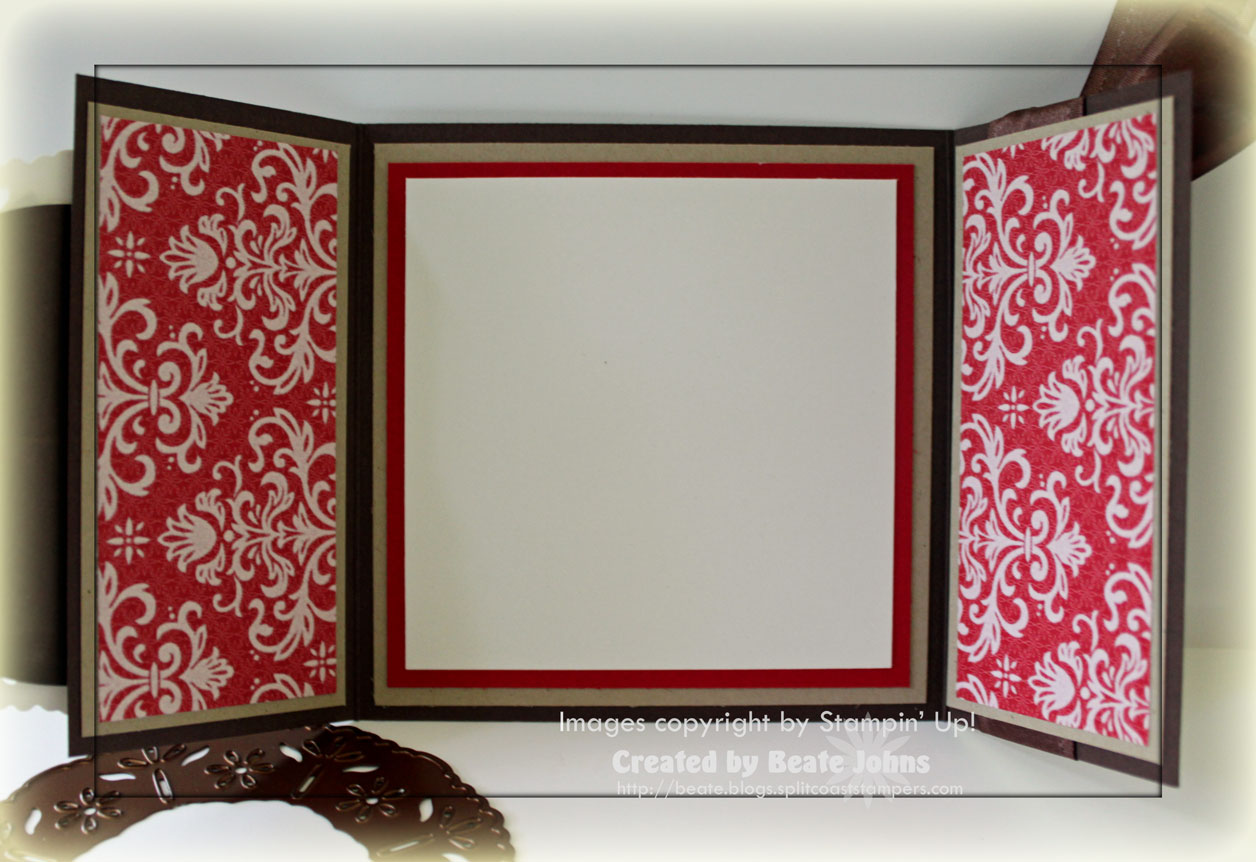
The inside of the card matches the outside. I layered the Specialty paper on Kraft cardstock layers.
Here is a video for visual learners:
[youtube]https://www.youtube.com/watch?v=RDwUOt4b9R4[/youtube]
Check the next page if you want to see how I created the Ruffled base for my image.
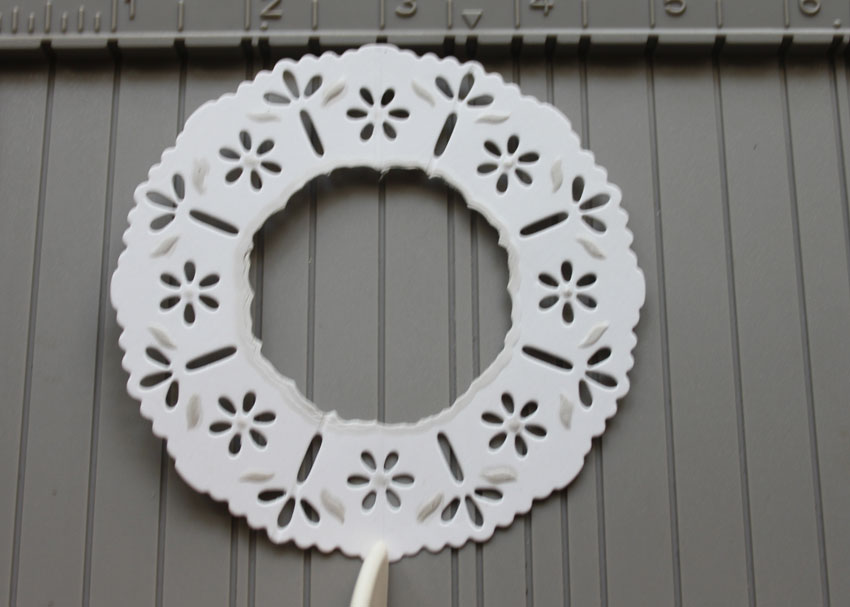
Step 1:
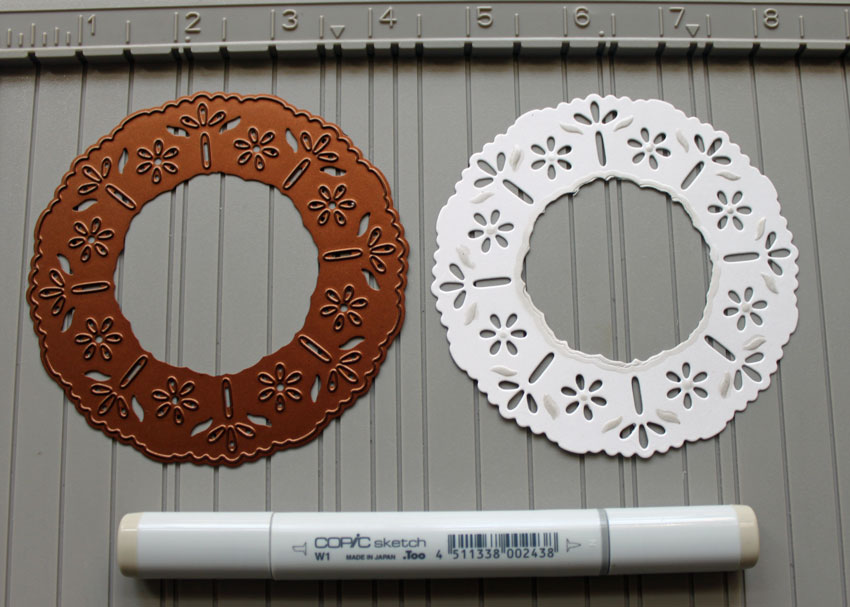
Cut and, emboss and stencil your cardstock with Shapeabilities (Eyelet Pendant used here.)
Step 2:
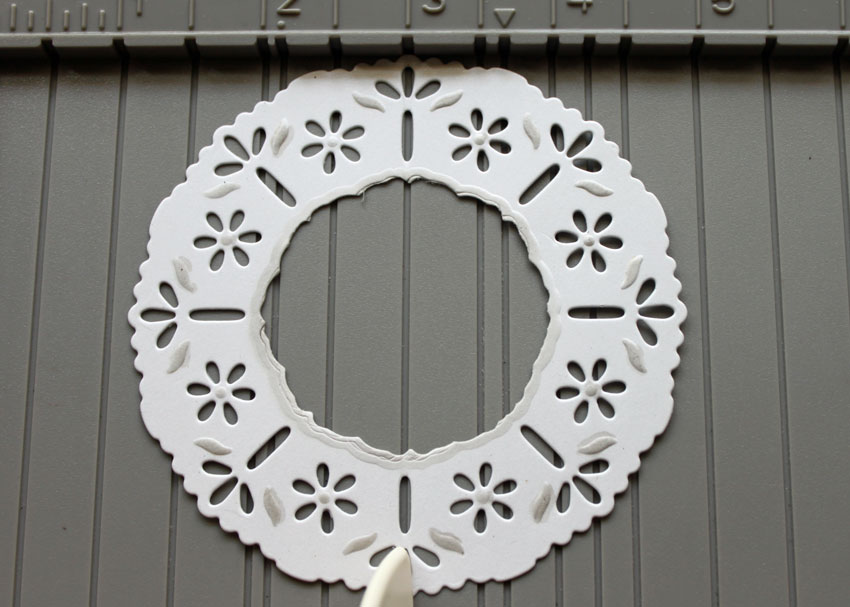
Start Scoring your Pendant. I lined up the half flower over the score line and scored.
Step 3:
Turn your Pendant, line your small center flower over the score line and score again.
Step 4:
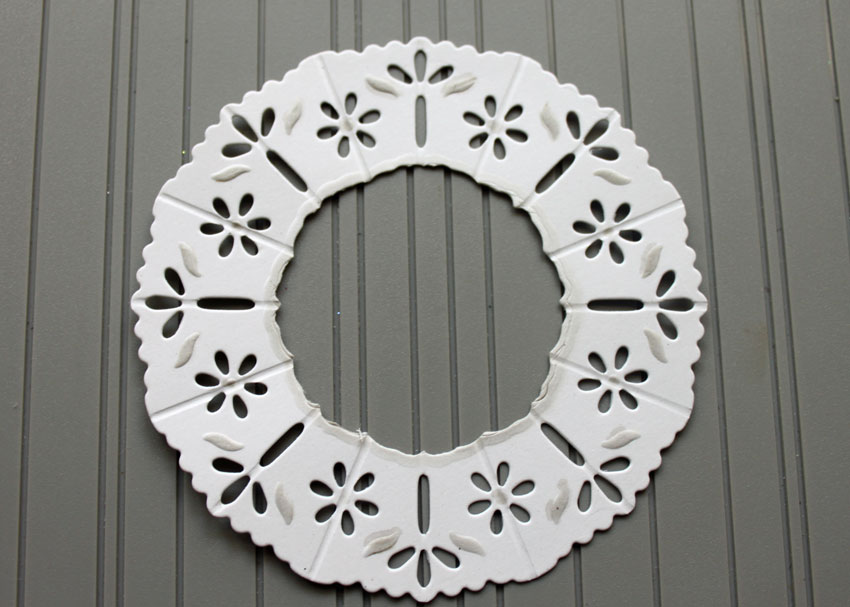
Continue to turn and score until all flowers have score lines.
Step 5:
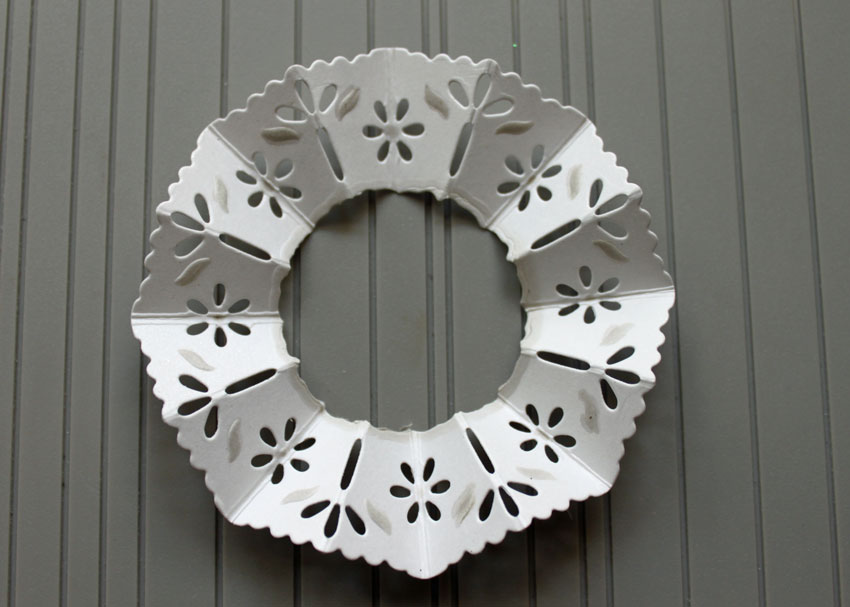
Prefold all your score lines.
Step 6:

Add glue dots to all our valley folded score lines.
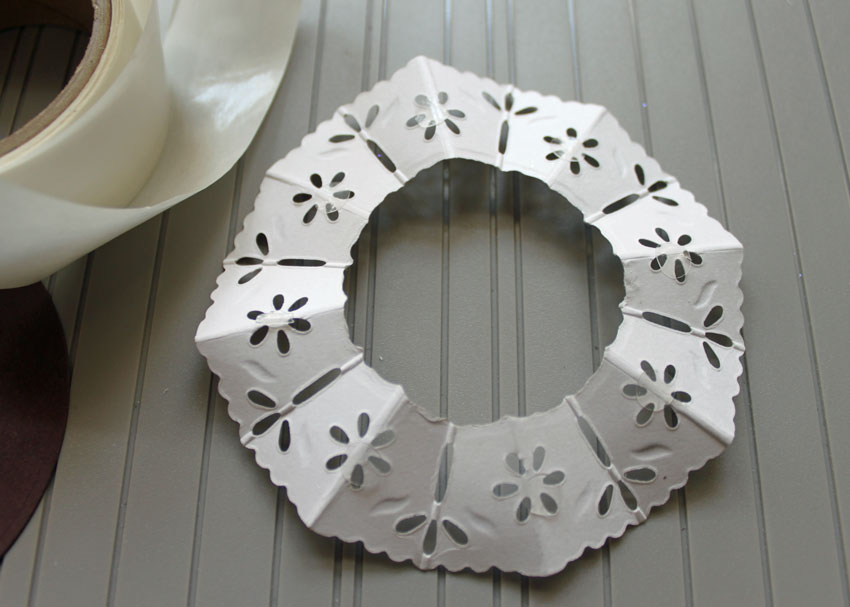
Step 7:

Tape your scored Pendant on a circle base.
Step 8:
I addhered my main image with a double layer of dimensionals. One layer wasn’t high enough for the ruffled skirt.
Beate
25 Responses to “Old Fashioned Christmas”
Sorry, the comment form is closed at this time.


Go, Speedwalker! Go! Cool ruffle. I miss your cool air brusher thing. (And I miss you too, of course).
So beautiful, Beate! I haven’t yet decided on Christmas ideas, but you’re getting me in the mood for sure!
WOW, Love the ruffle technique. Thanks for sharing so much with us.
Love the card, but am now depressed I did not realize that Eli Stone was cancelled, love the show, not too many on TV that I like, too many reality shows.
Very very pretty!
Ok love the tutorial and am now very sad about Eli Stone! My favorite!
Why are you so good? LOL! Lovely card, Beate. I love Eli Stone!! Why are all the good shows cancelled? Tell me WHY!!!? 😉
Talk to you later,
Brandi
Oh my that ruffle is DIVINE….you are so clever girl:-))) Thank you for sharing your wonderful work Beate!
Beauutiful, thanks for the tutorial, I’ll give that a try, it’s a beautiful embellishment.
This is just so beautiful, Beate!! Love this wonderful old fashioned image layered on the pendent. Another great tutorial too! Thanks so much!
Gorgeous colors. TFS!
Hope you are now feeling 100% better, Beate! Weather and migraines are my problem too, so I understand. Hope the first day of school went well and the kids made a bunch of new friends.
Your card is gorgeous! Love that vintage feel you created!
I am sooooooo amazed at all of the new techniques you continue to invent! I love this card… Thanks for sharing.
Beautiful and elegant but totally “doable”. I love your videos, Beate, thank you for continuing to share your knowledge and creativity!!!
Very beautiful card! This is the first time I have heard your voice and I love your accent!! Thank you for the tutorial and I am definitely going to give this a try.
I love the look you achieved with the ruffled skirt.
Beautiful!
Gorgeous card!!!
Hope you’re feeling better. That’s interesting to me, I noticed my headaches were much worse when it was hotter than usual. Maybe its your years in Florida! 🙂
Stunning! And your video is outstanding!
Beautiful card Beate! Super paper and your ruffled tut is brill!
This gatefold card is great. Thanks for the tutorial.
Very beautiful, thank you for the inspiration! Sherrill Graff [email protected]
http://latenightstamper1.blogspot.com/
What a FANTASTIC card!!! OMGosh I love it!! TFS!
Mandy
Takes me back to the cards from childhood thanks for the inspiration
Beautiful card and idea – I am new your designs and tutorials. You inspire me to do better with you simple ideas.
Keep up the beautiful work.