
Today’s tutorial is part of the Product Review for the Xyron Creatopia. Make sure to check it out. It is one cool tool. The favorite feature for most reviewers was the Fabric Adhesive Cartridge. Ashley Newell wrote the tutorial about Adhering Fabric to chipboard and created the cutest sample.
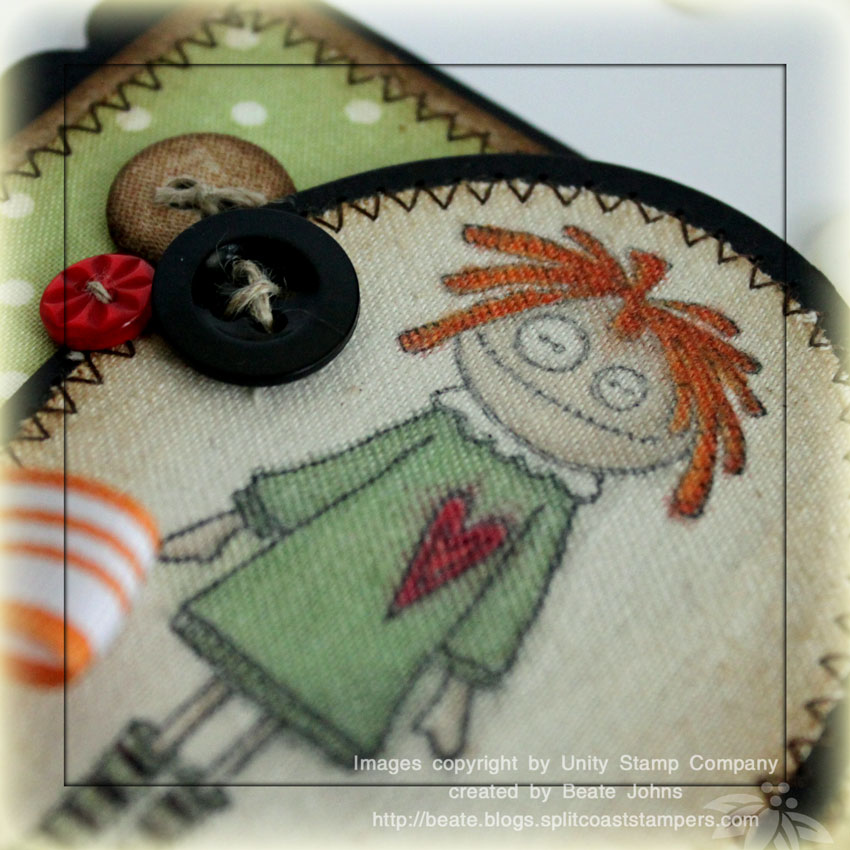
For my fabric sample I stamped this cute girl from Unity’s September Kit of the Month kit in Black Memento ink on thicker natural looking muslin. I ran it through the Creatopia, cut it out with Oval Nestabilities and sponged the edges with Vintage Photo Distress Ink. The fabric was taped on a slightly bigger oval in Basic Black ink and the edges were stitched. The little girl was colored in with Copic Markers (G82, G85, E 41, E 43, R27, R29, YR04, YR07, YR09).
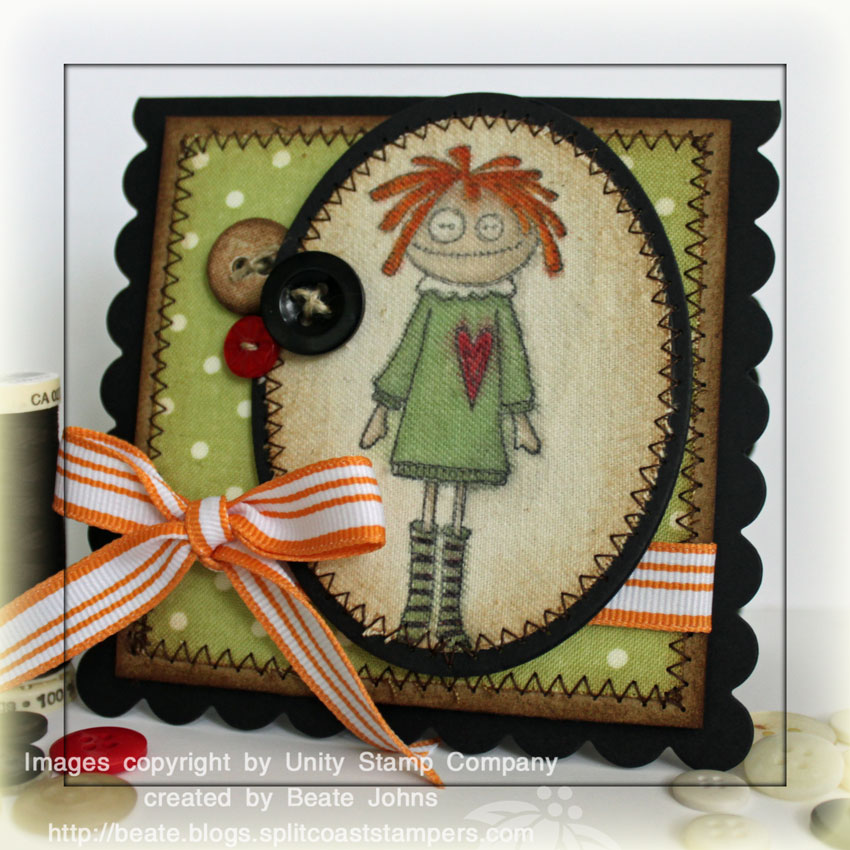
The card base was cut out of Basic Black cardstock with the Clear Scallop Die from Big Shot. The next layer is a 3 3/4″ Kraft cardstock square that had been sponged with Vintage Distress ink. The polka dotted layer is fabric. It was adhered to a piece of cardstock, cut down to 3 1/2″, sponged and then stitched to the Kraft cardstock layer. Pumpkin striped grosgrain ribbon was tied around the fabric/kraft layer and buttons were sewn on with Linen Thread.
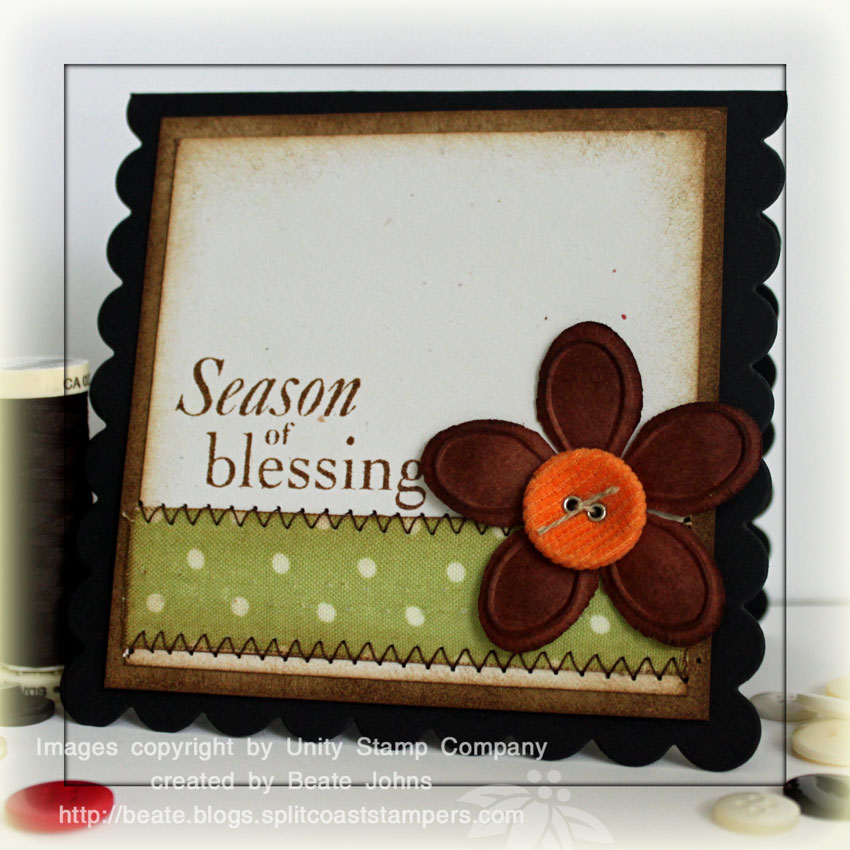
The measurements of the inside layers mirror the ones on the card front. The fabric strip measures 7/8″ x 3 1/2″. It was sponged and stitched to the main layer. The sentiment is also from Unity’s September Kit of the month stamp set. A Pumpkin Corduroy button as sewn onto a Prima Flower with Linen Thread.
Here is a video for the visual learner:
[youtube]https://www.youtube.com/watch?v=ACSO17fXUpQ[/youtube]
Beate
15 Responses to “Tutorial on SCS -Fabric on Card”
Sorry, the comment form is closed at this time.


Oh my goodness! Isn’t she sweet?! Love the stamping on fabric idea!! Looks wonderful!
Your cards never cease to amaze me! Thanks for all of your videos! I love following your blog! -Jill
That is such a cute card! I love the little girl image and the fabric idea! I might have to try that one!
wow beate!!!
das ist eine super schoenen karte, ich super schoen wie du auf stoff coloriert hast
ich sende dir liebe gruesse
xoxo BA
this is so awesome Beate! I had just done a card with fabric too, lol!
Wow, wow, wow! Did I say your card is a WOW? Love that Unity image and you did such a terrific job on the card. Your layout, stitching and design are perfection!
Okay ~ I am SOLD!!! Just when I thought I had enough machines and tools…Creatopia comes alive! I loved your tutorial…and probably because of you I will purchase one…When I become a hermit living under a bridge, I will let you know it was all your fault…Have a great Week Beate!!!
So sweet looking! Very nicely done. You are so creative!
oh my word…too cute!! what a cute stamp…beautiful job as always!!
Super cute card!!! Love every little detail. I was browsing through your blog and my, oh, my it is lovely. You are an excellent designer. Thanks for sharing your talent 🙂
Beate, this is just beautiful. Thanks so much for the tutorial, too. Wow, a really really nice card!
Beate, what a fabulous project/tutorial! I’m a quilter and have a lot of fabric in my stash, so this was particularly exciting for me! Always love your videos…thanks!
that image is just too cute and love the colors you used, like the texture you get working on the fabric!
I just LOVE your adorable rag doll, Beate!! The stitching and buttons are perfects accents!!
Beate! How fun to watch your video on the making of this wonderful card…
It is even more impressive in person, looking at it in my craft room..
I love it… thanks again for this treasure!
Judy