
For yesterday’s Product Focus, I thought it would be perfect to create an updated tutorial for the Shaker card. It was one of my first tutorials and needed a new look. Why didn’t anyone tell me that flash photography and tutorials don’t mix well, especially when using Acetate. LOL
We had a lot of questions about the Spellbinder image in the SCS gallery with the Pumpkin frame. I thought it would be great to use that in the tutorial to show how it’s done.
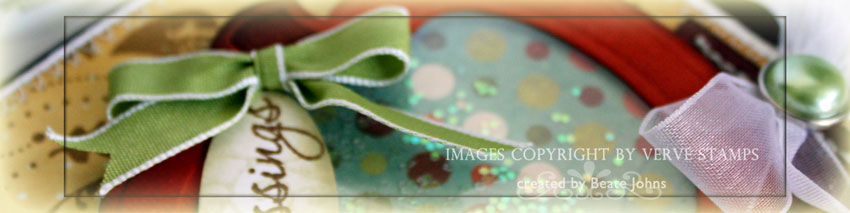
I cut my Pumpkin Frame with Pumpkin Nestabilities out of Dusty Durango textured cardstock. I also cut a Pumpkin out of Acetate and Grandma’s kitchen patterned paper. My shaker was filled with Crafty Sparkles – Chunky Crystal.
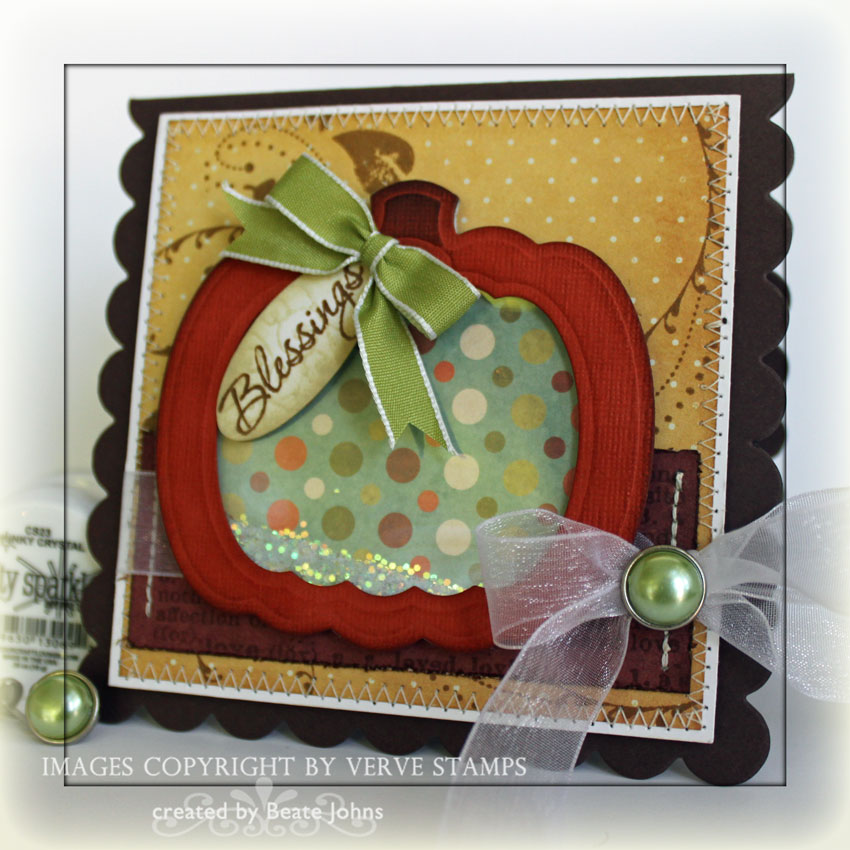
My card base is Chocolate Chip cardstock cut with the Clear Scallop Square Big Shot die from Stampin’ Up! I love to use that die to create card bases. What’s not to love about a square scallop card, right? LOL
A 3 3/4″ square of Whisper White cardstock was layered with a 3 9/16″ square of All Fall Fancy Pants Patterned Paper. The Patterned Paper was stamped with a the leaf swirl stamp from Simple Blessings in Vintage Photo Distress ink and sewn to the White layer. The horizontal strip measures 1 5/8″ x 3 1/2″ and from the Grandma’s Kitchen paper collection. It was stamped with Unity’s Giving it all meaning in Vintage Photo. The edges were distressed and sponged. I used a triple stitch to sew the strip to the square layeres and tied 5/8″ wide Organdy ribbon around it. The bow as topped off with a Recollections Brad (Michaels).
The Pumpkin Frame was sponged with Really Rust and Chocolate chip ink. I small bow was made out of SU Mistletoe ribbon with the help of my BowEasy. The sentiment is from Verve’s Hello Pumpkin set. It was stamped in Vintage Photo on White Cardstock, cut out with the small oval punch and sponged with Old Paper Distress ink. One of the leaves from Simple Blessings was stamped over it in second generation Old Paper ink for added texture.
Here is a video for the visual learner:
[youtube]https://www.youtube.com/watch?v=KD6vmmQKGug[/youtube]
Beate
15 Responses to “Old tutorial revamped – Shaker Card”
Sorry, the comment form is closed at this time.


Another great technique and new tutorial. Super job, Beate. You always include lots of neat tips in your videos!
How adorable….thanks so much again for sharing your incredible talent with us.
Hugs,
Sue
Eine traumhaft schöne Karte ist das beate…, die Farben sind genial…und du hast wieder eine so tolle Schleife… wow… Love this! Hugs and happy day. Silke
Love how you did the pumpkin. Great card.
you are spoiling us with these great videos! thanks for the new tutorial, its great! 🙂
I just love your videos. Your cards are so fabulous and this one is no exception!!
Oh my, this is FABULOUS! Love it!
Thanks for the tutorial. I always have the problem that the thick tape doesn’t stay and what was filled in does leave the shaker frame. Do you have a solution for that?
Love your shaker card! I have ordered these dies and can’t wait to get them.
Fabulous shaker card, Beate! Love that pumpkin shape!!!
Very Cool, Enjoy your videos and it seems always pick up something that I didn’t know before. Great card.
Your card is adorable.
Eine wundervolle Karte liebe Beate.
LG
Anke
deine kürbis karte ist ein traum beate
ich sende dirliebe grüsse
xoxo BA
I LOVE your cute shaker card Beate, and your tutorial is wonderful!! I still need to get those dies (before they’re gone).