
When it was time to shoot a video for the Magic Snowflake tutorial, I had to think for a while to come up with a sample. After I created the focal point, I had to put it aside for a while before I finished it. I just couldn’t think of a layout. Mojo works on it’s own schedule I guess.
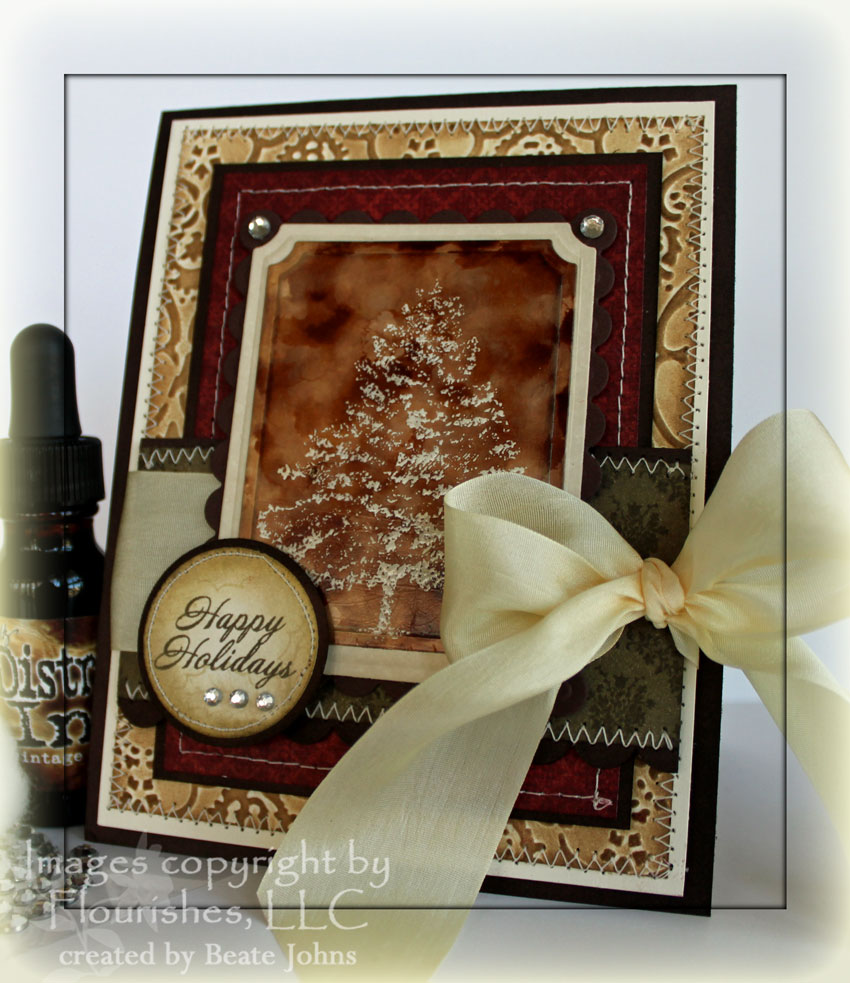
The card base is a 4 1/4″ x 11″ piece of Chocolate Chip cardstock sponged with Walnut Stain Distress ink. A 3 3/4″ x 5″ piece of Very Vanilla cardstock was embossed with a cuttlebug folder, then sponged with Vintage Photo distress ink, layered and stitched on a 1/4″ bigger piece of Vanilla cardstock.
A 3″ x 4 1/4″ piece of Merry Days of Christmas was stitched to a 1/4″ bigger piece of sponged Chocolate chip cardstock. The horizontal strip started out as a 1 3/4″ x 3 3/4″ piece of Vanilla cardstock. Vintage Wallpaper was stamped on it with Walnut Stain ink. It was sponged with Vintage Photo and Walnut stain ink and layered on a slightly wider strip of Chocolate chip cardstock. The bottom of the Chocolate strip had been punched with the scallop edge punch from Stampin’ Up! Cream May Arts Silk ribbon was tied around it.
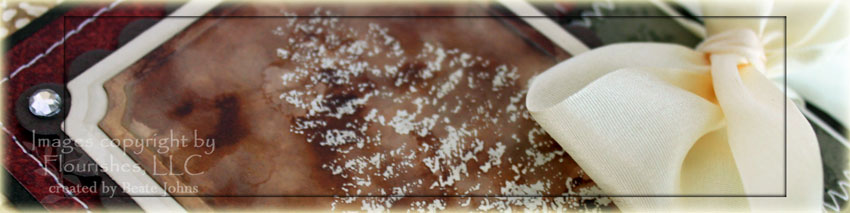
The main image is from Flourishes Forest of Trees stamp set. It was stamped in Snowcap Adirondack pigment ink on Glossy White cardstock and embossed with clear embossing powder. Old Paper and Vintage photo distress ink reinkers were used with rubbing alcohol to create the background. The image was cut with Label Nestabilities, layered on a sponged vanilla layer and a scallop chocolate chip rectangle.
The sentiment is from the Dove and Holly set. It was stamped in Walnut Stain ink on Vanilla cardstock. The Holly was stamped in Antique Linen distress ink. The sentiment was punched out with a 1 1/4″ circle punch, sponged with Antique linen and layered on a 1 3/8″ sponged Chocolate chip circle. The circles were stitched together and Kaiser Rhinestones were added to finish it off.
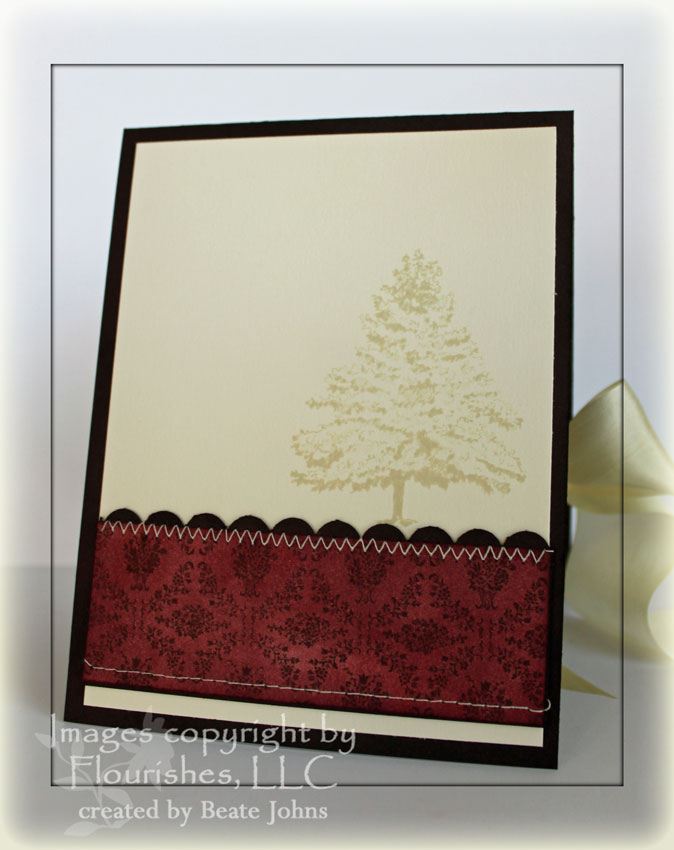
I created the inside to reflect the outside of the card and to show off that gorgeous Vintage Wallpaper background stamp. It was stamped again in Walnut Stain on Vanilla cardstock and sponged with Aged Mahogany ink. The tree was stamped in Antique Linen. I love those Distress inks. They are my kind of colors!
Here is a video on the Magic Snowflake Technique:
[youtube]https://www.youtube.com/watch?v=9a9-MpiPHfk[/youtube]
Beate
24 Responses to “Video tutorial – Magic Snowflake”
Sorry, the comment form is closed at this time.


Hi Beate! I just wanted to say that ever since you gave up your demonstratorship as a SU demo your cards have just been awesome – you are really ROCKING all those other stamp companies products – congrats! & keep it up, I love seeing what you are up to everyday.
Your cards are truly beautiful. I love the colors in the Christmas tree card. Great work!
Absolutely Beautiful!!!
Oh my, Stunning!!!! I love all the colour co-ordination. Beautiful ribbon and you’ve put it all together so well.
Wow, this is beautiful, i am a visual person and i absolutely love all your videos you have been doing. Thank you so much for sharing.
smallcity
Gorgeous card Beate! Love the colors you chose.
Love the card Beate. Can you tell me if it works with alcohol inks please as I do not have any re-inkers other than black? Thank you
How elegant Beate!!! I am so glad you did the tutorial…I have learned and been inspired by you again. Last night I was making some tags and I though of you when I was sponging…wait til you see them…They really turned out great!
FANTASTIC. I love your videos and your creations!
Would I be correct in assuming that I can use rubbing alcohol instead of buying blending solution? The alcohol would be far more economical than the blending solution.
What a great technique! now I need to go and buy some re-inkers.
I love the look of this technique done with reinkers and alcohol. Fabulous look. It gives a totally different look! This is another winning tutorial.
Stunning! Love it!
Wow, Beate!!! What a great technique! Thanks so much for the wonderful video tutorial – as always, something I would have been afraid to try now seems conquerable!!! Have a great day…
Stunning card! Love your details and fab video! TFS:) Have a great rest of the week:)
Oh this is so aweseome Beate! Your mojo must have been napping and came back energized cause its a stunner! Thank you for such wonderful inspirations too!
Beate-ful!
Oh my gosh Beate….when I watched your video my mouth was open the whole time saying “ooooooooooooooooooo” Now I’ve got to try it!!
Your talent is such a gift for me. thanks for all the explanations, videos and ideas! They are inspiring and treasured. I just love this Magic Snowflake idea. so many occasions this method can be used for!!! Thank YOU!
Totally gorgeous….thanks so much Beate for all your wonderful videos and hard work. It continues to inspire me all the time!
This is so beautiful, Beate!! I love the sepia tones and pretty image!! Your papers and stitching look gorgeous as well!!
Beautiful card, so love your layering and papers, and what an awesome technique, I don’t have reinkers but may give this technique a try with my AI, tfs!
It was worth putting aside for a while because the final card is stunning! I love the non-traditional colours and the pretty tree! Wow!
Wow Beate, was für eine tolle Idee. Vielen dank für das Video.
Liebe Grüße
Andrea
This is such a cool technique! Would it work with alcohol inks? I might have to give it a try!