
I had so much fun last week with Unity’s Hip Hop Blog hop…I had to play again today. I created this card for a VNS challenge last weekend. I really like how it came out so I used it to update the older Dazzling Diamond Dust tutorial on SCS and create a video tutorial for that tutorial. Make sure to check out all the other wonderful blog posts with Unity today. You can find a list of all participants on the Unity Blog.
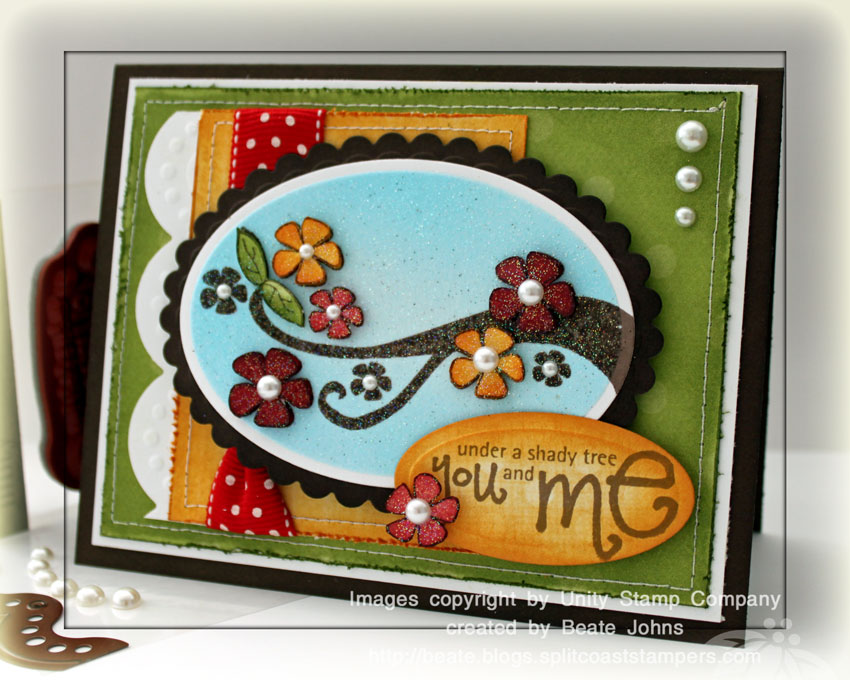
My card base is a 5 1/2″ x 8 1/2″ piece of Chocolate chip cardstock folded in half. The edges of the front were sponged with Walnut Distress ink. A 3 3/4″ x 5″ piece of Just Dreamy 2 Patterned Paper was distressed, the edges were sponged with Peeled Paint and it was sewn to a 3/16″ bigger piece of Whisper White cardstock.
The scallop edge was created with Spellbinders new Big Scalloped Border Borderabilities. It was taped to a 2 3/4″ x 3 3/8″ piece of Just Dreamy 2 paper that had been distressed and sponged with the new Wild Honey Distress ink. Polka Dot Ribbon (Stampin’ Up!) was tied to the left hand side before the layers were adhered to the card front. Three KaiserCraft Pearls were added to the top right.
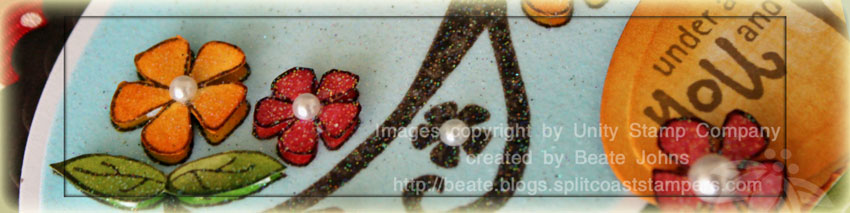
The main image is from Unity’s Savor the Journey stamp kit. It was stamped in Rich Cocoa Memento ink on Neenah Solarwhite cardstock, cut out with Petite Oval Nestabilities and airbrushed with Copic Marker B02. Next the flowers were colored with more Copic Markers (Y35, Y38, YG23, YG25, R22, R24, R29, R59).
I use a small air compressor to power my airbrush, you can also purchase air in cans. Here is a quick video on airbrushing with copics:
[youtube]https://www.youtube.com/watch?v=NitQlHBLSCs[/youtube]
I placed the Oval Nestabilities back over my image and added embossing ink over the entire center. It was then embossed with Stampin’ Up!’s Iridescent Ice Embossing powder. The image was stamped again on three different Just Dreamy 2 papers, flowers were cut out, sponged with matching distress inks, embossed with Iridescent Ice Embossing Powder and adhered to the image with dimensionals. The oval image was layered on a slightly bigger scallop oval before it was adhered to the card front. Each flower received a pearl center.
The sentiment is also from Unity’s January KOM 2010. It was stamped on Just Dreamy 2 paper, cut out with Oval Nestabilities, sponged with Wild Honey Distress ink and adhered to the main image.
Here is a video for the Dazzling Diamond Dust technique for the visual learner:
[youtube]https://www.youtube.com/watch?v=cPzMyRW8RmU[/youtube]
Beate
34 Responses to “Dazzling Branch”
Sorry, the comment form is closed at this time.


This is really dazzling!! I need to try some of that stuff! I love your card and the techniques too!
WOW.. I think you need to be on cable TV.. I would watch you all day and never get bored. I just love all your creativeness that much!! Stunning Card!! have a great weekend Beate.
Gorgeous card, Beate! Love the embossed sparkle and the dimensional flowers.The pearls add so much to the look, and your colors are fabulous!
And thanks for the tutorials. Always so helpful! I’m so glad I subbed to your blog! Now I won’t miss anything! ((hugs))
wow this is gorgeous!!
I just love this card, Beate!! Great tutorial too!!
wow–great card:) Thanks for the videos!
Stunning Card!! TFS the tutorial!!
That is one GORGEOUS card, I totally love it.
I love seeing what people do with the Unity KOTM, although I don’t feel I could justify subscribing.
Have had the SU EP you used and never used yet. Used it today after seeing your project. Thanks for the nudge.
This is such a gorgeous card and with such amazing colors and details. Love the tutorial on it too!
Have a fun weekend!
What a stunning card love it!!!!
Fabulous!!
What outstanding colors! Love it Beate.
wow your talent is amazing… and your card.. wow… anyone wud love to get this in their mailbox!
Just gorgeous! I love the contrasting bright colors!!
Wow, this is so beautiful! I truly love every little thing about this card! 🙂
pretty! thanks for the videos, beate!
Beautiful, Beate!
Wonderful card!!!
lisa a.
OH this card is just GORGEOUS! I loved the videos too. I am gonna have to show my husband the air brush one because I keep hinting how I NEED one lol. Thanks for sharing!
hallo beate
deine karte ist traumahft schoen, die farben sind so schoen. danke immer fuer deine tolle tutorials
xoxo BA
That card just amzneing I love all the dealtails and colors just rellay pop out of the card.
WOW! Is this ever gorgeous!
Stunning card and fabulous tutorial! I’ll have to give this technique a try!
I’m so happy you have started putting videos on your blog. I just love everything you do! I have made it my mission to try every tutorial you posted on splitcoaststampers.com. You rock, girl!
so pretty, like the effect the embossing powder gives to this, like the dimension in the flowers too!
A-MA-ZING!!! Your card is just GORGEOUS and stunning! 🙂
I am so glad that you take the time to show us how you do your cards. You inspire me to make cards and I never liked making them. I am going to try and make one simular to this one. TFS.
Wonderful videos Beate…I really want to get one of those Copic Airbrush systems now…also the Dazzling Diamonds video…I have not tried that, but I will now…After you heat embossed it, the colors really popped! Thanks again for your inspriation!!
fabulous and soooo pretty! love the bright, fun colors and the softness the airbrush adds to the image. LOVE it!
Just fabulous Beate, love the rich colors!!! The airbrushing looks great!!! And, another fab tutorial, you ROCK these!!! *STAMPIN HUGS* Alex
Stunning card! Love the colours.
Absolutely gorgeous, Beate!!! Love it!
Your card is so beautiful with your airbrushing and sparkle, Beate!! I love the colors, and how you’ve added wonderful dimension to your flowers!! Thanks for the videos as well. (I want to get a compressor for my system some day. Those cans make me too nervous.)