
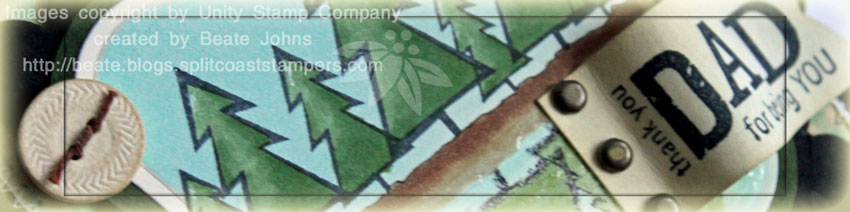
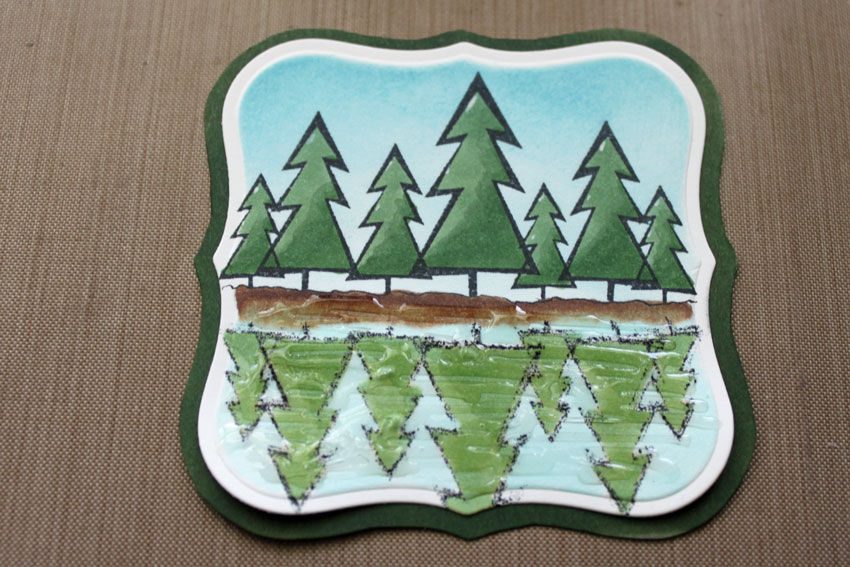
I am working on adding videos to older tutorials. Here is a card I made for the Reflection technique (Mirror Image, Reverse image).
I used a tree line from Unity’s Simply Tiny stamp set. It was stamped with Tuxedo Black Memento ink on Neenah White cardstock. Next I stamped it in the same ink on Acetate, flipped the Acetate over and placed it underneath my first tree line. The iI drew a ground with a black Copic Multiliner. The image was cut out with Label 1 Nestabilities and colored with Copic Markers (BG000, E55, E57, YG63, YG67, G82). The sky was sponged with Tumbled Glass Distress inkwhile the die was placed over the cardstock.

The images was layered on a slightly bigger piece of Always Artichoke cardstock. The edges had been colored darker with the YG67 Copic marker to match the image better.
Now…you know how Nestabilities Labels come 1/4″ increments. That’s too big for me when I want to layer the images. You can either cut one size, adhere it to another piece of cardstock and eyeball your next layer, or…..
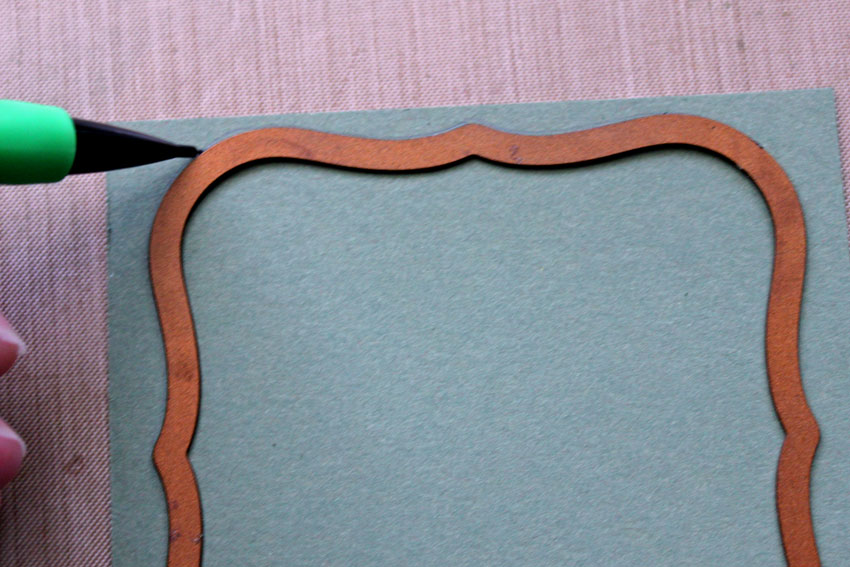
Place the same Label you used face down on the cardstock you want to use as your layer.
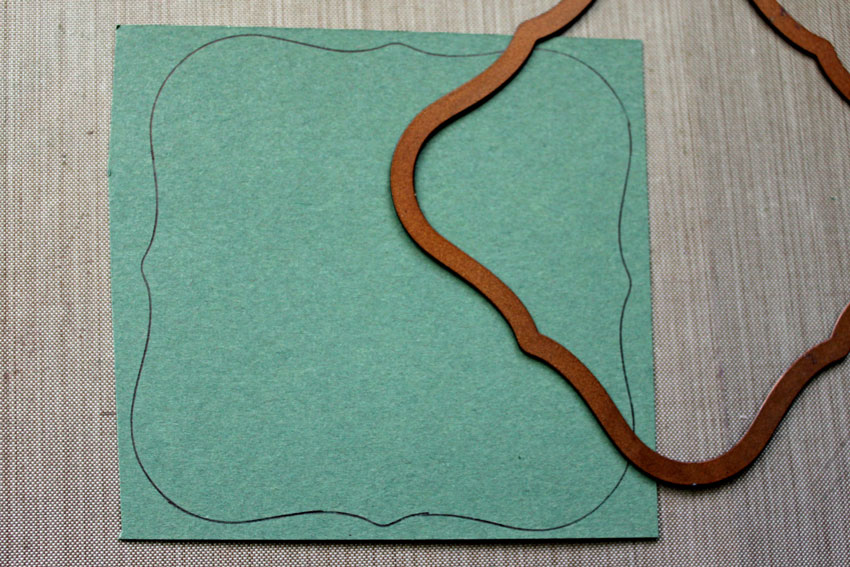
Trace around it.
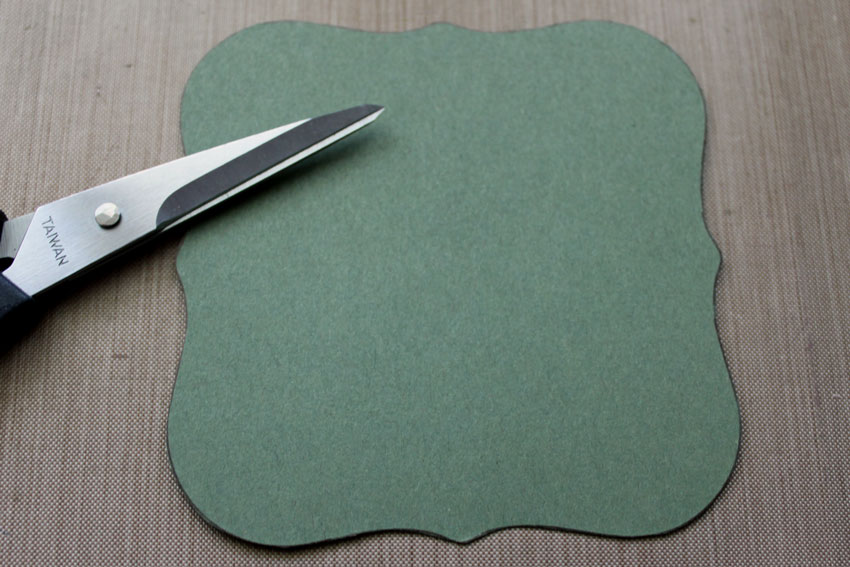
Cut it out.
Use as your layer. It will be 1/8″ bigger then your die cut.
Both labels were adhered to a black Square Nestabilities die cut. The card base was cut with Stampin’ Up!’s Scallop Square Big shot die out of Artichoke cardstock. Again I colored the edge with YG67. A 3 3/4″ square of October Afternoon Fly a Kite Patterned Paper was sponged around the edges with Antique Linen, distressed and stitched to a 3 15/16″ square of Basic Black cardstock.
The sentiment is from Unity’s Nothing but blue Skies stamp set. It was stamped in Tuxedo Black Memento Ink on a 7/8″ x 2 1/4″ strip of Gina K. Ivory cardstock. The edges were sponged with Antique Linen. It was formed into a wavy banner, the right side was cut and the right side was attached to the image layers with three Vintage brads (SU). I added a bit of Glossy Accents to the right side of the banner to keep it in place.
A button from my Mom’s button collection was stitched to the top left of the image layers with Waxed Linen.

For the inside of the cards I sponged a 3 3/4″ square of Ivory cardstock with Antique Linen, stitched a sponged 1 1/8″ x 3 3/4″ strip of October Afternoon paper to the lower part and stitched that to a 3 15/16″ square of Basic Black cardstock. The sentiment is also from the February KOM stamp set.
Here is a video for the visual learner:
[youtube]https://www.youtube.com/watch?v=xVShRH-jD78[/youtube]
Beate
13 Responses to “Video tutorial – Reflection Technique”
Sorry, the comment form is closed at this time.


Gorgeous!!! I love it!!
Thanks for sharing a video tutorial! I can now at least make something like yours after seeing it.
Thank you !!!
great tip – TFS!
Great tip for getting the 1/8 inch border, another one of those why didn’t I think of that moments 🙂
Love your reflection idea, I have wanted to give this a try!
What a great tip!
Zauberhaft, eine wundervolle Karte.
LG
Anke
[…] I used the Sea Scape Impressabilities die as a stencil with Close to Cocoa ink on textured Creamy Caramel card stock for the background. The image was stamped with Memento Rich Cocoa ink and colored in with Copic markers. I made a Chocolate Chip mat for my LabelS Two die-cut by tracing the outside edge of the die with a pencil and cutting it out by hand (thanks for the tip, Beate!). […]
Love your card, Beate. Really like the “water” look achieved by sparingly adding glossy accents.
Also, hanks for the tip about making the perfect sized layer by tracing your die.
Great tips thanks for sharing!
thank you for the great tip on the nesties. When I tried to layer, the 1/4″ was always just alittle too much for some cards. What a neat idea – to trace the outline and cut out a 1/8″ layer! Also, the mirror imaging is a beautiful look and you make it look so easy. thanks for all the great info!
Great video and instructions. Love your art work.
Glad you included this link in the 10 12 11 Inkling! I never tried to stamp a mirror image. I will try it with the acetate. Thanks for the video instruction. 🙂