
Last week’s Free for All Challenge on SCS was to create a card with the Spotlighting technique. I made a card for the challenge and then used that card as my sample for the video tutorial.
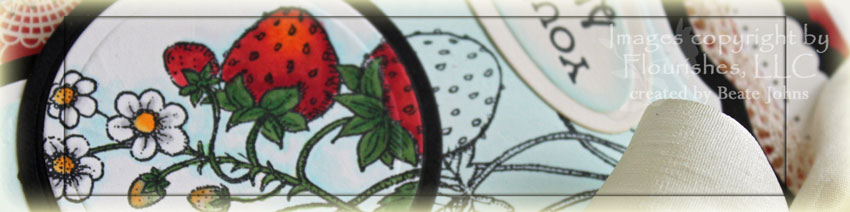
I stamped the Strawberries from Flourishes twice on Gina K. Pure Luxury Ivory cardstock with Tuxedo Black Memento Ink. I cut the entire image out with Label Eight Nestabilities, then part of the second image with Classic Circle Nestabilities. I airbrushed the big image with Copic Marker B000 and colored the partial circular cut image with Copic Markers (R20, R22, R24, R29, YG63, YG67, G07, E31, E33, Y21, Y35, Y38, T3). Both shapes were layered on a slightly bigger black cardstock shape and then adhered together.
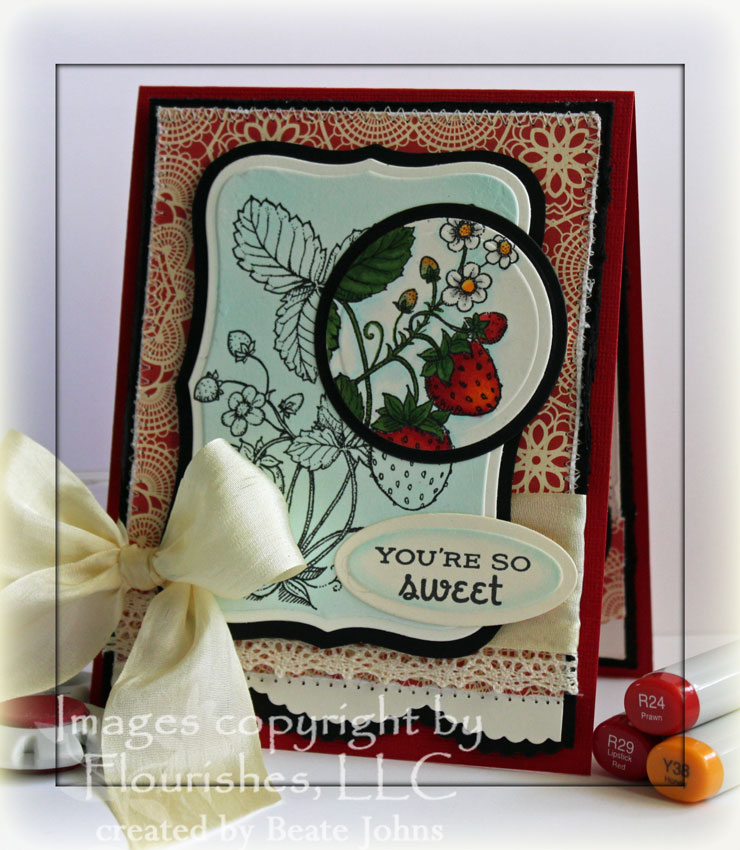
The card base is a 4 1/4″ x 11″ piece of Real Red textured cardstock folded in half. A 3 3/4″ strip of Ivory cardstock was cut with the Scalloped Scallop Die-namics die and taped underneath a 3 3/4″ x 4 5/8″ piece of October Afternoon The Thrift Shop paper. The edges of the paper were distressed, then stitched to a 3 15/16″ x 5 1/4″ piece of Basic Black cardstock. The bottom of the cardstock were cut with the Jumbo Scallop Die-namics die. I love how the scalloped scallop die fits right into the regular scallop die border.
Lace was tied around the lower edge of the layers and May Arts Silk ribbon was tied above that. The main image was adhered to the card front with dimensionals.
The sentiment is from also from the Strawberries set. It was stamped in Tuxedo Black on Pure Luxury Ivory cardstock and cut with Petite Oval Nestabilities. The inner rim of the sentiment was colored with Copic Marker B000 to tie it in with the airbrushed background of the main image.
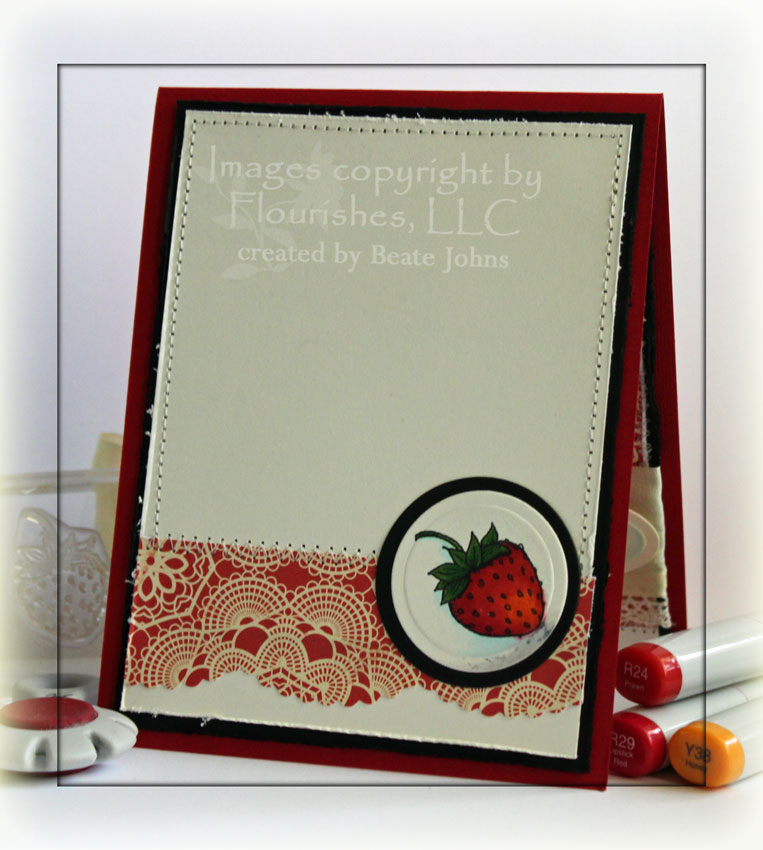
As always, the inside of the card is decorated matching to the outside. I cut a 1 3/8″ x 3 3/4″ piece of October Afternoon paper with the Scalloped Scallop Die-namics die and stitched it to a 3 3/4″ x 5″ piece of Ivory cardstock. That was layered on a 1/4″ bigger piece of Basic Black. I stamped a single strawberry image on Ivory cardstock with Tuxedo black, colored it with the same Copic Markers as the main image and cut it out with Circle Nestabilities.
Here is a video for the visual learner:
[youtube]https://www.youtube.com/watch?v=qgW1Lsy96_s[/youtube]
Thank you for stopping by! Have a wonderful day!
Hugs and smiles
Beate
10 Responses to “Video tutorial – Spotlighting Technique”
Sorry, the comment form is closed at this time.


I haven’t done this technique in a long time. This image works perfectly for it – what a wonderful creation.
UNBELIEVABLE, this is AMAZING. What a fun and creative project!!! It has been forever since I visited. My LOSS
Wunder … wunderschön liebe Beate und eine geniale Technik.
Herzliche Grüße
von Anke
My goodness, this is just AMAZING I love the colors and the elegance of it. What a fun technique. I forgot all about it, thanks for dusting it off for us.
You always bring back techniqes that I’ve forgotten about – thank you! Your card is so lovely. The image is perfect for this technique, and as always, the inside of your card is a perfect as the outside! TFS…
Very cool tech 🙂 I just love your blog
As usual, another beautiful technique brought back. I just love your work and am so thankful you share your wonderful talent with us. Thanks so much.
Beate, your creation is gorgeous! Fabulous mix of elements, and I just love how the strawberry stamp looks with the spotlight technique… brilliant creation.
Gorgeous, great job with the technique!
Beautiful card, Beate! I just LOVE watching your videos!