
Today is Virtual Stamp night at Splitcoaststampers! It started at 5 p.m. EST. Come on over and play the challenges with us! The 6:00 p.m. challenge is to create a card with the Serigraph technique. We had to use flowers for the embossing. Usually the background looks a bit harsh, so I decided to soften it up a bit. I also didn’t emboss small images, but one big one.
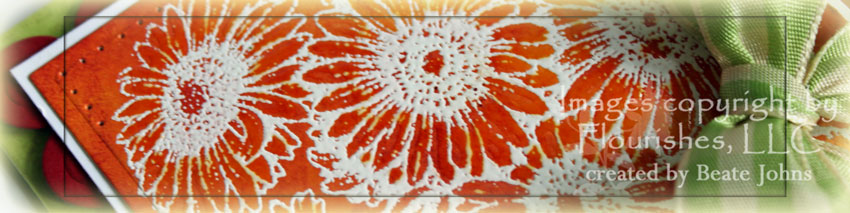
For my background I started by brayering Wild Honey Distress ink first. Next I brayered Spiced Marmelade over most of the rest of my cardstock. I then used the blending tool to soften the edges of the brayer lines. I embossed the big Gerber Daisies image in white and cut the image with the largest of the Classic Square Nestabilities. Next I sponged the edges of the cardstock as well as around the centers of the flowers in Fired Brick ink. The image was first layered on a 3 5/8″ square of White cardstock, then on a scallop square cut out of Wild Cherry Cardstock, sponged with Fired brick ink.
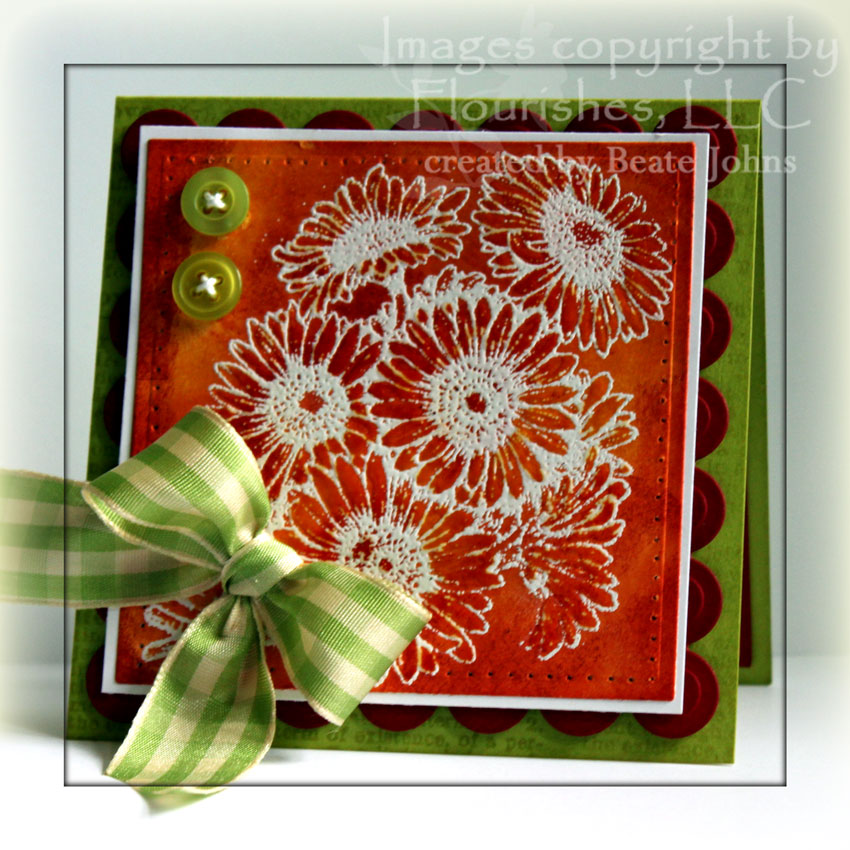
The card base is a 4 1/4″ x 8 1/2″ piece of Sour Apple Cardstock folded in half. Giving it all Meaning was stamped all over in Shabby Shutter Distress ink and the edges were sponged in the same color. Two green buttons were attached to the upper left corner with embroidery floss and a gingham ribbon bow was attached to the bottom left.
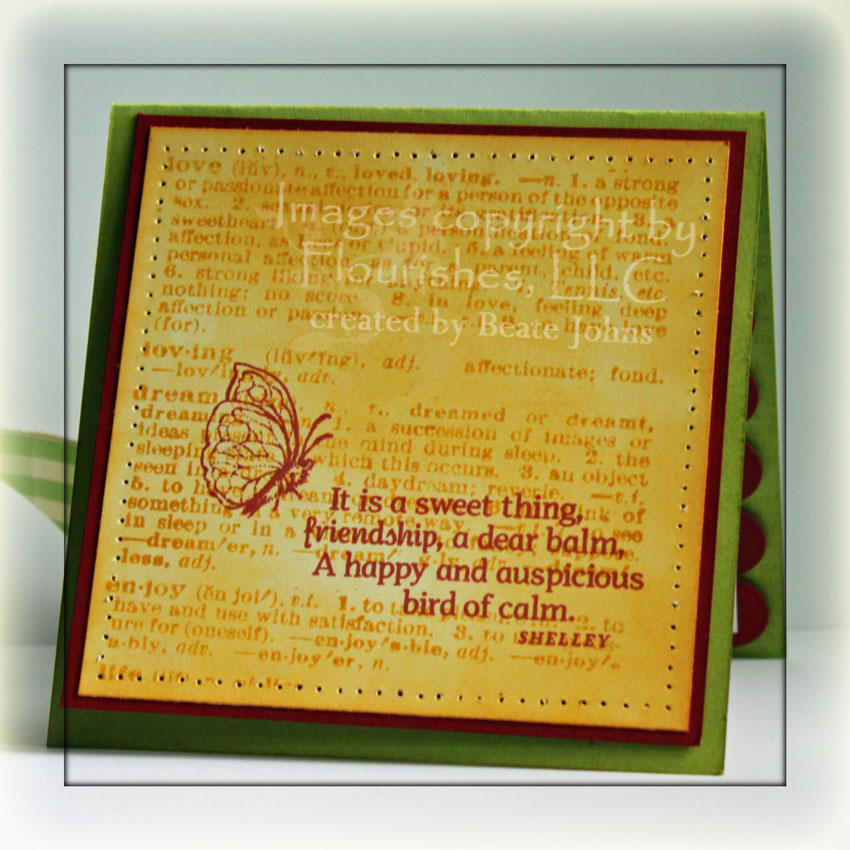
The inside of my card was sponged with Shabby Shutter ink as well. A sponged 3 15/16″ square of Wild Cherry cardstock was topped with a 3 3/4″ square of Whisper White cardstock that had been sponged with Wild Honey ink and stamped with Giving it all Meaning. The sentiment and butterfly are from the Gerber Daisies set and were sponged in Fired Brick.
Grab your brayer and dye inks and get stamping! I hope to see you over on SCS tonight! Here is an older video for this technique for the visual learner:
[youtube]https://www.youtube.com/watch?v=NGtdhne0U78[/youtube]
Beate
19 Responses to “Orange Gerber Daisies”
Sorry, the comment form is closed at this time.


this is gorgeous! I love the green/orange color combo.
oh Beate – these are beautiful!
Thanks for sharing the details – I struggle so with color and sizes!
Sandra
Gorgeous design and technique~ing, Beate! Great colors and detailig! Beautiful creation inside and out! Lovely card!
this is exquisite!
Your card is really stunning. I love that you take great care of the inside too 🙂 Enjoy your night 🙂
The colours in this are so gorgeous, Beate, make me think of heat and warmth, nasturtiums and marigolds. Maybe when I get back home tomorrow night I’ll even be able to play along with one of the VSN challenges – I never manage, because of the time difference.
gerber daisies are my fav … this card is amazing! 🙂
Great colors! I’ll have to give this technique a try.
Lovely!! I’m learning to do the inside of my cards. This doesn’t come easy for me as I just like to write a quick note inside.
PS: I watch almost all of your videos! I use the techniques I learn on a lot of my cards. I guess you could say I’m Beate inspired!!
Absolutely stunning! Love it – I’m going to have to try this technique.
WOW! What a gorgeous, vibrant card Beate!
Wow, how stunning!!
Love the technique, and your beautiful daisies!! Such pretty colors and perfect bow!!
This is GORGEOUS, Beate!!…inside and out!
I am leaving a comment and then watching your video…I am not a yellow or orange kinda of person, but this is FABULOUS!! See you later…I am off to the video!
Liebe Beate,
was für eine traumhaft schöne Karte, ich bin total begeistert.
Liebe Grüße
von Anke
*thud* Holy moly, girl! This card is… WOW! Stunning!
so pretty, love your flowers and the ribbon is a perfect touch against that background! TFS the video!