
Every week I try to shoot a video for one of the older tutorials. This week I picked the Pocket Card Tutorial. I am loving Echo Parks Holly Jolly Christmas patterned paper so much right now, I had to use it again (and should probably order more).
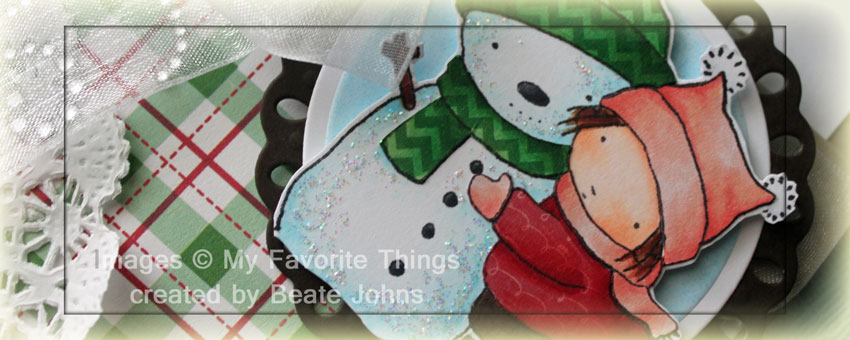
For my main image of the card I picked the image from MFT’s Merry KISSmas stamp set. It was was stamped in Tuxedo Black Memento Ink on Neenah Solar White cardstock. It was stamped again on pieces of Holly Jolly Christmas paper. Parts were cut out and adhered to the main image. The paper pieces as well as the main image were colored with Copic Markers ( hat/scarf: R00, R30, R32 Shirt/boots: R32, R35, R37 Stockings: E40, E42 Skirt: E43, E44, E47 Skin: E0000, E00, E01 Hair/branch: E23, E25, E29 Snowman: B0000, B000 Hat: G00, G02, G05, G07 Buttons: C5, C7, C9) and cut out.
The image was adhered with dimensionals on a piece of Solar White cardstock, cut and embossed with a Classic Circle Nestabilities die and airbrushed with Copic Marker B02. That circle was adhered to a piece of Canyon Brown cardstock, cut and embossed with a Tear Drop Nestabilities die.
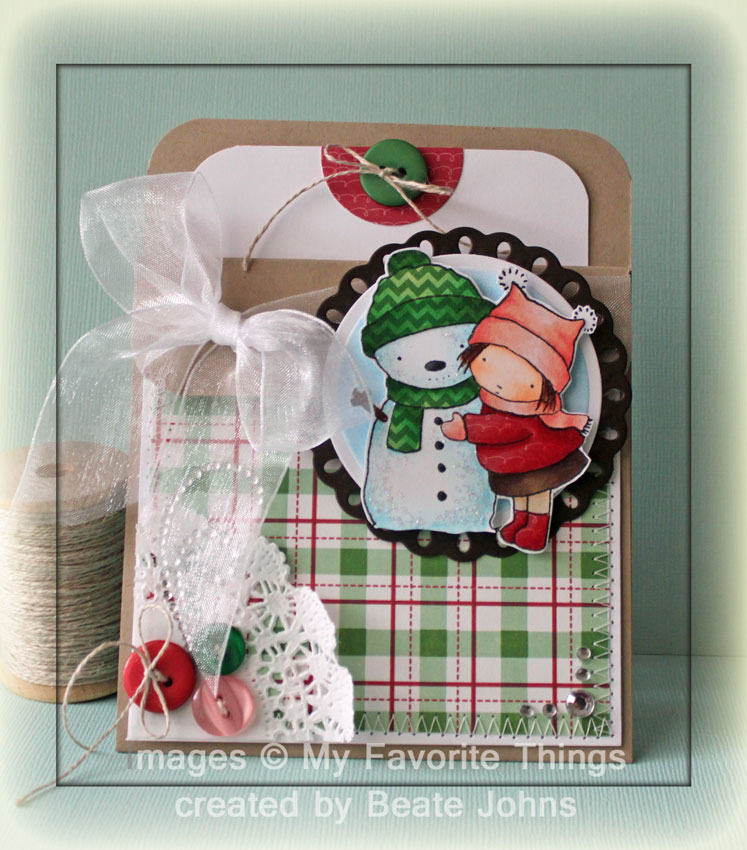
The card base was created out of a 4 1/4″ x 11″ piece of cardstock, scored at 1 1/4″ and 5 1/2″. The four corners were rounded. A 3 3/4″ square of Holly Jolly paper was stitched to a 1/4″ bigger piece of whtie cardstock. A quarter of a paper doily was adhered to the lower left of the the stitched layers and three buttons were tied to it with Linen Thread.
Part of a Finesse Swirl was adhered over the buttons and more Rhinestones were adhered to the lower right corner. The layers were adhered to the card base. Before the flap was taped down, May Arts Organdy Ribbon was tied around it. The image were adhered over the flap with dimensionals.
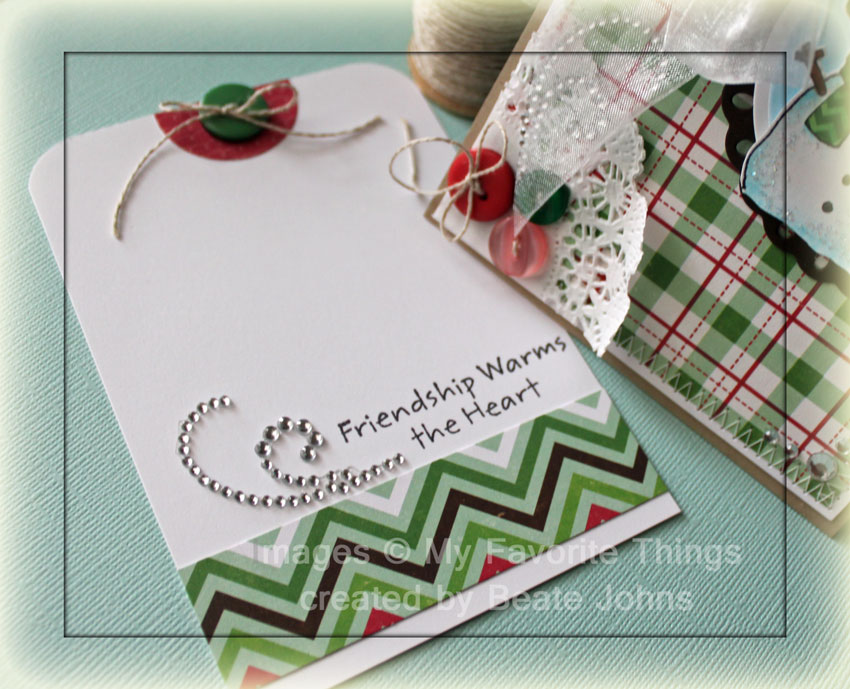
The inside tag is a 3 1/2″ x 5″ piece of Solar White cardstock. The top corners were rounded and a 1 1/8″ wide strip of Holly Jolly paper was adhered to the lower half. A sentiment from the Merry KISSmas set was stamped above the strip with Tuxedo Black ink and part of Finesse swirl was adhered next to it.
I punched a half circle out of Holly Jolly paper with a 1 1/4″ circle punch, adhered it to center of the top of the tag and tied another button on with Linen thread.
Here is a video for the visual learner:
[youtube]https://www.youtube.com/watch?v=PrH-I8Op-O0[/youtube]
Thanks so much for stopping by! Have a great day.
Hugs and smiles
Beate
11 Responses to “Video Tutorial on SCS – Pocket Card”
Sorry, the comment form is closed at this time.


SWEET Beate!!~
So cute, Beate! I love the pull out tag!
Pinned that one to my Pinterest board. Love it, will definately have to do some of these! Thanks for sharing!
super cute! love the paper doily at the corner. darling card, Beate!
So sweet. Love your pocket card and darling little PI girl. 🙂
Hugs~
Cuter than cute! I haven’t made a pocket card in way too long. Thanks for the gorgeous inspiration.
Love this technique really cute card! I am going to have to try this! Thank you 🙂
Oh, this is SO adorable and I love the pocket card idea…thanks SO much for yet ANOTHER amazing tutorial!
so sweet, just love the dimension you gave to your image and the pretty doily and buttons at the bottom are so a sweet touch!
I can finally put a face to your voice! I went on over to SCS tonight and found your gallery! There was a link to your blog! You are such an inspiration to me and thousands of others. Thank you for all of the ideas and the time you put in to make our lives so much more wonderful! I love this card. I saw it on you tube and made several variations of them right away. Very easy, very pretty, very versatile! Another Beate masterpiece!
Ich finde Deine Karten immer ganz toll, und diese ist besonders huebsch geworden!
Gruesse aus der Schweiz