
Yesterday’s tutorial on Splitcoast was written by the wonderful Susan Roberts. She created a fun tutorial on how to use embossing folders and solid shape stamps. For my sample I used the butterfly image from Fanciful Flourishes and one of my favorite M-Bossabilities folder called Flower Fun.
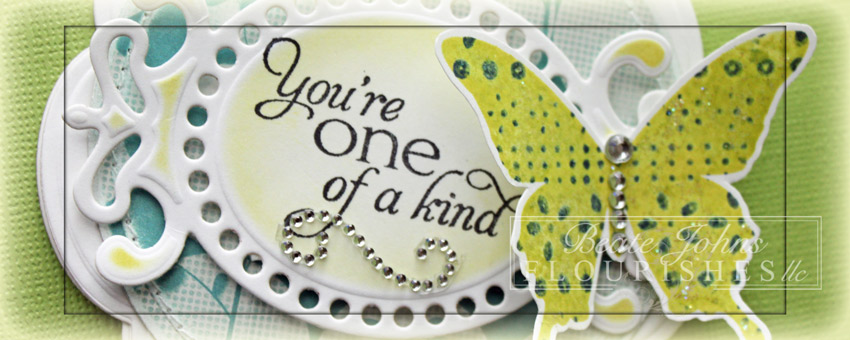
The butterfly was inked with Pear Tart Memento Ink, the embossing folder with Chipped Sapphire Distress Ink. The butterfly was pressed into the inked embossing folder before it was stamped on Neenah Classic White cardstock. The image was cut out and the wings were brushed with Frost Smooch Glitz.
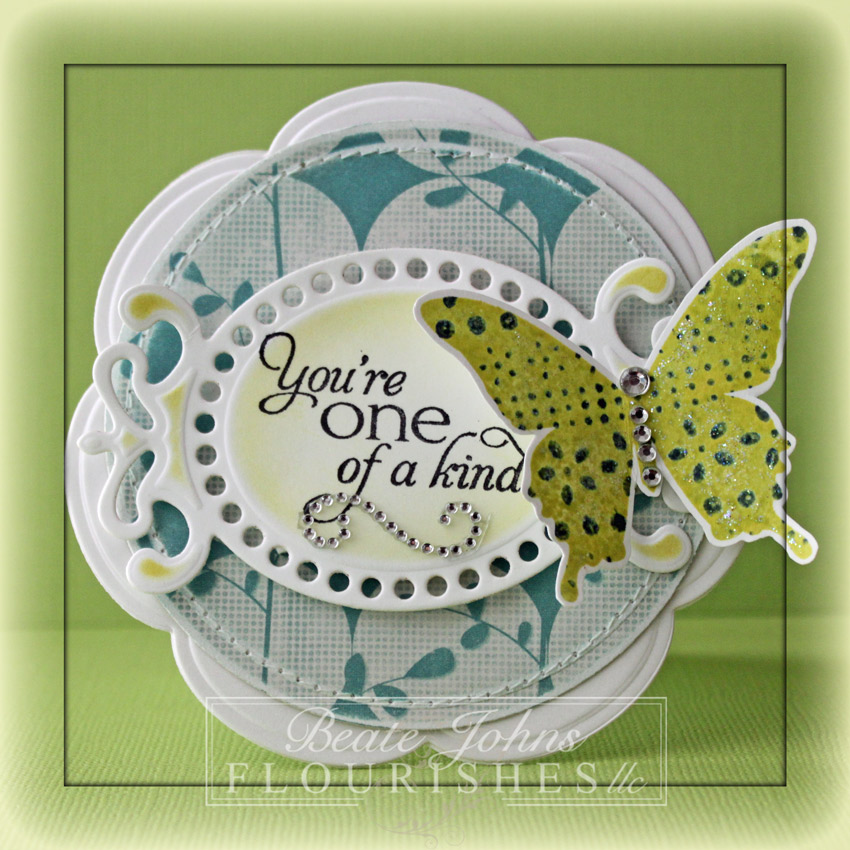
A sentiment from Flourishes new Magnolia set was stamped in Tuxedo Black Memento Ink on a piece of white cardstock, cut and embossed with a Fancy Tag 3 die. The embossed part was sponged with Pear Tart ink. The butterfly was adhered to the right hand side of the sentiment panel. Rhinestones from a Baby Bling and Sleek Strips Silver Rhinestones strip were used for the body of the butterfly. Part of a Fancy That! Border Bling was added underneath the sentiment.
A piece of MME On the Bright Side Two patterned paper was cut and embossed with a Standard Circle Nestabilities die. The edges were sanded and stitched before the it was adhered to the card base, which was cut out of Solar White cardstock with the largest Blossom Nestabilities die.
Here is a video for the visual learner:
[youtube]https://www.youtube.com/watch?v=dBPQWnIi2mE[/youtube]
Thanks so much for stopping by! Have a wonderful day.
Hugs and smiles
|
|
|
|
|
|
|
|
|
|
|
|
|
|
|
|
|
Beate
30 Responses to “Tutorial on SCS – Embossed Kisses”
Sorry, the comment form is closed at this time.


Thanks so much for the quick tip, Beatte. I will be using this today. You are fabulous, darling!
Beautiful ♥
Fun and easy, for sure, Beate! Thanks for always inspiring us to step outside the box and try new things. Love your card! Have a good day…
I love this kissing technique and it gives your butterfly a nice extra pop of color and txture.
Thanks for sharing sweetie
Thanks for another video and idea.
Hugs
Beautiful!
God Bless 🙂
You come up with the greatest techniques to show us. This is so easy and it looks so great. Thanks!
This is an adorable card. Your cards always look so clean and well done.
Your stitching looks soooo neat, Beate, and I love you sweet butterfly. Thank you for taking the time to video another fab technique xx
Wow, this is a fun technique! I’ve always used stamps for the technique and using the embossing folder is a great idea. Must give this a try. Thanks for the video, Beate, and your card looks fabulous! {hugs}
Beautiful card Beate!!
Ein wunderschönes frühlingshaftes Kärtchen, der Schmetterling ist ein zauberhaftes Highlight.
Herzliche Grüße und ein schönes Osterfest
wünscht Dir
Anke
A gorgeous fresh card, Beate!
Beautiful!!! This looks like an interesting technique and will need to check it out for sure!!! Thanks for the video too!
Absolutely beautiful! Love this technique!
Beate,
Love the card and video, I’m going to have to try this one!
I’ve been following you since I discovered Flourish stamps and I see you are also associated with many other companies. You mention a few different types of white card stock you use. I’m in the market for more white card stock can you provide some tips. Normally I’ve been using GKD PL 120 lb. Is there any other white out there that compares? I find it’s a bit expensive as compared to Flourish’s white.
Hello!
This IS fun and easy! Thank you for the video – I am going to try this today! Wishing you sunshine!
Hugs,
Barbara Diane
What a gorgeous creation, Beate. Your always come up with the best design and colors. Beautiful butterfly.
Wishing you and your family a very Happy Easter.
Hugs,
Pat
You put so many fun details into your cards Beate…Just LOVE this!!!
Beautiful and such a cool technique!
Absolutely beautiful – love that butterfly. Again, thank you for the video! Have a wonderful Easter Wknd!
Liebe Beate, das Kärtchen ist wunderschön zusammengestellt, die Farben Kombination gefällt mir auch sehr.
Ich möchte Dir mal danken für Deine vielen Tutorials, die wir auch in meinem Stempelforum immer wieder nutzen:-)
Leider hab ich keine VideoKamera, vielleicht magst Du ein Tutorial von meiner “Decolored Art” with nail polish remover machen? Viele möchten es machen, aber wissen nicht recht wie. Schau mal auf mein blog ob es Dich interessiert.
ich wünsche Dir und Deinen Lieben ein schönes Osterfest,
liebe Grüße Anja
will have to try this fun technique and thanks for the video, Beate! love your beautiful card, too! hope you have a fabulous weekend! =)
Wow, this is gorgeous! Love all the die cuts and the white cardstock really makes it elegant! Hugs, Karen
Lovely butterfly! I need to get out those Fancy Tags too…so pretty!
Another fabulous creation, Beate! I heard it’s your birthday this month, whenever it is hope you had/have a wonderful day! Also wishing you a Happy Easter x
Gorgeous example for this technique, love the little gem swirl under the sentiment too!
Hope you and your family enjoy a wonderful Easter!
[…] Dress Pattern & TutorialBright Turquoise, Green & Gold Sugarpill Video Tutorial | Phyrra …Tutorial on SCS Embossed Kisses » fresh & fun首页 | 登陆 | 联系 | 标签Copyright © 2012 网站优化. All Rights […]
So beautiful! I gotta buy that blossom die SOON!
So beautiful!! I love the gorgeous butterfly and I love, love learning new techniques!! Thanks for the video 🙂