
I created this card back in February for a Technique Challenge. I remember making this box card a long time ago. The page that I got the instructions from became inactive and I hadn’t written them down. I liked it so much, I created a tutorial for the resource section for it.
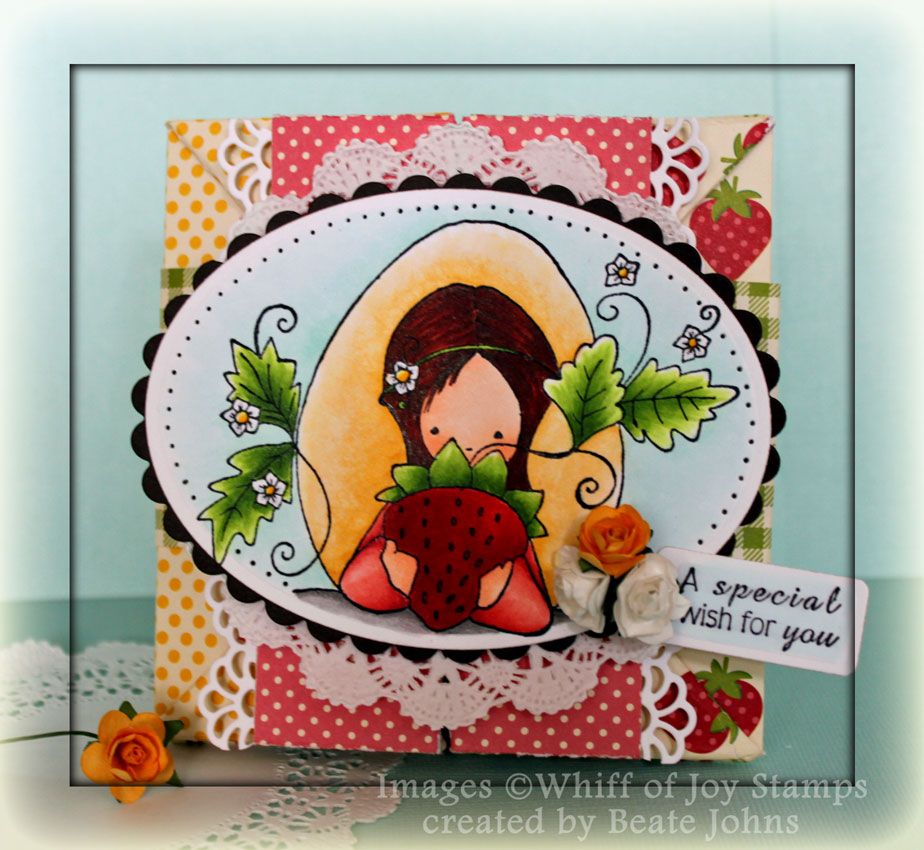
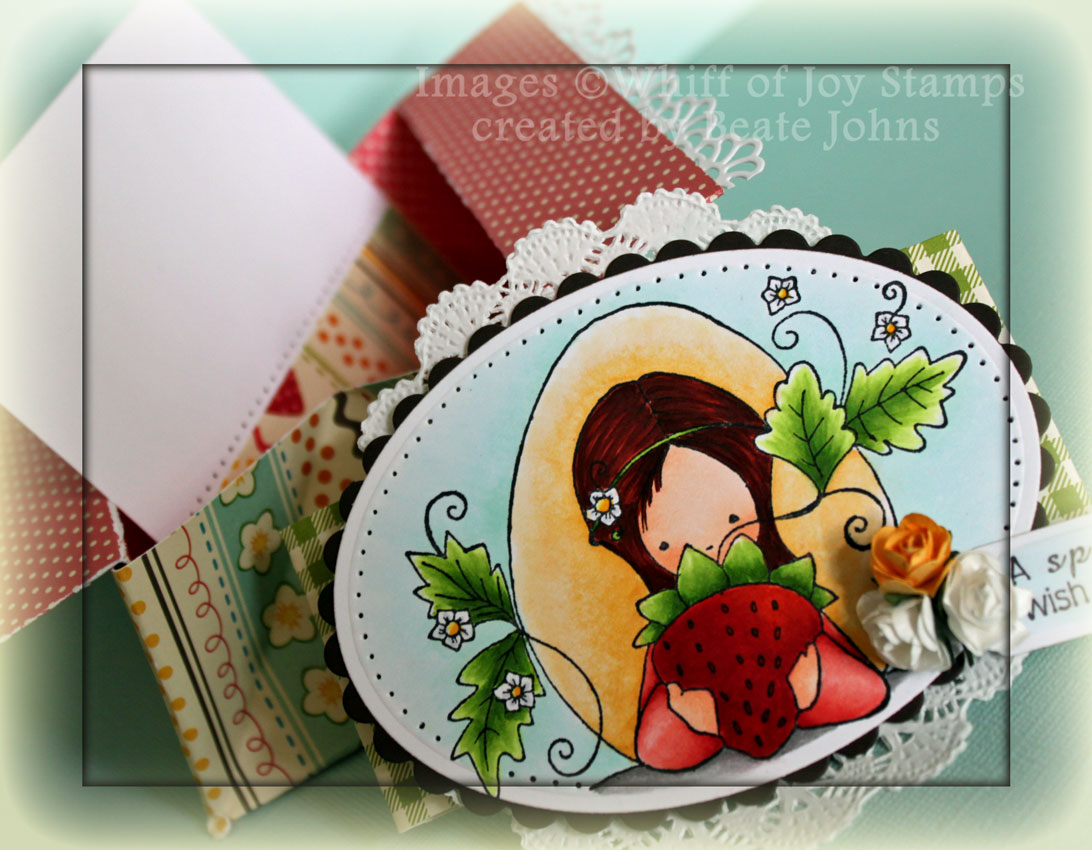
I started out stamping Whiff of Joy’s Strawberry Girl in Tuxedo Black Memento Ink on Neenah Solar White cardstock. The image was cut and embossed with a Petite Oval Nestabilities die and colored with Copic Markers (Flowers: Y13, Y15, Y17 C2, Leaves: YG01, YG03, YG17, Egg: 1/5 YR31 + 4/5 Blending solution, YR31, Skin: YR000, YR00, YR01, YR02, Hair: E08, E18, E19, Shirts: R20, R21, R22, background: BG0000, BG10).
A piece of Canyon Brown cardstock cut and embossed with Scallop Petite Oval Nestabilities die. The image was adhered to the scalloped oval and the edges were paper pierced.
The sentiment is from Whiff of Joy’s Magical Wishes. It was stamped in Tuxedo Black Memento Ink on Neenah Solar White cardstock. It was cut and embossed with a Spellbinders tag die. It was adhered to the right hand side of the image and topped with three Zva Creative Flowers.
The card box base was created out of a 8 1/2″ x 11″ piece of October Afternoon Fly A Kite paper. Two strips of white cardstock were cut with the Faux Crochet Die-namics Border die. The strips were adhered under the side flaps of the box.
A 2″ wide strip of Fly A Kite October Afternoon paper was used to create the Belly Band. A doily was adhered to it’s front before the image layers were adhered to dimensionals.
A 3 7/8″ white square was decorated with a slim strip of matching paper to finish of the box card.
Here is a video for the visual learner:
[youtube]https://www.youtube.com/watch?v=-SEiZeFGSZg[/youtube]
Thanks so much for stopping by! Have a wonderful day.
Hugs and smiles
Beate
10 Responses to “Strawberry Girl Box Card”
Sorry, the comment form is closed at this time.


This is so adorable! Found you through the copic hop love your blog looking forward to seeing more of your beautiful work tfs
You know, everyday you give new meaning to the word “Stunning”!!!
I love it and I love coming to visit your blog everyday. It is always full of wonderful, glorious surprises!!
Beautiful card as always! Thanks for sharing the tutorial too. Have a great weekend!
Eine zauberhafte Karte und eine geniale Kartenform.
Liebe Grüße
von Anke
Just a gorgeous card! Your colors are just so rich and beautiful. And of course your coloring techniques are just perfect. Wish I was in an area to take one of your classes!
sweetness! such a beautiful project! love it! hope you have a lovely weekend! =)
Love this project, Beate. And the crowning glory is your beautifully stamped and coloured topper xx
that box is just too cute, I can see why you wanted to find it, your image is darling and great paper to go with it!
SO pretty, and what a fun technique!
Love it!!! I’m having a shower for my niece and I may use this for the invites. An image and “you’re invited” on the outside and a little slip inside with all the particulars. How cute would that be?!?! Great video, thanks!