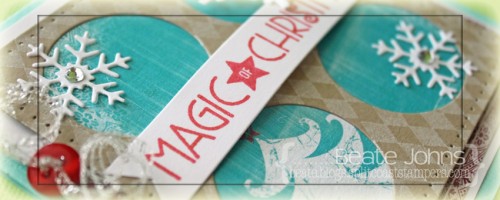
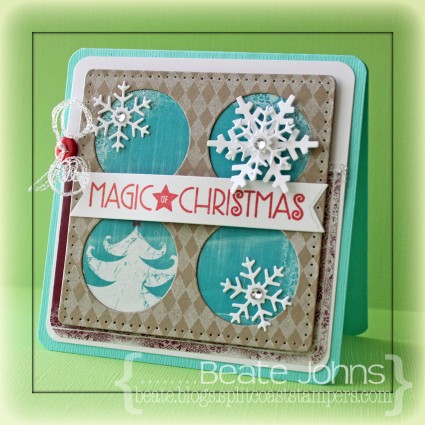
I created this card as an entry for MFT’s November Guest Designer contest. I started by cutting Kraft cardstock with the Peek-a-Boo Squared Die-namics die.  The layer was stamped with the smallest diamond background from Distressed Diamonds stamp set with Moonlight Brilliance ink.  Winter blues Whimsy paper was adhered behind the openings and the edges were pierced.

The bottom corners of a 2 1/2″ x 3 7/8″ of Winter Blues paper were rounded and adhered to a 4″ square of white cardstock with rounded corners. Silver curling ribbon was tied around the top of the paper layers with a button before all layers were adhered to the card base, a 4 1/4″ x 8 1/2″ piece of Patina Bazzill Cardstock with rounded corners. The peek-a-boo layer was adhered to the card base with foam adhesive squares.

Neenah Solar White cardstock was cut with the two smaller dies from Let it Snowflake die-namic dies, stacked and topped with a rhinestone from a Sleek Strips Silver Rhinestones. Two small snowflakes were cut out white cardstock as well. The snowflakes were adhered to the panels that didn’t have the tree .

Another piece of white cardstock was cut with a Fishtail Flag Stax and a sentiment from Seasonal Sentiments was stamped in Rocket Red Gold Brilliance Ink. It was adhered in the center of the card.

Thanks so much for stopping by! Have a wonderful day!
Hugs and smiles

P.S.: Today’s Holiday Blitz tutorial on Splitcoaststampers is written by Cindy Hall. She shows us how to create a darling telescoping snowman card. I hope you have time to check it out!

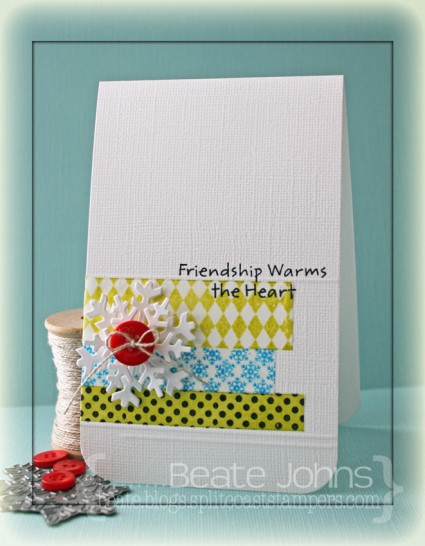
I created this card for a Featured Stamper challenge last month. Cheryl has such a wonderful gallery, I wanted to case another card of hers. This time I chose this CAS washi tape card.  I created my Washi Tape strips out of Tissue Stock from Canvas Corp. I cut strips in different sizes.

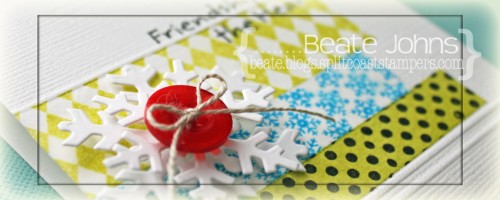
The biggest strip was stamped with the the smallest diamond images from Distressed Diamonds stamp set in Pear Tart Memento Ink. The thin strip was stamped with the snowflake background from Christmas Ornaments in Bahama Blue Memento Ink.  The last strip was sponged with Pear Memento Ink and stamped with a background stamp from By the Numbers in Jet Black Archival ink.

The card base is a 3 1/2″ x 11″ piece of textured Whisper White Stampin’ Up! cardstock folded in half. The bottom corners were rounded. A line was scored at 3/4″ on the bottom. Then the Faux Washi tape strips were adhered with a Xyron glue stick. Another line was scored right above the tissue strips, as well a partial strip 1/8″ under the lower score line.

A sentiment from Merry Kissmas was stamped on the right hand side partially on, partially off the highest tissue paper strip.  Neenah Solar White cardstock was cut with the two largest Let it Snowflake die-namic dies. They were stacked with foam adhesive squares and topped with a button.

Thanks so much for stopping by today! Have a wonderful day!
Hugs and smiles


P.S.: Today’s Holiday Blitz Tutorial on Splitcoaststampers was written by the wonderful Clare Buswell. She is showing how to create a pierced Luminaria.  I hope you have time to check it out!

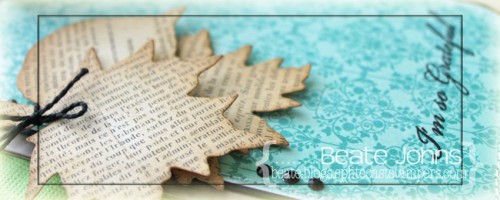
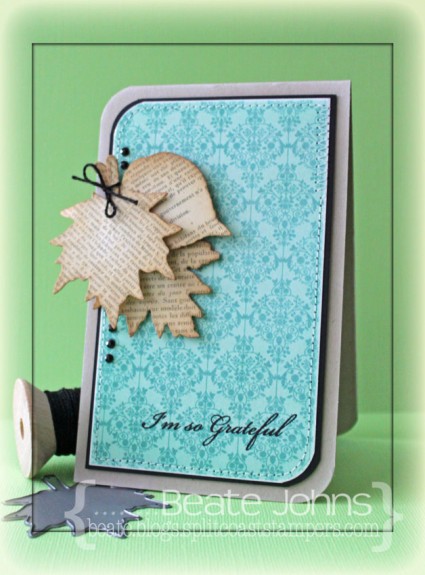
I created this card last week for the CAS challenge on Spitcoast, the CAS-ual Friday challenge and that week’s CAS(E) this Sketch!. I started by cutting three leaves with the new MFT Falling Leaves Die-namic dies out of 7 Gypsies Conservatory paper. The edges of the leaves were sponged with Vintage Photo Distress Ink, layered together with foam adhesive squares and tied on top with black embroidery thread.

The bottom right and top left of a  3″ x 5″ piece of Teresa Collins Spring Fling patterned paper were rounded, the edges were sanded and the paper was stitched to a 1/8″ bigger piece of black cardstock. The layers were adhered to the card base, a 3 1/2″ x 11″ piece of Kraft cardstock folded in half.

A sentiment from the new Falling Leaves stamp set was stamped in Jet Black Archival ink on the bottom right of the card. The leaves were adhered to the upper right hand side of the card. Black Baby Bling Rhinestones were adhered above and underneath the leaves to finish off that card.

Thanks so much for looking! Have a wonderful day!
Hugs and smiles

Today’s tutorial on Splitcoast is written by the wonderful Stacy Morgan. She is showing us how to create little treat holder that look like Hershey’s Kisses. I shot the video and create a Halloween treat holder…What else but a Halloween project can I showcase today, right?

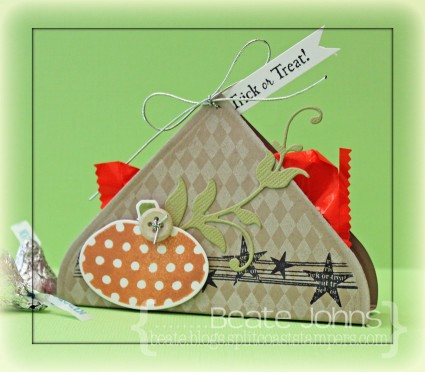
I started by cutting two hearts out of Kraft cardstock with the largest of the Classic Heart Nestabilities dies. They were first stamped with the smallest Distressed Diamonds background in Cloud White VersaMagic Ink. Once that dried, I stamped the star banner from Primitive Pumpkins over it in Jet Black Archival ink.

A pumpkin was cut out of Neenah Solar White cardstock with one of the Primitive Pumpkin Die-namic dies, and one of the pumpkins was stamped over it in Tea Leaves and Pumpkin Spice VersaMagic Ink. Lizard Bazzill Textured Cardstock was cut with the Flourish Die-namics die. The flourish and the pumpkin were adhered to the treat holder front and a button was tied to the pumpkin with silver cord.

A sentiment of the Primitive Pumpkins set was stamped in Jet Black Archival Ink on a white strip of cardstock and tied on to the Hershey’s Kiss with more silver cord.


Here is a video for the visual learner:

[youtube]https://www.youtube.com/watch?v=gpXJFFNNEfo[/youtube]

Thanks so much for stopping by! Have a wonderful Halloween!
Hugs and smiles

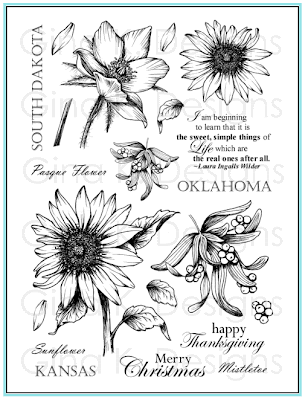
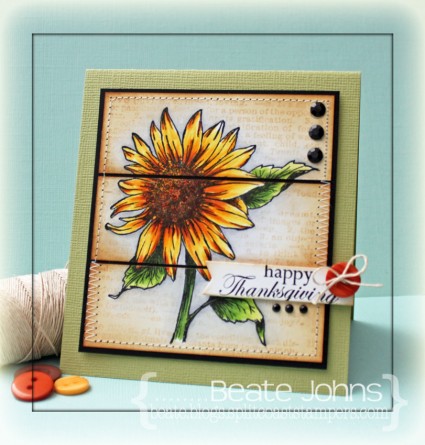
Today I am joining in as a special guest of Melanie Muenchinger in the Gina K Designs October Inspiration blog hop, showcasing the newest stamp set from Gina K Designs, Stately Flowers 5. Stately Flowers 5 is the fifth in a series of hand drawn official state flowers, and is available for purchase in both premium quality clear photopolymer and red rubber.
This set includes flowers for Oklahoma, South Dakota, and Kansas, but the mistletoe and sunflower have been specifically grouped together with all your upcoming fall and winter holiday cardmaking needs in mind, and the sentiments to match!


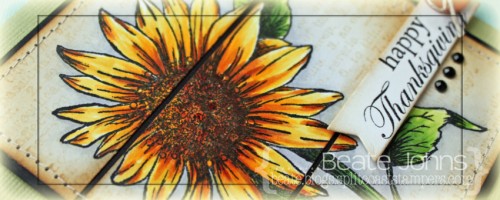
I am excited to be hopping with Melanie today. For my first card I started with by stamping the sunflower in Tuxedo Black Memento Ink on 3 1/2″ x 3 3/4″ piece of white cardstock. It was colored with Copic Markers (Y13, Y15, Y17, E97, E99, YG21, YG25, YG63, YG67, C00, C1, BV20). The image was masked, then a background was stamped over it in Antique Linen Distress ink. The image was cut in three 1 1/4″ wide strips and the edges were sponged with Antique Linen and Vintage Photo Distress ink.

I ran the strips through my Xyron and adhered them to a slightly bigger piece of black cardstock. The edges of the layers were stitched. The layers were adhered to the card base with foam adhesive squares, a 4 1/4″ x 9 1/2″ piece of Lizzard Bazzill cardstock folded in half.

A sentiment from the set was stamped on a piece of white cardstock, cut with one of the Sentiment Strip Die-namic dies. The edges were lightly sponged with Vintage Photo Distress Ink. A button was tied to the upper right hand side of the sentiment strip. The strip was then adhered to the lower right side of the card. Black Rhinestones finish off the card.

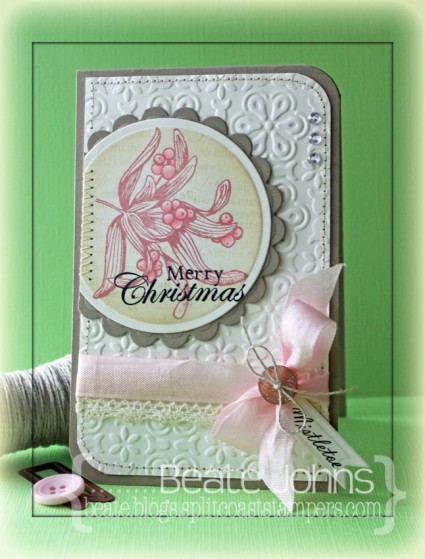
I created a second card with that set with last week’s Color Challenge on SCS.

I started by stamping the Mistletoe image in Pink Petunia VersaMagic ink on Neenah Natural White cardstock. It was cut and embossed with a Standard Circle Nestabilities die. The die was kept over the cardstock, the image was masked and the bigger sentiment was stamped over the circle with Antique Linen Distress ink. The edges were sponged with the same color. The image was adhered to a piece of Kraft cardstock, cut and embossed with a Scallop Circle Nestabilities die. Part of the right side was cut off and the edge was stitched.

A 3 1/4″ x 5 1/4″ piece of Natural White cardstock was embossed with the Elegance M-Bossabilities folder. The bottom left and top right corner  were rounded before the edges of the layer were stitched and the circle layer was adhered to the top left. A sentiment was stamped on to the circle layer with Versafine ink.

May Arts Crochet Ribbon was adhered to the lower part of the layer. Pink Seam binding was tied above it.  A Spellbinders Pennant die was used to cut and emboss more Natural White cardstock. The word Mistletoe was stamped on it before it was tied to the bow with Linen thread and a button. Everything was adhered to the card base, a 3 1/2″ x 11″ piece of Kraft cardstock, folded in half. Three rhinestones on the top right edge finish off the card.

Be sure to visit the illustrator of Stately Flowers 5,
today for more samples with her set,
as well as inspiration from the lovely talented 
who is also guest designing this month!
For a full link list of participating designers,

Thanks so much for stopping by! Have a wonderful day!
Hugs and smiles

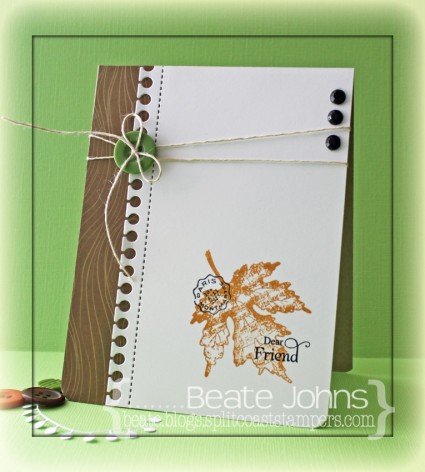
I created this card for a CAS challenge at Splitcoaststampers. I had seen one of Debby Hughes cards (I am a big fan) and saw a layout I just had to case! 

I started by cutting one edge of a 3 1/2″ x 5 1/2″ piece of Neenah Solar White cardstock with MFT’s Notebook Edge Die-namics die. A piece of My Mind’s Eye Six by Six Gnome Sweet Gnome paper was adhered behind it to form a 4 1/4″ x 5 1/2″ card front. A button was tied on with hemp cord on the upper corner before the layer was adhered to the card base, a 4 1/4″ x 11″ piece of Kraft cardstock, folded in half.

The bottom corners were rounded and a leaf from JustRite Stampers Shabby Chic Autumn Leaves was stamped on the lower right corner with Peanut Brittle Memento Ink.  A sentiment and postage stamp image were stamped over it with with Jet Black Archival ink. Three black rhinestones on the top right finish off the card.

This card works perfectly for the newest Simon Says Stamp Challenge which is called Autumn Leaves. I hope you have time to participate. You could win a $50 shopping spree at Simon Says Stamp online store. I LOVE Simon Says Stamp.


Thanks so much for looking! Have a wonderful day!
Hugs and smiles

Simon Says Stamp Challenge Blog

Welcome to the Whimsy Stamps October 2012 rubber stamp and die RELEASE (Holiday Collection Part 2)!

Today, Whimsy Stamps is releasing 23 fantastic new rubber stamps & stamp sets, 5 wonderful new Shapeology dies, 2 fabulous new Shape EZ templates and 2 beautiful 6×6 paper packs. These new goodies are available to buy right now from the Whimsy Stamps store along with all your Whimsy favorites.

From today until 30 October the Whimsy DT and Special Guests will be showcasing these new products with a daily mini blog hop. Each mini blog hop has a new release prize hidden somewhere along the way and you have 24hrs to enter each prize draw by leaving a comment on every blog listed for that day.

At the end of release week (Wednesday 31 October) we will post a Release Round-Up on the Whimsy blog. This will include a selection of DT work from the new release week together with a complete list of winners from the daily mini blog hops.
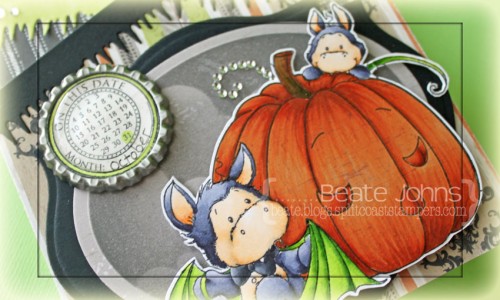
For my first sample I chose the adorable Wee Boo image. It’s so cute, I can’t stand it. I stamped it in Tuxedo Black Memento Ink on Neenah Solar White cardstock . It was colored with  Copic Markers (Little Dragons: BV20, BV23, BV25, BV29, E50, E51, E53, R20   Pumpkin: E95, E97, E99   Wings: YG01, YG03, YG17   Bow: C5, C7, C9) and cut out.  The image was stamped again on Echo Park’s Chillingworth Manor patterned paper, colored , cut out and adhered to the main image.

Another piece of Chillingsworth Manor was cut and embossed with the largest of the Classic Oval LG dies. Cloud dies (cut with Spellbinders Whimsy dies) were adhered over it and the layer was sponged with Gray Flannel Memento ink. It was then layered on a piece of black cardstock, cut and embossed with the largest Label Eighteen die. The image was adhered over the spooky background with  foam adhesive squares.
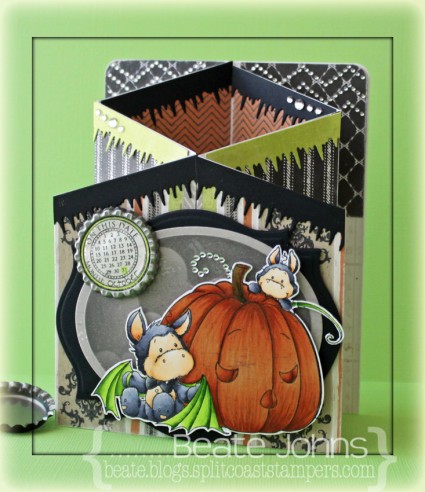
Last week’s tutorial on Splitcoast was so much fun, I had to make another Concertina card. The card base was created with Neenah Solar White cardstock and lined with more Chillingworth patterned paper. Black and green paper were cut with Icicle Border  die and adhered to the top. I think it could be used for “goo” as well as icicles.

The date circle is from Everyday Circle Postmarks and was stamped in Tuxedo Black on more Chillingworth paper. It was cut out and the 31st as well as a circle border were colored with Copic Marker YG01. I ran a bottle cap through my Grand Calibur (cutting plate and Raspberry adapter plate) to flatten it, adhered the sentiment in the center and topped it with a Epoxy Dot. It was adhered with foam adhesives to the upper left hand side of the image.

Part of a Finesse Rhinestone swirl,  a few rhinestones from a Sleek Strips Silver Rhinestones and a few rows of a Beautiful Border Bling – Chevrons finish off the card. In case you missed it last week, here is a video for this fold for the visual learner:

[youtube]https://www.youtube.com/watch?v=Whpy-eDRcac[/youtube]

Thanks so much for stopping by! Have a wonderful day!
Hugs and smiles

To be entered into today’s mini blog hop prize draw, be sure to leave a comment on ALL of the DT posts listed below by 12:00PM EST tomorrow:

Finally, here is a full reveal of the wonderful October release. Don’t forget to visit today’s DT and leave a comment on their blog posts to be entered into the draw to win a new release stamp!

[Please note that the following pictures are not to scale]
4 Crissy Armstrong rubber stamps
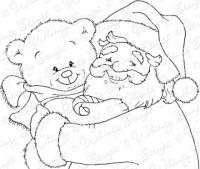
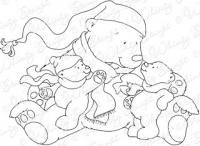
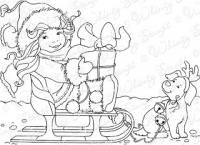
Crissy Armstrong ~ Santa & Teddy ~ Sheltering Love ~ The Littlest Reindeer 
4 Elisabeth Bell rubber stamps
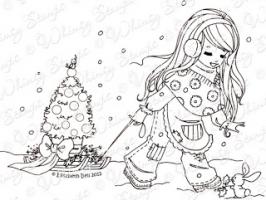
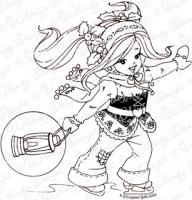
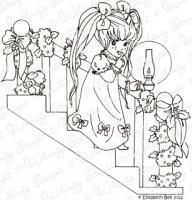
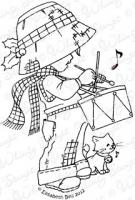
Apple Blossom’s Skates ~ Chloe’s Little Light ~ Little Jack Drumming ~ Sunkissed’s Christmas Tree
4 Kenny K rubber stamps
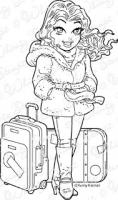
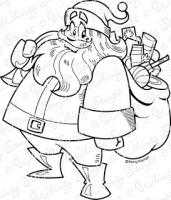
Fashionista ~ Jet Setter ~ Santa ~ Xmas Shopping

3 Meljen’s Designs rubber stamps
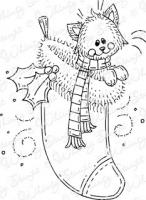
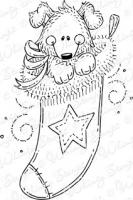
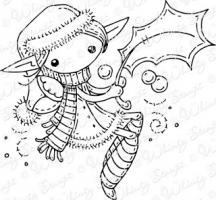
Holly Christmas Fairy ~ Stocking Kitten ~ Stocking Puppy
3 Sylvia Zet rubber stamps
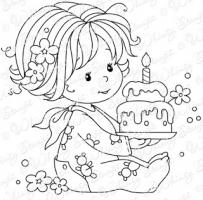
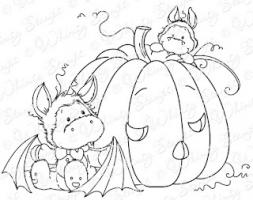
Batty Boo ~ Birthday Baby Girl ~ Ruby Whimsy
5 Raindrop Echo Designs rubber stamp sets
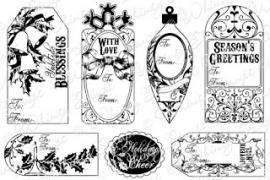
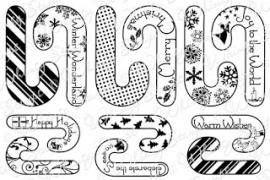
Candy Canes ~ Holiday Mini Tickets ~ Tis The Season Notables 5 ~ Vintage Holiday Gift Tags ~ Holiday Notables 3
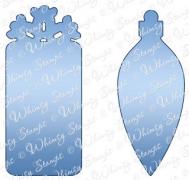
5 Shapeology dies
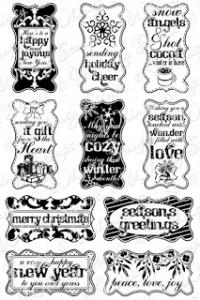
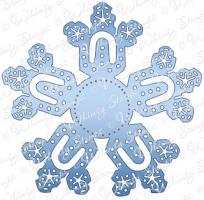
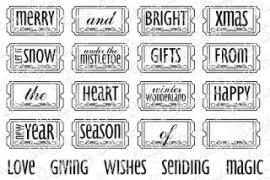
Candy Canes set ~ Holiday Gift Tags set ~ Christmas Tree ~ Holiday Sentimentables set ~ Snowflake Doily
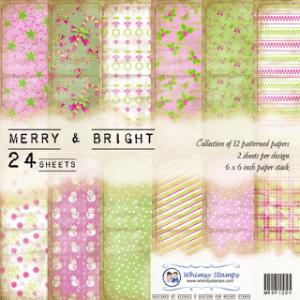
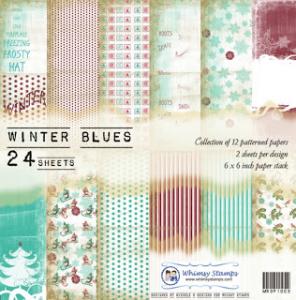
2 6×6 Paper Stacks
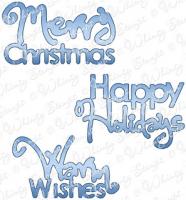
Merry and Bright ~ Winter Blues

24 sheets per pack – 12 designs, 2 of each printed on heavy weight slightly textured papers.
Acid and Lignin free.
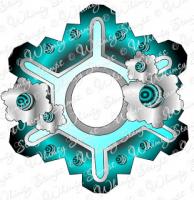
2 Shape EZ by TLC templates
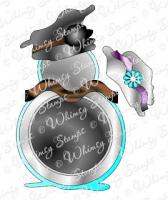
Snowflake Card ~ Snowy Ball
Thanks so much for stopping by and I hope you enjoy our new release!
Have a great day! Hugs and smiles

P. S.: How about a little giveaway? Would you like to win last month released Hazel and the Whimsy Halloween Grunge Paper? If so, just add your name to the inlinkz underneath. Open only for people with US address. Sorry.

I will pick a winner with the help of random.org on Sunday!


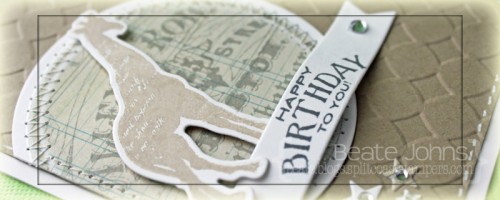
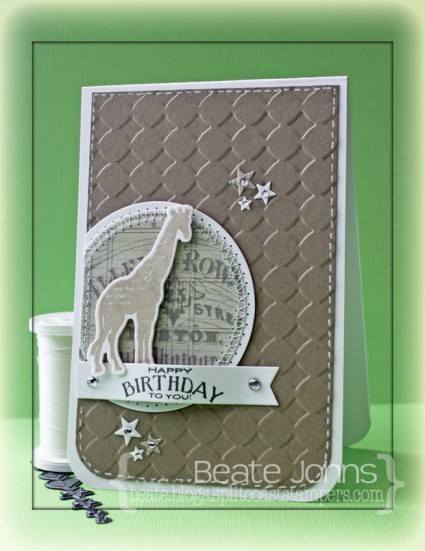
I created this card for last week’s Inspiration challenge.  For my sample I chose this darling stuffed giraffe.  The color scheme for this card came from last week’s  Ribbon Reel Challenge.  The sketch is from the current CASE study challenge.

I started by cutting a piece of Neenah Solar White cardstock with the giraffe die from MFT’s Spectacular Circus stamp and die set. The matching giraffe stamp was stamped over it in Wheat VersaMagic ink. A piece of Pink Paislee Portfolio patterned paper was cut and embossed with a Standard Circle Nestabilities die. The edges were sanded before the circle was stitched to a slightly bigger white cardstock circle.

A 3 1/2″ x 5 1/4″ piece of Kraft cardstock was embossed with the Simplicity M-Bossabilities folder. The bottom corners were rounded and a the edges were faux stitched with a Signo white gel pen. The layer was adhered to the card base, a 3 3/4″ x 11″ piece of white cardstock folded in half before the partial circle was adhered to the left hand side. The giraffe was adhered to the circle with foam adhesive squares.

One of the sentiment from Circus Spectacular was stamped in Gray Flannel Memento ink on a piece of white cardstock, cut with one of MFT’s Sentiment Strips die-namics die. One of the sides was cut straight and the sentiment was adhered underneath the circle with Scor-Tape on the edges and two foam adhesive squares on top of each other in the center.

Stars were cut out Solar White cardstock as well as the same paper that was used for the circle with SimonSaysStamp exclusive Holiday Shapes die. The stars were adhered to the card and topped with rhinestones. A rhinestone on each end of the sentiment strip finishes off the card.

Thanks so much for stopping by! Have a wonderful day!
Hugs and smiles

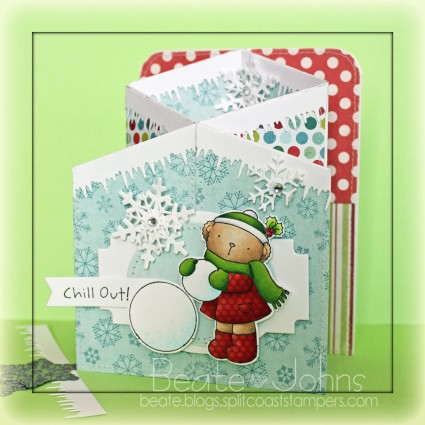
Yesterday’s new tutorial on Splitcoaststampers was for the Concertina or Cascading Card. Cherie Franklin is the author, I shot the video.  For my sample my main image is from MFT’s darling Snow Angel stamp set. The image was stamped in  Tuxedo Black Memento Ink on  Neenah Solar White cardstock. It was colored with Copic Markers (Green: YG01, YG03, YG17    Red: R20, R22, R24, R29   Fur: E41, E42, E43    Snow: B0000, B000   Ear/Nose: R20, E40)  and cut out.

It was also stamped in My Mind’s Eye Winter Wonderland paper (red paper) and Carta Bella Merry & Bright patterned paper. The paper pieces were shaded with Copics, cut out, run through my Xyron and adhered to the cardstock image.

Winter Wonderland patterned paper was used to decorate the card sides.  The top corners were rounded and the top of the slanted pieces were topped with Solar White cardstock that was cut with Icicle Border Die-namics die.  The two larger Layered Label dies were used to create layers to place my image on.

More white cardstock was cut with the two smaller dies from Let it Snowflake die-namic dies, stacked and topped with a rhinestone from a Sleek Strips Silver Rhinestones.  Last I stamped a sentiment from Snow Angel on a piece of cardstock with a sentiment strip die.

Here is a video for the visual learner:

[youtube]https://www.youtube.com/watch?v=Whpy-eDRcac[/youtube]

Thanks so much for stopping by! Have a wonderful day!
Hugs and smiles

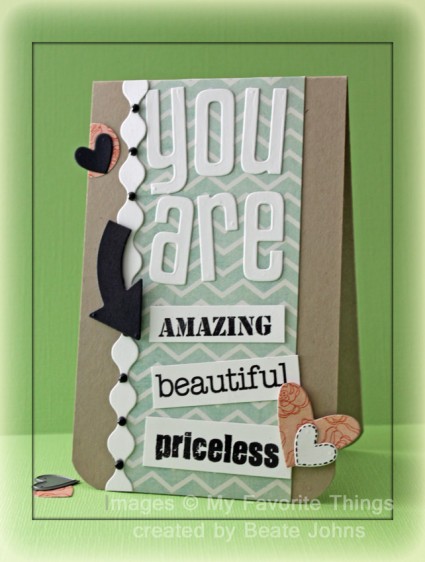
Edna’s Hope You Can Cling to challenge is to create a card with five words on it. I pulled out quite a few sets before I settled on the words and dies for my entry. I wanted to use different fonts for my adjective, so I used three different sets.

I started by cutting you and are out of Neenah Solar White cardstock with MFT’s High Rise Alpha Lowercase dies. I stamped a word from each First Class Friend, Complimentary Greetings and Well Worn My Favorite Things stamp sets in Jet Black Archival ink and cut them out.

The card base is a 3 1/2″ x 11″ piece of Kraft cardstock, folded in half. The bottom corners were rounded. A 2 1/4″ x 5 1/2″ wide strip of My Mind’s Eye The Sweetest Thing Tangerine paper was to the center of the card front. A strip of white paper was cut with the Squiggle Border and adhered to the right hand side of the paper strip. The words were adhered in it’s center.

Two small hearts were cut out of black and white cardstock with a die from the Notched Tag stamp and die set. Another heart was cut out of Tangerine paper with the smallest of the Hearts A Plenty Die-namic die. An arrow was cut out of black cardstock with one of the Lead the Way dies. They were used to dress up the card. Tiny black rhinestones from a Baby Bling rhinestone pack finish off the card.

Thanks so much for stopping by! Have a wonderful day!
Hugs and smiles

© 2012 fresh & fun Suffusion theme by Sayontan Sinha