I get a lot of questions about these and figured I answer them in a blog post.
First of, what are they and where do I get them?

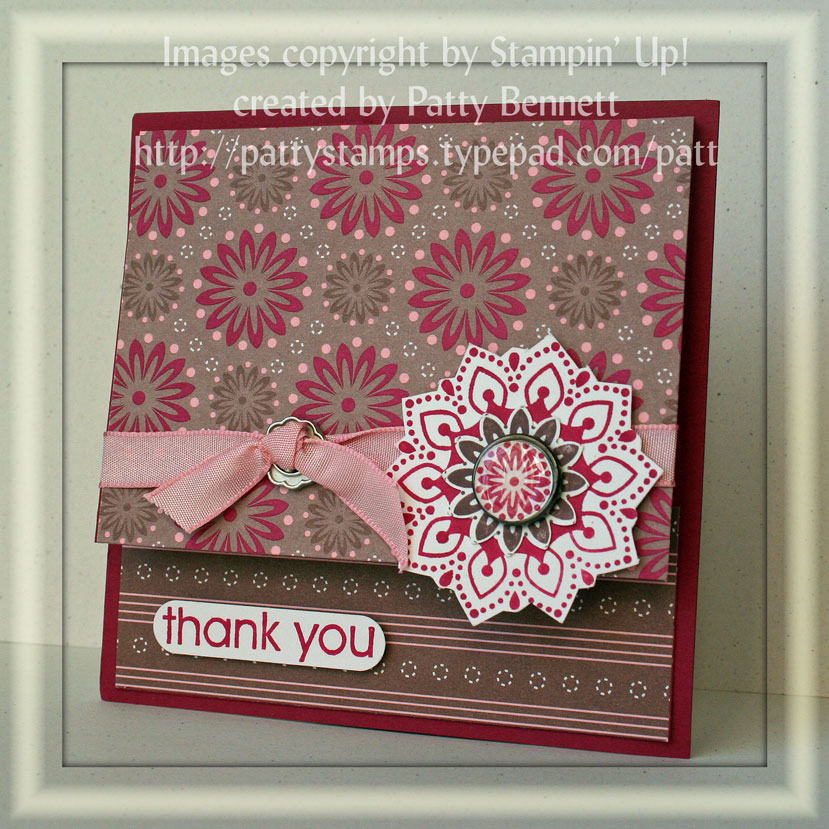
Nestabilities are die templates.
You can cut and emboss your cardstock with them. But it’s not only for cardstock. You can also use them on Fabric, Foam, Vellum, Chipboard and Magnet sheets.
They are made by Spellbinders and come with five staggered sizes in each package.
I bought mine at Ellen Hutson’s store. She developed the templates with Spellbinders.
How do I like them and how do I store my templates?
I love my Nestabilities. I had Marvy Punches for scalloped ovals, circles and squares before, but I sold them as soon as I got these templates. They are easy to use, give me perfect results every time and they don’t take much room to store.
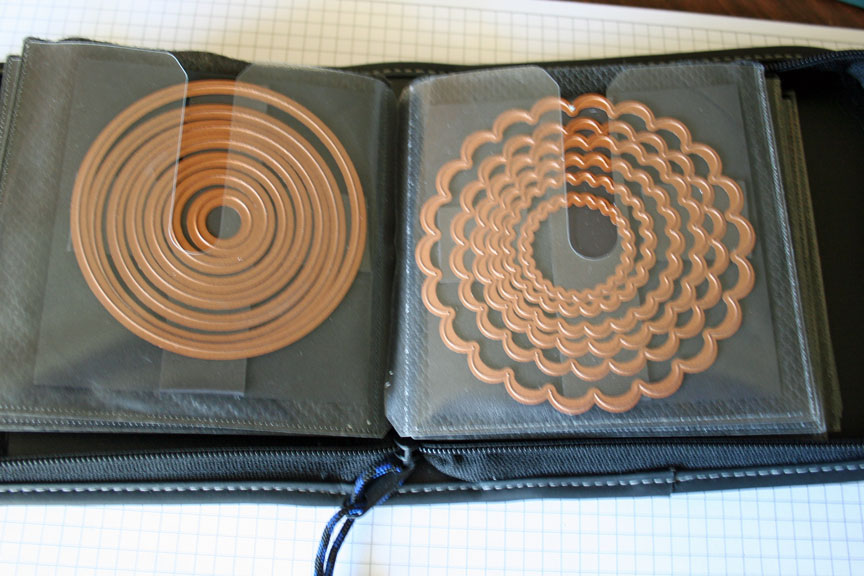
I store them in a CD traveling case.
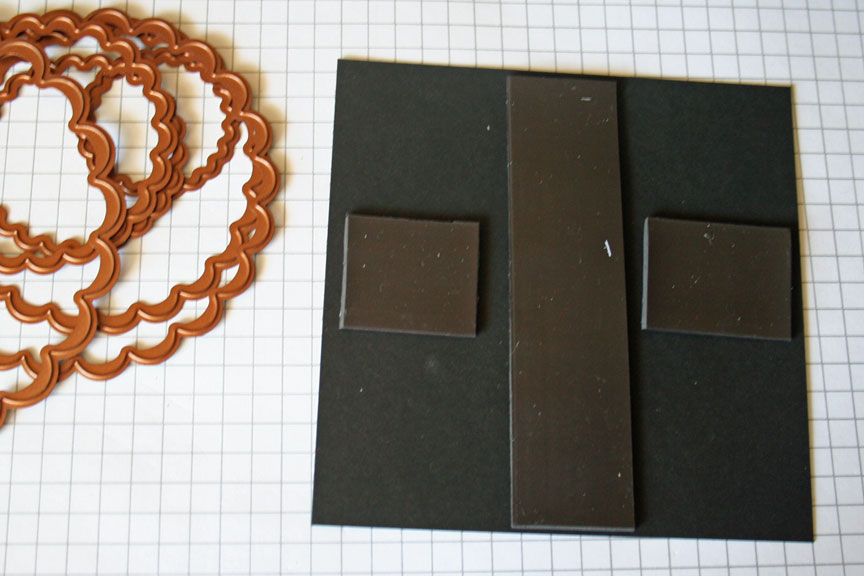
I cut myself 4″ squares out of black cardstock and taped magnetic strips (bought at Walmart on a roll) in an X.
It makes it really easy to take the templates off an stick them back on. I saw other “Nestie” user use magnetic sheets in CD cases or DVD cases, one for each set. I didn’t have magnetic sheets and went this way. Works like a charm.
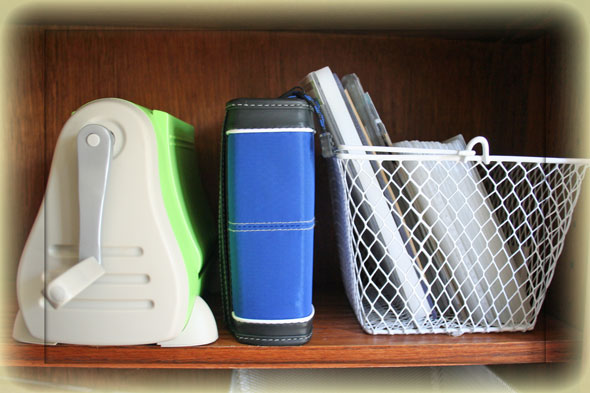
Here is how I store my cuttlebug, my cuttlebug embossing folder and my Nestabilities.
They are all on my bookshelf right next to my stamping table.
I picked up the little basket last week at the Target Dollar Spot.
Cutting Shapes with Nestabilities and Cuttlebug
I can only tell you how to cut with the templates and the Cuttlebug. I don’t have another die cut machine. I picked the Cuttlebug because it folds up and is easy to store. I am running out of storage space in my room. If you have a different die cut machine, check this post on Ellen’s blog.

Add first plate A, then Plate C on your cuttlebug. Place Nestabilities template on top of both plates. The site with the cutting line will face up. I staggered the plates so you could see the letters. Usually they are right on top of each other.
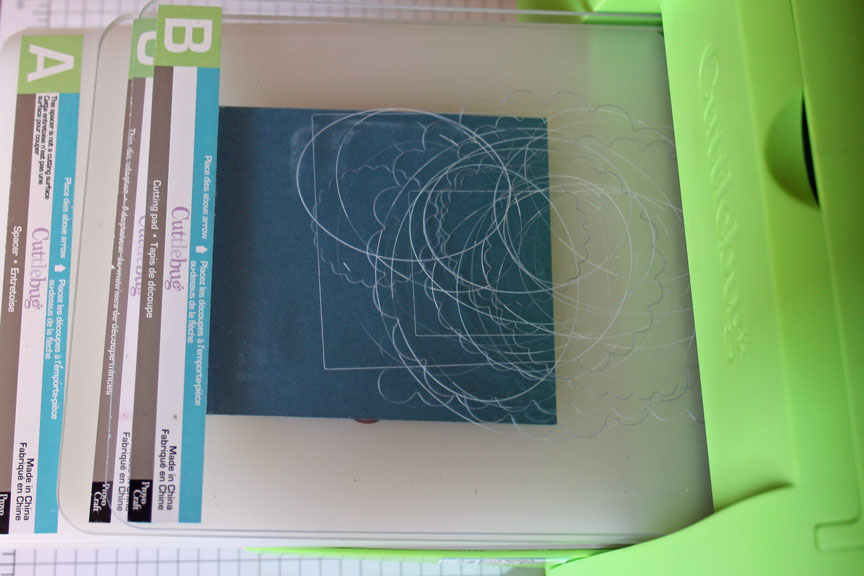
Add your cardstock over your template and place your B Plate on top of that.
Your template will cut into your plate a little bit. That’s completely normal.

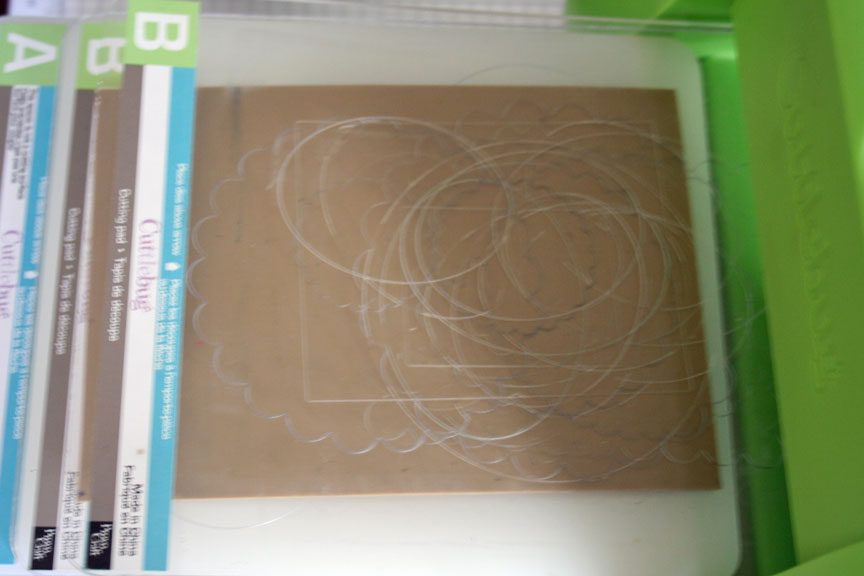
Run your “Sandwich Stack” through your Cuttlebug by turning the handle of the machine. Take off access cardstock.
If you don’t want to emboss your cardstock with inner scallops, you can pop your cardstock out of the template. Otherwise keep paper in the die.
Embossing with Nestabilities

Stack a B Plate over your A Plate.
Now add 2 sheets of cardstock to raise the die a bit or (like me) use two thin coasters.
Place your cut cardstock along with the template on top of the cardstock or coaster.
Place a Tan Embossing Mat and another B Plate on top of your sandwich and run through your Cuttlebug.
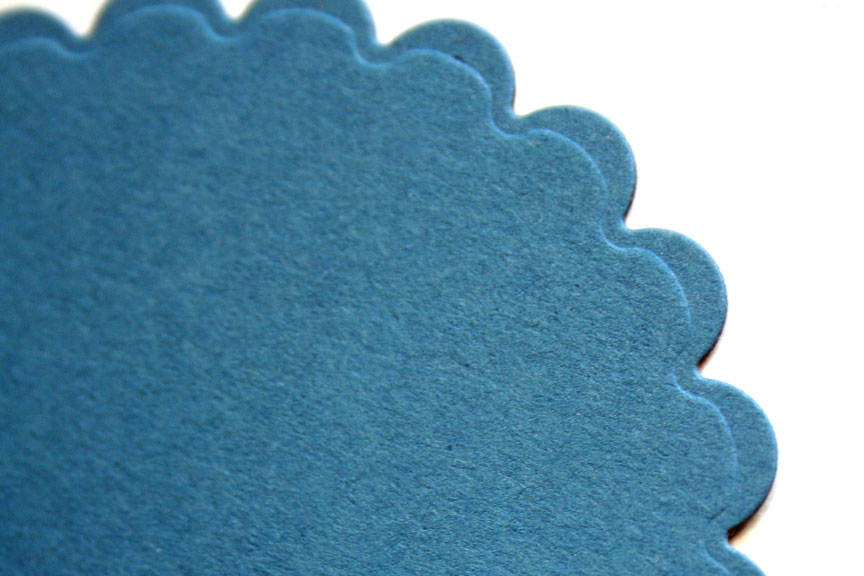
This step will give you a gorgeous embossed edge on your cut out.
Which ones should you buy first?
Well, I am not really the right person to ask this, since I bought the “I want it all” pack from Ellen last year. LOL
But if I had to buy one at a time, I would probably start with the squares or rectangles. If push comes to shuff, you can always add scallops to circles and ovals with your corner rounder. It’s a lot harder to get them right on squares and rectangles.