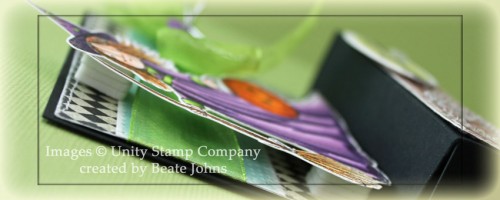
Today’s tutorial was written by the wonderful Patti Gilliam. She is sharing on how to create a darling little box, with a flat back, that allows you display your artwork. I popped my Witch up on four dimensional adhesives, so the box part acts like a stage for her to stand on.

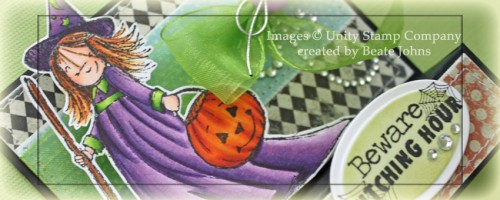
To begin with I stamped Phyllis Harris darling A Tiny Witch in Tuxedo Black Memento Ink on Neenah Solar White cardstock and  colored her with  Copic Markers (Skin: E000, E00, E01, BV10    Hair: Y23, E97, E99   Dress: V12, V15, V17, V09, YG01, YG03, YG17   Broom: E33, E39, YR21, YR23, YR27   Pumpkin: YR12, YR15, YR04, YR27). The witch was cut out and set aside.
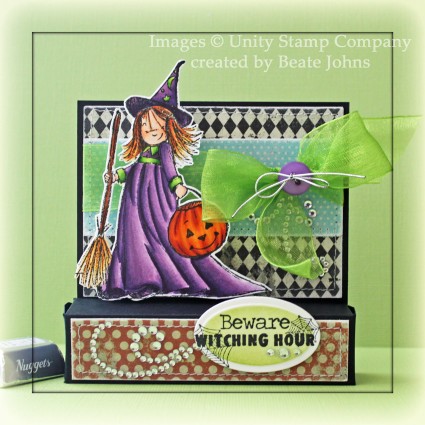
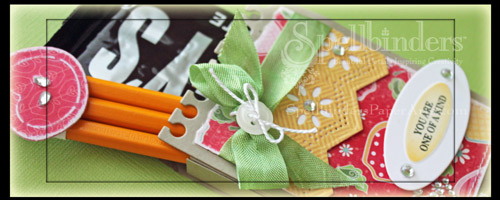
The box base was created out of black cardstock. Two pieces of Echo Park Mischievous Patterned Paper were cut to a 3 13/16″ length. The blue strip measures 1 3/8″, the black piece 2 7/8″. Both pieces were sanded before the blue strip was adhered over the bigger black piece and the edges were stitched. May Arts Ribbon was tied around the blue strip and the bow was topped with a button, tied on with a silver cord.

The layered paper was adhered to the back of the box with Scor-Tape and the Witch was adhered over the ribbon. I stacked 4 foam adhesive squares on top of each other so my witch would stand off a bit.

A 7/8″ x 3 13/16″ strip of Mischievous paper was sanded and stitched before it was adhered to the front. A sentiment from the set was stamped in black ink on white cardstock that had been cut and embossed with one of the insert dies from Fancy Framed Tag One set. The center was sponged with Pear Tart Memento Ink before the oval was adhered to the right hand side of the box part. Three rhinestones from a Sleek Strips Silver Rhinestones pack were adhered underneath the sentiment and part of a Finesse Rhinestone Swirl was added next to the sentiment and under the bow.

Here is  video for the visual learner:


I hope you try it out!! This is a fun and super easy box. Thanks so much for stopping by!
Hugs and smiles

P.S.: I hope you are subscribed to Splitcoaststampers Weekly Inkling. Simon Says Stamp has a discount code in there for subscribers. 25% off!!!

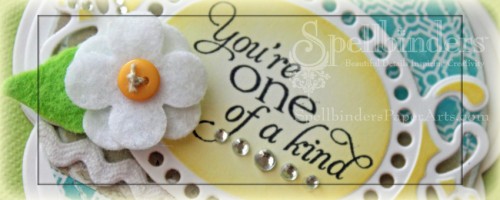
I have a quick video tutorial on the Spellbinders blog, showing how to create this little treat box. I hope you have time to check it out.  The sentiment is from a JustRite Stampers set that will be released in the middle of September. It’s called Grand Sentiments and it’s gorgeous!

Have a great weekend!
Hugs and smiles

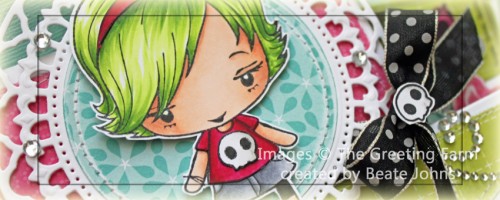
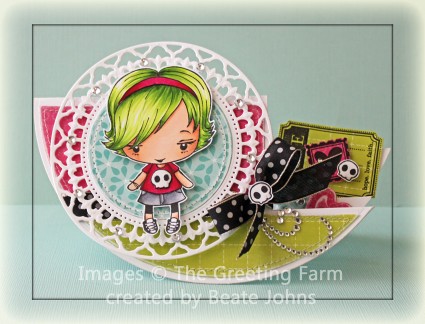
Today’s tutorial on Splitcoaststampers is for a Side Step card variation, the Circular Side Step card. For my sample I stamped the darling Ebony from The Greeting Farm in Tuxedo Black Memento Ink once on Neenah Solar White cardstock, once on pink paper from Echo Parks Summer Days collection. The shirt and head band were colored on the patterned paper, the rest on the white cardstock with Copic Markers (Hair: YG01, YG03, YG17   Skin: E000, E00, E01, E11   Shirt/Headband: RV25, RV29, RV69   Skirt: C3, C5, C7   Skull: W00, W1). The headband and shirt were cut out and adhered to the image stamped on cardstock, which was then cut out as well.

White cardstock was cut and embossed with the largest Splendid Circle die and blue patterned paper from Summer Days with the third largest  Standard Circle Nestabilities die. The patterned paper was sanded, then stitched to the Splendid Circle center. Ebony was adhered over the circles with dimensional adhesive.

The card base was cut and embossed out of white cardstock with the second largest Grand Circle Nestabilities die. Patterned paper strips from the Summer Days paper pack were adhered together, cut and embossed with that same circle die. The edges were sanded and then the paper was cut on the embossed edge. For the cuts on the right hand side I placed the paper over the card base and used a stylus to trace the cut lines. Next I cut 1/8″ along that traced line. The edges were stitched before the paper was adhered to the card front. Ribbon was tied around the edge of the first step and tied into a bow. A skull from the shirt was stamped again on white cardstock, cut out and adhered over the bow. The image was adhered over the big part of the card base with dimesional adhesive and part of a Finesse Rhinestone Swirl was adhered under the bow.

The tag and postage image from Tea-rrific clear stamp image were stamped in black ink on Summer Days paper and cut out. They were adhered on top of each other with another skull image and taped the the back step of the card.

In the center two pieces of Summer Days paper were cut and embossed with the bigger heard from the new Folk Art die set. The edges were sanded. The hearts were adhered to the center step and topped with two of the bigger rhinestones from a Sleek Strips Silver Rhinestones pack.

Here is a video for the visual learner:

[youtube]https://www.youtube.com/watch?v=HlALbWF4MRc[/youtube]

Thanks so much for stopping by! Have a wonderful day!
Hugs and smiles

My second project for the JustRite Stampers blog was created with the gorgeous new stamps Becca Feeken designed. I am so excited that she has her own stamp line now. I love her style!

I hope you have time to go to the blog and check out the entire card. Thanks so much for stopping by! Have a wonderful day!
Hugs and smiles

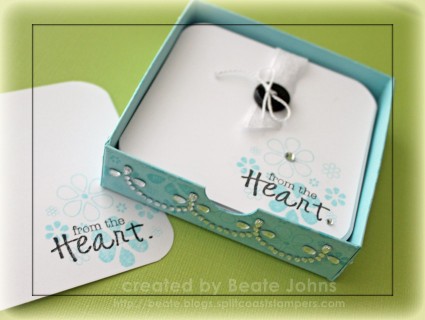
It’s my turn to share a tutorial on Splitcoaststampers today.  After creating this little note holder last month, I thought it would be a fun project for a tutorial.

This little box was created out of Berrylicious cardstock. The edges were stamped with the flower cluster from Your Next Stamp Happiness in  Tumbled Glass Distress Ink before the box was assembled. Fancy Waves! Border Bling was added to each side.

Copy paper was cut in 3 1/2″ square and the corners were rounded.. Each page was stamped with the Flower cluster in Tumbled Glass Distress ink and a sentiment from Happiness in Tuxedo Black Memento Ink.

Here is a video for the visual learner:

[youtube]https://www.youtube.com/watch?v=J2rrNjdD1fc[/youtube]

Thanks so much for stopping by! I hope you are having a great summer. As you can tell by my sporadic posting, I am enjoying mine. 🙂
Hugs and smiles

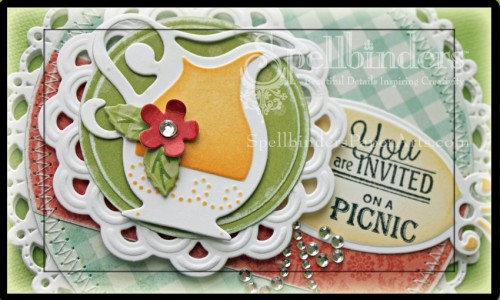
It’s my turn to share at the Spellbinders blog today. I created a picnic invitation with some of the dies that you have seen during the Summer Blog Frenzy. I hope you have time to check out the entire card and the video I have created for it.

Have a great weekend! Hugs and smiles

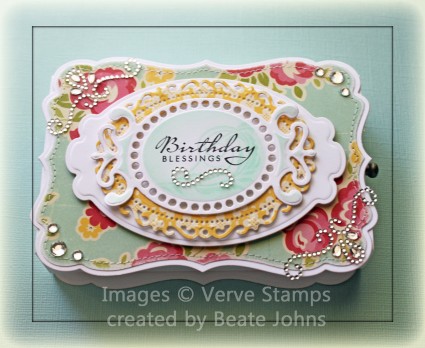
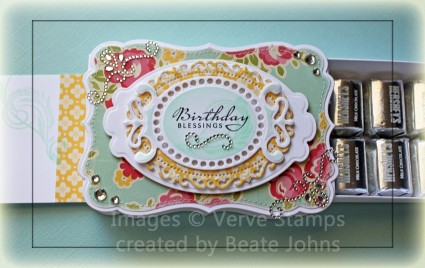
Today’s tutorial on Splitcoaststampers is for a Slider Box. When you open the drawer a slider message will appear.

A piece of Neenah Solar White cardstock was cut and embossed with a a Fancy Tag Three. The embossed part was sponged with Aqua VersaMagic ink and a sentiment from Verve’s Blessings stamp set was stamped in the center. Part of a Fancy That! Border Bling was adhered underneath.

The tag was adhered to a piece of October Afternoon Sidewalks Paper paper cut and embossed with the second largest Floral Oval Nestabilities die.  That was then adhered to another piece of white cardstock, cut and embossed with a Label 10 Nestabilities die. The layers directly over the box were cut with  the largest Label 17 Nestabilities die. The Label for the box top was covered with more October Afternoon Sidewalks paper. More Fancy That Border Bling! as well as Rhinestones from the 72 count Rhinestone bling finish off the card.

Here is a video for the visual learner:

[youtube]https://www.youtube.com/watch?v=fTyvpZLaxCQ[/youtube]

Thanks so much for stopping by! Have a wonderful day!
Hugs and smiles

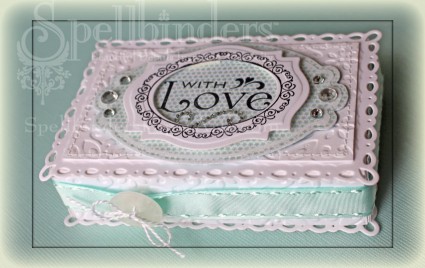
It’s my turn to share a video tutorial on the Spellbinders blog. The coming week will be all about weddings and I am showing how to create a box that could be used for bridesmaid gifts or small wedding gifts (gift cards, jewelery). I hope you have time to check it out and let me know what you think. Comments on the Spellbinders blog are very appreciated.

Thanks so much for stopping by!
Have a great weekend! Hugs and smiles

Last weeks tutorial on Splitcoaststampers was for Any Size Envelopes. Nancy Stislow wrote the tutorial and made creating envelopes for any size card super easy.

Here is the video  for the visual learner:

[youtube]https://www.youtube.com/watch?v=8q7OIrDh73E[/youtube]

Thanks so much for stopping by! Have a great day!
Hugs and smiles

This week on the Spellbinders Blog it’s all about Flower dies. Linda showcased how to roll and layer flowers and use them on an altered trinket box. Karen used layered flowers to re-purpose a frame. I thought I show you a different way to use the dies. Please check out the entire project on the Spellbinders Blog.

Hint: It’s one of my favorite things to do with Spellbinders dies. I know you know what I am talking about! 🙂

Have a wonderful day!
Hugs and smiles

© 2012 fresh & fun Suffusion theme by Sayontan Sinha