Hi there! Sorry I am so quiet lately. Another book series has me in it’s grip. I have to stop reading once this one is over and get back in my stamping groove.

It’s my turn to share on the Spellbinders blog today. This week is all about techniques and I used the new Hexagon dies to create a quilted background. I hope you have time to check out the entire photo tutorial.

Thanks so much for looking! Have a wonderful day!
Hugs and smiles

Hi all and welcome to the final day of Flourishes’ Release Week!

Introducing…..

The new Happily Ever After set is the perfect companion set for our new set Summer Blossoms. Here, you have a pint-sized sentiment set that packs some punch when it comes to wishing “The Happy Couple” well! Use it for Anniversary wishes, weddings, bridal showers or even to congratulate a newly engaged couple! It’s a must have set to add to your collection! This set measures 4 by 3″ so it’s a bargain at $8.50!
For my Happily Ever After Sample I stamped a sentiment in Tuxedo Black Memento Ink on a piece of white cardstock, cut and embossed with a Fancy Tag Two die. With the die still on the cardstock, the edges were sponged with Antique Linen and Vintage Photo Distress Ink. A corner flourish from Summer Blossoms was stamped over the edges with third generation Vintage Photo ink.
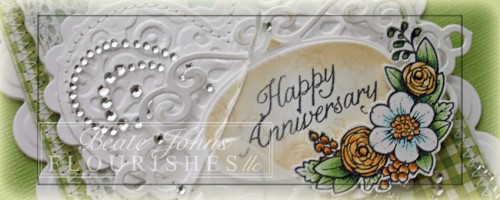
A piece of white cardstock was cut and embossed with a Classic Heart die and embossed with the Elegance M-Bossabilities folder.  It was adhered to another piece of white cardstock, cut and embossed with a Classic Scalloped Heart die.  The tag was adhered to the lower right of the heart.

The same corner image from Summer Blossoms that was used to stamp over the tag for texture, was stamped in Tuxedo Black ink on white cardstock and colored with Copic Markers (Yellow Flower: Y21, Y23, Y35   Center flower: BG0000, BG000  Leaves: G40, G43, G46). The image was cut out and adhered to the lower right of the tag.
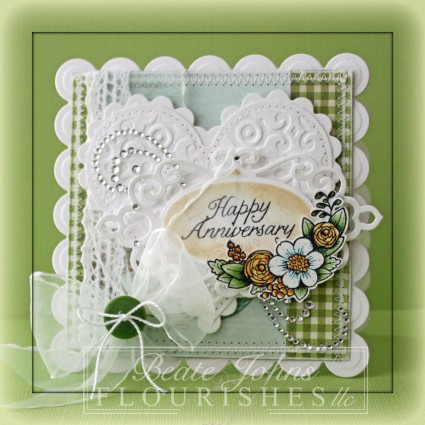
A piece of My Mind’s Eye Lost & Found 2 Breeze paper was adhered over a bigger piece from the same paper pack and cut and embossed with the smallest of the Grand Square Nestabilities dies. The edges were sanded and stitched. Crochet lace was taped to the edge of the vertical strip and Sheer ribbon was tied around the edge. The bow was topped with a button, tied on with embroidery thread.

The layers were adhered to the card base, cut and embossed with the smallest Grand Scallop Square Nestabilities die out of white cardstock. Rhinestones finish off card.

To make sure all your events are truly memorable, Flourishes has added a do-it-yourself invitation to deck out however you wish! Baby showers, potlucks, bridal showers and more! This blank download allows you to personalize any get-together with that elegant, handmade touch! Created as a part of Flourishes’ Blossom Collection with fonts that match this series of stamps — this invitation blank offers endless opportunities for entertaining in style! Click HERE to see this in the store and CLICK HERE for instructions on how to download this image after your purchase! The tutorial was from a post we featured a while back for our calendar download.
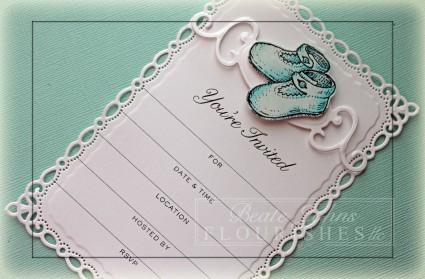
For my sample I printed the invitation on white cardstock and cut and embossed it with the largest Romantic Rectangle die. The booties from Hello Baby were stamped in Tuxedo Black Memento Ink on a piece of My Mind’s Eye Two Lost & Found 2 Breeze. The booties were shaded with Copic Markers (BG000, BG01) and cut out. They were adhered to a piece of white cardstock cut and embossed with a Fancy Tag One die, which was then adhered to the center of the top of the invite.

Would you like to win our new Happily Ever After Set? All you need to do is leave some love in the form of a comment on the blogs below! Why? You need to try to figure out…..

One of the ladies on our link list below will be picking a name from the comments on her blog post today. We don’t know which one it is… so the more blogs you leave comments on, the more chances you have to win! What are you waiting for? Time to hop along and see what these fabulous designers created!

Thanks so much for stopping by! Have a wonderful day!
Hugs and smiles

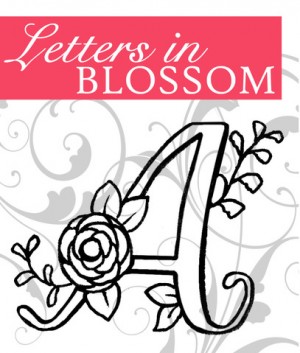
Today’s new stamp set is a gorgeous Monogram Alphabet set called Letters in Blossom. For my sample I thought I let a Monogram letter stand by itself.

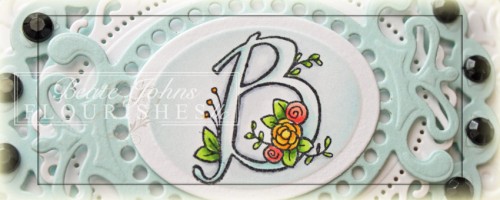
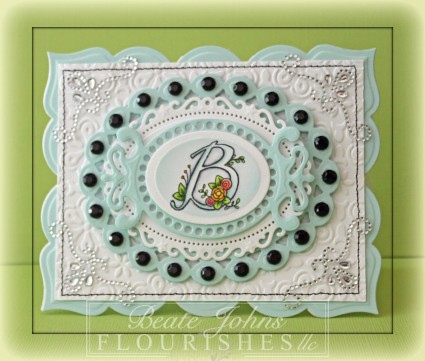
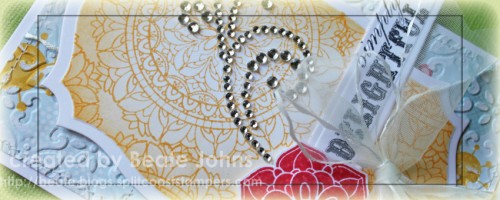
I stamped my initial in Tuxedo Black Memento Ink on white cardstock. It was cut and embossed with a Classic Oval die and colored with Copic Markers ( Leaves: YG11, YG13, YG17    Yellow Flower: Y13, Y15, Y17   Red Flower: R20, R22, R24   Letter Shading: BG10, BG11  Shading: C00, C3). The center of the oval was sponged with Tumbled Glass Distress Ink before it was layered on light blue cardstock, cut and embossed with a Fancy Tag 3 die.

It was then adhered to a piece of white cardstock, cut and embossed with the second largest Floral Oval Nestabilities die. Next is another light blue layer, cut and embossed with the largest Beaded Oval Nestabilities die. A black rhinestone was adhered in the center of each “bead” around the oval.

A white piece of cardstock was cut with the second smallest Grand Rectangle die. The rectangle was then embossed with the Elegance M-Bossabilities folder and the edges were stitched. The card base was created out of light blue cardstock with a Grand Label 23 Nestabilities die. Rhinestones Borders in each corner finish off the card.

Want to win this set? All you need to do is leave some love in the form of a comment on the blogs below! Why? You need to try to figure out….

One of the ladies on our link list below will be picking a name from the comments on her blog post today. We don’t know which one it is… so the more blogs you leave comments on, the more chances you have to win!

Senior Design Team

You can play in our Noon Time Challenges, which start today! It’s a fast-paced and fun challenge that will give you yet a chance to win our full June release!   All challenges will close this Friday at 5 PM EST and winners will be announced Saturday in our Winner’s Circle blog post! So get those fingers inky and good luck!

And, don’t forget our New Release Bundle! If you buy all three sets in a bundle, you save 10% off the price. But, this offer only lasts through next Friday, June 16. So… you have to act fast! Just click HERE to see!

Thanks so much for stopping by! Have a wonderful day!
Hugs and smiles

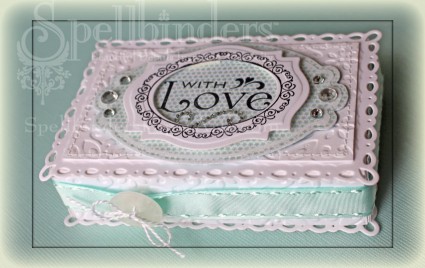
It’s my turn to share a video tutorial on the Spellbinders blog. The coming week will be all about weddings and I am showing how to create a box that could be used for bridesmaid gifts or small wedding gifts (gift cards, jewelery). I hope you have time to check it out and let me know what you think. Comments on the Spellbinders blog are very appreciated.

Thanks so much for stopping by!
Have a great weekend! Hugs and smiles

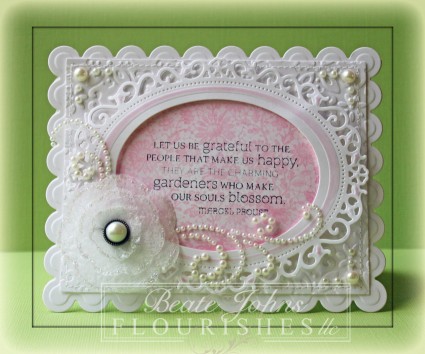
Today’s Timeless Tuesday Challenge hostess is Amanda! She challenges us to create a white card and add Pearls and/or Lace. I tried, but had to add a bit of pink shading.

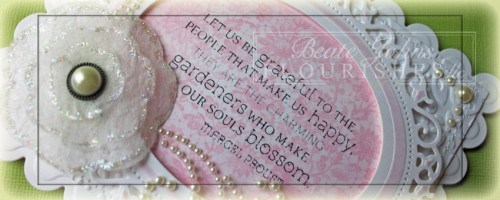
I started by cutting a frame with the Floral Oval Nestabilities and a Classic Oval Nestabilities die (sorry….I LOVE that Floral die and have a hard time NOT using it).  The frame was sponged with Angel Pink Memento Ink.  Another slightly larger then the frame window oval was cut. Antique Lace was inked with Angel Pink ink and stamped over the oval. A sentiment from Butterflies & Blossoms was stamped in Tuxedo Black Memento Ink in the center of the oval before the frame was adhered over it with dimensional foam.

A piece of white cardstock was cut with a Grand Rectangle Nestabilities die before the rectangle was embossed with the Mystic M-Bossabilities die. The edges were stitched before it was adhered to the card base, which was cut and embossed with a Grand Scallop Rectangle Nestabilities die.

Used dryer sheet was cut with Blossoms dies, layered and held together with a Pearl Brad. Stardust Stickles was added to the edge of each flower petal.  The flower was adhered with dimensional foam to the lower left of the floral oval frame. Pearls and part of a Pearl Finesse Swirl Finish off my card.

Take a peek at what the other Timeless Tuesday designer have created for today…

I hope you have time to play. Thanks so much for stopping by! Have a wonderful day!
Hugs and smiles

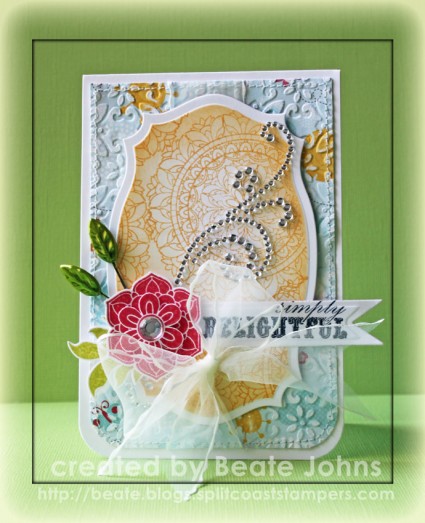
Today is Linda‘s turn to host the Crafty Friends Challenge. Her challenge to us is to use flowers on your projects. Paper flowers, flower stamps or even flowers on patterned paper.

I combined today’s challenge with one of the current Moxie Fab World Challenges called Doily and Lace. I love the big doily stamp from The Craft’s Meow Simply Delightful stamp set. It was stamped as a background in Cantaloupe Memento ink on a piece of Neenah Solar White cardstock that had been cut and embossed with the second largest Label 25 Nestabilities die. The edges of the label were sponged with the same ink.

The flower of Simply Delightful set was stamped in Lady Bug Memento Ink twice on Solar White cardstock. The flowers were cut out, layered and topped with a Rhinestone. The leaf/stem image from that set was stamped in Pear Tart Memento Ink cut out and adhered under the flower.

A sentiment was stamped in Tuxedo Black Memento Ink on a piece of white cardstock that had been cut and embossed with a  Nested Lacey Pennants die. The sentiment was adhered to the lower right of the label 25 and the flower was adhered slightly over the pennant.

The card base is a 3 3/4″ x 11″ piece of white cardstock, folded in half. The bottom two corners were rounded. A 3 1/2″ x 5 1/4″ piece of Echo Park Hello Summer patterned paper was embossed with the Mystic M-Bossabilities folder. The corners were rounded, the embossed part was sanded and the edges were sewn.

A hole was punched in the lower half of the label and May Arts ribbon was threaded through. The label was adhered to the paper with dimensional foam and the ribbon was tied into a bow. The patterned paper was adhered to the card base. Parts of a  Finesse Rhinestone Swirl and two Leaf Trinket Pins finish off the card.

Thanks so much for stopping by! I hope you have time to participate in the challenge. Who doesn’t like flowers, right?

Please check out what my fellow team members have created for this challenge:

Charmaine Ikach
Heather Jensen
Linda Lucas
Nina Brackett

Have a great Sunday!
Hugs and smiles

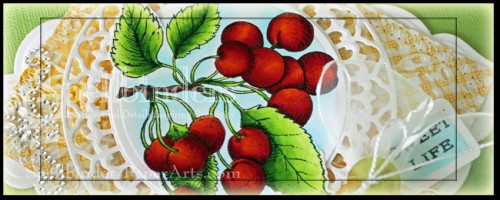
My post on the Spellbinders blog today is all about summer time. I hope you have time to check it out. I always appreciate comments there.  The cherries were colored with Copic Markers (Cherries: YR15, R08, R24, R29, R39   Leaves: YG01, YG03, YG17   Branch: E23, E25, E27, E29   Background: B0000, B000).

Talking about summer time. With the kids being home from school now, I don’t think I can post a daily blog post. I hope you understand. I will post as often as I can.

Thanks so much for stopping by! Have a wonderful day!
Hugs and smiles

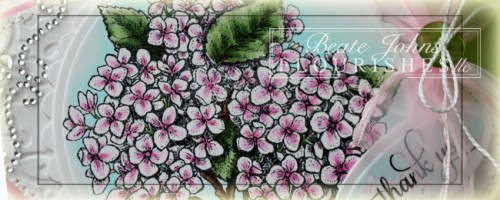
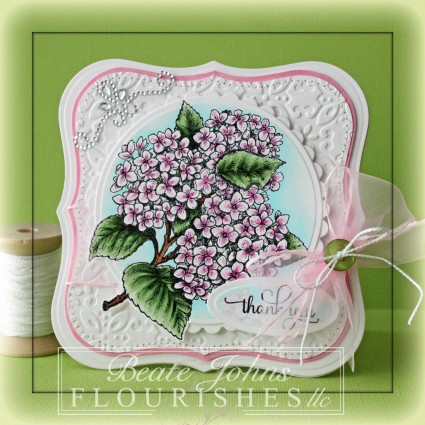
Today’s Timeless Tuesday challenge hostess is Silke Ledlow. Her challenge is called Pink-a-licious. Adding pink to a card…now that’s an easy challenge right? Since it’s Release week at Flourishes, I get to give you a little sneak peek of one of the new sets. This one is called Hydrangea. Let me tell you….it’s GORGEOUS, just like the rest of the new sets. Make sure you check the Flourishes blog starting tomorrow to get links to the design team samples.

I stamped the big image in  Tuxedo Black Memento Ink on white cardstock. The image was cut and embossed with a Standard Circle Nestabilities die and the Out of the Box technique and the image was colored with Copic Markers (RV52, RV55, YG61, YG63, YG67, E23, E27, BG0000, BG000). The image was adhered to a white scallop circle.

White cardstock was cut and embossed with the smallest of the Grand Label 1 Nestabilities dies and embossed with Mystic M-Bossabilities folder. The layer was adhered to a slightly bigger piece of cardstock that was cut to a slightly bigger shape and colored with Copic Marker RV52. The edges were stitched before pink May Arts ribbon was tied around it. The bow was topped with a button, tied on with embroidery thread.

Part of a sentiment from the new set was stamped in Tuxedo Black ink on white cardstock, cut and embossed with the smallest of the Petite Oval Nestabilities dies. A smaller image set was stamped in Angel Pink Memento Ink to the left side of the oval and the embossed parts were colored with Copic Marker BG0000. The sentiment was adhered to the lower right of the image. The layers were adhered to a card base, cut and embossed with the second smallest Grand Label 1 Nestabilities die. Rhinestones on the upper left hand corner finish off the card.

Take a peek at what the other Timeless Tuesday designer have created for today…

I hope you have time to play. This week you could win the entire new release of the gorgeous new stamp sets. Thanks so much for stopping by! Have a wonderful day!
Hugs and smiles
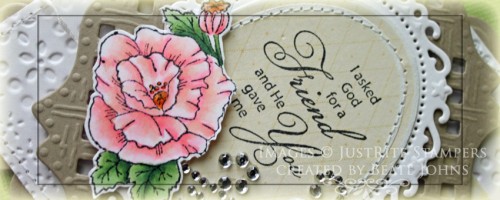
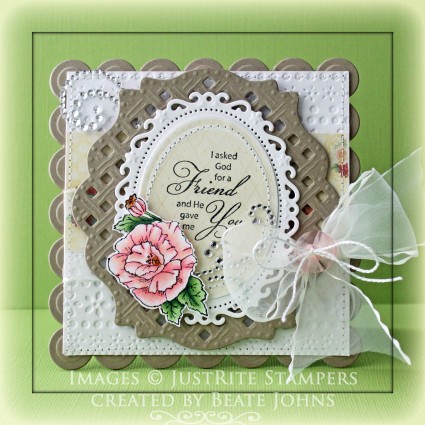
I created this card for the current JustRite Stampers challenge, which is a color challenge. We are to use a light yellow, pink and peach for our creation. I knew right away I wanted to use a flower from the older original sets and paper from  My Mind’s Eye Miss Caroline Howdy Doody paper pack.

I stamped an image from Plant a little Love in Tuxedo Black Memento Ink on Neenah Solar White cardstock, cut part of it out and colored it with Copic Markers (RV000, RV10, RV21, RV23, YR000, YR00, YR12, YR15, G40, G43, G46). A piece of Howdy Doody Paper was cut with a Classic Oval Nestabilities die, the edges were sanded and a sentiment from the new Spring Rose Medallion was stamped with Tuxedo Black Ink in the center of it. The edges of the oval were stitched before it was layered first on a white piece of cardstock, cut and embossed with a Floral Oval Nestabilities die, then a piece of Kraft cardstock, cut and embossed with one of the Lattice Motif dies.

The edges of a  1 3/4″ x 4 1/8″ strip of Howdy Doody paper were sanded before the strip was adhered to a 4 1/8″ square of white cardstock that had been embossed with the Flower Fun M-Bossabilities folder. The edges were stitched before May Arts Ribbon was tied around the horizontal strip. A button was tied on with embroidery thread and the layers were adhered to a card base, Kraft cardstock cut and embossed with a  Grand Scallop Square Nestabilities die.

The image layers were adhered with dimensional adhesive and parts of a Finesse Rhinestone swirl were used to finish off the card.

You should participate in the current JustRite Stampers challenge. You could win Copic Markers!!!
Thanks so much for stopping by! Have a wonderful day!
Hugs and smiles

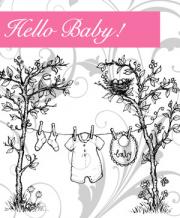
Today is the final day of this month Flourishes Sneak Peeks. The set featured to day was designed by Marcella Hawley and is called Hello Baby!.

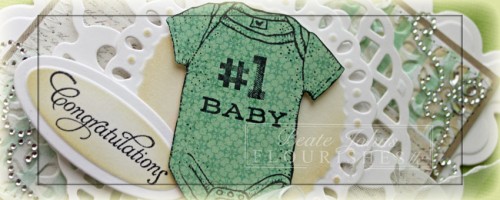
I created this card for my brother and his wife. They had a little baby boy yesterday. Well….not so little. He weight 9 lbs 8 oz and measured 22. 4 inches. I heard he has black hair just like my brother did when he was a baby. I can’t wait to see pictures. I wish I could hold the little darling. His name is Johannes, which is a family name on my Dad’s side. My uncle, my grandpa and several other male in my Dad’s family tree owned that name (German version of Johns, Hans for short).

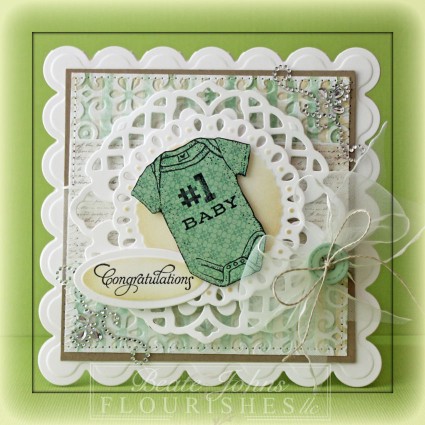
I stamped the onesie in Tuxedo Black Memento Ink on patterned paper. It was cut out and adhered to a piece of white cardstock, cut and embossed with a Tear Drop Circle Nestabilities die that had been sponged with Antique Linen Distress Ink. The layers were adhered to a piece of white cardstock, cut and embossed with a Lattice Pendants die.

A piece of MME Lost & Found 2 Blush patterned paper was embossed with Elegance M-Bossabilities and sanded. A strip of patterned paper from the same paper pack was adhered over the embossed layer before it was stitched to a slightly bigger piece of Kraft cardstock. Ribbon was tied around the horizontal strip and topped with a button before the layers were adhered to a card base, cut and embossed with a Grand Scallop Square Nestabilities die out of white cardstock.

A sentiment from Tag Lines was stamped on a piece of white cardstock, cut and embossed with a Petite Oval Nestabilities die and sponged with Antique Linen Distress ink. It was adhered to the lower left of the Onesie. Rhinestones on the upper right and lower left finish off the card.

Want to win this set? All you need to do is leave some love in the form of a comment on the blogs below! Why? You need to try to figure out….

One of the ladies on our link list below will be picking a name from the comments on her blog post today. We don’t know which one it is… so the more blogs you leave comments on, the more chances you have to win!

Senior Design Team

DID YOU KNOW YOU COULD WIN OUR ENTIRE APRIL RELEASE? Have you checked out our Motherly Love Challenge? Just click HERE to find out how to play! You can also play in our Noon Time Challenges, which start today at noon with another one ushered in tomorrow at noon!  Both are fast-paced and fun challenges that will give you yet one more chance to win our full April release!   All challenges will close this Friday at 5 PM EST and winners will be announced Saturday in our Winner’s Circle blog post! So get those fingers inky and good luck!

And, don’t forget our New Release Bundle! If you buy all three sets in a bundle, you save 10% off the price. But, this offer only lasts through next Friday, April 20. So… you have to act fast! Just click HERE to see!

Thanks so much for stopping by! Have a wonderful day!
Hugs and smiles

© 2012 fresh & fun Suffusion theme by Sayontan Sinha