tcp29againboxwide.jpg

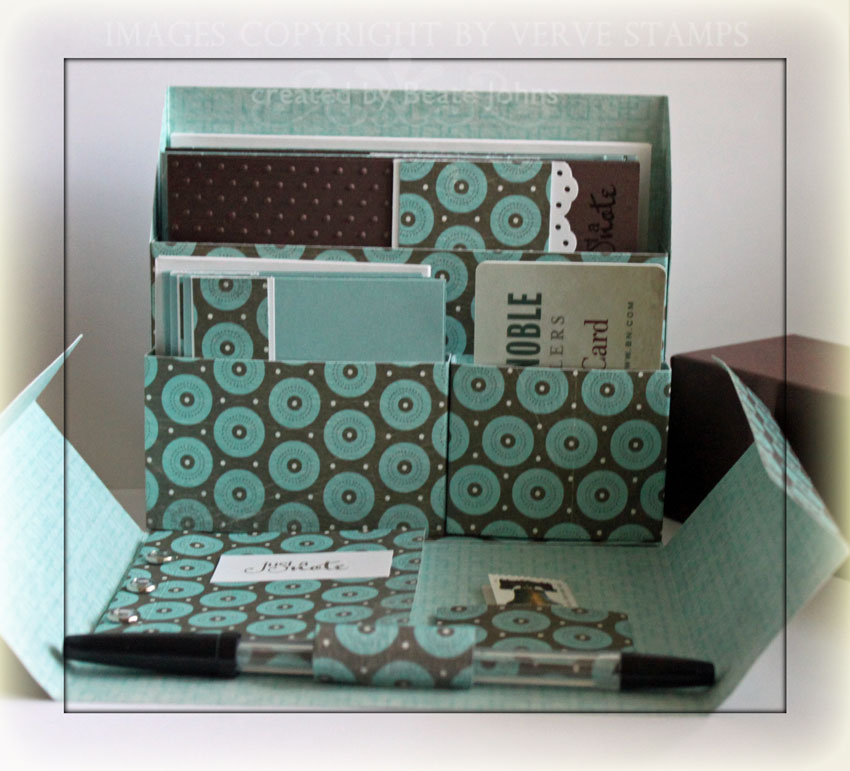
Today’s tutorial on SCS is written by Wendy Weixler, Wendybell on SCS. She created a darling All-in-One Box with Template for us. The box comes together pretty fast. I used some of my favorite patterned paper and a super cute sentiment and stamp from The Cat’s Pajamas for my sample.

tcp29againaioboxbeate.jpg

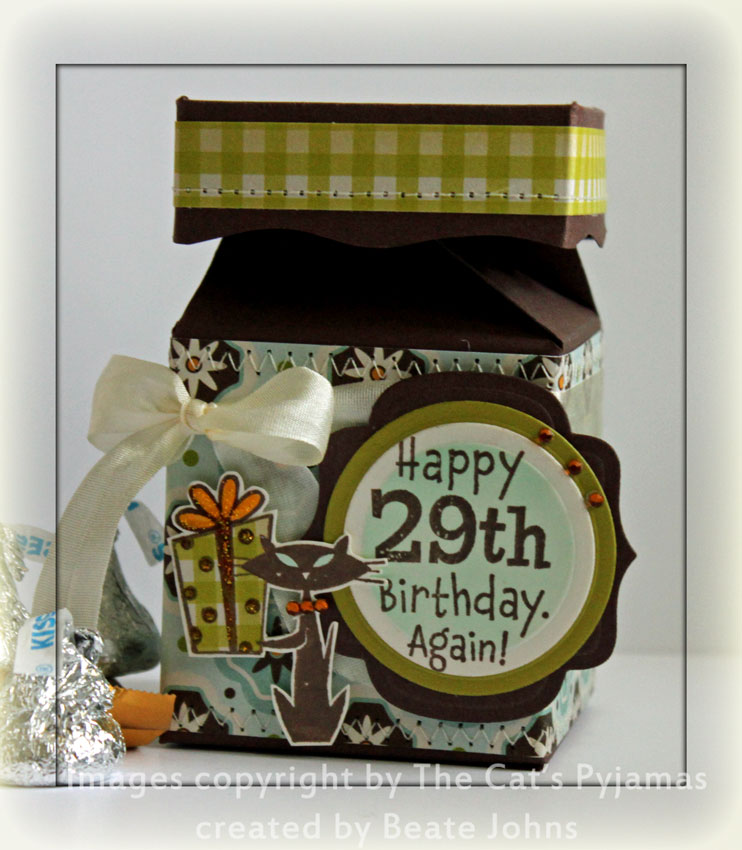
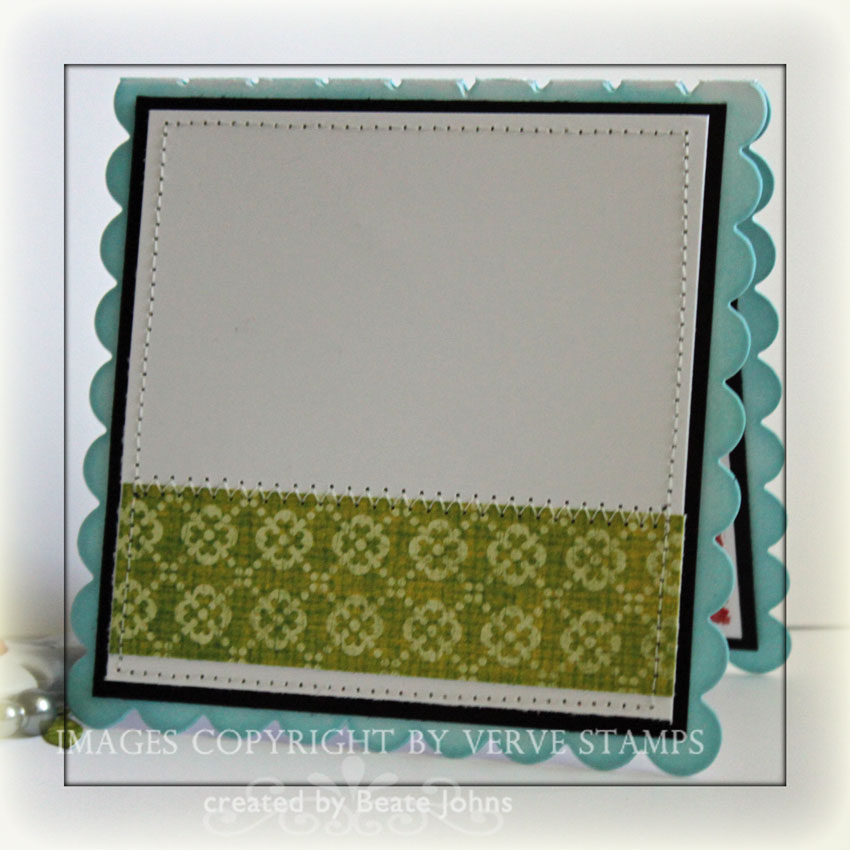
My Box base is created from Chocolate Chip cardstock. The patterned paper strip on the bottom measures 2 1/4″ x 9 1/4″, the small strip on top measures 1/2″ x 9 1/4″. Both are from the Weathervane collection from October Afternoon. I added some stitching (I can’t help myself! Everything looks better stitched to me) and taped the box together with Scor-Tape.

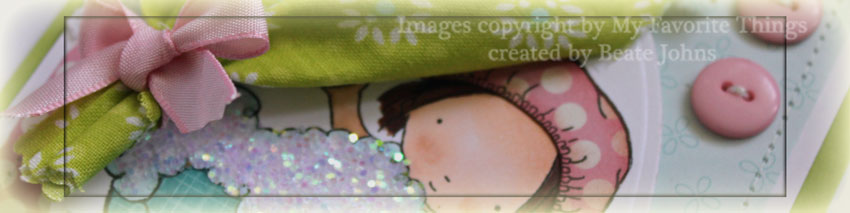
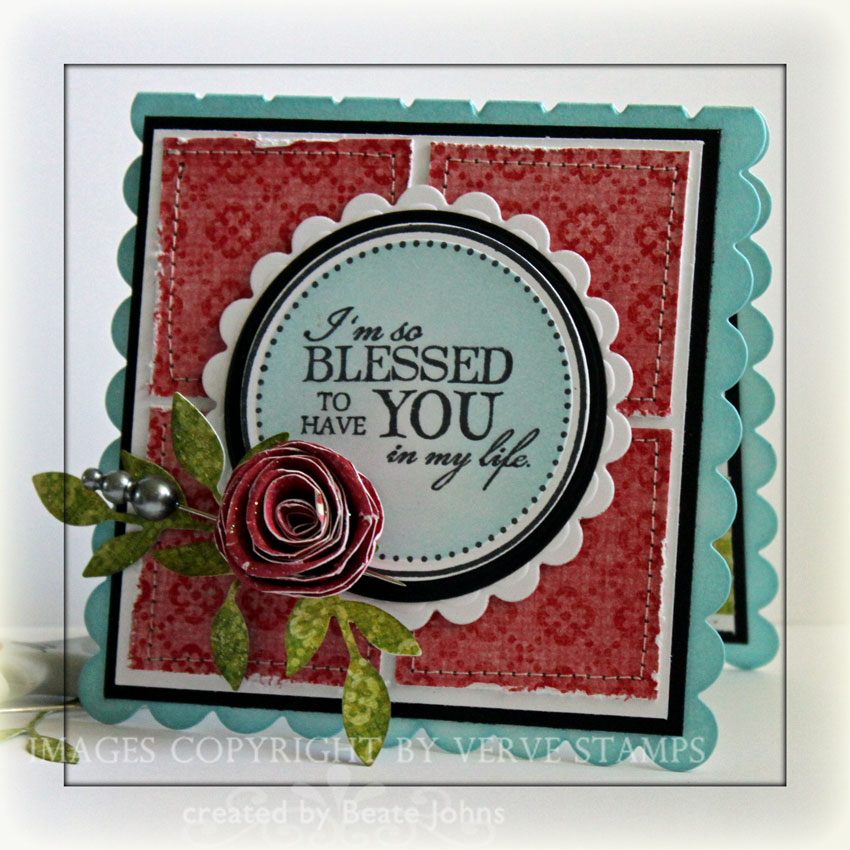
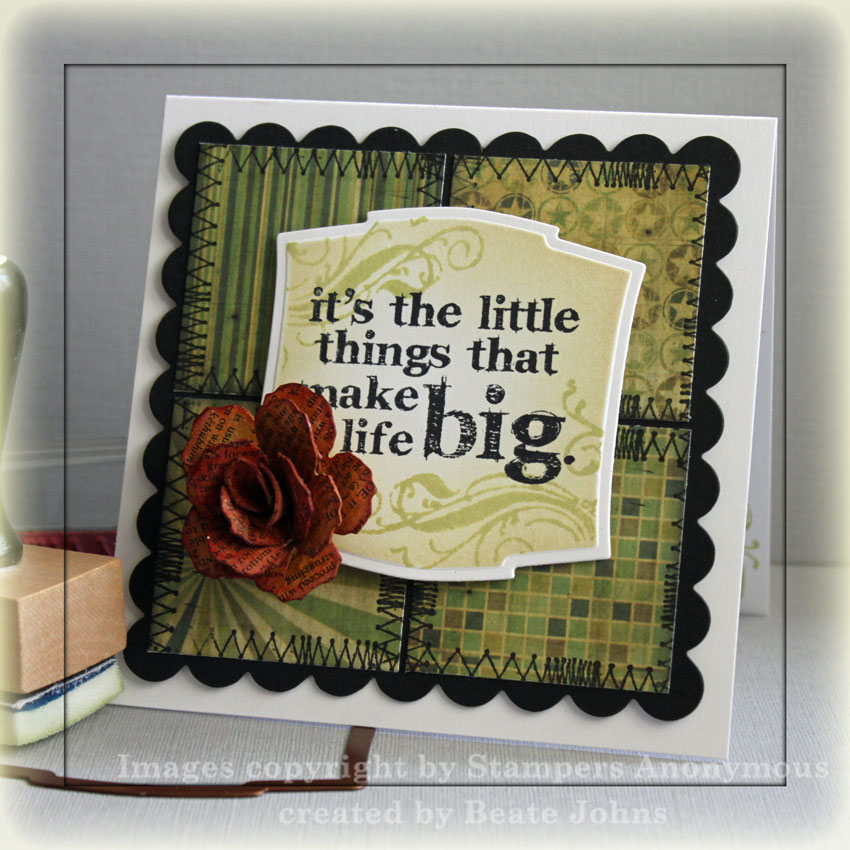
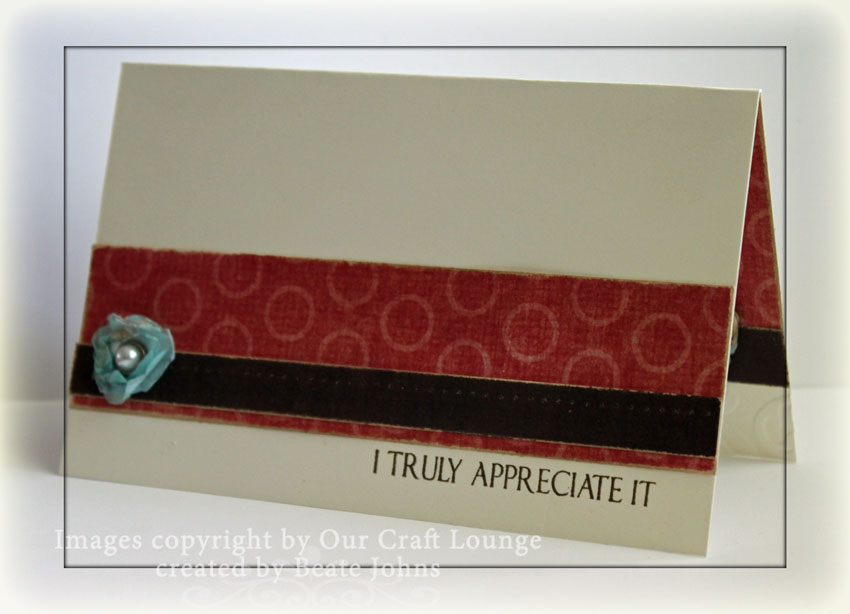
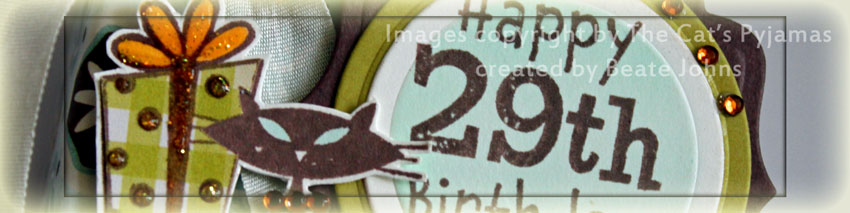
The sentiment and the image are both from You Say it’s Your Birthday set. I LOVE that sentiment. I think that’s what all my birthday cards should say from now on. LOL They were stamped in Rich Cocoa Memento Ink on Neenah Classic Cream cardstock. The sentiment was cut out with Circle Nestabilities, layered on a Kiwi Kiss circle and then on a Chocolate Chip layer that had been cut with Label 9 Nestabilities. The sentiment layer was airbrushedwhile the circle die was still on top with Copic Marker BG10.

The image was cut out, the present paper pieced with the same paper used for the thin strip on the box top and a bit color was added with Copic Markers (Y17, BG10). Yellow Stickles was added to the bow and the polka dots on the present. Before the image and sentiment were adhered to the box with dimensionals, I added a cream silk ribbon bow on the upper edge of the box. To finish the box off and add just a tad more sparkle, I added Tiny Twinkles to the cat’s collar and the upper right edge of the sentiment.

Thanks so much for stopping by! Have a wonderful day. Hugs and smiles

mftlatherrinsevsnwide.jpg

I had so much fun making this card last month during VSN. The challenge was to create a curtain. I cut the edge of a piece of fabric with the Scalloped Scallop Die-namic Die. The opposite side was folded over and stitched to give my a place to slide my small wooden stick through . The curtain was gathered with a small piece of Pink Taffeta Ribbon.

mftlatherrinsevsnbeate.jpg

The card base is a 4 1/4″ x 11″ piece of Sour Apple Cardstock folded in half. Two pieces of Ducks in a Row October Afternoon Paperwere cut to 3 3/4″ in width, and stitched to a 3 15/16″ x 5 3/16″ piece of Whisper White cardstock with a piece of white lace (Walmart) inbetween.

The image from Lather Rinse Repeat was stamped in Tuxedo Black Memento Ink on Neenah Solar White cardstock and cut with classic Oval Nestabilities. Part of the image was paper pieced (floor, bath cap and bath tub) with more Ducks in a Row paper, the rest was colored with Copic Markers (E00, E11, E25, E29, E31). The paper pieced parts were sponged with Tumbled Glass, Broken China and Worn Lipstick distress ink for shading. The bubbles were covered with Crafty Sparkles Chunky Crystal. I love that chunky glitter.

The sentiment is also from the Lather Rinse Repeat. It was stamped directly on my patterned paper layer with Tuxedo Black Memento ink. Two Basic Grey buttons on the top right finish off the card.

Thank you so much for stopping by! Have a wonderful day! Hugs and smiles

fllcangelicloveflowerpotwid.jpg

Another VSN challenge card. This time the challenge was to create a Flower Pot Pocket card. Boy….don’t look at that video. It was the first one I ever created for SCS. It took me a day to shoot and a day to edit. It goes so much faster now.

fllcangelicloveflowerpotbea.jpg

My Flower Pot was created out of Dusty Durango cardstock. The cardstock was embossed with Tim’ Cracked Texture Fades and sponged with Rusty Hinge Distress Ink. the rim was cut with the Jumbo Scallop Borderabilities. Lace and Red Gingham Ribbon was tied around the pot. A 1″ Memory Frame was attached to the ribbon with Jump Rings. Inside is a greeting from Flourishes Angelic Love stamp set. A small Prima Flower was adhered over the sentiment.

fllcangelicloveflowerpotins.jpg

The tag base is a strip of Dusty Durango cardstock. Very Vanilla cardstock was sponged with Wild Honey Distress Ink, topped with Gingham Ribbon and Lace and stitched to the Durango base. The sentiment is from Flourishes Nasturtiums set in Tuxedo Black Memento Ink. Different Prima Flowers were topped with Buttons and brads and attached to the tag base. A great metal Butterfly from Allie Gower tops off the card.

Thanks so much for stopping by! Have a wonderful day! Hugs and smiles

Jackie Topa wrote today’s tutorial on a Stationery Box. That tutorial came right in time for me to create two great teacher gifts. They really liked the gift, along with the Barnes & Nobles gift card I added.

mmestationaryboxvideosample.jpg

I kept my box and my cards pretty simple. For my box and card I used two sheets of My Mind’s Eye Penny Lane paper. You will need really thick patterned paper like Penny Lane or cardstock for this project.

I had to split up the video in two parts. The project is not hard, it just has a lot of steps. So here are the two videos for the visual learner:

[youtube]https://www.youtube.com/watch?v=DnMaAvARpTs[/youtube]

[youtube]https://www.youtube.com/watch?v=t3xxrYttgDo[/youtube]

Thanks for stopping by! Have a wonderful day! Hugs and smiles

Today’s tutorial is for a quick and cute gift idea, a grungeboard bracelet. I saw Alli Gower wear one during Ranger U and I knew I had to share this cool idea with you.

grungeboardbracelet2bj.jpg

My sample measures 1 1/2″ in width and was cut out of Swirl Grungeboard. It was painted with Pool Adirondack Paint Dabber, sanded and sponged with Walnut Stain distress ink. To soften it up, I added Pearl Adirondack Paint Dabber over it. The closure of this bracelet is a hinge fastener.

The flower was cut with Tim’s Tattered Floral Die. It was colored with Sunset Orange Paint Dabber, the edges darkened with Red Pepper Adirondack Paint. It was sewn on to the bracelet and topped with a Basic Grey Button.

Here is a video for the visual learner:

[youtube]https://www.youtube.com/watch?v=n_9GigWPHOY[/youtube]

fllccupcakepizzaboxwide.jpg

I created this Pizza box for an Inspiration challenge on SCS. Steph sent us to Amy Atlas website and blog to be inspired. Amy has amazing creations posted there. I picked this darling cupcake as my inspiration piece.

amyatlasic233cupcake.jpg

The box it was sitting on gave me idea to make the finished image a pizza box. I haven’t created one of those in a while and I really like them.

To start out with I stamped the solid image from Flourishes new Cherry Blossom stamp set in Fired Brick Distress ink on Ducks in a Row Patterned paper. It was embossed it several times with clear embossing powder. Then I cut it with Circle Nestabilities and layered it first on an Vanilla Circle, then on a scalloped and sponged Ruby Red cardstock circle. The sentiment is from the same stamp set and was stamped in Walnut Stain Distress ink.

fllccupcakepizzaboxic233.jpg

The box was created out of a 6″ x 11″ piece of Chocolate chip cardstock. The edges of the box top were brushed with the Watermark Resist Pad from Ranger for a slightly darker look. It was layered with a 3 3/4″ Kraft cardstock square. The square had been stamped with the Damask stamp from Fanciful Flourishes in Watermark ink. It was stitched and Kaisercraft Pearl Pearls were added to top right and bottom left of the layer.

For the bellyband I started out with a 1 1/2″ x 11 5/8″ piece of Vanilla cardstock. It was scored at 1 1/8″, 5 1/4″, 6 3/8″ and 10 1/2″. I then layered it with a 1 1/4″ strip of Ducks in a Row paper. The paper was sanded and stitched to the Vanilla strip. Silk May Arts ribbon was tied around the belly band and the main image was attached to the band with dimensionals.

 Here is a video for the visual learner:

[youtube]https://www.youtube.com/watch?v=Wrn7Q8SAes4[/youtube]

I created this as a sample for the Gable Box video tutorial.

vervegableboxbestdaybj.jpg

The box base is a piece of Kraft cardstock. For the decoration I pieced two 2 1/2″ x 8″ strips of October Afternoon Fly a Kite together, then cut them down to 12″. I cut a 12″ strip of Vanilla cardstock with the Scalloped Scallop Die-namics die and stitched the patterned paper strip over it. I ran the double strip over my table edge a few times to break down the fibers just a bit. Then I taped the strips around the box with Scor-Tape.

The circle from Just For You was stamped in Walnut Stain Distress ink on Pure Luxury Ivory Cardstock. The sentiment is from Wishing You. The circle was cut with Circle Nestabilities and sponged with Tumble Glass Distress ink. The circle was layered first on a Chocolate Chip circle that had been sponged with Walnut Stain ink, then on a scalloped Kiwi Kiss cardstock sponged with Peeled Paint Distress Ink.  A Prima Daisy with a Recollection Brad (Michaels) center was added to the bottom left and Stardust stickles was placed over the dots of the circle.

The box was tied shut with Olive Silk Ribbon.  A Tres Jolie Button was tied around the ribbon with waxed Linen.

Here is a video for the visual learner:

[youtube]https://www.youtube.com/watch?v=Oc0TEGDTiwQ[/youtube]

ververolledflowerwide.jpg

We are running another flower tutorial on Splitcoast today. This time it is for Rolled Paper Flowers and it is written by the wonderful Joanne Basile. Wait until you see her samples. Your jaw will drop to the floor.

For my sample I used a 3 1/4″ square of My Mind’s Eye Just Dreamy 2 paper to create the rolled flower. Once it was done I added Rock Candy Stickles with a paint brush. The leaves were cut also out of Just Dreamy 2 paper with Sizzix Little Leaves die, sponged with Peeled Paint Distress ink and covered with Shabby Shutter Distress Stickles ( I really need to get the Peeled Paint Stickles).

vervejustforyourolledwt269.jpg

My card base was cut with Stampin’ Up!’s Scallop Square Big Shot die out of Neenah Solar White cardstock. The edges were sponged with Tumbled Glass Distress ink. I am kind of stuck on that color right now. It’s such a soft blue.

The edges of four 1 3/4″ squares of My Mind’s Eye Just Dreamy 2 paper were distressed and the square were sewn to a 3 3/4″ piece of white cardstock. That was layered to a 3 15/16″ square of Basic Black cardstock and taped to the card base.

The sentiment is from Verve’s Just For You stamp set. It was stamped in Tuxedo Black Memento Ink on Neenah Solar White cardstock. It was cut out with Circle Nestabilities and sponged with the die still on the cardstock with Tumbled Glass Distress ink. It was layered first on a slightly bigger black cardstock circle, then on a scalloped white circle.

ververolledflowerinside.jpg

I kept the inside very simple and just added a dash of green with a 1 1/8″ x 3 3/4″ strip of Just Dreamy 2 paper. All layers were the same size as on the card front and were sewn together before adhered to the card base.

I hope you have fun with these cute flowers. Thanks for stopping by. Hugs and smiles

sadimensionalflowerwide.jpg

If you read my blog, you have already seen my grunge flower tutorial, that I learned at Ranger U from Tim Holtz. Today’s tutorial on SCS is the same flower. I called it dimensional flowers since they also work with patterned paper and with a bit more effort (in rolling the edges) with cardstock.

sadimensionalflowersmallbj.jpg

For my flower I adhered dictionary pages to grunge paper before I cut the flowers with Tattered Floral Alteration Die. The die cuts were sponged with Wild Honey and Fired Brick Distress inks.

The sentiment is from the stamp set Good Thought. It was stamped in Jet Black Archival Ink on Neenah White cardstock. It was cut out with Nestabilities Label 2 dies. I left the die on and stamped the swirl from Mini Ornates in Shabby Shutter on the top left and bottom right. Then I sponged over the cardstock in the same color.

The layout for this card is from last week’s sketch challenge on SCS. My small squares measure 1 15/16″ and are from Tim Holtz Retro Grunge Paper Pack. They were adhered to a black scallop square cut with Stampin’ Up!’s scallop square die. Each edge was stamped in Jet Black Archival ink with the sewing stamp from Spring Sprung.

Here is a video for the visual learner:

[youtube]https://www.youtube.com/watch?v=hIe-bYvlw58[/youtube]

oclbigthankstfwide.jpg

So while I was in my stamping slump, Monica Pendleton showcased a wonderful tutorial for Tissue Flowers on SCS. I shot the video for it, but didn’t create a card. I finally used my flower to create a card that would work for the Just For Fun Color Challenge this week.

oclbigthankstissueflowerbj.jpg

My card base is a 6″ x 7 1/2″ piece of Gina K. Ivory cardstock folded in half. The lower 1/3 of the card front was embossed with Cuttlebug’s Victoria Embossing Folder. The 2 3/8″ x 6″ piece of My Mind’s Eye Just Dreamy 2 paper was sanded, then sponged with Antique Linen Distress ink. The 5/8″ x 6″ Chocolate paper strip is also from the Just Dreamy 2 Collection. The upper edge of the paper was paper pierced. The sentiment is from Our Craft Lounge’s Big Thanks and was stamped in Walnut Stain Distress ink.

oclbigthankstfinside.jpg

The strips on the inside of the card measure 1 1/2″ x 6″ and 3/8″ x 6″. They were sanded and sponged with Antique Linen ink. The sentiment was stamped with Walnut Stain Distress ink. A small flower was added to tie everything together.

Here is a video for the visual learner:

[youtube]https://www.youtube.com/watch?v=LKRosUoQ2ww[/youtube]

© 2012 fresh & fun Suffusion theme by Sayontan Sinha