dasherstampedshimmer.jpg

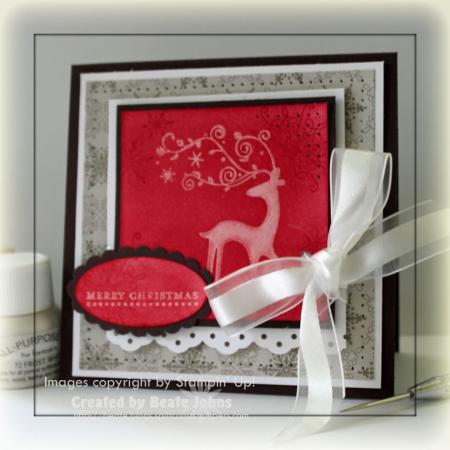
This card is almost the same as yesterdays. All the measurements and paper are the same except for the main image. I stamped it in Shimmery Paint on Whisper White cardstock. Once it dried, I sponged over Dasher with Real Red ink. Then I added Snowflakes from Serene Snowflakes over it in Real Red.

I can’t decide which one I like better. Sometimes it’s pale dasher, sometimes it’s his chocolate brother. I do like the softness of this card.

Have a wonderful day! Hugs and smiles

I created a tutorial for another way of playing with Shimmery Paint: Shimmery Resist. I uploaded it today on Splitcoast.

dashershimmer1.jpg

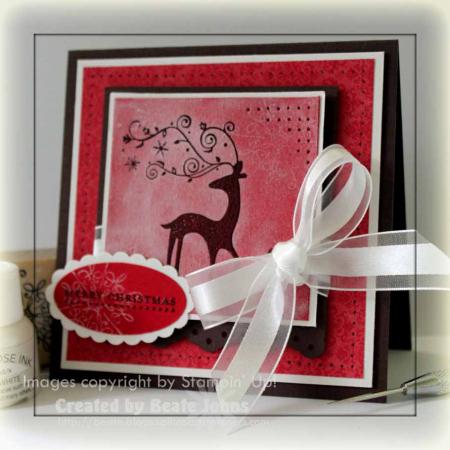
My card base is a 4 1/4″ x 8 1/2″ piece of Chocolate chip cardstock folded in half. Next is a 3 15/16″ square of Whisper White followed by a 3 3/4″ square of Christmas Cocoa Specialty Paper. The edges of the paper were paper pierced.

For the main image I stamped Dasher in Chocolate Chip Craft ink on a 2 1/2″ square of Real Red cardstock and embossed it with clear embossing powder. Next I brushed Shimmery Paint all over with a the cardstock and stamped Snowflakes from the Serene Snowflake set over it with Shimmery Paint.

 dashershimmer3.jpg

I buffed the image with a paper towel. It was layered on a 1/4″ bigger piece of Whisper White cardstock. The top right corner was paper pierced and a ribbon slot was added on the lower right. I threaded Organza ribbon through the slot, adhered the image with dimensionals to a 3 1/4″ Chocolate Chip square and tied my ribbon into a bow. The bottom edge had been punched with the Eyelet Border punch.

dashershimmer2.jpg

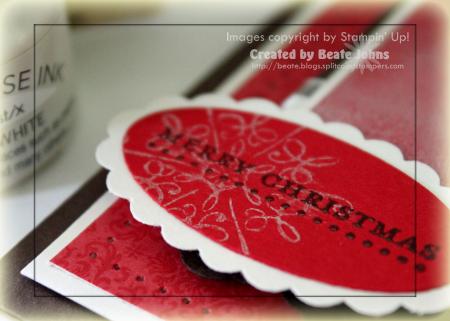
The sentiment is from Teeny Tiny Wishesand is stamped in Chocolate chip craft ink on Real Red cardstock. It was embossed with clear embossing powder and punched out with the large oval punch. I stamped a snowflake from Serene Snowflakes over it with Shimmery Paint and layered it on a Whisper White Scallop Oval Punch-out. The sentiment was adhered to the card with dimensionals.

Here is a video for the visual learner:

[youtube]https://www.youtube.com/watch?v=jEQZeNElqMg[/youtube]

I will post the other card shown in the video tomorrow.

Have a wonderful day! Hugs and smiles

Before the new IDA came out, I was asked to demo at the Cinncinati regional. I was very excited as well as a little apprehensive in what to show. I decided to play with Shimmery Paint and come up with a few cool uses. After the IDA came out, I called and said I wouldn’t be going. I didn’t feel right demoing for everyone when I might not sign the IDA. So I will be sharing the samples here.

friends247shimmercandle.jpg

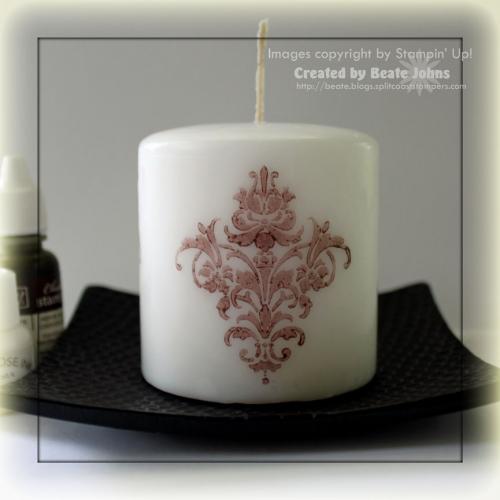
For this candle, I mixed the white Shimmery Paint with Chocolate Chip Reinker, applied it to my ink and stamped it onto my tissue paper. The stamp is from the Stampin’ Up! set Friends 24-7.

 I have a few more samples created with Shimmery Paint that I can share over the next few days.

Have a wonderful Sunday!  Hugs and smiles

holytriptychcrackcloseup.jpg

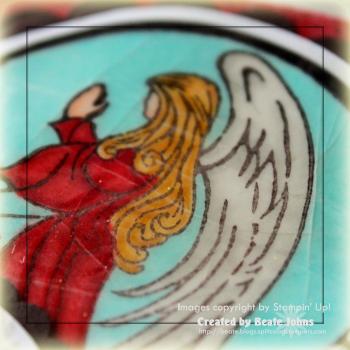
I started my sample for today’s sketch by stamping the angel image from Holy Triptych in Chocolate Chip Craft ink and embossing it with Clear Embossing powder. It was cut and embossed with Circle Nestabilities. I was going for a stained glass look, so I used my Copic Markers to color it in and get a vibrant look. I used B00 for the outside, W00 and W02 for the wings, E00 and E02 for the skin, YR24 and YR31, R27 and R29 for the dress and E79 for the border. I added Versamark over the entire circle and clear embossed it several times. Then I gently bent the cardstock to create cracks in my embossed layer.

holytriptychwsc97beate.jpg

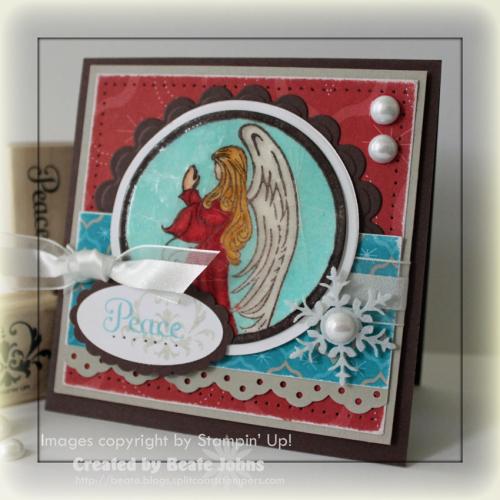
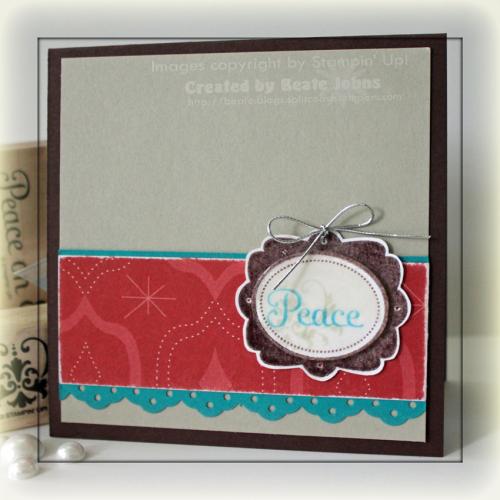
My card base is a 4 1/4″ x 8 1/2″ piece of Chocolate Chip folded in half. The next layer is a 3 15/16″ square of Sahara sand, topped with a 3 3/4″ sanded and paper pierced piece of Holiday Lounge Designer Paper. The Chocolate Chip scallop as well as the Whisper White Circle were both cut with Circle Nestabilities. The Scallop Circle was taped over the Designer paper and a 1 1/2″ x 3 3/4″ strip of Holiday Lounge DP  was taped over it. The strip had been sanded, then layered on a 3 3/4″ strip of Sahara Sand cardstock that had been punched with the Eyelet Border Punch. White Organza Ribbon was tied around it. The angel circle was adhered over the Whisper White circle and taped to the card front with dimensionals.

For the sentiment I stamped the ornamental stamp from Framed with Love in second generation Sahara Sand on Whisper White and cut it out with my Large Oval Punch. Next I inked up only the word Peace from one of the greetings from the set Four the Holidays (Mini catalog) with Taken with Teal and stamped it in the center of my oval. The white oval was taped to a Chocolate Chip scallop oval that had been punched out with the Scallop Oval Punch. I added a paper pierced row under the sentiment.  To finish off the card front I added two medium size half pearls from the Pretties Kit on the top right. One of the Felt Snowflakes from last year’s mini catalog was adhered with a dimensional next to my angel and topped with another half pearl.  If I would recreate this card, I would probably emboss the sentiment to make it pop more. Some things you see only when the card is almost done….and since I stamped it this morning (flaked last night and watched Diaries of a Vampire instead! I will have to get me those books!)

holytriptychsigncloseup.jpg

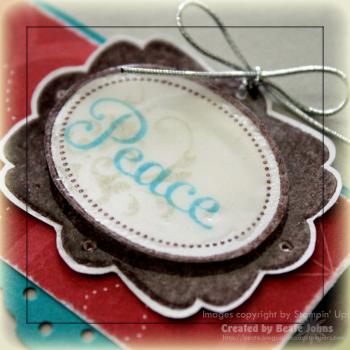
Before adding the oval greeting, I had played around with a frame from Framed with Love. I had stamped it with Chocolate Chip Craft ink and embossed with Clear embossing powder twice. Once I cut it out all the way, once, only the center. In the center I stamped the sentiment and ornamental stamp just like on the greeting in the front.  Except for here, I added colored in the inside of the oval with a Versamarker and clear embossed that oval as well. Unfortunately this frame was too big for the front. I thought though…that it might work for the inside of my card.

holytriptychwsc97inside.jpg

The inside layer for my card is a 3 15/16″ square of Sahara Sand Cardstock. I added another 1 1/2″ x 3 3/4″ strip of Holiday Lounge Designer paper over it with a Eyelet Border Punched piece of Taken with Teal.

I hope you all have a wonderful weekend! Austin is off today, so I think I might go and play some tennis with him. I haven’t worked out as much as I should the last two weeks.

Hugs and smiles

First thing I did with the sketch was flip it. Isn’t it funny? I create the sketches only to change them right away. I am such a dork!

 winterpostshimmeryskaterwsc.jpg

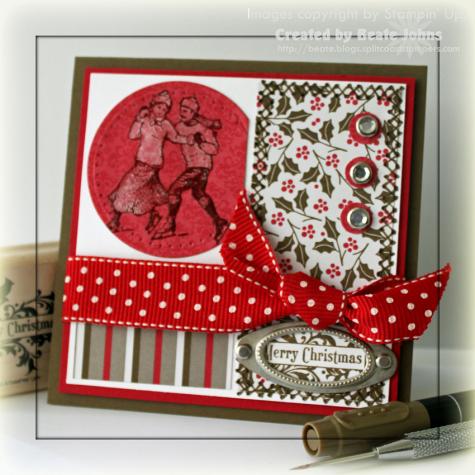
My card base is a 4 1/4″ x 8 1/2″ piece of Soft Suede cardstock folded in half. Next comes a 3 15/16″ square of Real Red Cardstock followed a 3 3/4″ square of Whisper White. The patterned paper is from the Christmas Cocoa Specialty Paper Pack. The long strip on the right measures 1 5/8″ x 3 1/2″, the short one on the bottom 1 3/8″ x 1 7/8″. The circle was cut with Circle Nestabilities.

The skaters from the stamp set Winter Post were inked first with Versamark, then with Soft Suede Classic ink. After stamping the image on the designer paper circle, I embossed them with clear embossing powder and added Shimmery Paint over it with a paint brush. The paint was a bit too thick (dark), so I wiped excess of with my fingers.

I added faux stitching to the long strip with my paper piercing tools and Soft Suede Marker and taped three circles cut with the Window word punch on the top right. Three clear Rhinestone Brads were added in the center. Red Polka Dotted Ribbon was tied around the layers to cover the ending of the smaller designer paper strip.

The sentiment is from the hostess set Holiday’s Best. It was stamped in Soft Suede, punched out with the small oval punch and taped under the ribbon knot. The metal embellishment is from the Styled Silver Hodgepodge Hardware kit.

shimmeryskaterinside.jpg

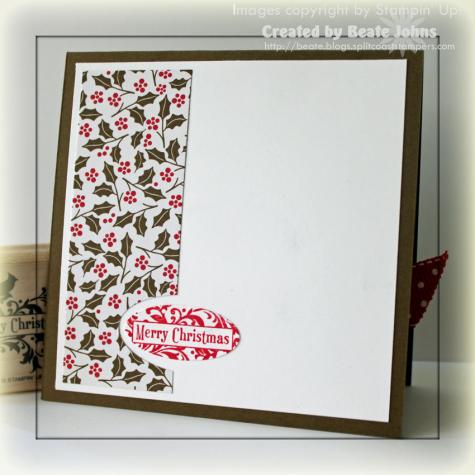
On the card inside is a 3 15/16″ piece of Whisper White cardstock. On the left is a 1 3/8″ x 3 3/4″ strip of the Christmas Cocoa Specialty Paper. I cut out a half oval with my large oval punch and adhered a Real Red stamped version of the sentiment (punched out with the small oval punch) into that dent.

Stampin’ Up! update:

I had a chance to talk to members of the compliance office of Stampin’ Up! yesterday. Because I am an Splitcoast employee, I will be able to write tutorials and product reviews for/with non Stampin’ Up! product and stay a demonstrator.

I will however have to alter my blog. I won’t be able to link to places where you can buy non Stampin’ Up! product anymore. I will be able to keep everyone on my blog roll, just have to take down my store links. I will be able to post links to SCS (tutorials and challenges), since Splitcoast doesn’t sell anything there directly.

I feel bad that I won’t be able to share anymore where I bought Nestabilities or gorgeous ribbon that Stampin’ Up! unfortunately doesn’t carry, but I will be able to leave my links in my older posts…..so if you search Nestabilities with my search engine on my blog, you will find those and with those.

I have decided to see how this all plays out and stay a demonstrator for now. If I feel too confined by the agreement, I might change my mind later on. But I love the products and I really enjoy being the upline to my downline. Time will tell.

Have a great weekend! Hugs and smiles

Today’s tutorial on SCS is for a Double Pocket Card.

ovalalldoublepocketcardeyel.jpg

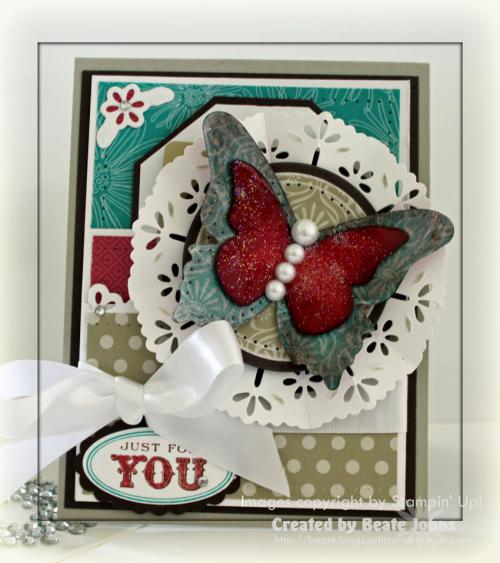
My card base is a a 4 1/4″ x 11″ piece of Sahara Sand cardstock folded in half. It is layered with a 3 15/16″ x 5 3/16″ piece of Chocolate Chip. The Double Pocket card piece is created out of Whisper White cardstock. All designer paper is from Thoroughly Modern Designer Paper Pack.

The Ruffled backing of my circle layers is created with the Eyelet Shapeabilities Pendant. The circle layers were cut with Nestabilities. Both butterflies were cut with Big Diez Beautiful Butterflies Die. The bigger butterfly was first pained with Shimmery Paint and sponge dauber, then the edges were sponged with Chocolate Chip. The pearls are from the Pretties Kit.

The sentiment is stamped twice, once in Basic Brown and once in Bermuda Bay. The You from the Basic Brown layer was colored with Rose Red ink. I cut slightly inside the oval lines and taped this piece on my Bermuda Bay oval, that had been cut out with the large oval punch. That was layered on a scallop oval that had been punched out of Chocolate Chip Cardstock. The gorgeous ribbon is from May Arts.

ovalalleyeletinside.jpg

The inside of the card is pretty simple and mirrors the layers on the card front.

Here is a video for the visual learner:

[youtube]https://www.youtube.com/watch?v=CPgv4Ofb_g0[/youtube]

Here are two Double Pocket cards I made a while ago:

Christmas Card

Baby Card

I am sure most of you have heard about the new demonstrator agreement form we Stampin’ Up! demonstrator will have to sign at the end of this month. I am afraid I might not be able to stay a demonstrator with the new agreement. I sent an email to Stampin’ Up!’s compliance office, but haven’t heard back yet. I feel bad, since I love Stampin’ Up! products, but I won’t give up my work at Splitcoaststampers so I can stay a demonstrator. I will let you know what happens. My blog might be changing to a more Non-Stampin’ Up! blog soon.

Hugs and sad smile 🙁

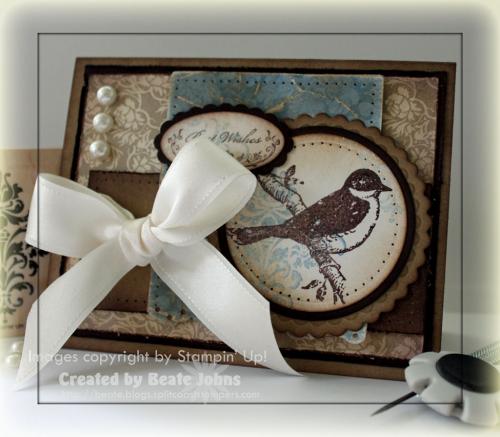
Very Vintage was yesterday’s Way to Use it Challenge. I had no vintage supply at home, but thought a little distressing and sponging might get me the vintage look. The challenge worked well for today’s sketch (at least I think so).

friends247vintagebirdclose.jpg

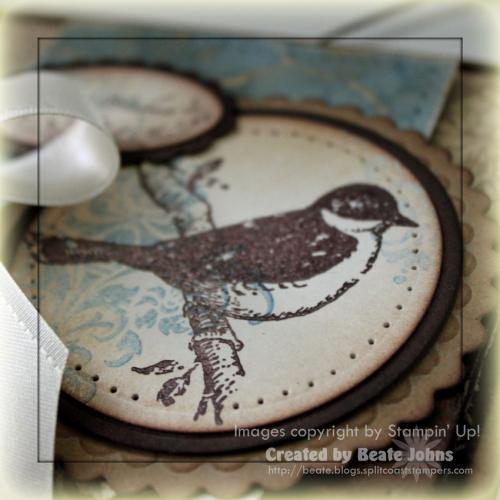
I thought of the stamp set Friends 24-7 right away. I simply love that set. The damask image and the bird are some of my favorite Stampin’ Up! images. I stamped the Damask in second and third generation Brocade Blue ink on Shimmery White cardstock. Next I stamped the bird in Chocolate chip craft ink over the the damask and embossed it with clear embossing powder. I cut it out with Circle Nestabilitites and sponged the edges first in Creamy Caramel then with a hint of Chocolate chip ink. The circle was adhered to first a slightly bigger sponged Chocolate Chip circle, then on a scalloped and sponged (first with creamy caramel, then with chocolate chip) Kraft cardstock circle.

friends247wt233vintagebirdbeate.jpg

The card base is a 5 1/2″ x 8 1/2″ piece of Kraft cardstock folded in half. It was sponged with Creamy Caramel and Chocolate chip ink. The  next layer is a 3 15/16″ x 5 3/16″ piece of Chocolate Chip cardstock that was distressed and sponged. Why the weird measurements? Lately I like my first layer to be just a tad smaller then my regular 1/4″ smaller layer. It makes the card base show more and the second layer show a little less. The next layer is a 3 3/4″ x 5″ piece of Bella Bleu Designer Paper. It was also distressed with the cutter kit and sponged first with Creamy Caramel and then with Chocolate Chip ink.

The blue designer paper is also from the Bella Bleu pack. It was crumpled up, smoothed out, sanded, sponged and paper pierced. It measured 3″ x 3 3/4″ before I punched the bottom edge with the Eyelet Border punch. A 1 7/8″ x 4 3/4″ piece of sponged, distressed and paper piercedpiece of Kraft cardstock was taped underneath. I punched two holes next to each other (to make the opening bigger) in the middle of the left hand side of the Kraft strip with my Crop-a-dile, threaded May Arts Cream Satin ribbon through the opening and tied a bow.  Then I taped these layers to the card base with dimensionals.

The sentiment is from Oval All. It was stamped in Chocolate Chip on Shimmery White cardstock and punched out with the large oval punch. Next the damask image was stamped over the left hand side in third generation Brocade blue. Again the edges were sponged first with Creamy Caramel, then with Chocolate Chip ink. It was layered on a sponged Chocolate Chip Scallop Oval Punch-out and adhered to the card base with dimensionals. To finish off the card front I added three pearls from the Pretties Kit to the left hand side with Crystal Effect.

friends247vintagebirdinside.jpg

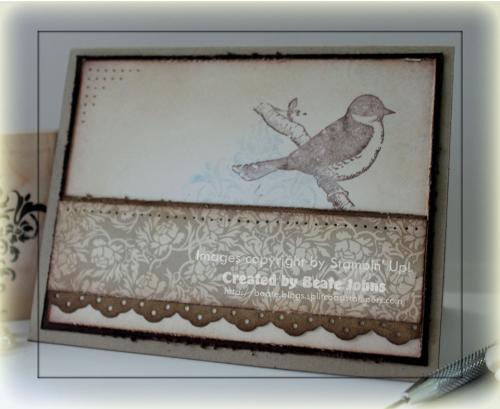
As always, the inside of the card has components of the paper and stamps I used on the card front. The distressed and sponged Chocolate Chip layer measures 3 15/16″ x 5 3/16″, followed by a 3 3/4″ x 5″ piece of Shimmery White cardstock, that had been distressed and sponged as well. I stamped the bird in second generation Chocolate Chip Ink to the top right and added the damask stamp in third and fourth generation Brocade Blue over it. The left top corner was paper pierced.

The designer paper strip measures 1 1/4″ x 5″. It was sponged and distressedbefore it was adhered to a sponged strip of Kraft cardstock. The strip measured 1 3/4″ x 5″ before the bottom edge was punched with the Eyelet Border punch. After everything was adhered and photographed, I thought the strip could have been a bit thinner and it would have looked better. Oh well…too late.

Have a wonderful weekend! I hope you have time to play! Hugs and smiles

I haven’t stamped on a candle in quite a while. Since the tutorial was in the SCS newsletter  in the Feedback section, I thought I would create a quick video for that fun and easy technique.

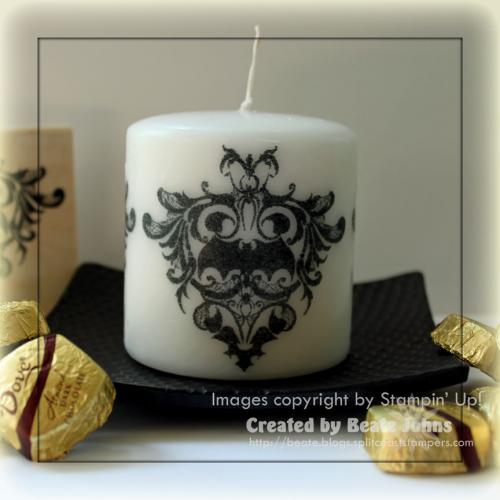
fromthecryptcandlebeate.jpg

I stamped this gorgeous image from From the Crypt in Black Stazon on Tissue paper, cut around it and melted it into the candle. I repeated it two more times to cover the candle.

From far away it doesn’t even look like a Halloween image. I do like how it turned out.

Here is a video for the visual learner.

[youtube]https://www.youtube.com/watch?v=qksZHGuGjaM[/youtube]

favoritethingaustincloseup.jpg

Yesterday’s Limited Supply Challenge was indeed challenging, but very cool . It was called Can’t Help Lovin’ Dat Man. The challenge was to create a card for a teen or man in your life. Masculine cards are always challenging. I decided to get a head-start on Austin’s birthday card.

At first I was thinking about creating a little Bind-it-All book with photos of him growing up (he will be 15 this November) with little anecdotes of him growing up or special memories that made me go all mushy. Well…somehow along the BIA book changed into an altered tin. Stampin’ Up! offered those tin last years to purchase and I still have quite a few.
favoritethingsaustinboxlsc2.jpg

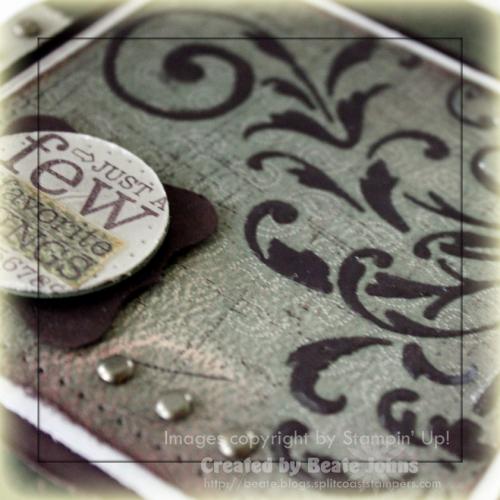
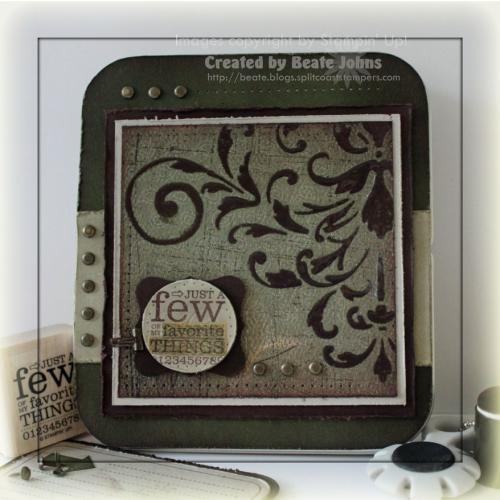
I started by sanding a 3 3/4″ square of To the Nines Specialty Paper, then sponging it with Creamy Caramel. Next the Kind Thought Stencil was laid on top of the Designer Paper, and Chocolate Chip craft ink was sponged through it with a sponge dauber. The stenciled image was embossed with Glassy Glaze Enamel.

The background Sanded was stamped over everything in Chocolate Chip ink and the edges were sponged with the same ink. Then the edges were distressed with the Cutter Kit. It was layered on a 4″ square of Sahara Sand, the edges of which were distressed as well. The next layer is a sponged and distressed 4 1/4″ square of Chocolate Chip.

I traced the lid of the tin on a piece of Always Artichoke, cut it out, sponged it first with Always  Artichoke, then sponged the edges with Chocolate Chip. On the lower  half I added a 1 3/4″ wide sponged and distressed strip of Sahara Sand Cardstock. Then I added several Antique Brass Brads from the Vintage Brad collection. Three on top, five on the Sahara Sand strip and three more on the left hand side of my sentiment.

The sentiment is from the set Favorite things. It was stamped in Chocolate Chip on Sahara Sand. It was stamped again on a piece of To The Nines Specialty paper that had been sanded and sponged just like the bigger square. I cut out Favorite things and layered it on the main sentiment layer. The sentiment was punched out with the 1 1/4″ circle punch and layered on a sponged Chocolate Chip Curly Label Punch-out. The sentiment layer as well as the main layers were attached to the tin front with dimensionals. The tin front was adhered to the tin with Scor-Tape. Last I added Crystal Effect over the sentiment and set it aside to dry.
favoritthingsaustininsid.jpg

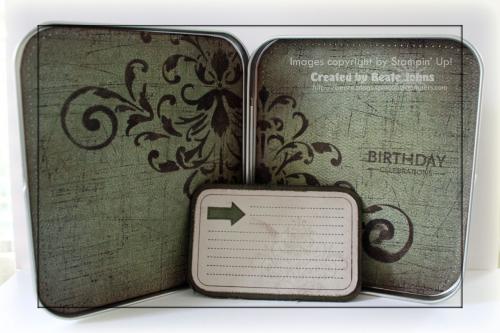
For the insides of the tin, I cut two more pieces of To The Nines Specialty Paper and treated them the same way as I did the square in the front. The only difference is that I used Chocolate Chip Classic ink to sponge the stencil. I used Snail Adhesive to tape the paper to the inside of the tin after paper piercing the edges. On the left hand side I stamped the sentiment from Upsy Daisy ink Chocolate Ink.
favoritethingsnotecard.jpg

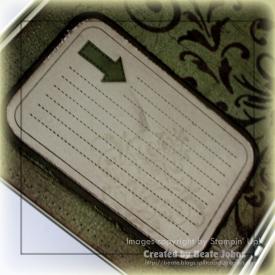
Then I created a little index card with Favorite Things stamp set. The index card stamp was stamped in Chocolate Chip on Sahara Sand cardstock. It was cut out, distressed and layered on a sponged Chocolate Chip layer. The arrow of the index card was stamped again in Chocolate Chip on Always Artichoke, cut out and layered on the index card. Last I stamped the gorgeous stamp from Friends 24-7 on the lower right hand side in Sahara Sand. I thought it would fit well with the Kind Thought Stencil.

I am planning to create one for each family member (minus Austin) and let everyone write down some of the things we love about Austin the most. I think I will add a few pictures (him as a baby, toddler, kindergarten….and so on)  into the tin as well. I can’t believe my little chubby baby will be fifteen soon and is 6′ 2″. Crazy!

Have a wonderful Saturday. Hugs and smiles

I made this card for yesterday’s Way To Use it challenge “Let’s get warm and fuzzy” and for today’s sketch challenge. I broke out my Sparkly Stuff and my Big Shot Lattice Die. I hadn’t played with either yet.

fuzzylatticesnowflakewt232.jpg

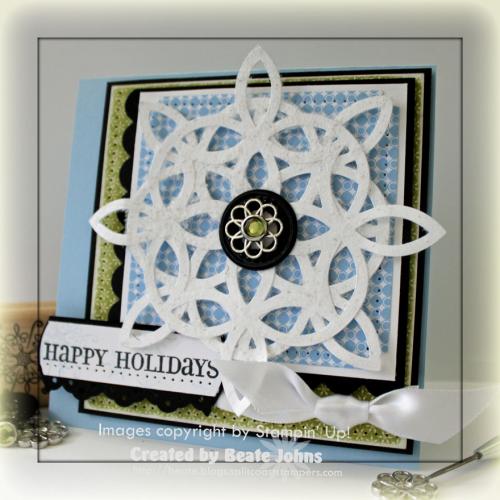
I started by created two Lattice die cuts out of Whisper White cardstock. I adhered them together with Two Way Glue. Then I added Two Way Glue all over and rubbed White Sparkly Stuff  over the glue. I added a black Jumbo Grommet in it’s center and topped that with a Filigree and Ice Circle Rhinestone brad.

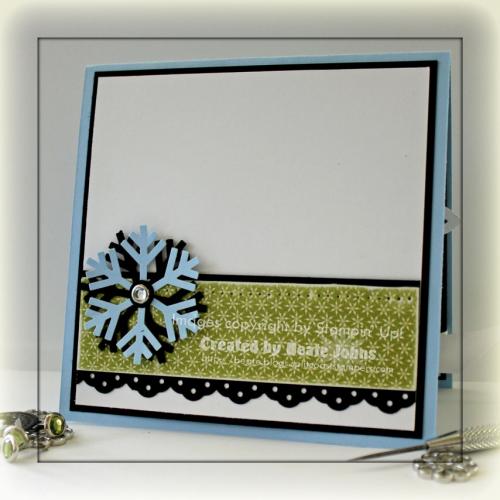
The Bashful Blue Pattern Designer Paper is a 3 3/8″ square. The edges were punched with the ticket corner punch, it was layered on a 1/4″ bigger piece of Whisper White cardstock and the edges were paper pierced. The black layer is cut with the Scallop Square Big Shot die. I placed it so that only two edges received scallops.

The next layer is a 4 1/4″ x 4 1/2″ piece of Merry Moments Designer Paper it was layered on a slightly bigger piece of basic black cardstock. The designer paper was paper pierced and sanded.

The sentiment is from Four the Holidays from the Holiday Mini catalog. It was stamped in Black Stazon on Whisper White cardstock. I added snowflake images from the Holiday Mini catalog Serene Snowflakes in second generation Bashful Blue. The edges were rounded with the 1 1/4″ circle punch. It was layered on a slightly bigger piece of Basic Black cardstock, the bottom edge of which had been punched with the Eyelet Border punch.

I punched a hole underneath where the sentiment would be adhered and tied White Satin Ribbon through it. The sentiment was taped over it with dimensionals. Last everything was adhered to a 5″ square card base out of Bashful Blue.

fuzzylatticesnowfrontback.jpg

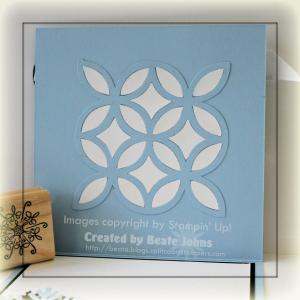
I had played with Bashful Blue Lattice cutouts as well and still had them on the table. So I taped one in the center of the backside of the card front. I cut another white one and adhered the cutout pieces of that Lattice inside the blue one.

fuzzylatticesnowinside.jpg

For the card inside I layered a 4 1/2″ square of Whisper White cardstock on a 1/4″ piece of the Basic Black cardstock. The Merry Moments designer paper strip measures 1 1/4″ x 4 1/2″. It was layered on a slightly bigger strip of Basic Black that had been punched with the Eyelet Border Punch. The top edge of the designer paper was paper pierced and the entire piece was sanded.

To add a little something something  I punched out a Bashful Blue and a Basic Black snowflake with Jumbo Snowflake punch. I layered them on top of each other, created a black circle with the Window word punch and topped it off with a Clear Circle Rhinestone brad.

I hope you have time to play and enjoy the sketch! I would love to see your take on it. Have a wonderful weekend. Hugs and smiles
© 2012 fresh & fun Suffusion theme by Sayontan Sinha