crackedvintagesantawide.jpg

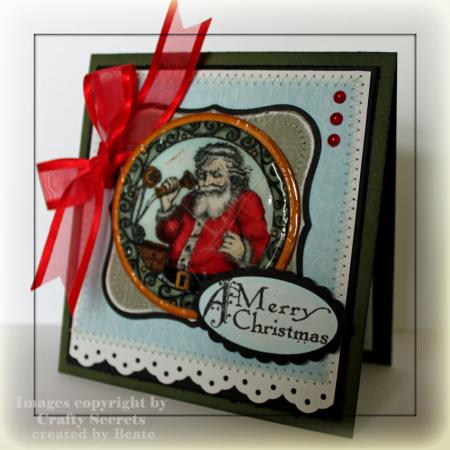
I love the vintage look of Crafty Secrets stamps. Whenever I need a “Vintage fix”, I pull Crafty Secrets out. I thought their Santa from Seasons Greetings would be perfect for a Cracked Glass sample.

crackedvintagesanta.jpg

Santa was stamped with Tuxedo Black ink on Natural White cardstock and colored in with Copic Markers (BG93, BG96, E97, E99, E50, E51, YR23, YR24, W1, W3, R27, R29, R20, BG000 and 110). It was cut out with Circle Nestabilities and embossed with Glassy Glaze. Once it cooled down I cracked the image a bit. It was layered on a bigger circle that had been colored with YR23/YR24 to match the image.

The card base is a 4 1/4″ x 8 1/2″ piece of Always Artichoke cardstock folded in half. It is layered with a 3 15/16″ Basic Black cardstock square. A 3 3/4″ x 4 1/4″ piece of Natural White cardstock was punched on one side with the Eyelet border punch. It was layered with a 3 5/8″ square of Chatterbox patterned paper. The last two layers were sewn together.

A piece of Basic Black cardstock and a Chatterbox patterned paper were cut with Label One Nestabilities, layered and stitched together. Those are the mat for my Santa Circles. Gina’s Pure Luxury Organdy Ribbon was attached to Santa with a paper clip.

The sentiment is from the same set as Santa. It was stamped in Black ink, punched out with a large oval and layered on a Scallop oval punchout.

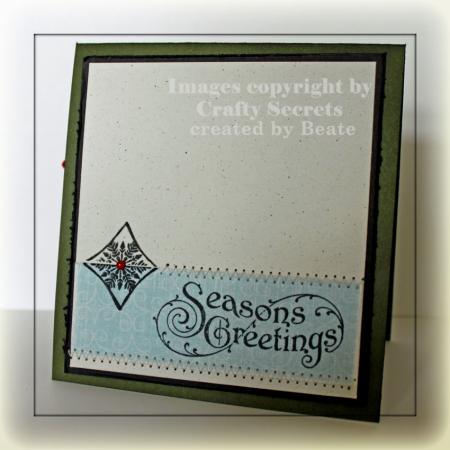
crackedvintagesantainside.jpg

The inside of the card is like always very simple but matching to the card front.

Here is a video for the visual learner:

[youtube]https://www.youtube.com/watch?v=lpayX1-Fu4I[/youtube]

serenityangelwide.jpg

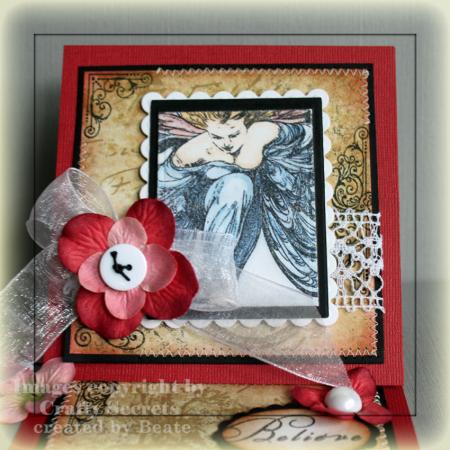
Last week’s Technique Challenge was to create an Easel Card. I love the look of them and had a fun time creating this card for the challenge.

I started out with stamping the Angel from Crafty Secrets Believe in Black Tuxedo Ink on Natural White cardstock. I colored it in with Copic Markers, cut it out with Rectangle Nestabilities and layered it first on a slightly bigger black rectangle, then on a scalloped Natural White rectangle.

serenityangeleaseltlc242.jpg

The card base/Easel part was created out of a 4 3/4″ x 9 1/2″ piece of Cardinal Core’dination Cardstock. It was scored at 2 3/8″ and 4 3/4″.  The card front is a 4 3/4″ Cardinal Core’dination square. A 4″ square of 7Gypsies patterned paper was stitched to 4 3/8″ Basic black square. The corner image and border decor are stamps from the Crafty Secrets Serenity Prayer Set. They were stamped with Tuxedo Black Memento ink. May Arts Crochet ribbon was taped over the layers and  White Organdy Ribbon was tied over that. The bow was topped off with Prima Flowers with a Basic Grey Button in it’s center.

For the inside I created another Black Square. This time topped with a 4″Natural White Square that had a strip of the same 7 Gypsies paper taped to the bottom of the card. The word Believe was stamped in Tuxedo Black on Natural White cardstock, punched out with the large oval punch, sponged with Vintage Photo and Worn Lipstick Distress inks and layered on a black scallop oval punchout.

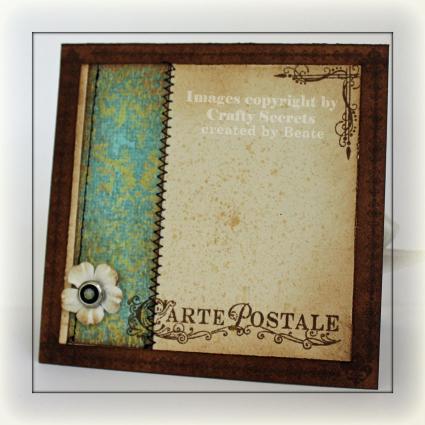
frenchmailcrackedanddirtywi.jpg

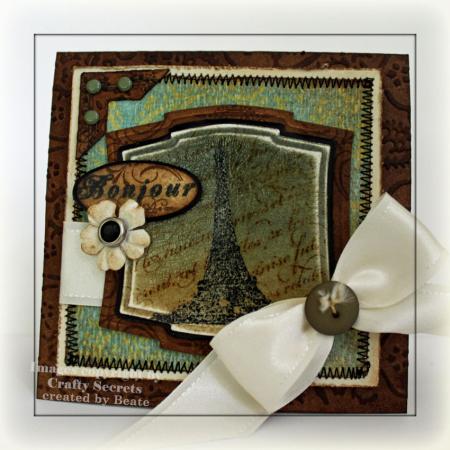
I loved WCMD this year. It reminded me of some of the older stamp sets I had neglected.  One of them it Crafty Secret’s gorgeous French Mail set. I wanted to create another sample for my Colorwash tutorial. For this card, I stamped the Eiffeltower in Black Craft ink on Watercolor paper, embossed it with Clear Embossing Powder and used the Ochre and Midnight Walnut Colorwash from 7Gypsies. Next I stamped En Francais Background over it with Vintage Photo Distress ink. Before spreading Crackle Effect all over the image, I sanded the paper to make the white core show through again.  

frenchmailcrackedanddirtybe.jpg

The card base is a 4 1/8″ x 8 1/4″ piece of Creamy Caramel cardstock folded in half. It was embossed with a Cuttlebug folder (I wish those would have names written on them) and sponged with Vintage Photo Distress ink. The natural white cardstock square measures 3 5/8″ and was distressed and lightly sponged. The My Mind’s Eye Street Market patterned paper measures 3 3/8″, was sanded and sponged. Both layers were stitched together.

The Cream Satin Ribbon from May Arts was folded and tied together with an Artichoke Button and some crochet floss. The photo corner was also Creamy Caramel cardstock, embossed with the embossing folder, sponged with Vintage Photo ink and toppped with three Artichoke brads.

The sentiment is also from French Mail. It was stamped with Tuxedo Black Memento ink on Natural White cardstock, punched out with the small oval punch, sponged and stamped with two smaller stamps from the same set. It was layered in a black scrap piece and cut out again. The Prima flower was sponged and a Recollections brad was added in it’s center.

frenchmailcrackedanddirtyin.jpg

I sponged the inside of the card and added stamped images around the edges. The 3 3/8″ Natural White cardstock was distressed, and sponged. I added some Ochre Colorwash into a Mini Mister and sprayed it on to the cardstock. A 1 1/8″ x 3 3/8″ strip from the Street Market paper was distressed and sponged. The strip was stitched to the cardstock and stamped a few more images to the layer. To finish it off I added another Prima flower with Recollection Brad.

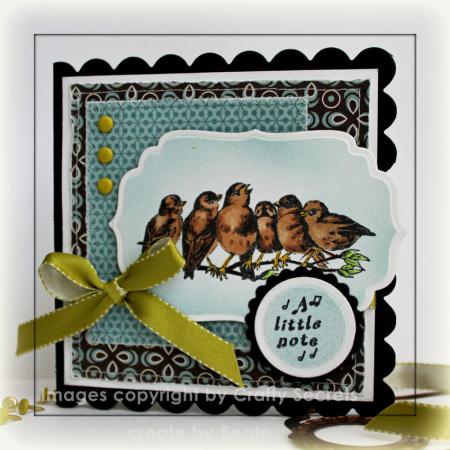
sparrowsingingwidewcmd09b.jpg

Here is my entry for Crafty Secrets WCMD challenge. I love the image of the birds.

 The card base is black cardstock cut with the Clear Scallop Square Big Shot Die.  The Whisper White square is 3 7/8″ and was alyered with two pieces of OffBeat BasicGrey paper. I machine stitched the layers to the White square and added three Celery brads on the top right. Kiwi Kiss Satin Ribbon was tied around the layers.

sparrowsingingwcmd09b.jpg

I stamped the Birds  from Crafty Secret Stamp set Bird Notes in Tuxedo Black Ink on Gina K’s Pure Luxury White Cardstock and colored them in with Copic Markers (E 25, E27, E34, Y17, Y26, YG03, YG25). I cut the image out with Spellbinders Label Four Nestabilities, left the die on and airbrushed the image with Copic Marker BG27.

The sentiment is from the same set, was stamped in Tuxedo Black on Gina’s white cardstock, cut it out with Circle Nestabilities, airbrushed the center and layered it on a slightly bigger black scallop circle.

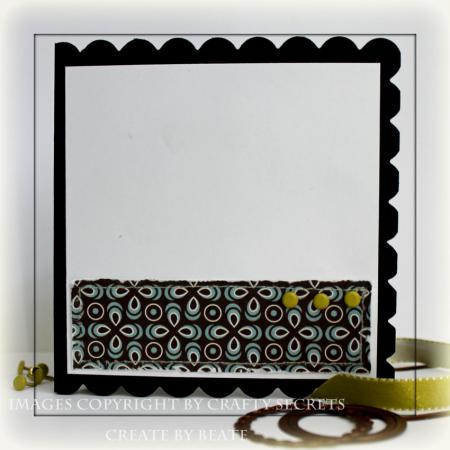
sparrowsingingwcmd09binside.jpg

Inside the card I added another 3 7/8″ Whisper White square and taped a 1 1/8″ x 3 7/8″ strip of Offbeat BasicGrey paper. The edges were stitched and distressed and Celery brads were added.

Today’s Sketch challenge  isn’t the easiest sketch I have seen or done. It took me a while to get my card finished. It’s definitely not one of Valeries little warm up cards.

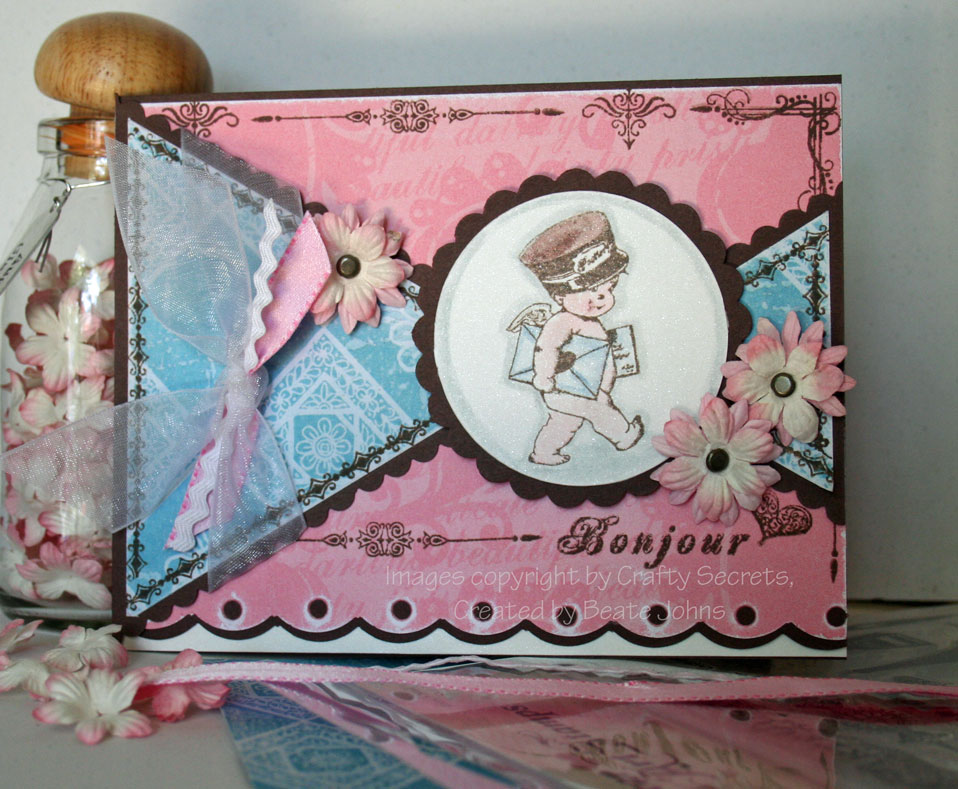
crafty-secrets-french-postm.jpg

I still had my Crafty Secrets supplies scattered all over my table from yesterday’s Luggage tag card. So I kept on using those. The blue paper is from the Radiant Paper pack from Crafty Secrets, the pink paper from the Pristine Paper Salon pad.

I started out by taking a 3 3/4″ x 5″ piece of that blue paper and cutting it at an angle to make my two triangle.  Next those were layered on chocolate chip cardstock and cut with my scallop scissor.

I stamped one of the border stamps from the French Mail set on the paper with Brown Palette ink and set both triangles aside.

Next I cut a 4 1/4″ x 5 1/4″ piece of the pink paper and sanded it down. I know, I know…but I love sanding designer paper. I just can’t help myself.  Next I punched a scallop border on the bottom with my Stampin’ Up! corner rounder and punched eyelets in the center of each scallop. Then I sanded that border as well :). I stamped more border designs and the greeting all over. I wish now that I hadn’t stamped the heart and had moved the greeting down a bit. It’s always easier in hindsight.

Underneath that eyelet border I added a strip of chocolate chip that was the same wavy border as the pink paper.

My card base is a 4 1/4″ x 11″ piece of chocolate chip cardstock folded in half. On the bottom I added a 1″ x  5 1/2″ piece of shimmery white cardstock. the pink paper was taped on top of that to make the border pop a little better.

Before taping the triangles to the card, I added white wide organdy ribbon from Stampin’ Up! as well as May Arts double sided pink satin ribbon and white ric rac.

I love the little guy in the center image. I know my Mother in law will love the card, greeting set too high or not. She loves chubby cherubs!

Amy Westerman has Try Something New Tuesdays. She made an Acetate pocket card. Well….of course I didn’t read the whole thing and I used a luggage tag. The outcome still looks the same.

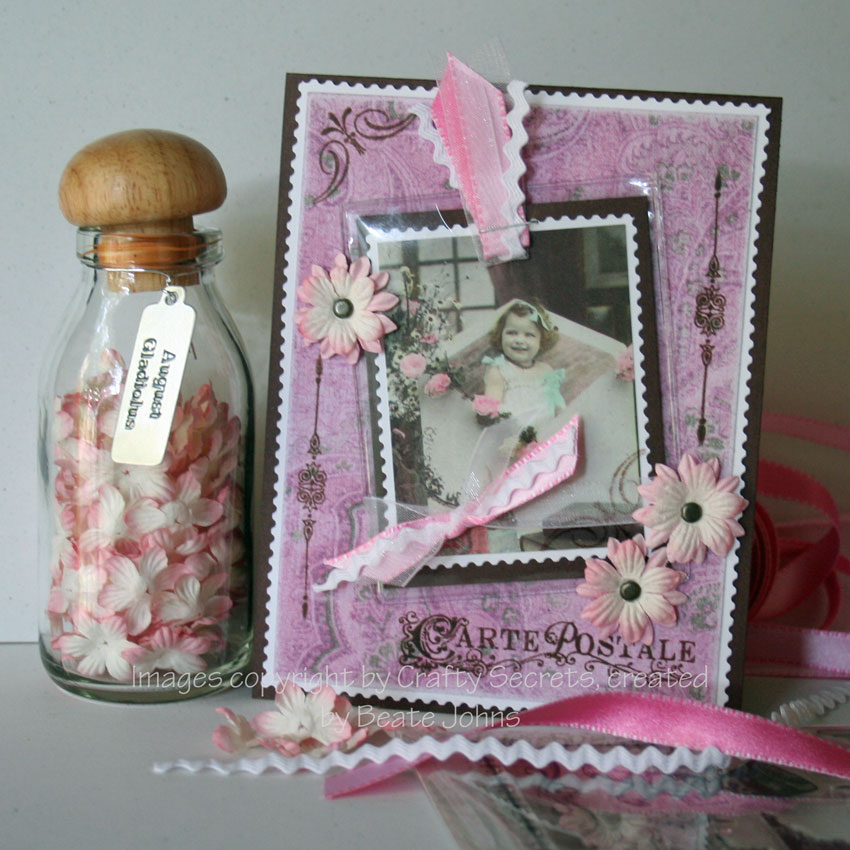
 crafty-secrets-carte-postal.jpg

My center image is an image from the Crafty Secret booklet Wacky & Wonderful. I layered it on whisper white cardstock and cut a border with my Fiskars Postage scissor to make it look like an old photograph. I layered that onto chocolate chip cardstock.

I cut the tag of the luggage tag off with scissors and cut a half circle into the top with my coluzzle. I stapled May Arts double sided pink satin ribbon, Stampin’ Up! white organdy ribbon and May Arts white ric rac on the top of the image.

For the card base, I used a 4 1/4″ x 11″ piece of chocolate chip cardstock folded in half. The 4″ x 5 1/4″ piece of decorated paper is from Radiant paper pack from Crafty secrets. The color was a little bit too intense so I sanded it down quite a bit with Stampin’ Up!’s sanding block.

I stamped the paper with images from the French Mail  set from Crafty Secrets in Brown Palette ink. The luggage tag was taped to the main card with glue dots. I finished the card of with double layered prima flowers that were attached with Vintage brads.

 You can find Crafty Secrets products in Anna Wight’s store Sassy and Sweet Crafts.

If you are interested in a tutorial for the Explosion box card, click on More. I don’t want to post a big long thread on the front page, so I don’t clog up the email of my subscribers.

Continue reading »

Those Crafty Secret stamps are GORGEOUS! (If you are looking for them, check out SweetMissDaisy’s online store. She has lots of gorgeous Crafty Secrets merchandise. ) I had to try out my new Cherub set.

I wanted to write this tutorial for my blog since two fresh and fun freebies ago. Well…today I took pictures for it. I thought I share the final project with you now….and then write the tutorial. I hope to have it posted tonight!

exposion-box-finished-top.jpg

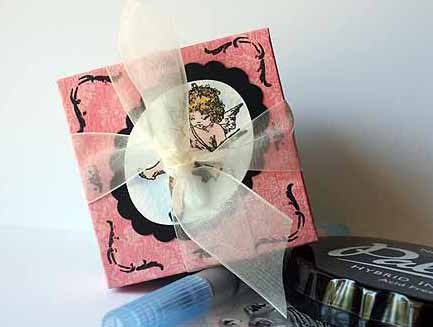
This is the top view of the box. I love that little Cherub. I got the set because my MIL LOVES cherubs. Loves them, loves, them, LOVES THEM. (you know….we crafters never run out of excuses why we need something!) I didn’t think I would like it as much as I did. The set comes with some three adorable cherubs, smaller swirls (like the corner ones on top and the middle edges of the lid) as well as bigger ones ( box bottom), angel wings, the word Love and a heart.

I stamped my little cheeky cherub on watercolor paper with black Palette ink. It really works well with acrylic stamps. Much better then black stazon. Then I colored the cutie in with blush blossom for his skin, skin shading and wings with pretty in pink, hair with more mustard and close to cocoa, book with creamy caramel and surrounding space with bashful blue classic ink and aqua painter (all Stampin’ Up! products).  I sprayed my watercolor paper with my water mist bottle before I started coloring. I layered the image on on a black Mega Oval Scallop punchout from Urchida.

The lid top is made with Tres Jolie paper from My Mind’s Eye. I can’t wait for Daisy and Joy to get their My Mind’s Eye order into their store!!!!

exposion-box-finished-side.jpg

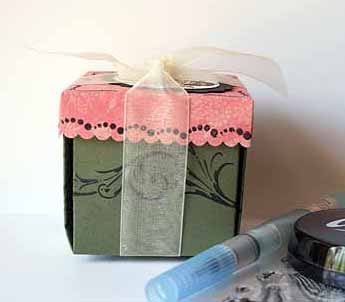
The bottom of the box is made with Always Artichoke cardstock by Stampin’ Up!. I stamped the bigger swirl on it with Black VersaMagic Dew Drop ink.

I cut the lid edges with a scallop scissor and added the scallop border stamp with the Black Dew drop.

I spend most of the morning uploading the Scrapbooking purse I posted earlier here, on SCS and the Creative Imaginations gallery. I knew I wanted to do today’s challenge. It was a relativ easy limited supply challenge. We could use anything we wanted, but we only had 45 minutes. I was using every single second of that, but I think I stayed in the limit.

By the way….Jen70, our Limited Supply challenge hostess has her birthday today! What’s up with all of us being born in April? Those July nights….LOL I have Jennifer’s address if you would like to send her a birthday card!!!

crafty-secrets-first-try-ta.jpg 

When I first started stamping, I hardly ever ventured out of the Earth Element group. That is definitely my comfort zone. Bold and Brights….very much not! LOL I did change and learned to love the Bold and Brights…at least some of them…but Earth Elements are my roots!

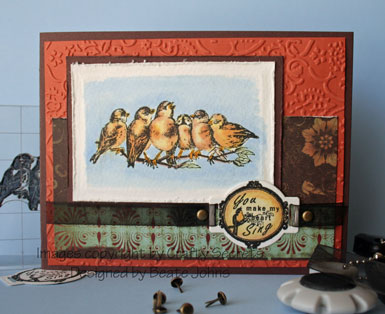
I started with watercoloring paper from Stampin’ Up! and these cute birds from Crafty Secrets. (Yes, I got another sweet box in the mail and yes, my husband doesn’t know about it. Yes, I am broke….but boy oh boy….is it sweet to have new stuff! If you dare to look at my new loot, click on more.) You can purchase Crafty Secrets merchandise at Sweet Miss Daisy’s store Sassy and Sweet Crafts. She is out of the bird stamps right now but already ordered more and should have them back in next week.

I stamped the birds in black Palette and sprayed the watercoloring paper with my water mist bottle. Then I used aqua painter and lots of different Stampin’ Up! classic inks (So Saffron, More Mustard, Really Rust, Close to Cocoa, Sage Shadow, Always Artichoke and Bashful Blue) to color the birdies in. Usually I don’t like my watercoloring at all. But I do like it this time. When I was done coloring, I turned the paper around and scored a 1/4″ border around the image. I then used the paper piercing mat, a ruler and a stylus to make that scoring deeper and let the image appear dry embossed.

I used the cutter tool kit from Stampin’ Up! to distress the edges of the watercoloring paper and it’s chocolate chip mat. Then I ran a 4″ x 5 1/4″ piece of Really Rust through the cuttlebug machine.

I used a cuttlebug die to make the little buckle and stamped the saying on it with palette ink. Next I watercolored it with the same colors I used on the birds.

The patterned paper is from the Wanted collection of Cosmo Cricket. I distressed the top border and taped it onto the rust background. I then taped the birds on that and ran a ribbon with the ribbon buckle underneath the bird image. I held the ribbon in place with brads.

Last I layered the whole thing on chocolate chip cardstock.

Continue reading »

© 2012 fresh & fun Suffusion theme by Sayontan Sinha