This week the Flourishes team focuses sets that are about to retire. Once they are sold out, you won’t be able to order them anymore.

I love this image from Country Home set and decided to combine it with the Card Creator dies. Two pieces of white cardstock were cut and embossed with a Matte A and Matting B Basics die, another with the second largest Fancy Weave Card Creator die. The image from Country Home was stamped in Tuxedo Black Memento Ink on the smallest rectangle and colored with Copic Markers (Grass: YG11, YG13, YG17    Trees: YG61, YG63, YG67, E33, E37   Road: E40, E42, E43, E44    Flowers: V17 Sky: B0000, B000, B00). It was first adhered to the slightly bigger layer, then to the weave layer.

The flowers on the side of the road are purple and my sky is blue….so it fits for this week’s Timeless Tuesday challenge.

Next I cut a piece of patterned paper with another Matte basic die and another piece of white cardstock, with the next size up Matte die. More white cardstock was cut and embossed with the biggest Fancy Weave die. The layers were adhered on top of each other and then added to a 4″ x 5 1/4″ card base, created out of cardstock from the Color Made Easy Emerald Coast collection.

Part of a sentiment from Cottage Home was stamped on white cardstock, cut and embossed with one of the Tailor-Made Classic Tag set dies.  Sky Blue Color Made Easy ribbon was tied into a bow. The sentiment was tied on it with embroidery floss and a button.

Check out what my fellow design team member have created today:

Thanks so much for stopping by! Have a wonderful weekend!
Hugs and smiles

Today the Flourishes Design Team focuses on the stamp set Poppy Patch. For my sample  stamped several images of that set in Tuxedo Black Memento Ink on white cardstock. It was cut and embossed with the third largest Card Creator Matting B Basics die and the Out of the Box technique. The image was colored with Copic Markers (YR04, R24, R29, R39, G20, G21, G24, G28) and sponged first with Tumbled Glass, then with Broken China Distress Ink.

The image was adhered to black cardstock, cut and embossed with the third largest of the Matte A Basic dies.  Ribbon was tied around the lower part of the layers. Another piece of white cardstock was cut and embossed with a Tailor-Made Classic Tag Template die. The center of the tag was sponged with Broken China ink and a sentiment from Passion Flower was stamped in it’s center. The tag was tied to the bow along with a button. The card base was cut and embossed out of white cardstock with the largest of the Card Creator Faux Postage dies.

Check out what my fellow design team member have created today:

Thanks so much for stopping by! Have a wonderful weekend
Hugs and smiles

I created this card as a sample for Wednesday’s tutorial on Splitcoaststampers. I thought the bouquet from Autumn Blossoms would work great for the Telescoping Image Technique.

The image was stamped twice in Tuxedo Black Memento Ink on white cardstock. The images were colored with Copic Markers (Y13, Y15, Y17, YR12, YR16, YR18, G20, G21, G24 ,G28, YG11, YG13, YG17, R24, R27, R39) and cut and embossed with Classic Oval LG dies. The edges of the larger ovals were sponged with Tumbled Glass Distress ink before the layers were adhered on top of each other with dimensional adhesive. The ovals were then adhered to Kraft cardstock that was hand cut into a slightly larger oval layer. All layers were adhered to white cardstock, cut and embossed with the Floral Oval Nestabilities die.

Pieces of patterned paper were cut and embossed with the second smallest Grand Rectangle Nestabilities die. The edges were sanded and stitched before Sheer ribbon was tied around the layer and through one of the Floral Oval openings of the frame.  The bow was topped with a button, tied on with embroidery thread.

A sentiment from Autumn Blossom was stamped on white cardstock, cut and embossed with one of the insert dies from the Fancy Framed Tags One dies. The raised part was sponged with Antique Linen Distress ink.

The layers were adhered to a card base, cut out of white cardstock with the second smallest Grand Scallop Rectangle Nestabilities die. Part of a Finesse Rhinestone Swirl over the bow and a few single Rhinestones on the top right finish off my card.

Here is a video for the visual learner:

[youtube]https://www.youtube.com/watch?v=xbBTf55aRKs[/youtube]

Check out what my fellow design team member have created today:

Thanks so much for stopping by! Have a wonderful weekend
Hugs and smiles

It’s a day of partying and celebration! Flourishes turned five this month and we want YOU to help us celebrate! Today we’re ushering in a 2-4-6-8, Help Flourishes Celebrate Day with challenges at 2, at 4, at 6 and at 8PM! If you missed our 2PM Challenge, just click HERE or if you didn’t tune in at 4PM, just click HERE to catch up! If you play, we have some FUN goodie bags for our winners! Are you ready for the 6PM Challenge?

HOW TO PLAY: This challenge is about adding sprinkles onto your card or creation — Glitter? Beads? Flower Soft? You choose! Just sprinkle on some fun and you’ll be in the running! Use Flourishes stamps if you have them — your entries will count twice. If you don’t have Flourishes stamps, play along anyway, you could win some! If you upload to SCS, please use the keyword FLLCIS5C. You have until August 31st to enter and can enter as many times as you like!

For my sample I thought I use the Gerber Daisies image again. I LOVE that image. It looks great if you use it partially or completely. I stamped the image in Tuxedo Black Memento Ink on a piece of white cardstock, that had been cut and embossed with the second largest of the Resplendent Rectangles dies. The image was colored with Copic Markers (Y11, Y13, Y15, Y17, YR16, YG17, YG21, YG23, YG25, W1, W3).

The die was placed back over the layer, the Gerber Daisies were masked and Tumbled Glass Distress ink was sponged over the white spots. I added Goldrush Smooch Glitz over the center of each flower to add some sparkle!

The card base and card front were cut and embossed with the largest Marvelous Rectangle die. The embossed part of the card front was sponged with Tumbled Glass ink before the image layer was adhered with dimensional adhesives.

A sentiment from the Gerber Daisies image was stamped in the lower right of the image layer. Rhinestones in each corner finish off the card.

I hope you have time to play along. If you need some inspiration, be sure to hop on over and see what the other designers created for this challenge:

Cindy Haffner

Danielle Kennedy

Pat Adam – honorary DT Member today!

The OFFICIAL Rules…..

  • Simply create a card and sprinkle on an embellishment of some kind!
  • Entries need to be in by Friday, August 31 by 5 PM EST
  • Those that use Flourishes stamps will be counted twice for their entry
  • You must link your creation on this post using our inlinkz widget in order to qualify
  • You must have a link to our challenge in your blog or gallery post
  • Please DO NOT combine challenges.
  • If you upload to SCS, please use the keyword FLLCIS5C
  • We’ll announce the winners Tuesday, September 4th at noon CST!

HOW CAN YOU WIN?

Play in this challenge and that counts as one entry for a stamping prize pack (including stamps and other goodies!) Play in all five and you will be entered toward our grand prize! Winners will be drawn randomly but if your card is one of our designers’ faves, your work will be added to our Customer Cards Gallery on Pinterest for all to see! So get those fingers inky and join us for our birthday bash!

Take note… the next challenge is coming your way in just 2 hours… at 8PM CST! See you then!

Thanks so much for stopping by! I have a wonderful day!
Beate

Yesterday I had another post on the Spellbinders blog along with a short video tutorial on how I made this card. Sorry I didn’t post this yesterday, but I had a bad migraine starting Friday and didn’t get to write this short note. It’s still there but finally my medicine is working..

I hope you are having a great weekend and you have a chance to check out the post. Thanks so much for stopping by!
Hugs and smiles

Hi all! We hope you’ve enjoyed this week’s peeks and we are excited to say that all of the stamp sets that we’ve been showing off this week are in the Flourishes Store HERE! We also have some exciting news to share as well — for three out of the four sets, there is a Silhouette Cut File available as well! These files made exclusively for the Silhouette Cameo offer the ability to custom cut images from the Garden Picks, Autumn Blossoms and With Gratitude stamp sets. Keep reading to learn more! Or, click HERE to visit these files in the Flourishes store! On to today’s last stamp set to be unveiled! It’s one that pays homage to the beautiful blossoms of fall!

https://flourishes.org/wp-content/uploads/2012/08/Autumn-Blossoms-Graphic-358x550.jpg

Part of The Blossoms Collection, this beautiful array of autumn blossoms illustrated by Marcella Hawley features a bouquet, corner stamps, and pieces to create your own borders or frames. Add in a trio of all occasion sentiments and you have the perfect set to create cards for every day correspondence. Set measures 4 by 6″ and is the perfect companion to sister sets Happily Ever After SS199 and Letters in Blossom SS198. If you like this set, you might also like our Summer Blossoms set as well featuring summer florals! The Flourishes design team has really gone all out showing off this beautiful set!

For my card I used two of the border stamps and paired them with a die cut frame. I stamped the images in Tuxedo Black Memento Ink on white cardstock, cut them out and colored them with Copic Markers (Y11, Y13, Y15, Y17, G20, G21, G24, G27, YR12, YR16, YR18 R24, R27, R29).

I cut and embossed a frame out of white cardstock with the second largest Decorative Label One die as well as a regular Label One die. More white cardstock was cut and embossed with a Fancy Framed Tags One die. A sentiment from the Autumn Blossom set was stamped in it’s center with Tuxedo Black Ink. The embossed part of the tag was sponged with Antique Linen and the sprig image of that set was stamped in Antique Linen above and underneath the sentiment. The inner oval of the tag was paper pierced.

The tag was adhered over the frame and the corner images were adhered above the frame and the tag. A piece of patterned paper was cut and embossed with the same Label One die that had been used to create the frame. The edges of the paper were sanded.

Two more pieces of patterned paper were cut and embossed with the smallest of the Grand Square Nestabilities die. The edges were sanded and stitched before the layers were adhered to the card base, white cardstock cut and embossed with the smallest Grand Scallop Square Nestabilities die. The patterned paper Label One die cut was adhered in the center of the card and the frame was adhered over it with dimensionals. Rhinestones under the sentiment and part of a Finesse Rhinestone Swirl finish off the card.

Would you like to win our new Autumn Blossoms stamp set? All you need to do is guess….

One of the ladies on our link list below will be picking a name from the comments on her blog post today. We don’t know which one it is… so the more blogs you leave comments on, the more chances you have to win! So what are you waiting for? Head on over and see…..

DID YOU KNOW YOU COULD WIN OUR ENTIRE AUGUST RELEASE? Have you checked out our Birthday Wishes Challenge? Just click HERE to find out how to play! You can also play in our Noon Time Challenges! Try Wednesay’s challenge by clicking HERE to find out about the A Bit of Texture Challenge or click HERE for more on the Country Road Challenge! They are both past paced ways to win our full August release! All challenges will close TODAY at 5 PM EST and winners will be announced Saturday in our Winner’s Circle blog post! So get those fingers inky and good luck!

One more note! Don’t forget about our special, limited time offer called our New Release Bundle! It’s a bundle of all four new stamp sets and for the next week — it’s 10% off the retail price! Thanks for stopping by. Be sure to stop back tomorrow to see if you were one of the lucky ones to land in our Winner’s Circle!

Thanks so much for stopping by! Have a wonderful weekend!
Hugs and smiles

Today’s sneak peek set is called Country Road and was created by the wonderful Lauren Pope. She created another wonderful silhouette stamp set, this time with country images.

For my sample I stamped  the roaster in Versamark Ink and embossed it with white embossing powder on Kraft cardstock. It was cut and embossed with one of the new Marvelous Square dies. With the die still on the cardstock, a sentiment from the new set was stamped in Vintage Photo Distress Ink. The edges were sponged in the same color. A smaller Marvelous Square die was used to cut and embossed more Kraft cardstock. The four cut out pieces were adhered underneath the edges of the image layer .

Two pieces of white cardstock were cut and embossed with Marvelous Square dies and were used under the Kraft layer. Pearls were added to the Marvelous Square layers. Patterned paper was cut and embossed with a Grand Square Nestabilities die. The edges were sanded and stitched before the paper was adhered to a card base, created out of white cardstock that had been cut and embossed with a Grand Scallop Square Nestabilities die.

Want to win this set? All you need to do is leave some love in the form of a comment on the blogs below! Why? You need to try to figure out…..


One of the ladies on our link list below will be picking a name from the comments on her blog post today. We don’t know which one it is… so the more blogs you leave comments on, the more chances you have to win! So what are you waiting for? Head on over and see…..

DID YOU KNOW YOU COULD WIN OUR ENTIRE AUGUST RELEASE? Have you checked out our Birthday Wishes Challenge? Just click HERE to find out how to play! You can also play in our Noon Time Challenges, which kick off today and continue noon tomorrow! Our noon time challenges are fast-paced chances to win our full July release! All challenges will close this Friday at 5 PM EST and winners will be announced Saturday in our Winner’s Circle blog post! So get those fingers inky and good luck!

Thanks so much for stopping by! Have a wonderful day!
Hugs and smiles

Are you ready for more Flourishes fun? If you missed yesterday’s Timeless Tuesday post, you missed the kick start of Flourishes August release! (And a chance to win it!) So, click HERE to check that out! Today, our fabulous designers are showing off a set that is fresh picked. It’s a bouquet of goodness fresh from the flower garden!

Freshly snipped from the garden, these herbs and florals are ready to be enjoyed. This set illustrated by Marcella Hawley features three different bouquets all designed to be set in an old fashioned mason jar for a down home feel. This 4″ by 6″ set also features two perfect all occasion sentiments as well. Wait until you see just how gorgesous this set is! If you like what you see on today’s designers’ posts, this set is available for pre-order now HERE!

Our design team has some hand-picked inspiration — just for YOU!

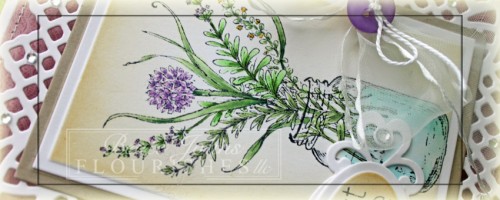
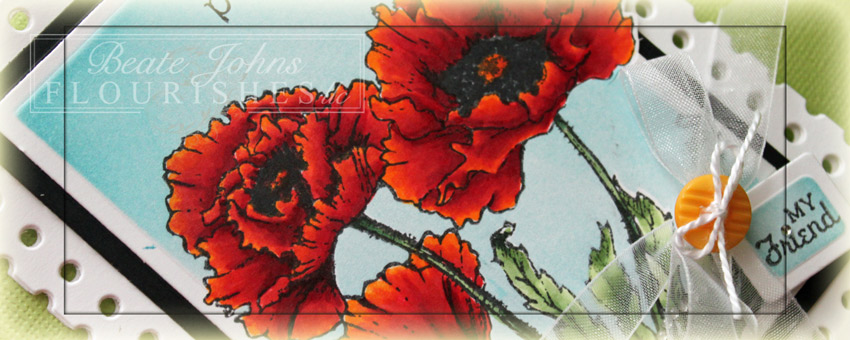
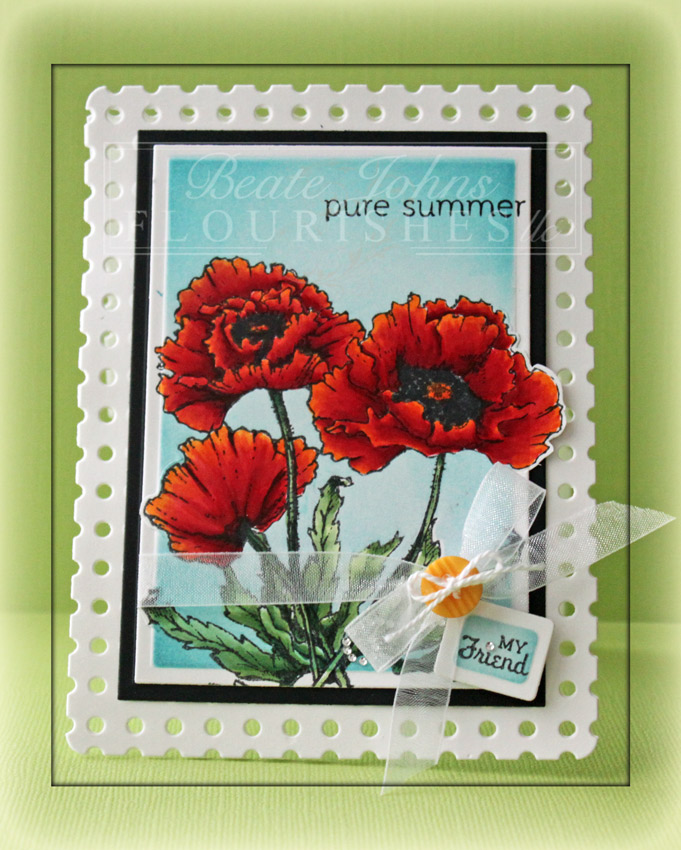
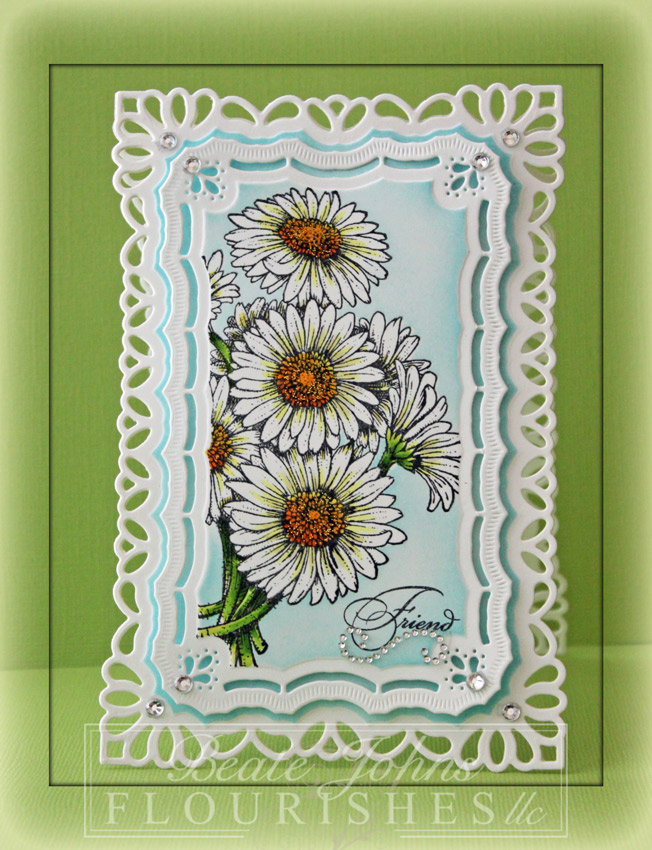
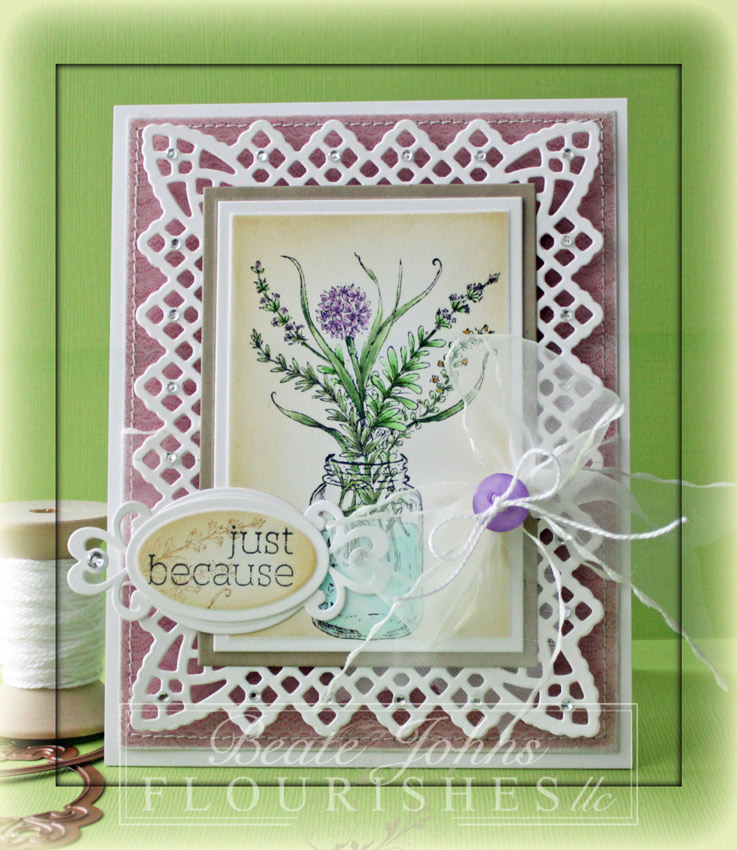
I was a bit of a last minute Nellie and made my card yesterday. I saw the gorgeous creations my team mates had already done and decided to use the image that had been used the least. I have to tell you, I LOVE all three bouquets. I stamped the image in Tuxedo Black Memento Ink on white cardstock, cut and embossed with the 4th smallest of the Card Creator Matting A Basics dies. The image was colored with Copic Markers (V12, V14, V17, Y15, Y17, G20, G21, G24, G82, G85, G94, YG11, YG13, YG17, BG000, BG11, C1) and the edges were sponged with Antique Linen and  Vintage Photo Distress Ink.

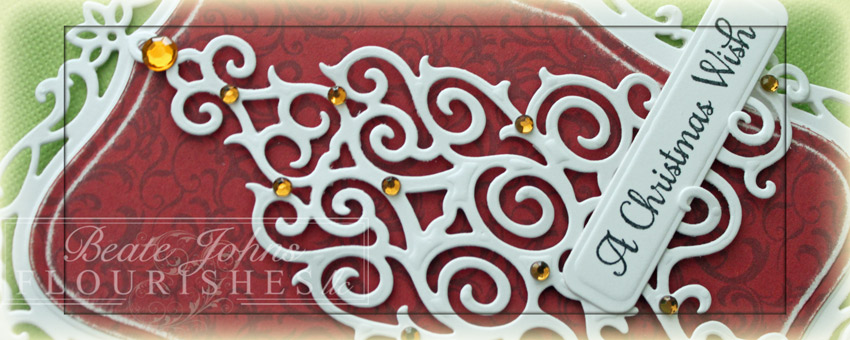
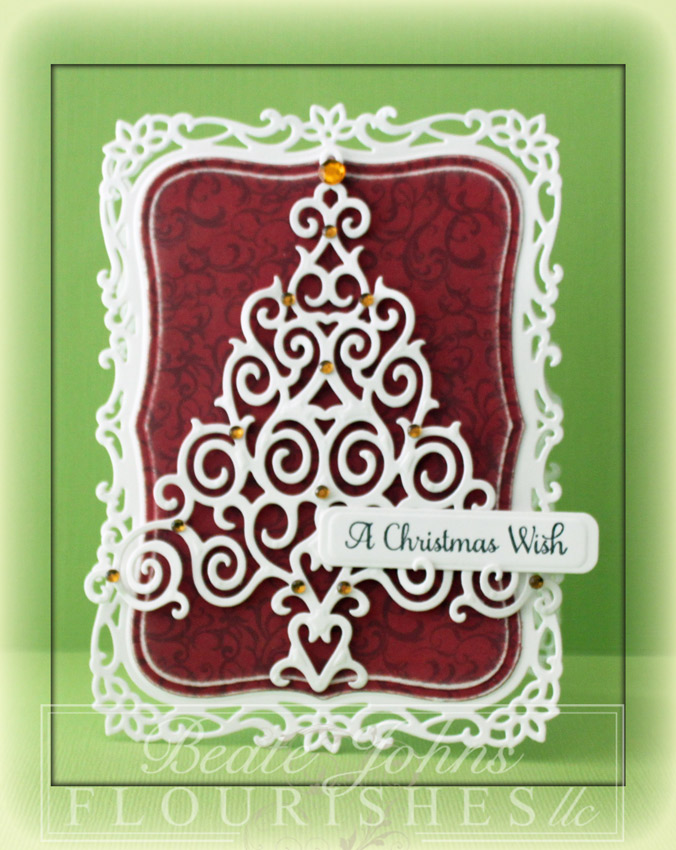
The image was adhered to a piece of Kraft cardstock, cut and embossed with the next bigger Matting Basic B die. Two pieces of white cardstock were cut and embossed with the Lace Doily Motif die. One end of each piece were cut off and the pieces were assembled for a rectangle background. The image layers were adhered ove the Lace Doily rectangle.

The edges of a 4 1/4″ x 5 1/2″ piece of My Mind’s Eye Miss Caroline Fiddlesticks patterned paper were sanded and stitched. Sheer Satin Ribbon was tied through a hole in the image layer and around the the patterned paper before the layers were adhered to the card base. The bow was topped with a button, tied on with embroidery thread. Small Rhinestones on the Lacey Doily Rectangle and the sentiment finish off the card.

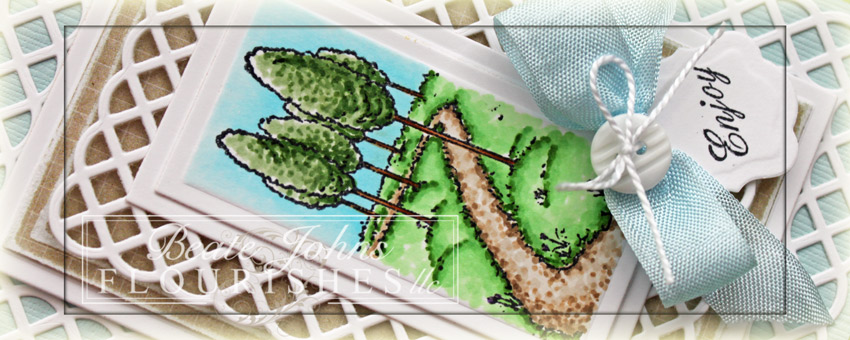
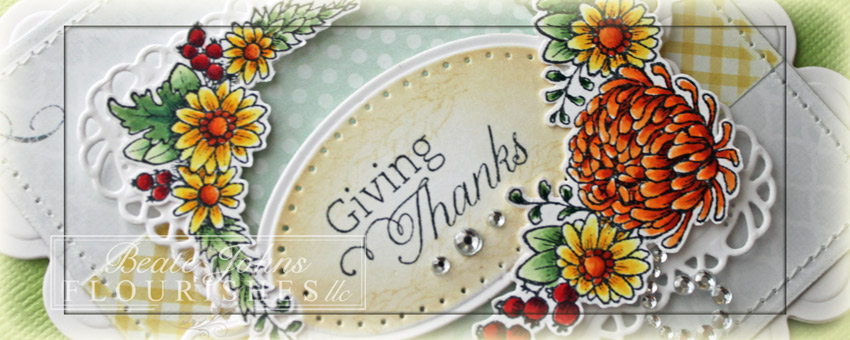
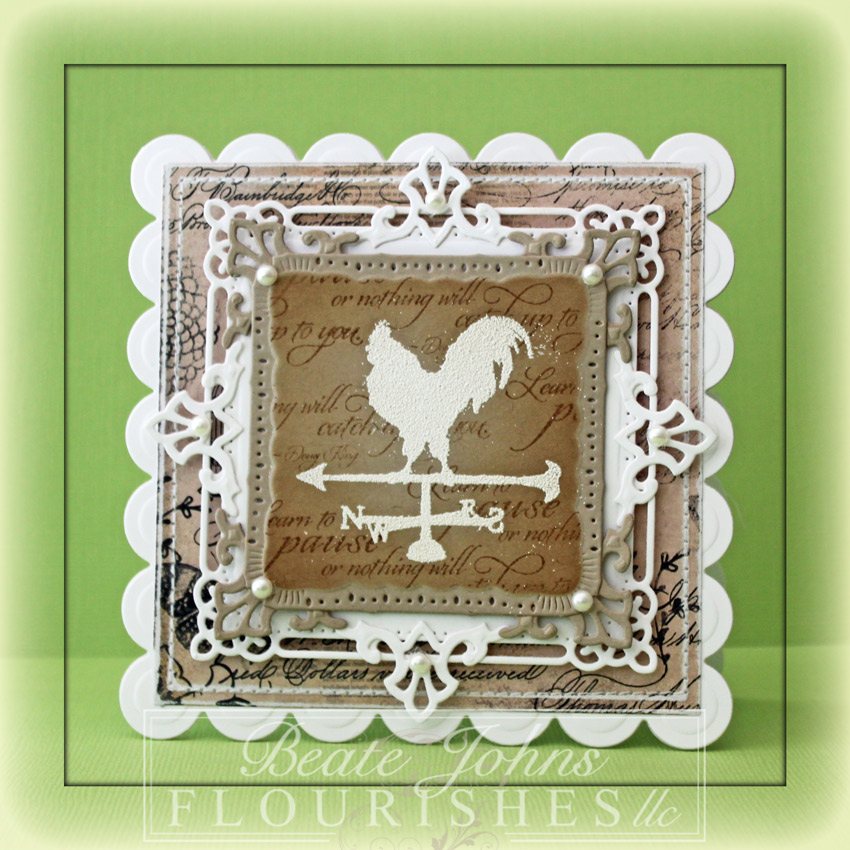
A sentiment from the new set was stamped in Tuxedo Black Ink on a piece of white cardstock, cut and embossed with an insert die from the Fancy Framed Tag Two dies. The embossed part was sponged with Vintage Photo Distress Ink and stamped with the main image in the same ink. The oval was adhered to a tag, cut and embossed with a Fancy Framed Tags One die.


Want to win this set? All you need to do is leave some love in the form of a comment on the blogs below! Why? You need to try to figure out…..

One of the ladies on our link list below will be picking a name from the comments on her blog post today. We don’t know which one it is… so the more blogs you leave comments on, the more chances you have to win! So what are you waiting for? Head on over and see…..

DID YOU KNOW YOU COULD WIN OUR ENTIRE AUGUST RELEASE? Have you checked out our Birthday Wishes Challenge? Just click HERE to find out how to play! You can also play in our Noon Time Challenges, which kick off today and continue noon tomorrow! Our noon time challenges are fast-paced chances to win our full July release! All challenges will close this Friday at 5 PM EST and winners will be announced Saturday in our Winner’s Circle blog post! So get those fingers inky and good luck!

Thanks so much for stopping by! Have a wonderful day!
Hugs and smiles

Can you you believe Flourishes is already turning 5 years old? Time flies!!! For my birthday project I created a card with the Let them Eat Cake stamp set. I cut and embossed a piece of white cardstock with the smallest of the new Grand Decorative Oval Nestabilities die. The cake stand was stamped in Tuxedo Black Memento Ink, the layers in Tumbled Glass Distress ink. The edges of the oval were sponged with Antique Linen Distress ink. Part of a Finesse Pearl Swirl was adhered to the cake layer part.

Two pieces of My Mind’s Eye Lost & Found 2 Breeze patterned paper were cut and embossed with the second largest Label Eight Nestabilities die. The edges were stitched before blue ribbon was tied around the layers and through a hole punched in the image layer.  A piece of white cardstock was cut and embossed with the largest of the new (and highly addictive) Decorative Label Eight dies. The layers were adhered to the decorative label die cut before everything was adhered to a blue card base.

A sentiment from the Botanical Bookplates Vo. 1 was stamped in Tuxedo Black Memento Ink on a piece of white cardstock, cut and embossed with an inner die from one of the Fancy Framed Tags 2 die. The edges were sponged with Antique Linen ink before the tag was adhered right under the ribbon bow.

To get ready for next week’s big August Stamp Release, Flourishes is ushering in a festive challenge! Not only will it celebrate Flourishes 5th birthday, but it will give YOU a chance to win our new release! So, put on your best party attire and get ready for the….

HOW TO PLAY: This challenge is going to be super duper easy peasy. Why? All you need to do is create a birthday creation. It could be a card, a tag, a 3-D object, ANYTHING! As long as it celebrates a birthday, you’ll be in the running! Please remember, entries must be in by August 10th at 5PM EST to be eligible. If you upload to Splitcoaststampers, please use the key word FLLCAUG12. And, don’t forget to link up your creation right here on this post using the Inlinkz link widget below. Use Flourishes stamps if you have them — Flourishes entries will be counted twice! But, if you don’t have Flourishes, play along anyway, you could WIN some!

Need some inspiration? The design team created all kinds of birthday goodies – from decorations to cards to invites to treat boxes — you name it, they have been inspired! So, hop on over and see….

Thanks so much for stopping by! I hope you have time to play along! Have a wonderful day!
Hugs and smiles

Did you see that Flourishes has all their Christmas sets on  25% off right now until the end of the month? Because of that the Timeless Tuesday team showed off Christmas cards on Tuesday and the design team is showing off more Christmas projects today.

Of course I had to combine the gorgeous Flourishes stamps with newly released Spellbinders dies.

I love the Holiday Tree die cut set. I used the tree die to cut and emboss white cardstock.  Brown rhinestones were randomly added. Patterned paper was cut and embossed with the second Label Eight Nestabilities die. The edges were sanded before it was adhered to the card base, white cardstock cut and embossed with the largest Decorative Label Eight die.

A sentiment from Petals & Peace was stamped in Tuxedo Black Memento Ink on white cardstock that had been cut and embossed with an insert die from Fancy Framed Tags One. It was adhered to the lower right of the tree.

Check out what my fellow team members have created today:

Thanks so much for stopping by! Have a wonderful day!
Hugs and smiles

© 2012 fresh & fun Suffusion theme by Sayontan Sinha