Hi all and welcome to the very first day of Flourishes Sneak Peeks for JUNE! It’s exciting because the sets being revealed this week aren’t just unique for June — they are part of an entire collection of stamp sets that will be released over the next year! It’s called the Blossom Collection and each set released under this name will be designed to coordinate with the other pieces for all types of occassions! Use one set on it’s own or slowly add to the collection — that’s the beauty of it!

Today’s set is the first part of this collection and features beautiful blooms perfect for summer!

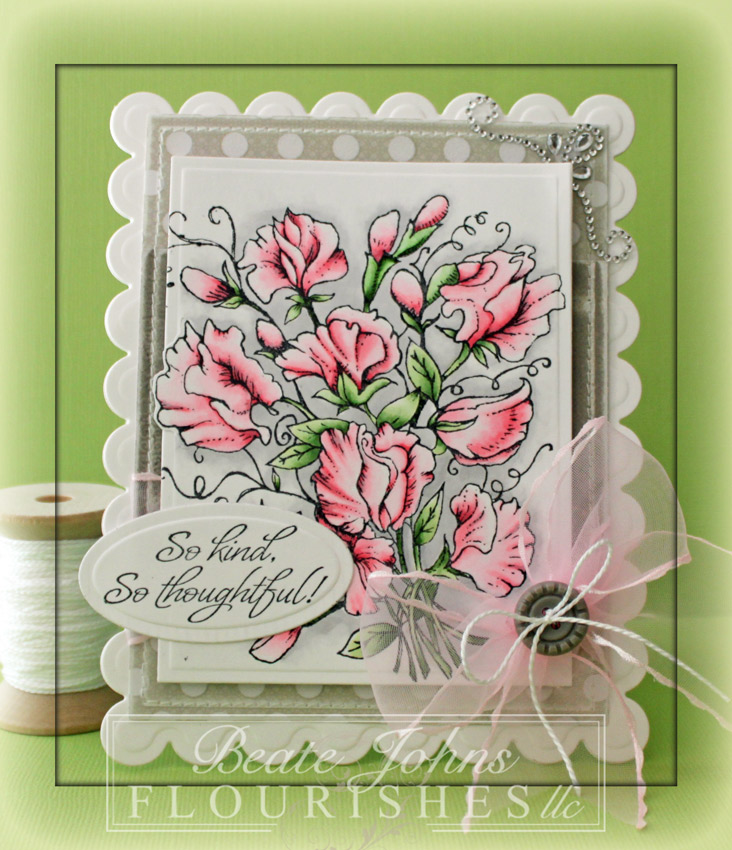
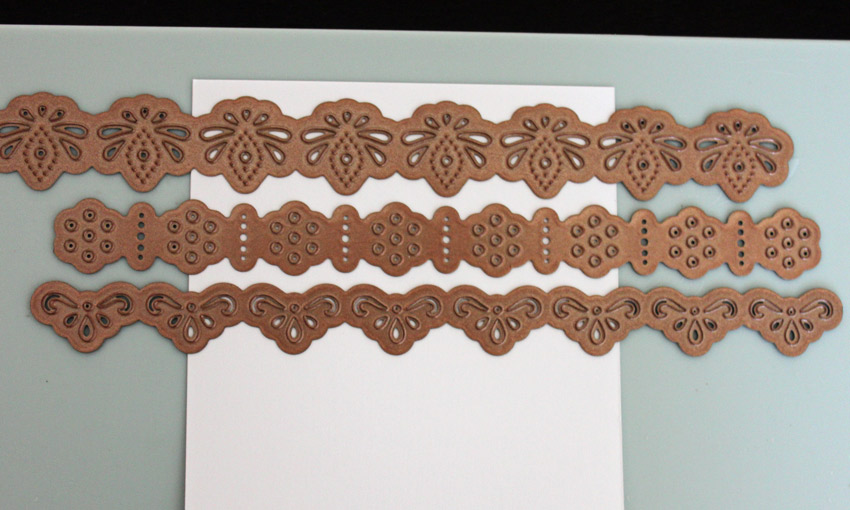
Part of The Blossoms Collection, this beautiful array of summer blossoms illustrated by Marcella Hawley features a bouquet, corner stamps, and pieces to create your own borders or frames. Add in a trio of all occasion sentiments and you have the perfect set to create cards for every day correspondence. Set measures 4 by 6″ and is the perfect companion to sister sets Happily Ever After SS199 and Letters in Blossom SS198. If you like what you see, this set is available for pre-order now, just click HERE!

The design team has been busy creating beautiful things with this stunning set!

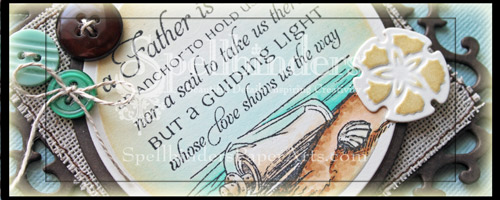
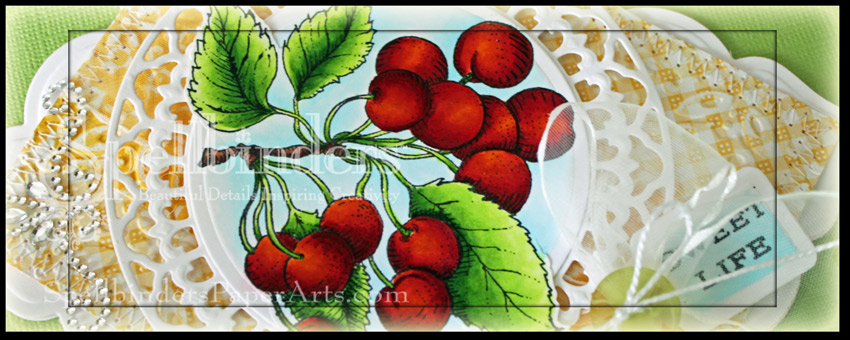
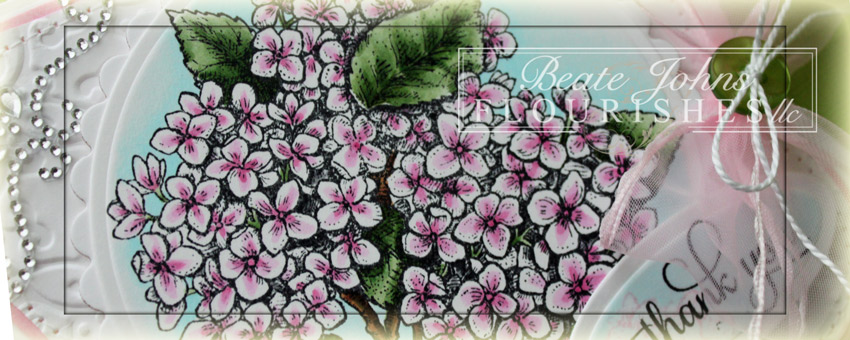
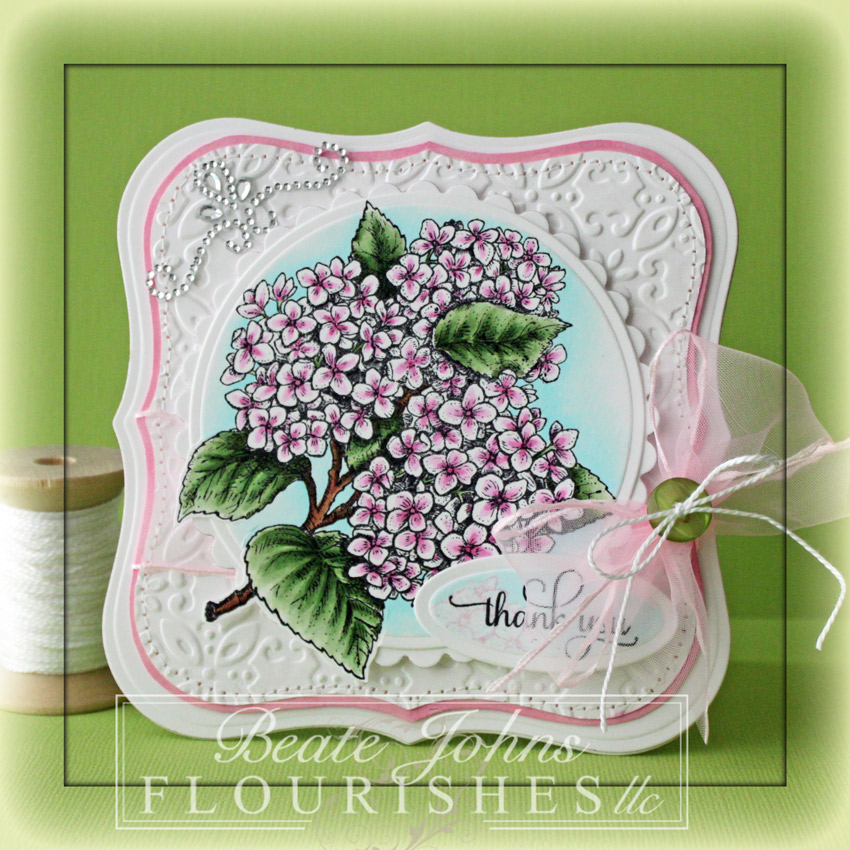
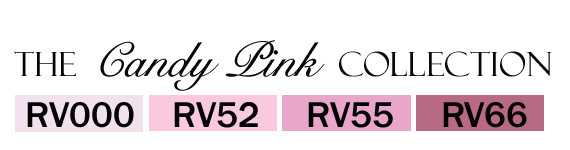
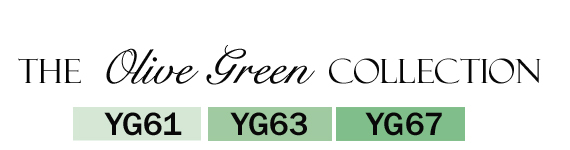
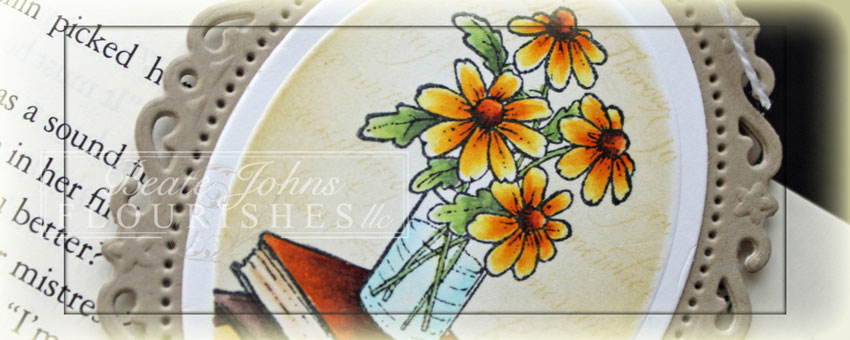
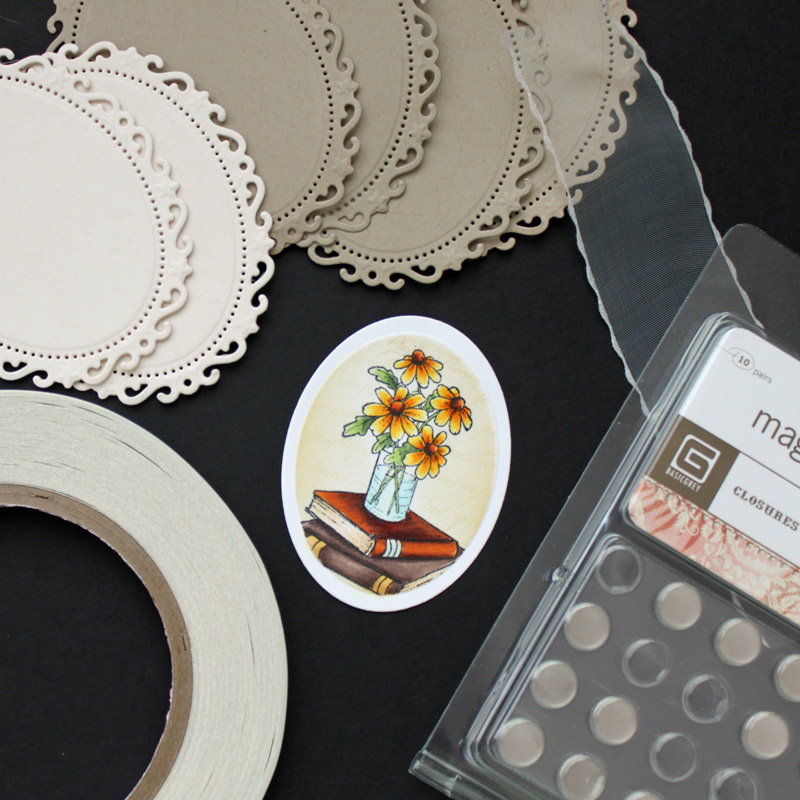
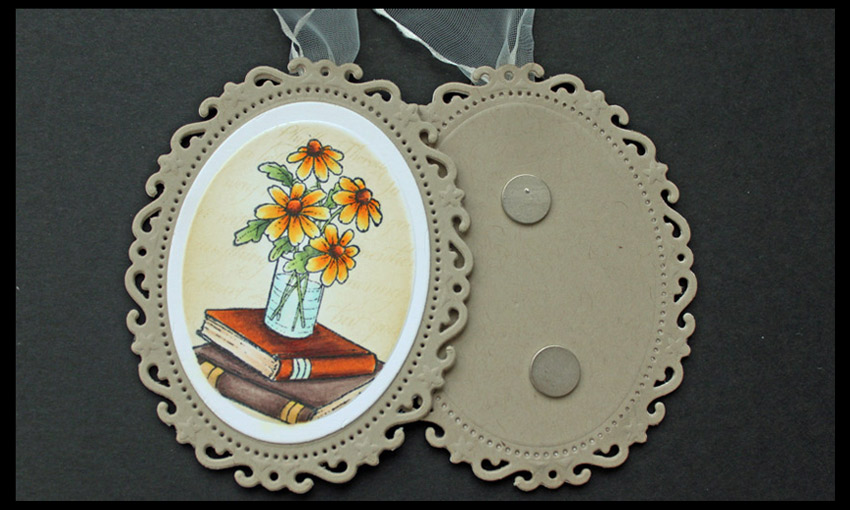
I stamped the big floral image in Tuxedo Black Memento Ink, colored it in Copic Markers (Yellow flowers: Y13, Y15, Y17, YR16, YR18, E97, w3, E29   Red Flowers: R20, R21, R22, YR16, E97   Berries: R24, R29, R29   Leaves: YG11, YG13, YG17   Shading: C00, C3). The image was cut and embossed with the largest of the Classic Oval Nestabilities die and the edges were sponged with Antique Linen Distress Ink.

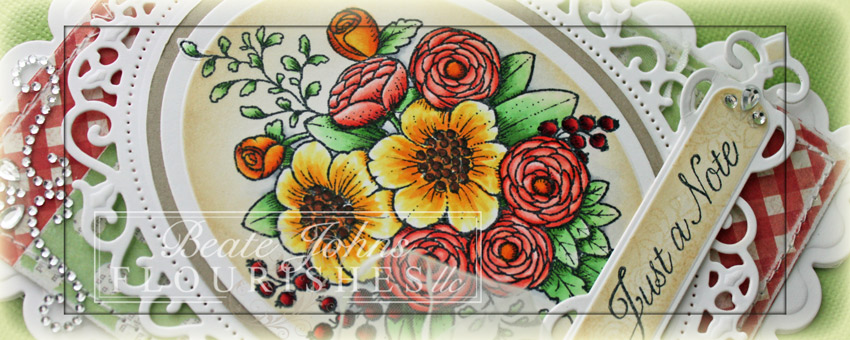
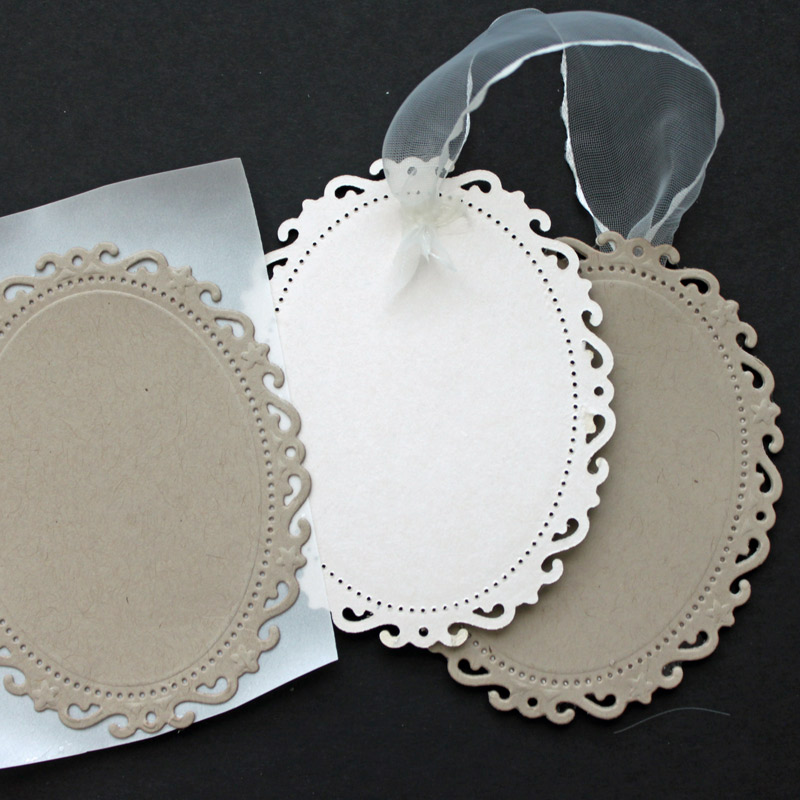
It was adhered to a piece of Kraft cardstock, which was cut free hand into a slightly larger oval layer. The layers were adhered to a piece of white cardstock, cut and embossed with the largest of the Floral Oval Nestabilities dies.

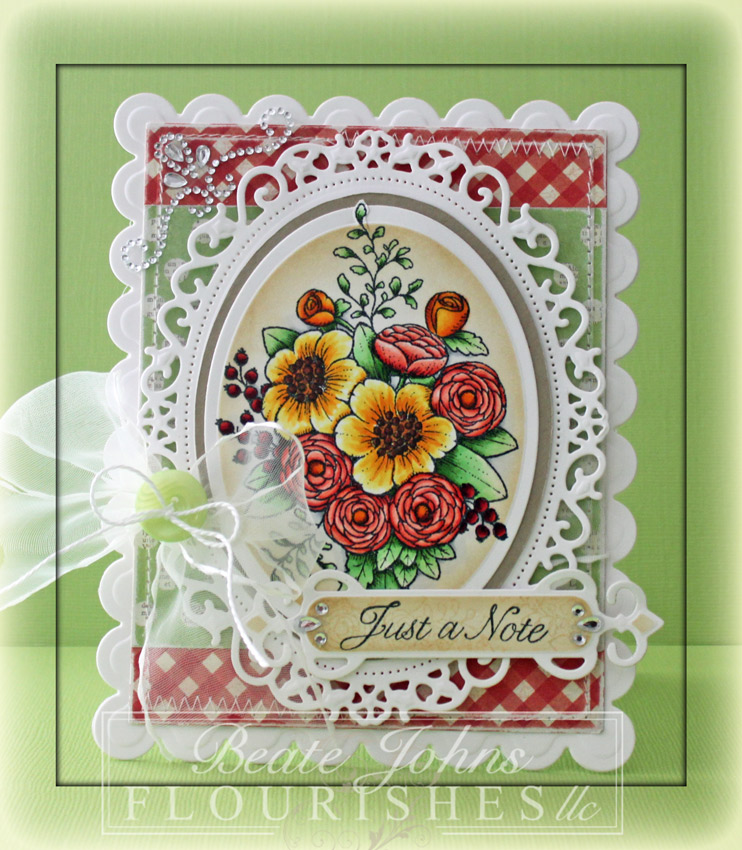
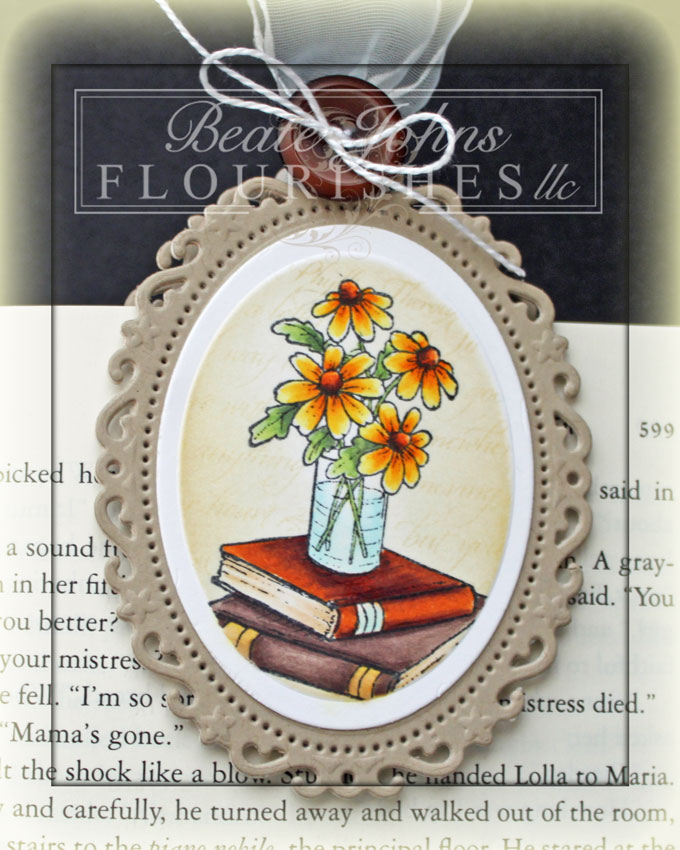
Two pieces of My Mind’s Eye Lost and Found 2 Rosy patterned paper were cut and embossed with the second smallest Grand Rectangle Nestabilities die. The edges were sanded and stitched before May Arts ribbon was tied around the horizontal strip and topped with a button. The layer was then adhered to the card base, white cardstock, cut and embossed with a second smallest Grand Scallop Rectangle die.

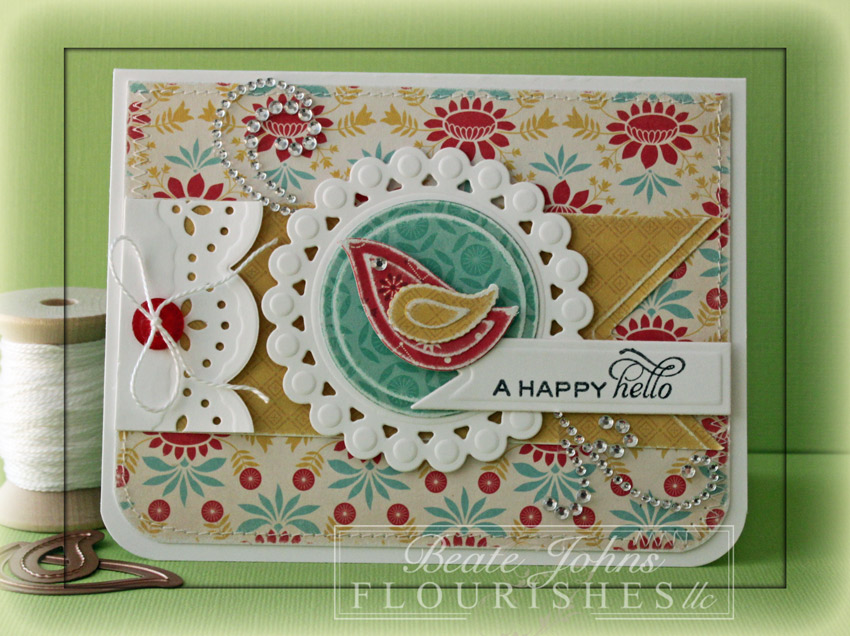
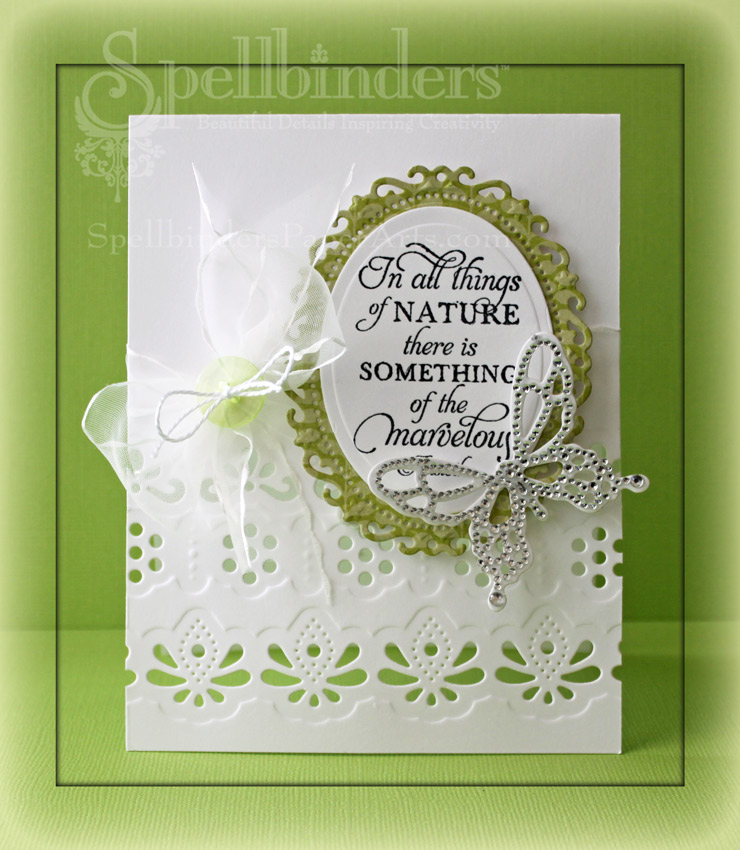
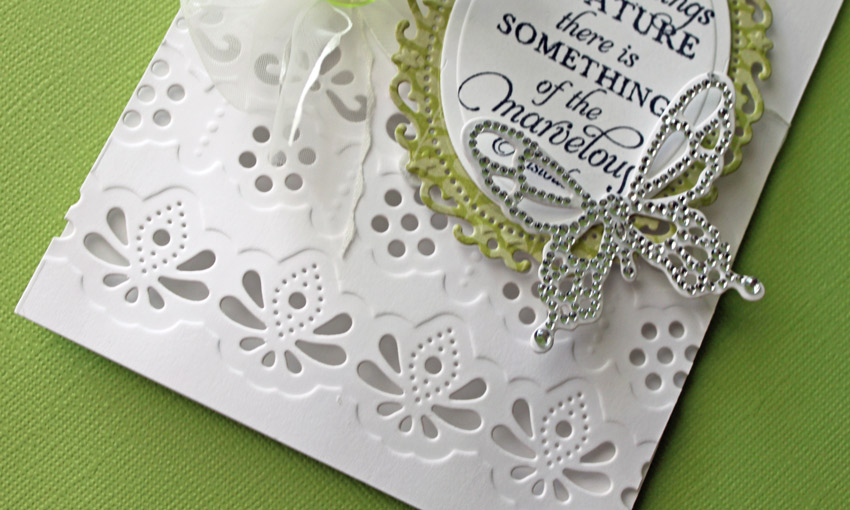
A sentiment from Summer Blossoms was stamped in Tuxedo Black ink on a piece of white cardstock, cut and embossed with a Fancy Tag One die. The embossed parts of the tag were sponged and the sentiment was adhered to the lower right of the image. Rhinestones finish off the card.

Want to win this set? All you need to do is leave some love in the form of a comment on the blogs below! Why? You need to try to figure out…..


One of the ladies on our link list below will be picking a name from the comments on her blog post today. We don’t know which one it is… so the more blogs you leave comments on, the more chances you have to win!

With that bit of eye candy, you’ll surely want to see the design team’s cards and creations in full color when you take a trip over to their blogs!

One quick note!! As you make your rounds today, you might notice some of the gals using some fun paper in shades of sage, blue and yellow! It’s all a part of Flourishes new 123 Create Kit that is being released TODAY… right HERE! Want a peek? Take a look. All this for just $20!

DID YOU KNOW YOU COULD WIN OUR ENTIRE JUNE RELEASE? Have you checked out our 10 Minute Creations Challenge? Just click HERE to find out how to play! You can also play in our Noon Time Challenges, which kick off today and continue noon tomorrow! Our noon time challenges are fast-paced chances to win our full June release! All challenges will close this Friday at 5 PM EST and winners will be announced Saturday in our Winner’s Circle blog post! So get those fingers inky and good luck!

Don’t forget our New Release Bundle! If you buy all three sets in a bundle, you save 10% off the price. But, this offer only lasts through next Friday, June 22! So… you have to act fast! Just click HERE to see!

See you back here at noon for more Flourishes FUN!

Thanks so much for stopping by! Have a wonderful day!
Hugs and smiles

Today’s Timeless Tuesday hostess is Heather. She challenged us to create a Father’s Day project.  For me it was the perfect opportunity to use the new Father’s Day stamp set from last month release.

I stamped one of the images in black ink on white cardstock and cut it out. It was layered over a piece of cardstock cut and embossed with an Ornate Artisan Tags and Accents die that had been sponged with Antique Linen and Vintage Photo Distress Inks.  Another piece of white cardstock was cut and embossed with a Label 18 Nestabilities die. The embossed part was sponged again and one of the sentiments of the Father’s Day set was stamped over the sponged area with Vintage Photo ink. The layers were adhered over a piece of black cardstock, cut and embossed over a Lacey Square Nestabilities die.

A strip of My Mind’s Eye Lost and Found 2 Sunshine paper strip was adhered to a bigger square of the same paper pack. The layers were cut and embossed with a Label 1 Nestabilities die.  The edges were sanded  before the layers were adhered to the card base, black cardstock cut and embossed with a Grand Label 1 Nestabilities die.

A sentiment from the Father’s Day stamp set was stamped on a piece of white cardstock, cut and embossed with a Lacey Pennant die. The embossed part of the pendant was sponged as well.

Take a peek at what the other Timeless Tuesday designer have created for today…

I hope you have time to play. Thanks so much for stopping by! Have a wonderful day!
Hugs and smiles

Tuesday I had a post on the Spellbinders blog that I haven’t shared here yet. This week it’s all about Father’s Day. For my card I used and image and sentiment from Flourishes A Guiding Light.The image was colored with Copic Markers (Letter: E50, E51     Cork: E41, E42, E43   Sand: Eooo, E30, E31, E33, E35   Water: BG10, BG11, BG13    Sky: B0000).

Please check out the entire card and step by step instruction in this blog post.

Thanks so much for stopping by! Have a wonderful day.
Hugs and smiles

Becky Fleck has new card sketches on her Pagemaps site today. I created this card with one of those gorgeous new sketches as well as one of her Spellbinders die packs.

For my sample I used Cosmo Cricket Baby Jane paper. I cut and embossed pieces with Pagemaps Whimsy dies and  sanded the edges to create the bird. Another piece of Baby Jane paper was cut and embossed with a Standard Circle Nestabilities die. Again the edges were sanded before the circle was adhered to a piece of Neenah Solar White cardstock, cut and embossed with a Tear Drop Circle Nestabilities die.

The bottom corner of a 4″ x 5 1/4″ piece of Baby Jane paper were rounded before the edges were sanded and stitched. The layer was adhered to the card base, a 5 1/2″ x 8 1/2″ piece of white cardstock, folded in half.  The left side of a Baby Jane paper strip was cut and embossed with a  Classic Square Nestabilities die to create a banner edge. The strip was adhered to the center of the card layers. A short strip of white cardstock was cut and embossed with a Classic Scallop Edgeabilities as well as a Classic Decorative Insert 5 die. The white paper strip was adhered over the left hand side of the strip and topped with a button.

A sentiment from Flourishes Tag Lines was stamped in Tuxedo Black Memento Ink on white cardstock that had been cut and embossed with a Nested Lacey Pennants die. The sentiment was adhered to the right hand side of the card. Parts of a  Finesse Rhinestone Swirl finish off the card.

Thanks so much for stopping by! Have a wonderful day.
Hugs and smiles

My post on the Spellbinders blog today is all about summer time. I hope you have time to check it out. I always appreciate comments there.  The cherries were colored with Copic Markers (Cherries: YR15, R08, R24, R29, R39   Leaves: YG01, YG03, YG17   Branch: E23, E25, E27, E29   Background: B0000, B000).

Talking about summer time. With the kids being home from school now, I don’t think I can post a daily blog post. I hope you understand. I will post as often as I can.

Thanks so much for stopping by! Have a wonderful day!
Hugs and smiles

Today’s challenge hostess is Mona! She asks us to create a thank you card or tag.  I knew right away I wanted to use the new Hydrangea stamp set again. This time I chose to use the larger of the two flower clusters instead of the big bouquet. The image was stamped three times in Tuxedo Black Memento Ink on white cardstock, colored with Copic Markers (YR30, YR31, R000, R00, R01, Ro2).  I know those are not colors that Hydrangeas come in, but they worked best for the patterned paper I chose.

A frame was cut out of white cardstock, a  Standard Circle Nestabilities die as well the largest  Tear Drop Circle die. The same Standard circle was used to cut a piece of patterned paper from the  Pink Paislee Butterfly Garden collection. The circle was sanded and stitched and a sentiment from the Hydrangea set was stamped in it’s center. The flowers were adhered to the lower  left of the of the frame.

Another piece of Butterfly Garden paper was cut and embossed with the smallest of the Grand Square Nestabilities die. The edges were sanded and stitched. May Arts Ribbon was threaded through a hole in the Tear Drop circle frame and the layers were adhered to the patterned paper square. The ribbon was tied into a bow and topped with a button. The layers were adhered to the card base, white cardstock cut and embossed with a Grand Scallop Square Nestabilities die. Rhinestones on the top left finish off the card.

Take a peek at what the other Timeless Tuesday designer have created for today…

I hope you have time to play. Thanks so much for stopping by! Have a wonderful day!
Hugs and smiles

I have the pleasure to be the hostess in this weeks Timeless Tuesday Challenge. I love May. Everything is blooming and you can see flowers everywhere. My challenge is super easy. Just use a flower image on your project.

For my card I decided to use the gorgeous image from the Sweet Peas stamp set. It was stamped in Tuxedo Black Memento Ink on white cardstock. The image was cut and embossed with the smallest Grand Rectangle Nestabilities die and the Out of the Box technique and colored with Copic Markers (Blossom: RV000, RV10, RV13    Leaves: G20, G21, G24   Background: N0, N2).

Two pieces of patterned paper were cut and embossed with the next size of Grand Rectangle dies. The edges were sanded and stitched. A hole was punched on the lower right of the image and pink sheer ribbon was threaded through. The image layer was adhered to the patterned paper, the ribbon was tied into a bow and topped with a button.

A sentiment from With Gratitude was stamped in Tuxedo Black ink on a piece of white cardstock, cut and embossed with a Petite Oval Nestabilities die. The sentiment was adhered to the lower left of the image. The layers were adhered to the card base, white cardstock cut and embossed with a Grand Scallop Rectangle Nestabilities die.

Take a peek at what the other Timeless Tuesday designer have created for today…

I hope you have time to play. Thanks so much for stopping by! Have a wonderful day!
Hugs and smiles


Today’s Timeless Tuesday challenge hostess is Silke Ledlow. Her challenge is called Pink-a-licious. Adding pink to a card…now that’s an easy challenge right? Since it’s Release week at Flourishes, I get to give you a little sneak peek of one of the new sets. This one is called Hydrangea. Let me tell you….it’s GORGEOUS, just like the rest of the new sets. Make sure you check the Flourishes blog starting tomorrow to get links to the design team samples.

I stamped the big image in  Tuxedo Black Memento Ink on white cardstock. The image was cut and embossed with a Standard Circle Nestabilities die and the Out of the Box technique and the image was colored with Copic Markers (RV52, RV55, YG61, YG63, YG67, E23, E27, BG0000, BG000). The image was adhered to a white scallop circle.

White cardstock was cut and embossed with the smallest of the Grand Label 1 Nestabilities dies and embossed with Mystic M-Bossabilities folder. The layer was adhered to a slightly bigger piece of cardstock that was cut to a slightly bigger shape and colored with Copic Marker RV52. The edges were stitched before pink May Arts ribbon was tied around it. The bow was topped with a button, tied on with embroidery thread.

Part of a sentiment from the new set was stamped in Tuxedo Black ink on white cardstock, cut and embossed with the smallest of the Petite Oval Nestabilities dies. A smaller image set was stamped in Angel Pink Memento Ink to the left side of the oval and the embossed parts were colored with Copic Marker BG0000. The sentiment was adhered to the lower right of the image. The layers were adhered to a card base, cut and embossed with the second smallest Grand Label 1 Nestabilities die. Rhinestones on the upper left hand corner finish off the card.

Take a peek at what the other Timeless Tuesday designer have created for today…

I hope you have time to play. This week you could win the entire new release of the gorgeous new stamp sets. Thanks so much for stopping by! Have a wonderful day!
Hugs and smiles

Yesterday’s tutorial on Splitcoaststampers was written by the wonderful Beverly Gerard. She showed us how to create bookmarks out of chipboard.

I started by cutting 2 thin coasters with the second largest Floral Oval Nestabilities die. I also cut four pieces of Kraft cardstock with the same die.

A piece of Neenah Solar White cardstock was cut and embossed with a Classic Oval Nestabilities die. An image from Flourishes From The Desk Of was stamped in Tuxedo Black Memento Ink and colored with Copic Markers (Flowers: Y15, Y17, YR15, Y27, E39,   Leaves: G40, G43, G46, YG21   Water: BG0000, BG000   Books: E71, E74, E77, YR14, YR27, E37, E0000, E30, E31). The image was masked, then a sentiment was stamped over the image with Antique Linen Distress ink. The oval was sponged with the same ink.


I ran the Kraft Oval die cuts through my Xyron. A Kraft Oval was adhered to each of Coaster oval die cuts. Before Kraft ovals were added to the other side, May Arts ribbon was adhered to the coaster oval.


The image oval was adhered to the bookmark front and magnetic discs on the back.

To finish off the bookmark I tied a button to the top of the oval with embroidery thread.

Thank you so much for stopping by! Have a wonderful day.

Hugs and smiles

I am excited to be participating in the Spellbinders™ Spring Blog Hop today. My assignment was to create a card with two or more of the gorgeous Classic Insert 4 dies. I love the look the inserts create along with the Classic Edge dies. But I had never used them without a cutting edge. I used all three insert dies without a cutting edge and I really like how it turned out.

Spellbinders Paper Arts Supply List:

Cross Promotional Partner:

I started by laying down the card base on my base plate. I arranged the Classic Decorative Inserts Four dies over the bottom of the back of the card base. (I placed the the back of the card underneath the dies, because the inserts are 8″ long. The way I arranged the dies I had to place them the long way on the base plate. Since the card base is 11″ long, it wouldn’t fit any other way).

I folded the card front over the dies and cut and embossed the card front.

A piece of My Mind’s Eye™ On The Bright Side Two was cut and embossed with the second largest Floral Oval die. A piece of white cardstock was cut and embossed with the second largest Classic Oval Small die. The white oval was stamped with a sentiment from Flourishes Life Lines and adhered over the patterned paper oval.

Ribbon was tied around the card front above the embossed part. A button was tied on over the bow with embroidery thread before the sentiment layers were adhered to the card front with SCRAPBOOK ADHESIVES BY 3L™ 3D Foam Squares.

A piece of white cardstock was cut with a die from the Wonderful Wings pack. Want2Scrap Wonderful Wings Bling was adhered over the cardstock butterfly before it was adhered to the lower edge of the oval panels.

The Spellbinders™ Spring Blog Hop will begin April 30th, and will end on May 5th, 2012. It consists of 16 individual and one grand prize drawings.  Enter the Spellbinders™ Spring Blog Hop by visiting the participating blogs each day.

From each Blog Hop post, click on the Blog Hop “Enter HERE” at the end of each blog to open the entry form. You may only enter once from each blog each day.

Spellbinders™ will randomly draw one winner from each participating blog to receive all of that day’s products. The Grand Prize Winner will be randomly drawn from the pool of entrants that sent entry forms from each and every participating blog during the 48 hours each blog was open. For the full list of official rules please click RULES.

**Enter the contest by clicking HERE**

Thanks so much for stopping by! I hope you have time to check out what the other blog hop participants have created for you.

Christine Emberson

Windy Robinson


Questions?  [email protected]

No entries will be accepted at this email address.


© 2012 fresh & fun Suffusion theme by Sayontan Sinha