Gina K. wrote the Misting with Alcohol Marker tutorial for SCS a while back. The tutorial was in the newsletter last Wednesday, so I created a video for it. Since Gina wrote the tutorial, I used her stamps for the video. Plus…I REALLY LOVE these Christmas sets.
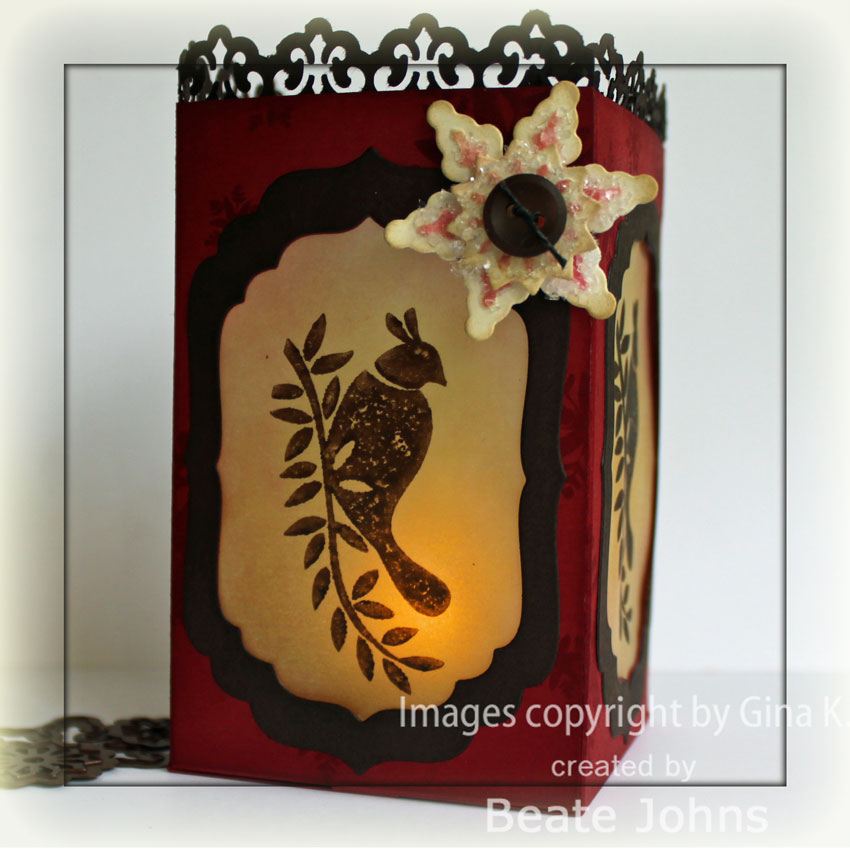
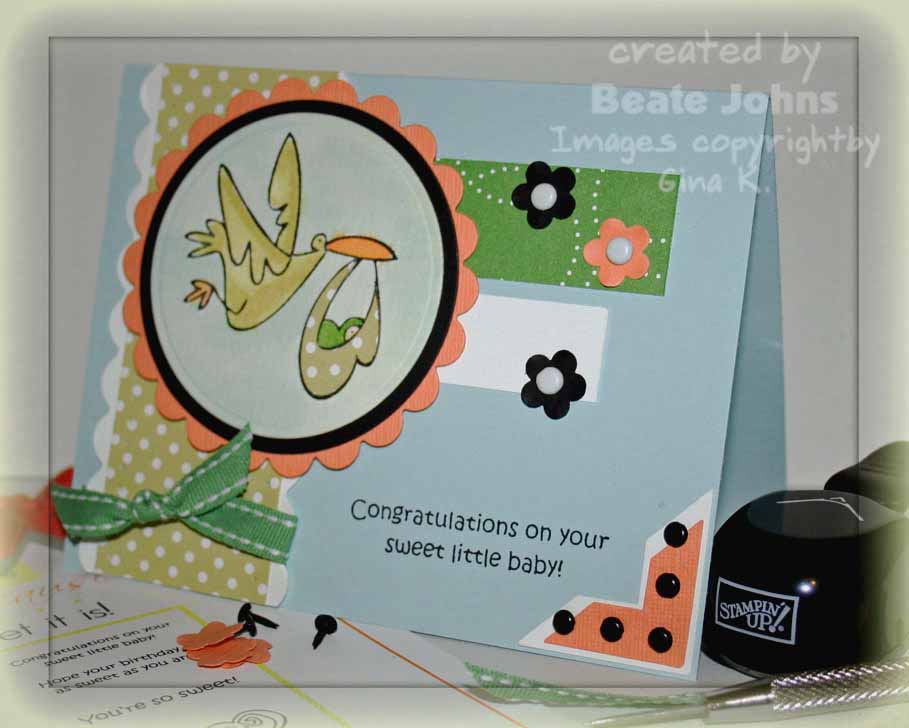
I used the bird stamp from Holiday cheer and colored it with Copic Markers (R39, R59, YG95, YG99). Next I filled a mini mister with rubbing Alcohol and sprayed the stamp. The image was stamped on Neenah Solar White cardstock, cut with Label 4 Nestabilities and sponged first with Scattered Straw, then with Vintage Photo distress inks. It was layered on the next size bigger label that had been cut out of Chocolate chip cardstock.
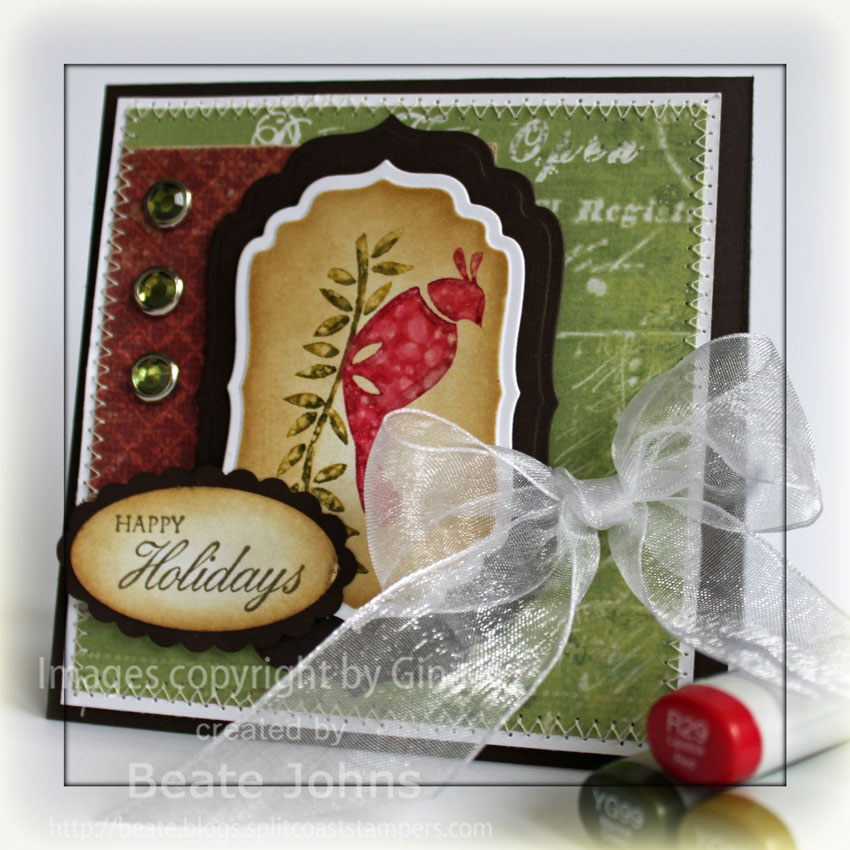
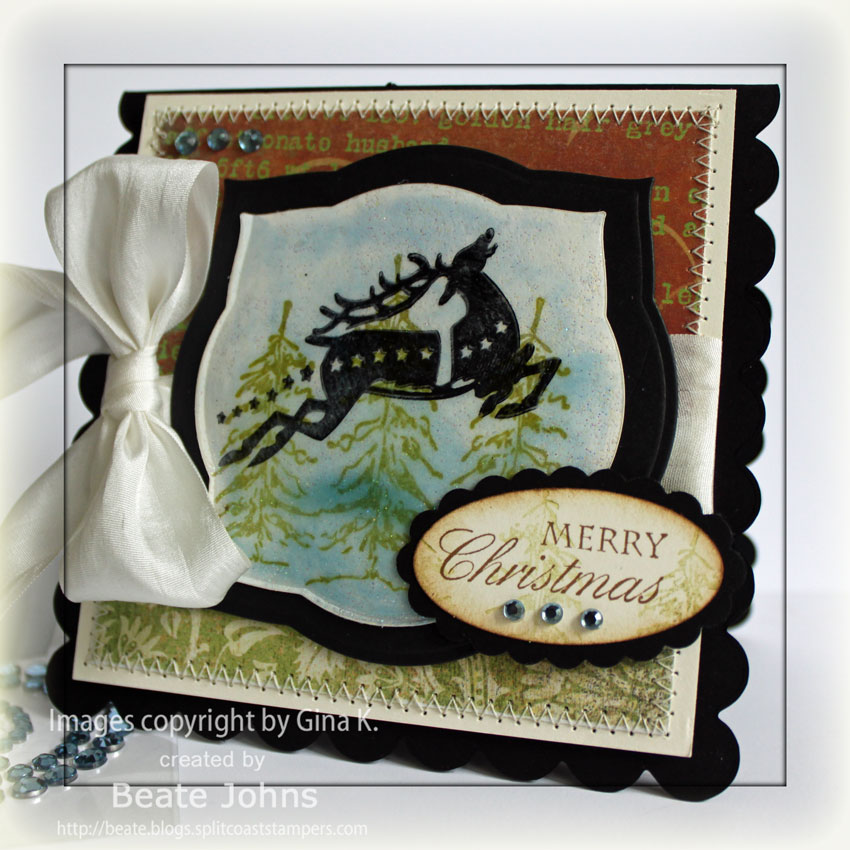
The card base is (surprise, surprise….my two favorite things together) a 4 1/4″ x 8 1/2″ piece of Chocolate Chip cardstock. The edges of the card front as well as all other chocolate cardstock pieces on the card were sponged with Walnut Ink Distress ink.
The edges of a 3 3/4″ square of The Merry Days of Christmas My Mind’s Eye paper were sanded, then sponged with Old Paper ink for an aged look before it was stitched to a 3/16″ bigger piece of Whisper White cardstock. The red paper is also from The Merry Days of Christmas and measures 2 1/2″ x 3″. Three Ice Circle Rhinestone brads were added to the top left of that layer.
I punched a hole a bit off to the lower right of middle of the layers with my Crop-a-dile and tied White May Arts Organza Ribbon through it. The sentiment is also from the Holiday Cheer TV kit. it was stamped in Walnut Stain on Whisper White cardstock, punched out with the large oval punch and sponged first with Scattered Straw, then with Vintage photo ink. It was layered on a Chocolate Scallop Oval punch-out and attached to the lower left side of the image with dimensionals.
Here is a video for the visual learner:
[youtube]https://www.youtube.com/watch?v=YFPJr5QjCpk[/youtube]