ladcrackledtogetherwide.jpg

Today’s tutorial on SCS is for the Acrylic Distress technique I learned at Ranger U. If you follow my blog, you already know how to create the background from this post. I love the look this technique creates. For my sample I used the Color Combo from the Color Challenge on SCS a couple of weeks ago.

ladcrackledtogetherbeate.jpg

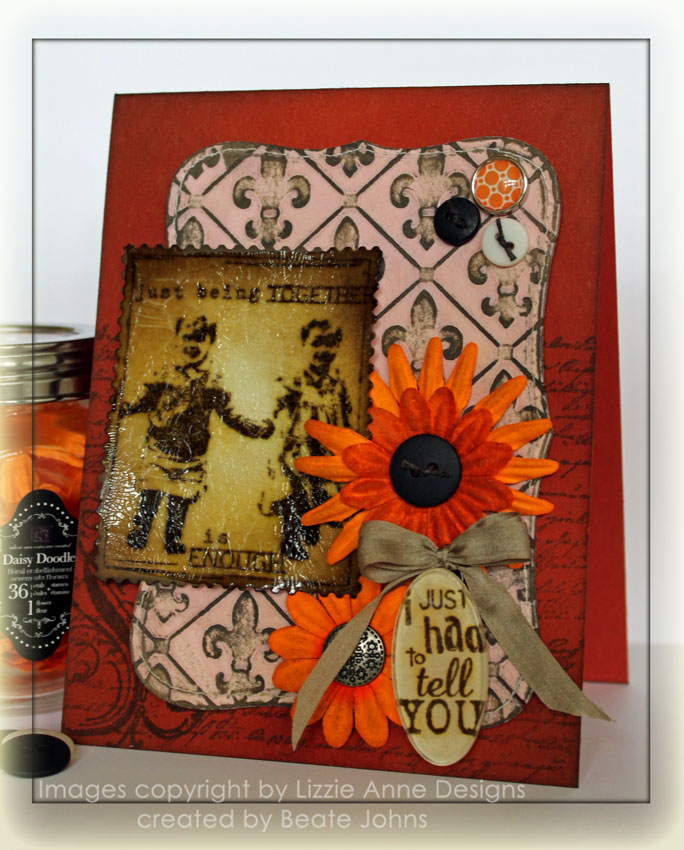
The card base was created out of a 4 1/4″ x 11″ piece of Dusty Durango cardstock. It was folded in half. The card front was sponged with Rusty Hinge, the edges with Walnut Stain. On the lower 2/3 I stamped a script from Mini Ornates in Walnut stain. The swirl on the lower left is from the same set.

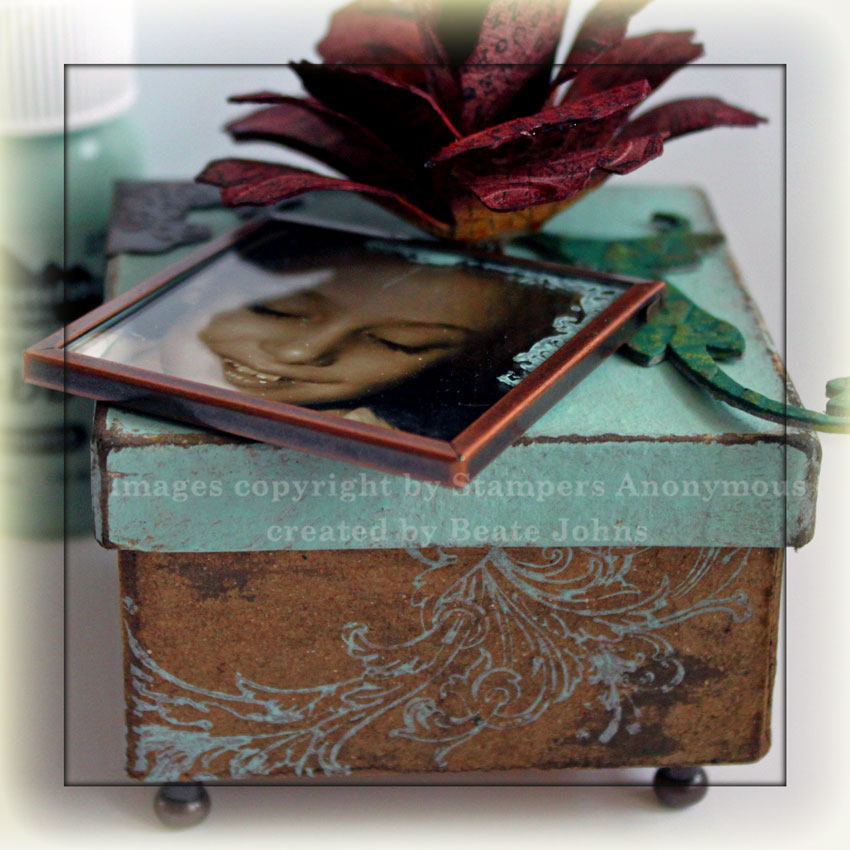
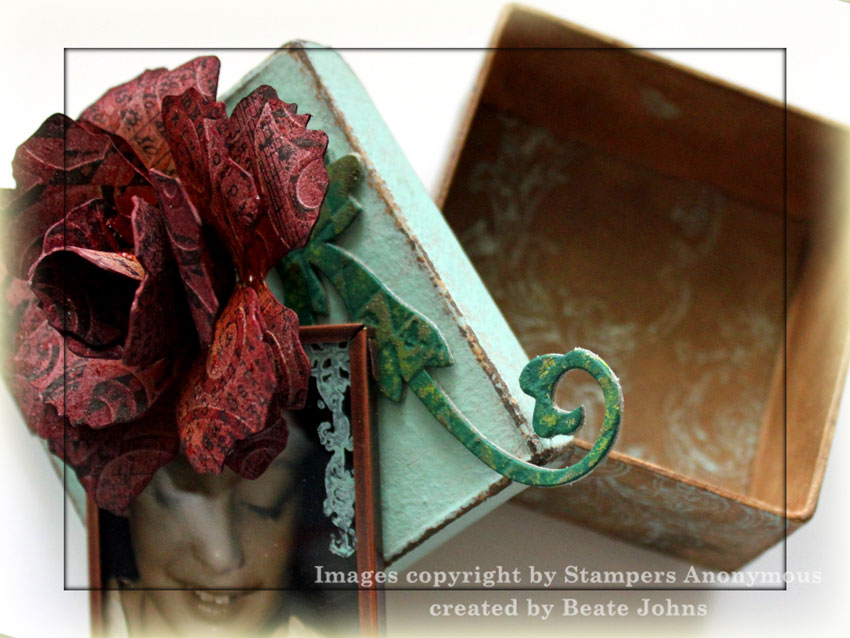
For the background I cut a piece of Neenah Solar White with Label 8 Nestabilities and embossed it with the Fleur De Lis Cuttlebug Embossing Folder. It was painted with Shell Pink Acrylic Paint, sanded and then sponged with Walnut Stain ink. The background was then buffed with a slightly damp rag to take off the ink over the acrylic paint.

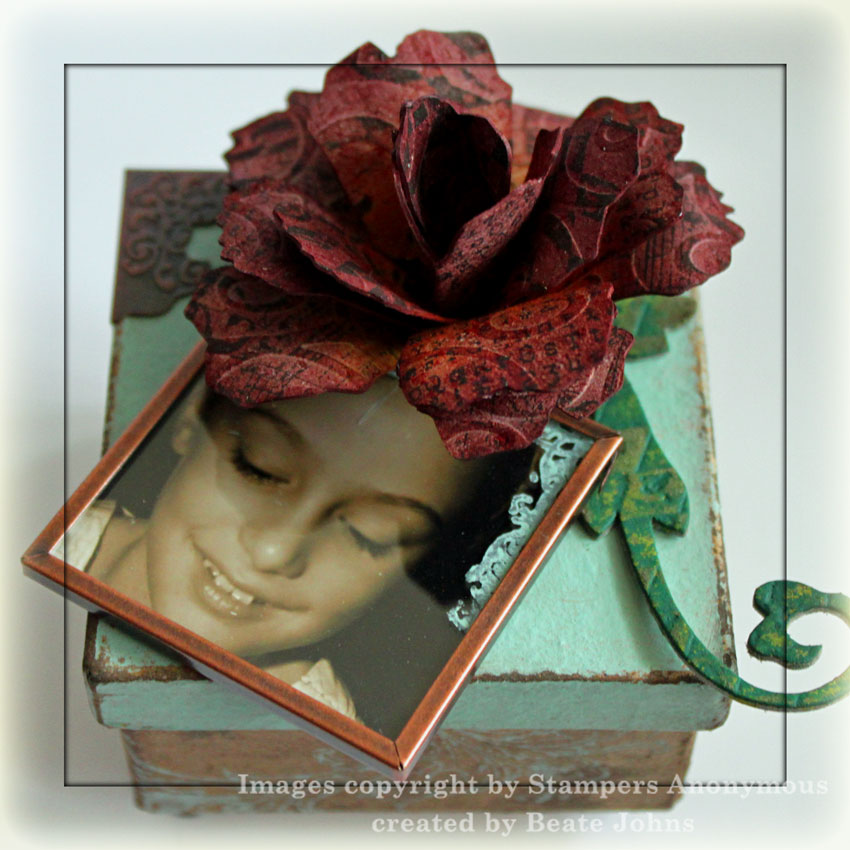
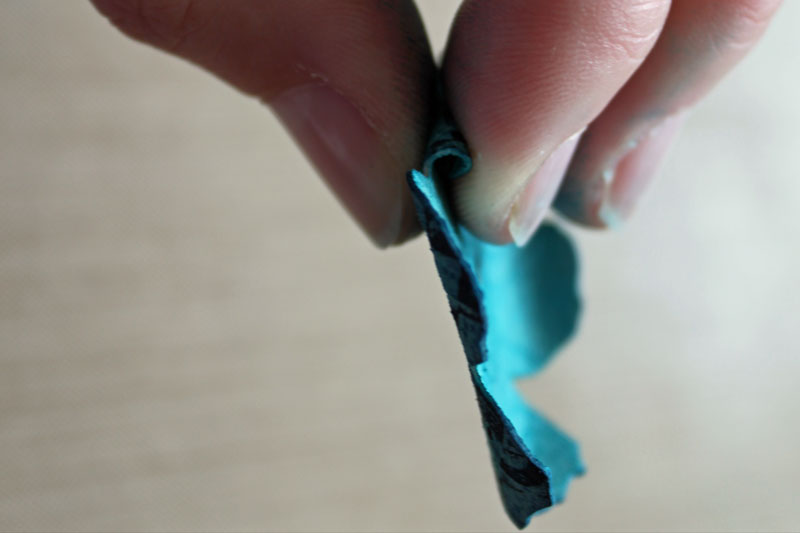
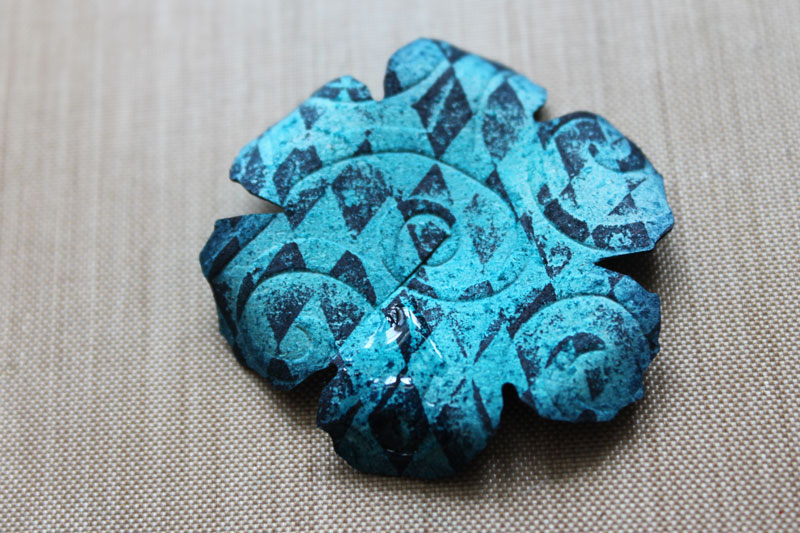
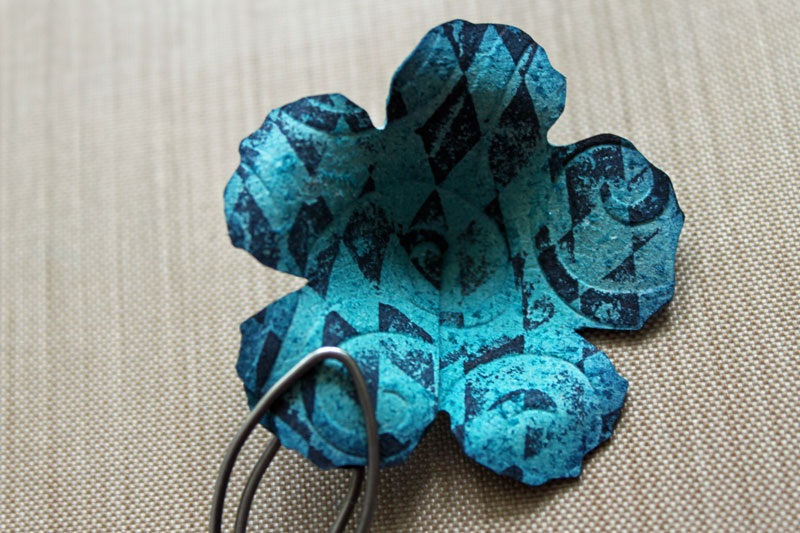
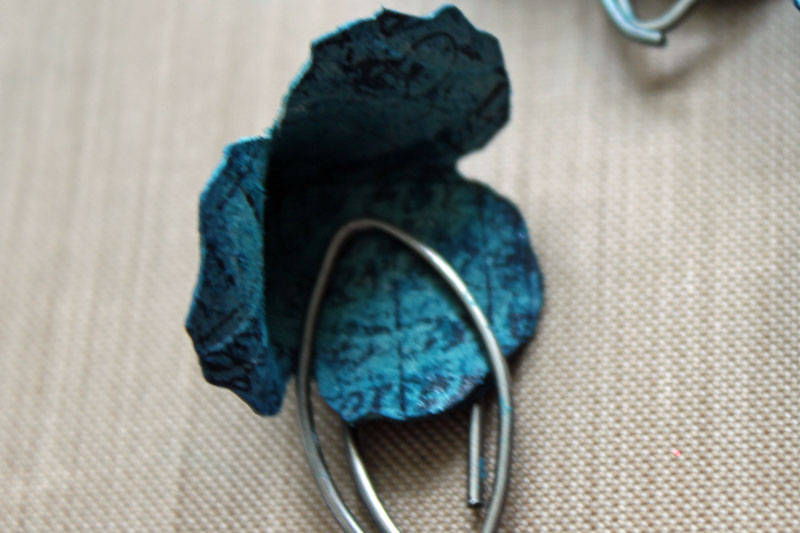
The main images is from Lizzie Ann Designs Lucky You. It was stamped in Walnut Stain ink on Neenah White cardstock, embossed with Walnut Stain Distress Embossing powder and cut out with Postage scissors. Then it was sponged with Old Paper, Vintage Photo and a hint of Walnut Stain. The entire piece was covered in Rock Candy Distress Crackle Paint.

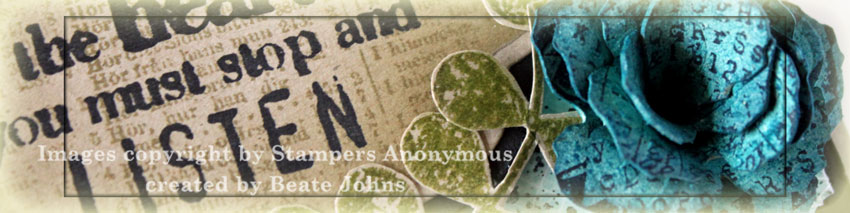
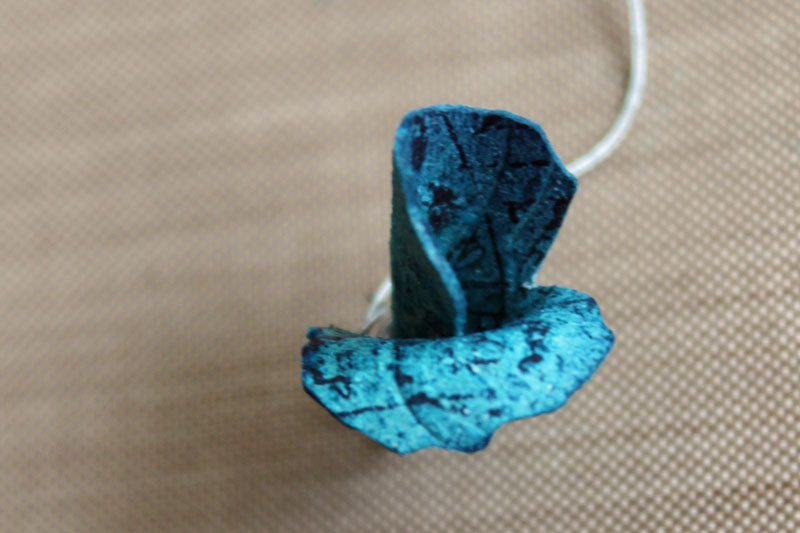
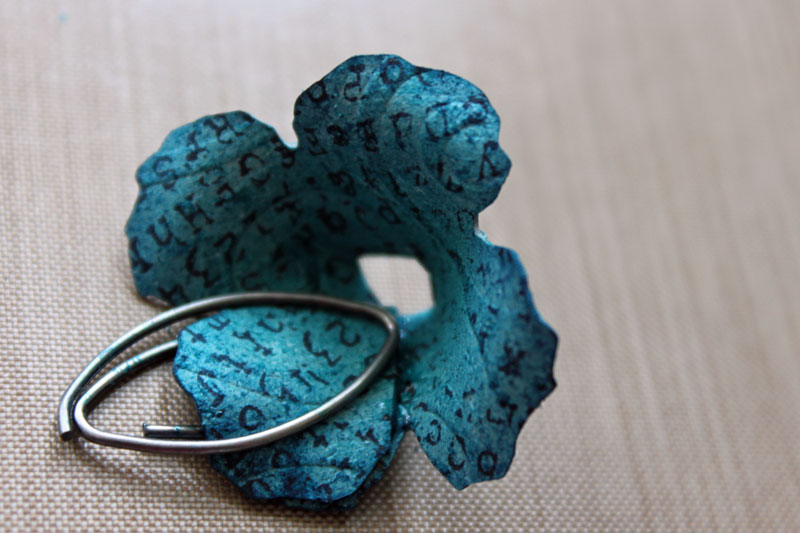
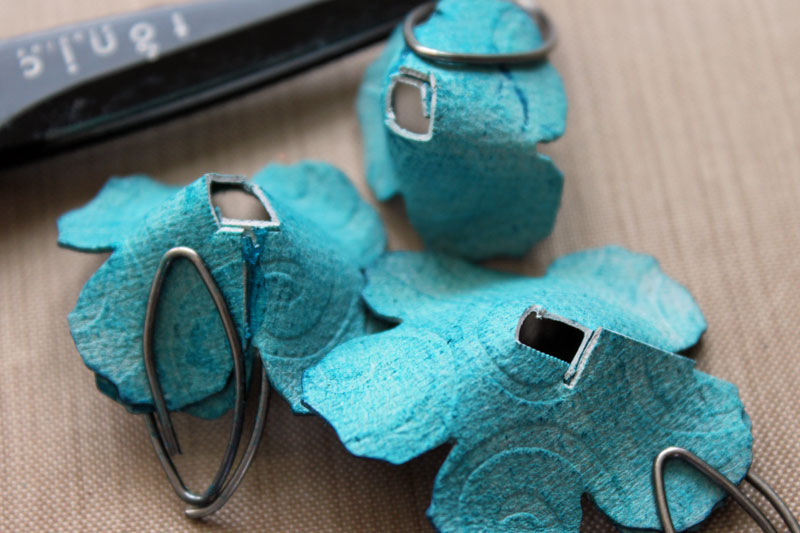
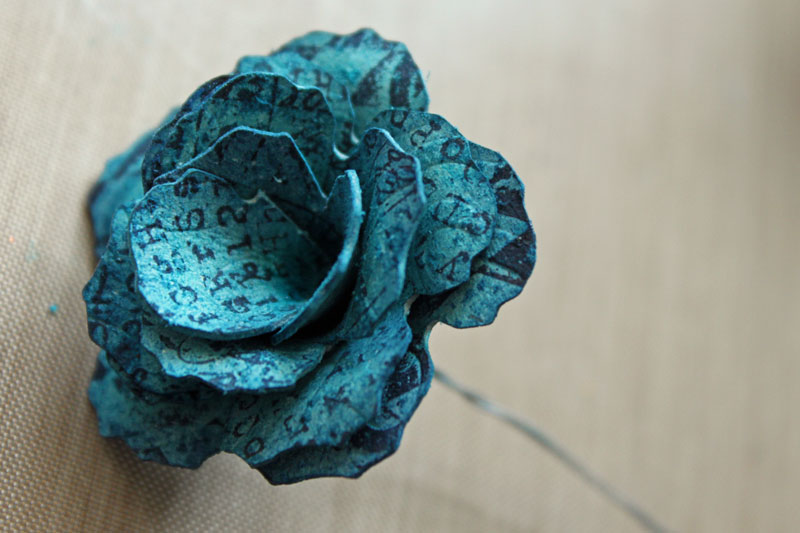
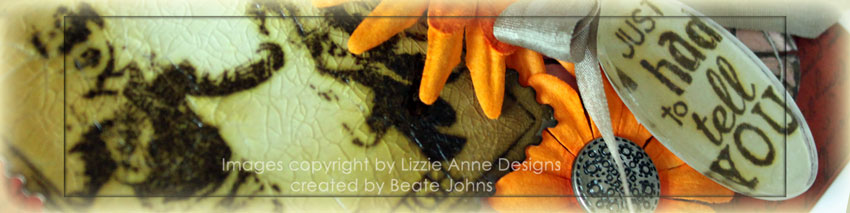
The sentiment is also from the Lucky You set. It was stamped in Walnut Stain on Neenah White, sponged with Old Paper and adhered to an oval Fragment with Glossy Accents. A jump ring was adhered to the back and 1/4″ May Arts silk ribbon was tied to the top. The flowers are from Prima’s Daisy Doodles, the buttons from Stampin’ Up!’s neutral button collection, Making Memories and Basic Grey.

Here is a video for the visual learner:

[youtube]https://www.youtube.com/watch?v=cUcZDFnEcBI[/youtube]

Thanks for stopping by! Have a great day! Hugs and smiles

sanaturesmomentsbflywide.jpg

I actually shot two videos for the Glitter Puzzle Tutorial. One where you cut your puzzle with a hobby knife, and this one where I use Tim’s new Fanciful Flight Alteration Die.

The card base was cut out of Chocolate chip cardstock with Stampin’ Up!’s Big shot scallop square die. I cut another piece for my card front and sponged the edges with Walnut Stain distress ink.  I inked up the big flower image from a Nature’s Moment with Peeled Paint and Chipped Sapphire. It was stamped on  4″ square of Just Dreamy 2 My Mind’s Eye paper.

 sanaturesmomentsbutterflybe.jpg

The edges were sponged with Broken China Distress ink and stamped with the stitch stamp from Spring Sprung. (If you were following my blog 2 years ago…I was obsessed with using a stamp from All in a Row to fake stitching. This Tim stamp is sooo cool! I might get obsessed with using that.)

The sentiment is from Going Somewhere. It was stamped in Walnut ink and embossed with Clear Embossing Powder. Stardust Stickles was added over the flower ends.

I ran a sheet of cardstock through my Xyron to add double sided adhesive. Then I cut the butterfly twice, once with the adhesive side up, once with the cardstock side up.  If you cut the butterfly the same way twice, you will have two left glittery wings. 🙂

I attached the solid wing pieces to the card base with dimensionals, peeled off the adhesive backing and adhered the detailed wing part over it. Then I rubbed Red, Orange and Yellow Martha Stewart Glitter over the wing. After I tapped off the excess, I peeled the adhesive backing off the detailed stamp and added Brown Glitter.

Here is a video for the visual learner:

[youtube]https://www.youtube.com/watch?v=CLqwl2n-Q3s[/youtube]

I am enjoy playing with all my new Tim Holtz stamps, dies, inks and accessories so much. Have a wonderful Easter weekend! Hugs and smiles

Were you wondering what I did with the big old flower from the grunge flower video? I had to use it right away last night. I started out with a 3″ paper mache box you can find in any hobby store or even Walmart.

grungeroseboxrebaside.jpg

I am still stuck on anything made with Acrylic Dabber. They are just SO much fun! I stamped the swirl from Shabby French in Juniper Acrylic Paint on the sides of my box. After the paint was dry I sponged the sides with Walnut Stain Distress ink. Then I went over the swirls with a moist cloth and took off the distress ink from the Acrylic Paint. I added one Hitch Fastener in each corner of the box to create tiny feet. I really like how those look on the box!

sagrungeroseboxrebatop.jpg

I painted the entire lid with Juniper paint and let dry. Then I sanded the edges and sponged those with Walnut Stain ink.  I painted a swirl from Harlequin Grungeboard Elements first with Lettuce, then with Bottle Acrylic Paint Dabber and let dry. I then sanded the swirl and sponged it as well with Walnut Stain Distress ink.

I stamped the corner stamp from Mini Muse in Juniper Acrylic Paint on a 2″ x 2″ Memory Glass. I sandwiched a photo of Rebecca between the glass and a piece of cardboard and placed it inside a Antique Copper Memory Frame. The frame was adhered with dimensionals and the hoop of the frame is held in place by the wire of the rose. That was threaded through the lid and adhered on the inside of the lid.

sagrungeroserebainside.jpg

To cover the Hinge fastener on the bottom of the box and the wire of the rose on the inside of the lid, I cut Kraft cardstock to size and treated it like the sides of the box before adhering the cardstock in place.

Have a wonderful evening! Hugs and smiles

wvlistenheartgrungeflowerwi.jpg

Here is the tutorial for the grunge flower I posted yesterday.

Step 1: 

grungerosestep1.jpg

Cut three six petal flowers out of grunge paper that had been embossed with Cuttlebug’s Divine Swirls Embossing Folder. I used Tim ‘s Tattered Floral Alteration Die. The flowers were sponged first with Stream Adirondack , then with Chipped Sapphire Distress ink. Next they were stamped with Jet Black Archival Ink and stamps from the sets Going Somewhere and Mini Muse.

Cut the first flower between petals to the middle of the flower.

Cut one petal off the one flower and two petals of the other. Keep the extra pieces.

 Step 2:

grungerosestep2.jpg

Roll each petal betwen your fingers to shape the petal.

Step 3:

grungerosestep3.jpg

Add adhesive on the right petal next to the cut.

Step 4:

grungerosestep4b.jpg

Fold the petal left of the cut over the right one and press down. To hold in place while drying, I use a paper clip.

Step 5:

grungerosestep5a.jpg

Repeat step three and four with your five petaled flower.

grungerosestep5b.jpg

As well as with your four petaled flower.

Step 6:

grungerosestep6a.jpg

On your two petaled piece, roll the right panel down like all your other petals. Add adhesive to the back of your left panel.

grungerosestep6b.jpg

Roll the left panel over the right creating a cone. Hold cone together while glue dries either with wire wrapped around it or a clothes pin.

Let all pieces dry. Five minutes should be enough.

Step 7:

grungerosestep7a.jpg

Cut a hole on the bottom of your four petaled cone.

grungerosestep8a.jpg

Step 8:

grungerosestep8b.jpg

Repeat step 7 with the five and three petaled cone.

Step 9:

grungerosestep10a.jpg

Poke a hole through your two petaled cone.

grungerosestep10b.jpg

Thread a wire through the hole. Center the flower cone on the wire. Fold the wire ends together.

Step 10:

grungerosestep9.jpg

Roll the edges of your single flower petal inward, like a gate fold card. Cut the bottom off and slide into your two petaled cone.

Step 11:

grungerosestep11a.jpg

Add adhesive on the edges of the center of the three petaled cone.

grungerosestep11b.jpg

Thread your two petaled piece into your three petaled cone.

Step 11:

grungerosestep12.jpg

Repeat step 10 with your four and five petaled cone to finish your flower.

I shot the video for the grunge flower with the bigger die flowers of Tim’s die. I forgot to show to add glue to the inner cones before assembly. Sorry about that. Here is the video for the visual learner:

[youtube]https://www.youtube.com/watch?v=F9kW-wqKE1Y[/youtube]

Thanks so much for stopping by! Have a wonderful evening! Hugs and smiles

wvlistenheartgrungeflowerwi.jpg

I am having so much fun with the new things I learned at Ranger. While creating a card for the Just For Fun Stamps Color Challenge, I thought I take pictures on how to create a Grunge Rose, the way Tim taught them to us at Ranger U. I hope to be able to publish the tutorial soon. I want to shoot the video first to be able to post both together.

My card base is a 5 1/2″ x 8 1/2″ piece of Kraft cardstock folded in half. A 3 3/4″ x 5″ piece of My Mind’s Eye Just Dreamy 2 paper was stamped in Jet Black Archival black with a background from Urban Tapestry. The corners were punched with the ticket corner punched and the edges were distressed. It was stitched a 3 15/16″ x 5 3/16″ piece of black cardstock. (After taking the photographs…I saw that I didn’t sponge the edges! What’s wrong with me…so I took everything apart and sponged the edges with Broken China…I just don’t have an updated photo yet. The light isn’t right for taking pictures anymore).

wvlistenheartgrungeflowerbj.jpg

A piece of Kraft cardstock was cut and embossed with Label 6 Nestabilities. With the die still in place, The edges were sponged with Frayed Burlap and the entire piece was stamped with the background from Love to Make Art. The sentiment is from the same set and was stamped in Jet Black Archival ink. Using the same die as a template, I traced around it with a pencil on black cardstock, cut out the layer, distressed it and adhered my sentiment on top of that.

The heart is also from Love To Make Art. It was stamped in Jet Black Archival ink on Kraft cardstock, cut out and sponged with Broken China, Stream Adirondack ink and Frayed Burlap. The button is a Basic Grey button and the string is black waxed Linen.

The leaves from the same Wendy Vecchi set were stamped in Peeled Paint with a bit of Forest Moss at the edges. They were cut out and adhered to the lower right of the sentiment panel. For the flower I embossed three 5″ x 6″ pieces of Grunge paper with the Divine Swirl Embossing Folder and then cut out flowers with Tim’s Tattered Floral Alteration Die. I picked only the medium flower cut outs and sponged the flowers first entirely with Stream Adirondack ink, then the edges with Chipped Sapphire Distress ink. Next I stamped each flower with a different background stamp. Two of those stamps were from the set Going Somewhere, one from the set Mini Muse.

Talking about Wendy Vecchi. She will be at a scrapbook store in Indianapolis in May! I already signed up for two of her classes. I hope there lives a SCS member in Indianapolis or close by, who wouldn’t mind organizing a SCS dinner. How much fun would that be after class? So how about it? Who is coming to class and dinner later on? I know Sherry Cheever is coming. She told me about the class. I can’t wait to hang out with her all day!

Thanks for stopping by! Have a wonderful weekend! Hugs and smiles

© 2012 fresh & fun Suffusion theme by Sayontan Sinha