birthdaybashbadge.jpgbirthdaybashbadge.jpg 

Taylored Expressions is celebrating our two year anniversary in September! To celebrate and kick of the newest release several designers are participating in a birthday bash blog hop. If you came from Ana Wohlfahrt’s blog, you’re on the right track! The amazing Debbie Olson is next on the hop! Or if you want to start from the beginning then head back to Taylor’s blog.

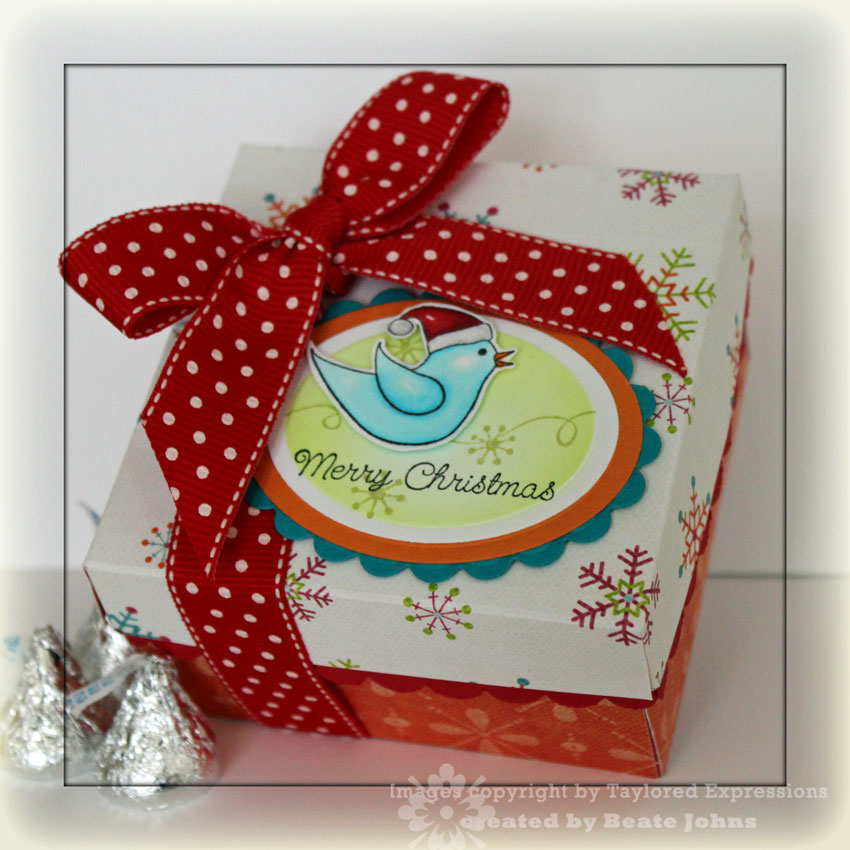
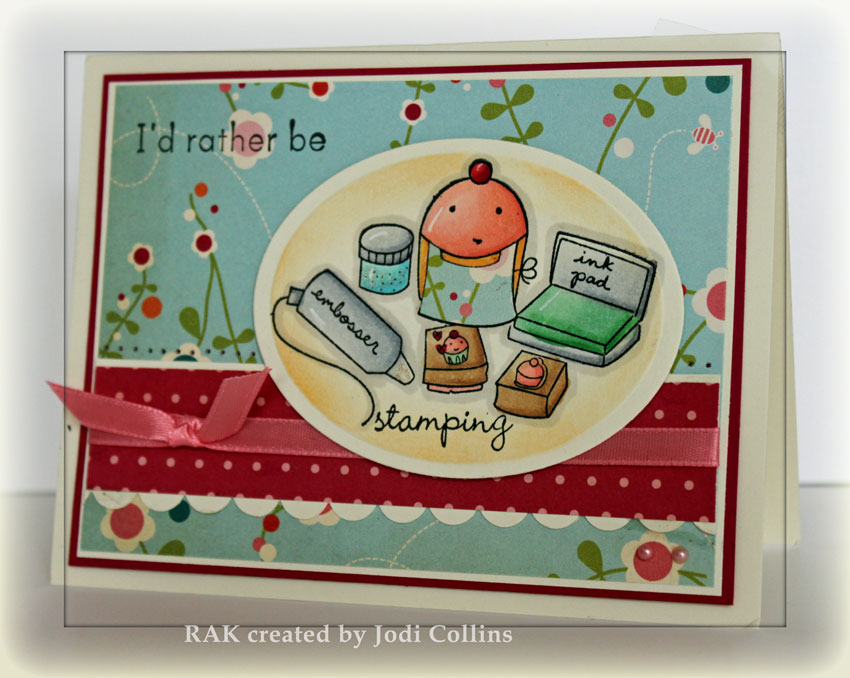
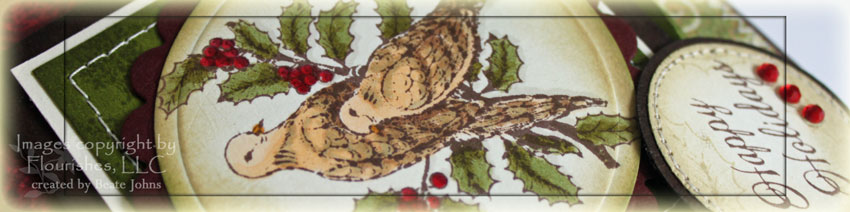
I chose this darling duck stampfrom the newest Ala Carte images. I thought the image plus the matching sentiment were too cute. You can find all new released stamp sets in the store now. Check out the great specials Taylor is running to celebrate her companies second birthay.

teducksinarowwide.jpg

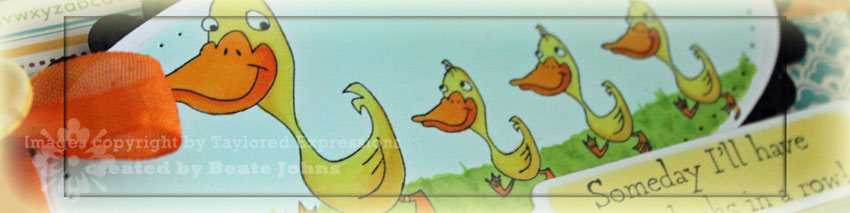
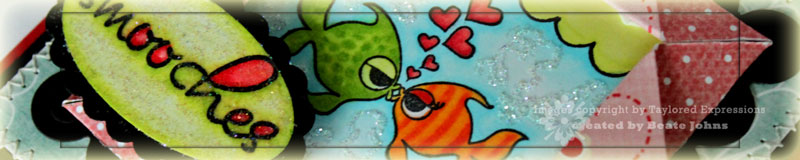
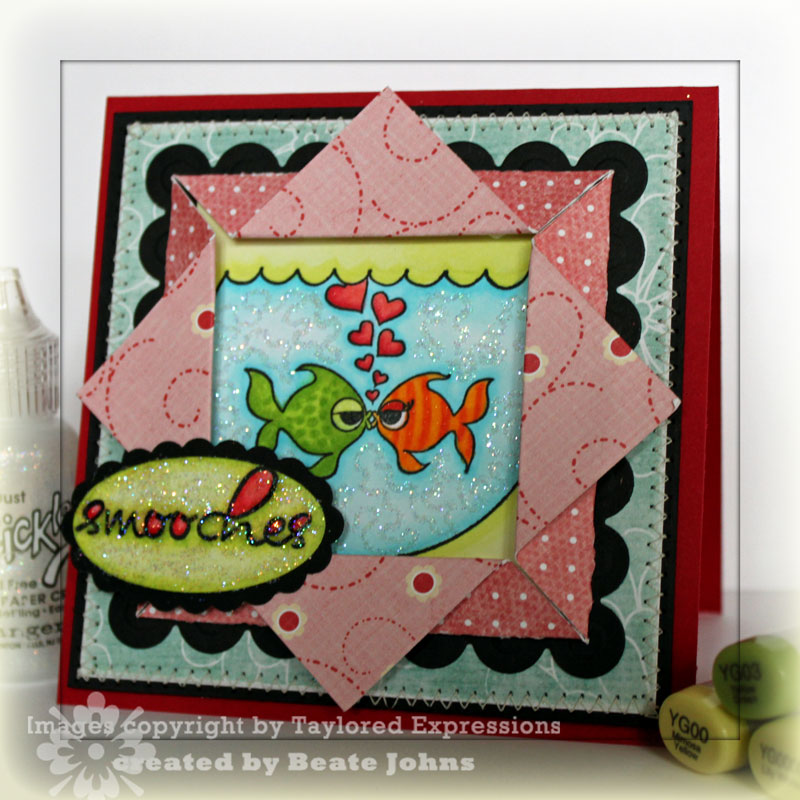
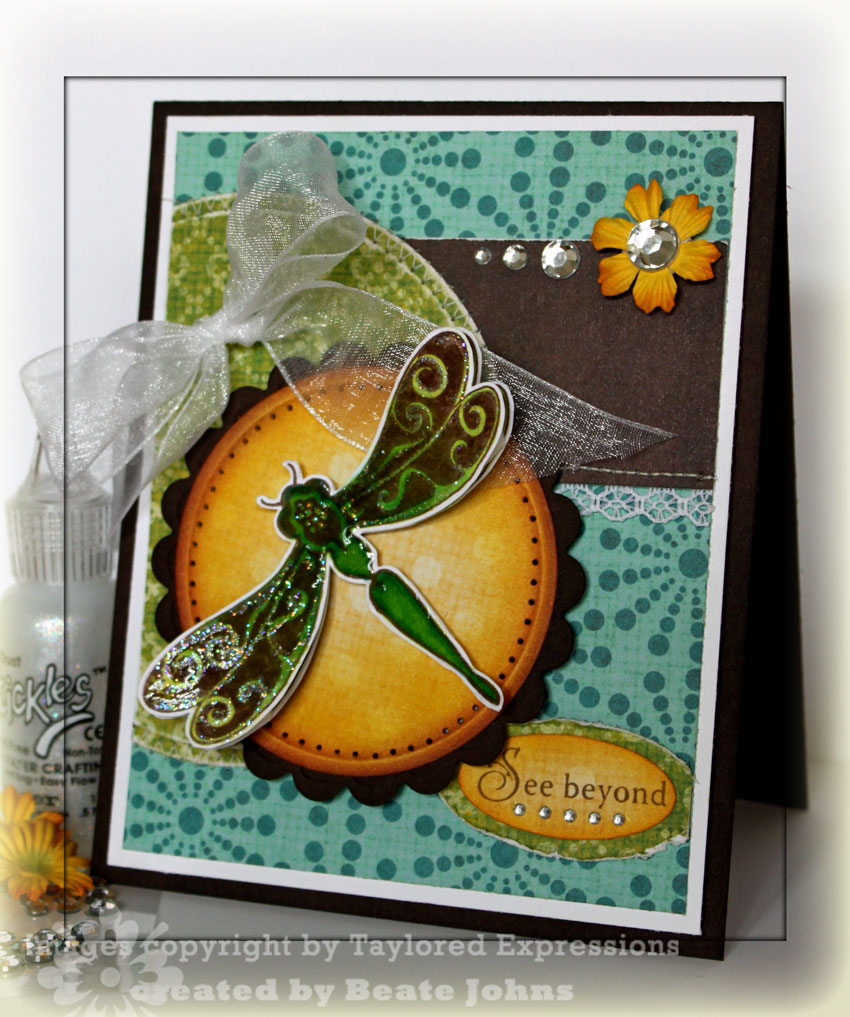
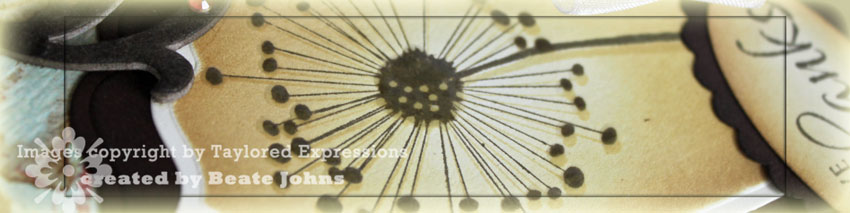
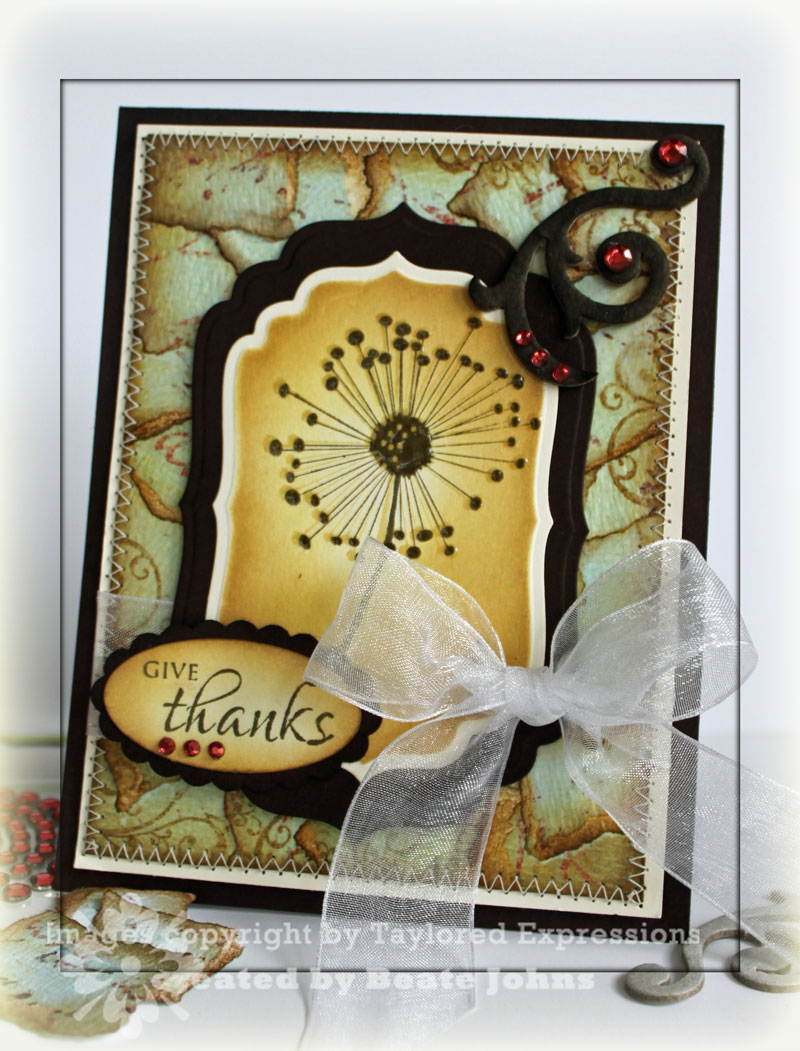
I stamped the image in Tuxedo Black Memento ink  on Neenah Solar White cardstock and colored it in with Copic Markers (ducks: Y13, Y 15, Beak: Y17, YR04, Grass: YG23, YG25). The image was cut with long oval Nestabilities and airbrushed with Copic Marker BG11. It was layered on a black piece of cardstock that was cut with long scallop oval Nestabilities.

teducksinarowbeate.jpg

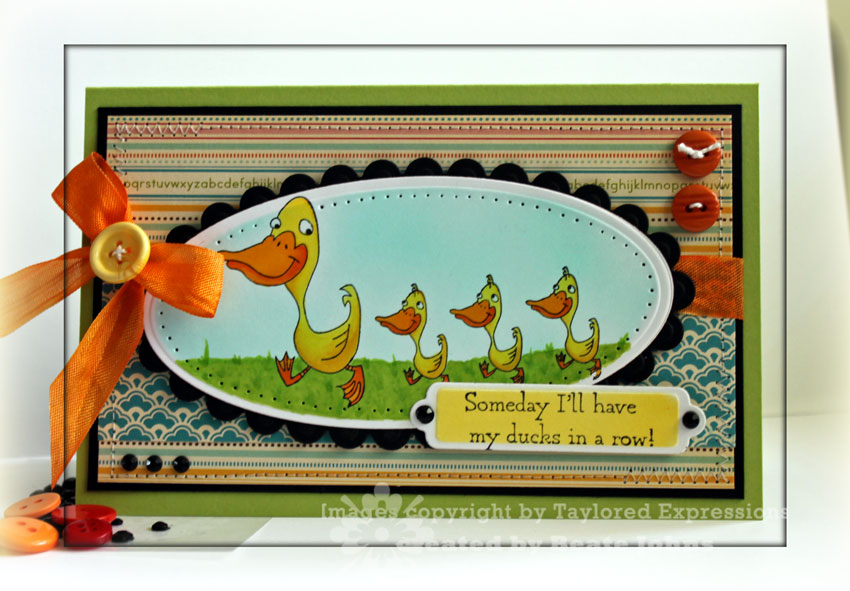
My card base is a 6 1/2″ x 8 1/4″ piece of Sour Apple Cardstock folded in half. A 1 1/2″ x 6″ piece of October Afternoon Thrift Store paper strip was adhered to a 3 1/2″ x 6″ of another pattern from the same paper pack. The layers were stitched to a 3/16″ bigger piece of black cardstock.

1/2″ wide Seam Binding was colored with Copic Marker YR04 and tied over the top edge of the horizontal strip. A yellow button was tied over the bow.  Two small Basic Grey orange buttons were stitched to the top right of the layers before adhering them to the card base.

The sentiment was stamped on Neenah Solar White cardstock and cut with a double ended Tag die and airbrushed with Copic Marker Y15. The card was finished off by adding Black Kaisercraft Rhinestones to the tag ends as well as the lower left hand corner.

teducksinarowinside.jpg

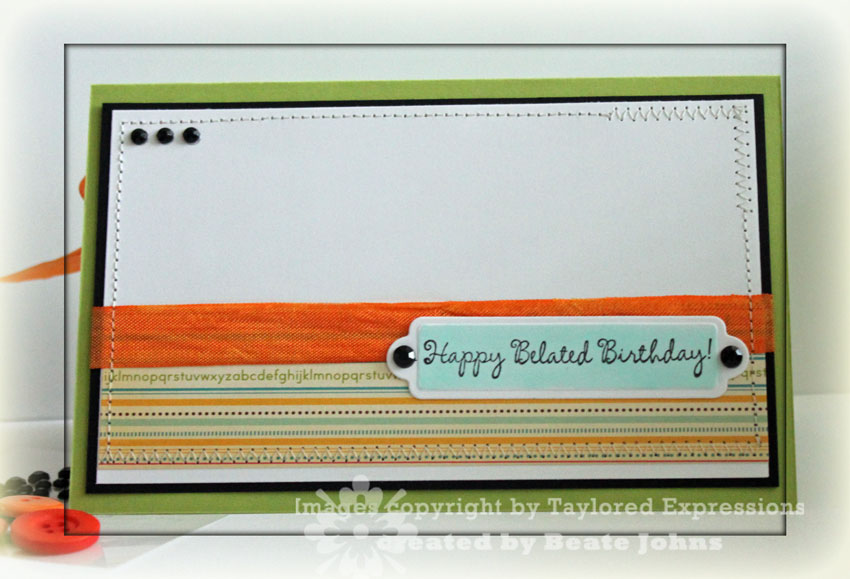
For the inside of the card A 1 1/4″ x 6″ piece of Thrift Store paper was layered on a  3 1/2″ x 6″ piece of white cardstock, topped with more Seam Binding and stitched to a 3/16″ piece of Basic Black cardstock.  The other sentiment of the set was stamped in Tuxedo Black Memento Ink and cut with the bigger Double ended tag die and airbrushed with BG11. A few more black Rhinestones were added to finish the inside of the card.

Thanks so much for stopping by! Have fun participating in Taylor’s birthday bash!
Hugs and smiles

tefishysmoocheswide.jpg

Wednesday’s tutorial on Splitcoast was for a Folded Paper Frame. It’s easy, fun and fast and adds a different look to your card.

tefishysmoochesfoldedwindow.jpg

My card base is a 4 1/4″ x 8 1/2″ piece of Real Red cardstock folded in half.  A 3 3/4″ square of My Mind’s Eye Pretty Please  Paper was stitched to a 3/16″ bigger piece of basic black cardstock and adhered to the card front with dimensionals.

The paper frame was created out of a 4 1/4″ square of Pretty Please patterned paper. It was adhered to a slightly bigger black scallop cardstock square that had been cut with Square Nestabilities.

The darling image is from Taylored Expression’s new release. It’s called Fish in Love. It was stamped in Tuxedo Black Memento ink on Neenah White cardstock and colored with Copic Markers (green fish: YG00, YG01, YG03 Orange Fish Y32, Y35, Y38, R35 Hearts: R32, R35  Water: BG0000, BG000, BG01  outside fish bowl: YG00, YG000). Squiggly lines were added with a Quicky Glue Pen and Glitter was added over that (Thanks to Taylor’s Mom for that cool idea!)

The sentiment is from Taylored Expression’s Animal Love Sentiment. It was  stamped with Tuxedo Black ink on Neenah cardstock. Then it was punched out with Stampin’ Up!’s large oval punch, colored with Copic Markers (R32, R35, YG00, YG000), adhered to a black scallop oval punch-out and covered with Stardust Stickles.

The flamingos stamp  used in the video is also from Taylored Expression. The image was stamped in Tuxedo black on Neenah cardstock with Copic Markers (Flamingos: R32, R35  Beak: BG72, W2  Sun: Y21, Y23, Y26). Here is a video for the visual learner:

[youtube]https://www.youtube.com/watch?v=xOJNouEvCSs[/youtube]

Happy Valentine’s Day! Hugs and smiles

tediscoveryourwingstesc100w.jpg

Today Taylor is posting her 100th sketch challenge. While I stopped creating sketch challenge due to the time it takes to create the sketches and comment on all the entries, I think I will start participating in Taylors Sketch challenges. I miss creating cards for challenges.

tesc100.jpg

The sketch is just up my alley. Although it’s not a square, it has lots of circles! I love circles and ovals on my card. Of course  I had to change the sketch just a tiny bit. I flipped it over and scooted those three brad circles down…and added more then three. But other then that…well, and a sentiment oval on the bottom, other then that I was pretty true to the sketch.

tediscoveryourwingstesc100.jpg

My card base is a 4 1/4″ x 11″ piece of Chocolate chip cardstock folded in half. The edges of the card front were sponged with Walnut Stain Distress ink. A 3 3/4″ x 5″ piece of My Mind’s Eye Dreamy 2 Patterned Paper was layered on the 3/16″ bigger piece of Whisper White cardstock. The Dreamy 2 horizontal strip measures 1 1/2″ x 3 3/4″. A strip of lace (Walmart) was sewn to the bottom edge of the strip. A Prima Flower and different sized Rhinestone gems (Bo Bunny, Kaisercraft and Tiny Twinkles) add finish to the top right of the strip.

The half circle is also a piece of Dreamy 2 patterned paper. It was cut and embossed with Circle Nestabilities before it was stitched to  top layers. A white organdy bow was taped to the upper part of that layer with glue dots.

For the main layer a circle was cut out of yet another piece of Dreamy 2 patterned paper with Circle Nestabilities. It was sponged with Mustard Seed and Vintage Photo Distresss ink before it was layered on a sponged scallop Chocolate Chip circle. The edges of the circle were paper pierced.

The Dragonfly is from Taylor’s  set Discover your Wings. It was stamped twice in Rich Cocoa Memento Ink on Neenah White cardstock,colored with Copic Markers (YG21, YG23, YG25, BG05, BG09) and cut out. The layers were adhered on top of each other with dimensionals holding the wings up. Then it was adhered to the Circle layers with more dimensionals. To make it look more like a dragonfly Stardust stickles was added over the swirl lines of the wings and the entire body was covered in Glossy Accents.

The sentiment is also from the set Discover your Wings. It was stamped in Rich Cocoa on Dreamy 2 patterned paper and punched out with Stampin’ Up!’s small oval punch. The edges were sponged with Mustard Seed and Vintage Photo before it was layered on a large oval punch-out of Dreamy 2 paper.  Tiny Twinkles were added under the sentiment for more sparkle.

I hope you have a wonderful day! Stay warm! Hugs and smiles

tediscoverwingseaselwide.jpg

I created this card for the Easel card tutorial , which ran two weeks ago on SCS. I apologize again for being horrible at keeping up with my blog right now. I don’t know why I can’t get my act together.

tediscoveryourwingseaselbea.jpg

 The image is from Taylored Expressions Discover Your Wings. It’s such a beautiful set. It was stamped in Black Soot Distress Ink on a 3 1/2″ square of Bo Bunny Kitchen Spice paper. It was stitched to a 3 11/16″ square of Black cardstock. A small hole was punched on the lower left hand corner and Kraft Taffeta Ribbon was tied through both layers. Then those layers were adhered to a  3 15/16″ square of Natural Ivory Cardstock before attaching it to the Chocolate Chip card base.

To spruce up the image Black Diamond Stickles was added to the top of the cone flowers, Kaiser Clear Rhinestones to the Dandilion tops. The butterfly is from the same stamp set. It was stamped in Black Soot Distress ink and embossed with Iridescent Ice Embossing Powder.

For the inside layer a black strip was punched with Martha Stewarts Deco Shell Border punch. A 7/8″ x 3 13/16″ strip of designer paper was stitched to the layer and stamped with images from Discover your wings.

Here is a video for the visual learner:

[youtube]https://www.youtube.com/watch?v=7QPHOkRukeQ[/youtube]

We have a winter storm warning for today and part of tomorrow and expecting snow! If you are in my area, stay save and warm! Have a wonderful day! Hugs and smiles
 

Here is a little note card matching yesterday’s box.

taylorwingsofjoy3x3card.jpg

The cardbase is a 3″ x 6″ piece of Real Red cardstock folded in half.

A 2 1/2″ square of My Mind’s Eye Colorful Christmas paper was taped to a 3/16″ bigger piece of White cardstock. The edges of the layers were paper pierced before the layers were attached to the card base with dimensionals.

The main layer is essentially the same as for the box top. The only difference is that I added a different sentiment from the Wing of Joy set and a red taffeta ribbon bow.

Have a wonderful day! Merry Christmas!
Hugs and smiles

I am sorry I have been so quiet. I haven’t  stamped this week. The kids are home and it’s hard to work when they are there. Instead we hang out or I have my nose in a book (Sword of Truth series, Terry Goodkind).

In Germany we open present Christmas Eve. Since the kids stopped believing in Santa, our family follows that tradition. That way Rick and I get to sleep in Christmas morning. You got to love that. Anyway….since for me Christmas is today, I thought I wish you a Merry Christmas. I really appreciate all your kind words and support you give me! May your Christmas be merry and filled with family, friends and love!

I have a 3″ x 3″ notecard box to share with you that I created for a video tutorial last week.

taylorwingsofjoy3x3box.jpg

The box base is created out of Real Red cardstock. The patterned paper is from the My Mind’s Eye Colorful Christmas Paper Kit.

The adorable bird and sentiment are from Taylored Expressions Set Wings of Joy. The bird was stamped in Tuxedo Black Memento Ink on White Neenah paper, colored with Copic Markers and cut out. The oval frames were cut with Oval Nestabilities out of White Neenah, Pumpkin Pie SU and Turquoise Core’dinations cardstock. The white oval was air brushed with a light YG Copic Marker. The swirl and snowflakes are also from the set Wings of Joy and were stamped in Shabby Shutter Distress ink. The sentiment was stamped in Tuxedo black ink. I attached the bird to the sentiment layer with dimensionals. The layers were attached to the box also with dimensionals. Stampin’ Up!’s red polka dotted ribbon finished off the box.

Here is a video for the visual learner:

[youtube]https://www.youtube.com/watch?v=s6fL_mjJvb0[/youtube]

rakroseann.jpg

Rose Ann sent me this beautiful Winter card. She is so talented and sweet! Just check out what she did with Martha Stewarts border punch! How cool is that?

Thanks, Rose Ann!

rakjodicollins.jpg

Check out the darling card I received from Jodi Collins! Isn’t it the cutest? I love her work. Thank you, Jodi!

Taylor is hosting a Blog hop today. We all decorated one of her Perfect Package Card Boxes.  I love how sturdy those boxes are and that they are collapsible.

In honor of Black Friday and Cyber Monday (the two biggest shopping days of the year!), Taylored Expressions is offering 15% off everything in the store! Just use the promotional code TEBlackFriday upon checkout to receive the discount. You don’t want to miss up to 50% off all JustRite products, Buy 2 Get 1 Free on Tiny Twinkles, and the new TE Shirts & Aprons!

techristmasbelssingsbox.jpg

I am a bit stuck on the Laundry Line paper from My Mind’s Eye lately. It’s so pretty and it sparkles!!!  A 4 1/2″ x 6 1/8″  piece of Tenny Wishes paperwas stitched to a 1/4″ bigger piece of sponged Chocolate chip cardstock. The 1 3/4″ x 6 1/8″ piece of Proud print paper was stitched to a slightly wider piece of Very Vanilla cardstock that had been punched with a Martha Stewart Border punch. Ivory Satin ribbon from May Arts was tied around the strip before it was taped to the card box front.

The image is from Taylor’s Christmas Blessings. It was stamped in Espresso Adirondack ink on Vanilla cardstock twice. I cut the inner image out of one  of the images, sponged it with Scattered Straw and Vintage Photo Distress ink and brushed it with Clear Rock Candy Distress Paint.

I colored the frame of the other image with Copic Marker G82 and covered it with Crystal Effect. It was layered on a Chocolate Chip scalloped rectangle cut and embossed with Nestabilities.  The sentiment is also from Christmas blessings. It was stamped in Espresso ink, cut out with a 1 3/8″ circle punch, sponged with Scattered Straw and Vintage photo and layered on a sponged Chocolate Chip scallop circle. To finish up the front, I inked up a Maya Road scroll with Espresso ink and added Clear Kaiser Rhinestones as well as Tiny Twinkles.

techristmasblessingsinside.jpg

The back of the lid was layered matching the outside. On the inside of the box I created a spot for three Rocher chocolates, as well as a gift card holder. A matching card will be placed of the gift card.

techristmasblessingscrackle.jpg

The Chocolate Chip card base measures 4″ x 8 1/2″ and was folded in half. The rest of the card is pretty much the same as the box front. It looks a lot better IRL, but it was hard to photograph with all the Crystal Effect and Crackle Paint.

Please check out these blogs to see what the other girls created with these awesome boxes:

Alex Maldonado
Amy Rohl
Bev Gerard
Charmaine Ikach

Cindy Haffner
Debbie Olson

Donna Baker
Jami Sibley
Jen del Muro
Jen Tapler
Jenn Balcer
Jennifer Buck
Jessica Diedrich

Joan Ervin
Joanne Basile
Linda Duke
Lori Craig
Rose Anne Reynolds
Sankari Wegman
Sharon Harnist
Sherry Cheever

Taylor VanBruggen

Have a happy and safeBlack Friday! Hugs and smiles

tecelebratelifetornmosaicwi.jpg

Today’s tutorial on SCS is written by Carole Burrage and is called Faux Torn Mosaic. Create a different looking background by tearing patterned paper in pieces, sponging them and taping them over a piece of cardstock.

For my sample I used a new set from Taylored Expressions. I had ordered it on Saturday and BAM I already received it in the mail on Wednesay. Taylor is FAST! I thought the flower from Celebrate Life would be perfect for this technique. I needed something bold that wouldn’t be overpowered by the background.

The flower was stamped in Stained Walnut on Very Vanilla Cardstock, then overstamped with Scattered Straw Distress ink. The image was cut out with Label 4 Nestabilities. I left the die on and sponged the image first with Scattered Straw, then a bit with Vintage Photo distress ink. It was layered on the next size up Label 4 die cut out of Chocolate Chip cardstock that had been sponged with Walnut Stain ink. The flower was finished off with a layer of Crystal Effect.

tecelebratelifetornmosaicbe.jpg

The card base is a 4 1/4″ x 11″ piece of Chocolate chip cardstock folded in half. The edges of the card front were sponged with Walnut Stain ink. For my background I tore up Penny Lane My Mind’s Eye paper. The torn edges were sponged with Vintage Photo ink. The torn layer was stitched to a 3 15/16″ x 5 3/16″ piece of Very Vanilla.

The sentiment is also from Celebrate Life. It was stamped in Walnut Stain on Very Vanilla cardstock, punched out with the large oval punch and sponged with Scattered Scraw and Vintage photo. It was layered on a sponged Chocolate Chip Scalloped Oval punch-out. Three small Lippy Red Kaiser Rhinestones were added underneath the sentiment.

I sponged a Maya Road Swirl with Walnut Stain ink, added more Lippy Red Rhinestones and placed it on the top right of the image. I punched a slit on the lower right of the image and tied May Arts Organdy white ribbon around the left hand side of the layers.

Here is a video for the visual learner:

[youtube]https://www.youtube.com/watch?v=tk7mnHIIfSk[/youtube]

© 2012 fresh & fun Suffusion theme by Sayontan Sinha