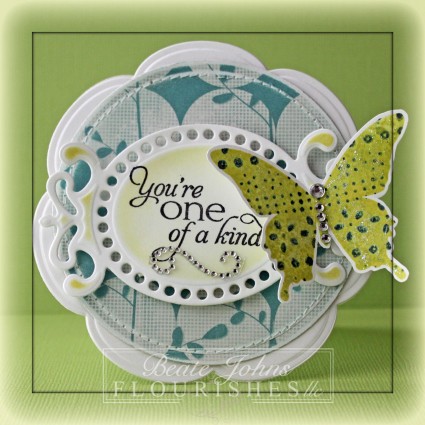
Yesterday’s tutorial on Splitcoast was written by the wonderful Susan Roberts. She created a fun tutorial on how to use embossing folders and solid shape stamps. For my sample I used the butterfly image from Fanciful Flourishes and one of my favorite M-Bossabilities folder called Flower Fun.

The butterfly was inked with Pear Tart Memento Ink, the embossing folder with Chipped Sapphire Distress Ink. The butterfly was pressed into the inked embossing folder before it was stamped on Neenah Classic White cardstock. The image was cut out and the wings were brushed with Frost Smooch Glitz.

A sentiment from Flourishes new Magnolia set was stamped in Tuxedo Black Memento Ink on a piece of white cardstock, cut and embossed with a Fancy Tag 3 die. The embossed part was sponged with Pear Tart ink.  The butterfly was adhered to the right hand side of the sentiment panel. Rhinestones from a Baby Bling and Sleek Strips Silver Rhinestones strip were used for the body of the butterfly. Part of a  Fancy That! Border Bling was added underneath the sentiment.

A piece of MME On the Bright Side Two patterned paper was cut and embossed with a Standard Circle Nestabilities die. The edges were sanded and stitched before the it was adhered to the card base, which was cut out of Solar White cardstock with the largest Blossom Nestabilities die.

Here is a video for the visual learner:

[youtube]https://www.youtube.com/watch?v=dBPQWnIi2mE[/youtube]

Thanks so much for stopping by! Have a wonderful day.
Hugs and smiles

Today’s Bring Back Beautiful challenge is all about friendship. Make sure you check out the Flourishes blog and the new team members! They are amazing stampers and I can’t see what they will create.

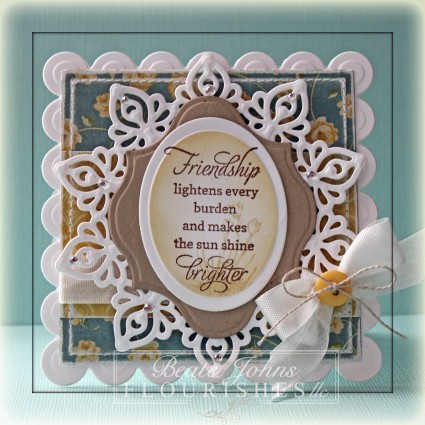
For my sample I used a sentiment from Sweet Days of Summer. It was stamped in Rich Cocoa Memento Ink on a piece of Neenah Solar White cardstock, cut and embossed with the third smallest of the Large Classic Oval Nestabilities die. The edges were first  sponged with Antique Linen, then with a  Frayed Burlap Distress Ink. The oval was layered on a piece of Kraft cardstock, cut and embossed with a Label 13 Nestabilities die, then on white cardstock, cut and embossed with a Persian Motifs Shapeabilities die (I thought it would go great with the sentiment. It almost looks like a sun die, doesn’t it?).

Cosmo Cricket Tea for Two patterned paper was cut and embossed with the largest Classic Square Nestabilities die. The edges were sanded and stitched. Seam binding was tied around the paper square before it was adhered to a piece of white cardstock, cut and embossed with the largest Lg. Scallop Square Nestabilities die. The card front was adhered to a card base, cut and embossed with the same large Scallop Square Nestabilities die.

A button was tied to the bow with  Linen Thread. Rhinestones from Baby Bling and Sleek Strips Silver Rhinestones finish off the card.

Thanks so much for stopping by! Have a wonderful day!
Hugs and smiles

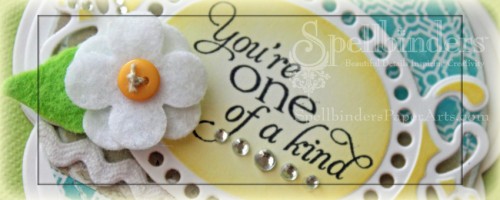
This week on the Spellbinders Blog it’s all about Flower dies. Linda showcased how to roll and layer flowers and use them on an altered trinket box. Karen used layered flowers to re-purpose a frame. I thought I show you a different way to use the dies. Please check out the entire project on the Spellbinders Blog.

Hint: It’s one of my favorite things to do with Spellbinders dies. I know you know what I am talking about! 🙂

Have a wonderful day!
Hugs and smiles


Hello and welcome to Day Six of our March Rubber & Die Release Showcase!

On Wednesday (21 March) Whimsy Stamps released this month’s rubber designs, new Shapeology dies and new Shape EZ templates. From then until 27 March the Whimsy Stamps DT and Special Guests are showcasing these fabulous new goodies with a daily mini blog hop and I am part of today’s hop!

Each mini blog hop has a new release prize hidden somewhere along the way and you have 24hrs to enter each prize draw.
To be entered into today’s mini blog hop prize draw, be sure to leave a comment on ALL of the DT’s posts listed below by 12.00PM EST tomorrow. All winners will be announced on the Whimsy blog on 28 March.

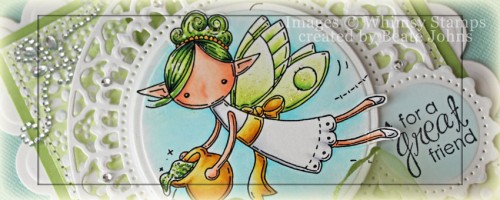
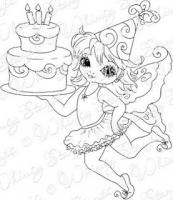
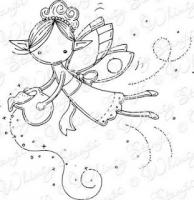
For my sample today I chose the darling Pixie Dust Fairy. It was stamped iin Tuxedo Black Memento Ink on Neenah Solar White cardstock, cut out with the Out of the Box technique and a  Standard Circle Nestabilities die and colored with  Copic Markers (Skin: E000, E01, E02, BV000   Hair/Pixie Dust: YG01, YG03, YG17   Ribbon/Pot: Y11, Y13, Y15, W2   Dress/Shoes: C00, C1, C3    Wings: YG0000, YG00, YG01   Background: B0000).  The circle was adhered to a piece of Solar White cardstock that had been cut and embossed with the largest gorgeous new Spendid Circle die.

A 4 3/16″ square of white cardstock was cut and embossed with the new Flower Fun M-Bossabilities folder that had been inked up with New Sprout Memento Ink. The layer was stitched to a 1/4″ bigger piece of Sour Apple cardstock.  May Arts ribbon was threaded through on of the holes in the Splendid circle before the circle layers were adhered to the embossed squares with dimensionals. The ribbon was tied to a bow and a button was tied on that with embroidery floss.

The layers were adhered to the card base which was cut with a Grand Scallop Square Nestabilities die out of Solar White cardstock. Another piece of white cardstock was cut and embossed with the second smallest Splendid circle die. A sentiment from the Friendship Ticket Sentiments was stamped in the center and the circle was airbrushed with Copic Marker B000. The circle was adhered to the lower right of the image layer. Lime Twist Smooch Glitz was added over the hair and pixie dust, Frost Smooch Glitz over the wings.   Fancy That! Border Bling was adhered to the upper left corner and part of a Finesse Rhinestone Swirl was adhered to the lower left.

o take a peek at today’s fabulous new release creations, please click on the links below…

Alberto Gava {Special Guest}
Ann Vento
Beate Johns {Special Guest} – you are here
Ellie Stover
Erin Bailey
Heidy Blom
Tammy Louise Cunliffe

Remember that the entire new release is available to buy right now from the Whimsy Stamps store along with all your Whimsy favourites.

Thanks for stopping by and don’t forget to pop back to the Whimsy blog tomorrow for more new release creations!

Have a wonderful day!
Hugs and smiles


Hello and welcome to Day One of our March Rubber & Die Release Showcase!

On Wednesday (21 March) Whimsy Stamps released this month’s rubber designs, new Shapeology dies and new Shape EZ templates. From then until 27 March the Whimsy Stamps DT and Special Guests are showcasing these fabulous new goodies with a daily mini blog hop and I am part of today’s hop!

Each mini blog hop has a new release prize hidden somewhere along the way and you have 24hrs to enter each prize draw.

To be entered into today’s mini blog hop prize draw, be sure to leave a comment on ALL of the DT’s posts listed below by 12.00PM EST tomorrow. All winners will be announced on the Whimsy blog on 28 March.

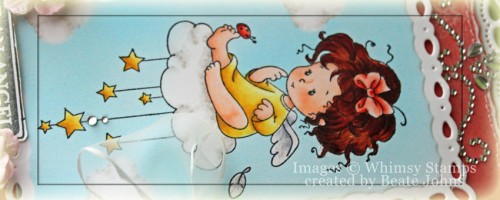
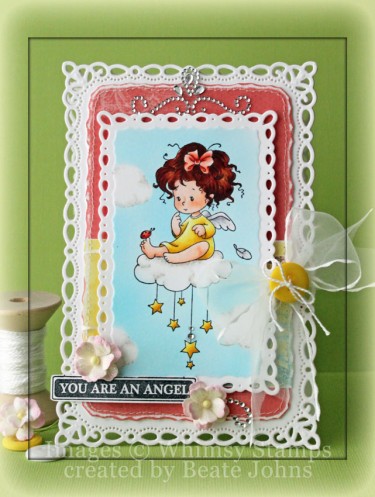
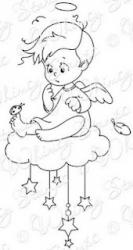
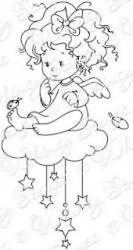
For my card I stamped the new Wee Image Angie in Tuxedo Black Memento Ink on Neenah Solar White cardstock. The image was cut and embossed with the second largest Romantic Rectangle die (Oh yeah! I got new dies and I am loving it!!!). The image was colored with  Copic Markers (Skin: YR0000, YR000, YR00, BV000    Hair: E97, E99, E09, E39, E29     Wings: C00, C1, C3    Bow, ladybug: R00, R01, R02, R05). The image was masked, cloud masks and the die were added and the inner part was  airbrushed with Copic Marker B02. Shading was added to the clouds with Copic Markers (W00, W0, W1).

A 2 1/4″ wide strip of Pink Paislee Spring Jubilee Patterned Paper was adhered to a piece of the same paper pack. It was cut with the largest Romantic Rectangle die. The edges were sanded and the piece was cut down at the embossed line. The edges were then stitched and May Arts ribbon was tied around the horizontal strip. The bow was topped with a button, tied on with embroidery floss.

The layer was adhered to a piece of white cardstock, cut and embossed with the same Romantic Rectangle die. The image was adhered to the center of the card front with dimensionals. A piece of Fancy That! Border Bling was adhered over the image.  The card base was cut out of white cardstock with the same die and the card front was adhered over it, to hide the card hinge.

A sentiment from Thank you Tabs 1. It was stamped in Tuxedo Black Memento Ink, cut out and and adhered under the lower left corner. Two Wild Orchard Flowers were adhered above and underneath the sentiment panel.  A small piece of a  Finesse Swirl was adhered next to the lower flower and two small rhinestones were added to the main image. Frost Smooch Glitz on the angel wings finish off the card.

To take a peek at today’s fabulous new release creations, please click on the links below…

Ann Vento
Beate Johns {Special Guest} – you are here
Deb Routledge {Special Guest}
Dena Concienne {Special Guest}

Remember that the entire new release is available to buy right now from the Whimsy Stamps store along with all your Whimsy favourites.

Thanks for stopping by and don’t forget to pop back to the Whimsy blog tomorrow for more new release creations!

Have a wonderful day!
Hugs and smiles

Welcome to Whimsy Stamps March rubber stamp and die RELEASE DAY!

Whimsy Stamps is releasing 20 fantastic new rubber stamps and 7 wonderful new Shapeology dies today together with 2 brand new Shape EZ templates! These new goodies are available to buy right now from the Whimsy Stamps store along with all your Whimsy favourites.

From today until 27 March the Whimsy DT and Special Guests will be showcasing these fabulous new stamps and dies with a daily mini blog hop. Each mini blog hop has a new release prize hidden somewhere along the way and you will have 24hrs to enter each prize draw by leaving a comment on every blog listed for that day.

At the end of release week (Wednesday 28 March) we will post a Release Round-Up on the Whimsy blog. This will include a selection of new release DT work from the past week together with a complete list of winners from the daily mini blog hops.

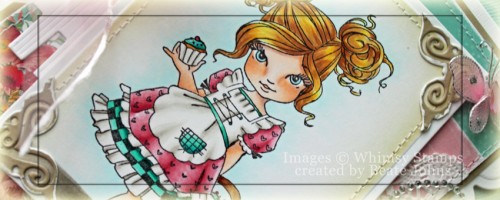
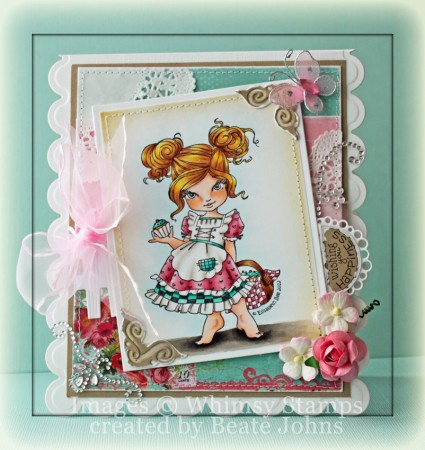
For my card today I chose a new image from Elisabeth Bell called Cinnamon Sugar. It was stamped in Tuxedo Black Memento Ink on Neenah Solar White cardstock, cut and embossed with the second smallest Grand Rectangle Nestabilities die.  the image was colored with Copic Markers (Skin: YR0000, YR000, YR00, BV000   Hair: Y11, Y23, E31, E33    Dress: R81, R83, R85, BG32, BG34, BG49   Basket: E31, E33, 35, E37   Apron: W00, W1, W3    Eyes:B00   Background: B0000     Ground: W00, W1, W3, W5, W7, W9).

The edges of the rectangle were  sponged with Antique Linen and Frayed Burlap Distress ink. Kraft cardstock was cut with a die from the Corner die set. The edges were painted with Snow Cap Paint.  Once the corners were dry they were adhered to the upper right and lower left corner of the image.

A 2 1/4″ x 4 1/4″ strip of Pink Paislee Spring Jubilee Patterned Paper was adhered to a 4 1/4″ x 5 1/4″ piece from the same paper pack. The edges of the papers were sanded , parts of a paper doily were adhered to the upper left and right side of the paper layer. The layers were stitched to a slightly bigger piece of Kraft cardstock. May Arts Pink Sheer ribbon was tied around the horizontal strip.

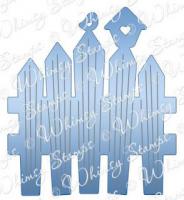
A piece of Solar White cardstock was cut with the new fence die and was adhered slightly under the ribbon. The image was adhered over the ribbon with dimensional adhesives after three flowers (Zva Creative and Wild Orchid Crafts) were adhered to the lower right corner of the image.

A sentiment from the new Celebration Circle Pennants was stamped in Tuxedo Black Ink on Kraft cardstock. It was cut out and the edges were painted with Snow Cap Paint. After it was dried it was adhered to a piece of white cardstock, cut with a Circle Pennant die. The sentiment panels were adhered slightly above the flowers to the right of the image.

The card base was cut and embossed with a Grand Scallop Rectangle die and the layers were adhered to the base. Part of a Fancy That! Border Bling was adhered to the lower left corner, part of a Finesse Swirl was adhered above the sentiment panel and a light pink butterfly from Want2Scrap finished off the card.

To be entered into today’s mini blog hop prize draw, be sure to leave a comment on ALL of the DT posts listed below by 12:00PM EST tomorrow:

Here is a full reveal of the wonderful March release:

4 Crissy Armstrong rubber stamps
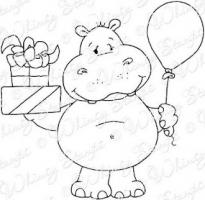
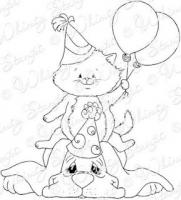
Balloon Bouquet ~ Birthday Hippo ~ Birthday Pile-up ~ Wee Snippet’s Cake


2 Elisabeth Bell rubber stamps
Cinnamon Sugar ~ Lemon Pepper

4 Kenny K rubber stamps
Football ~ Soccer ~ Fabby Farrah ~ Sassy Sadie

3 Meljen’s Designs rubber stamps
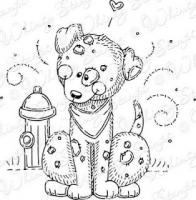
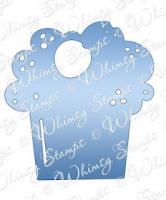
Birthday Cupcake ~ Darling Dalmatian ~ Pixie Dust Fairy

3 Wee Stamps rubber stamps
Amy Whimsy ~ Angel Cody ~ Angie Whimsy

4 Raindrop Echo Designs rubber stamp sets
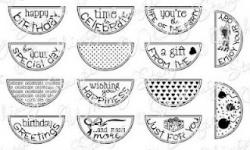
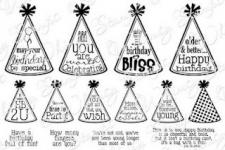
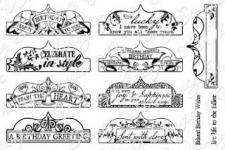
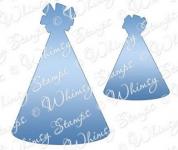
Aged To Perfection Notables 3 (coordinating die available) ~ Celebration Circle Pennants (*new* coordinating die available) ~ Party Hat Sentiments (*new* coordinating die available) ~ Vintage Birthday Tabs 1 (coordinating die available)

5 Raindrop Echo Designs Shapeology dies
Birthday Sentiments ~ Fence ~ Party Hats Die set ~ Circle Pennants Die set ~ Party Time Notables 3


2 TLC Shapeology die
Cherry Cake ~ Egg Tag

Shape EZ by TLC
Cherry Cake ~ Gradient Wedding Dress

Don’t forget to visit today’s DT and leave a comment on their blog posts to be entered into the draw to win a new release stamp, then pop back to the Whimsy blog tomorrow for the next list of showcase posts!

Thanks for stopping by and I hope you enjoy our new release! Have a great day!
Hugs and smiles

Welcome to the first ever Nina B Designs Dream Team Blog Hop! We are so thrilled to have you join us on this very special day. My friends and I have some projects to show you that feature the Nina B Designs’ Spellbinders™ Paper Arts (Home Sweet Home and Sewing Elements), The Craft’s Meow Stamps, and Want2Scrap bling.

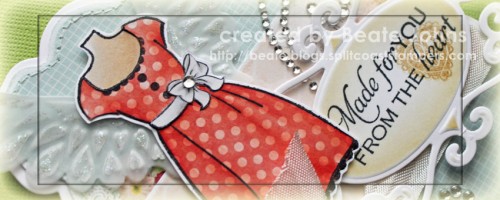
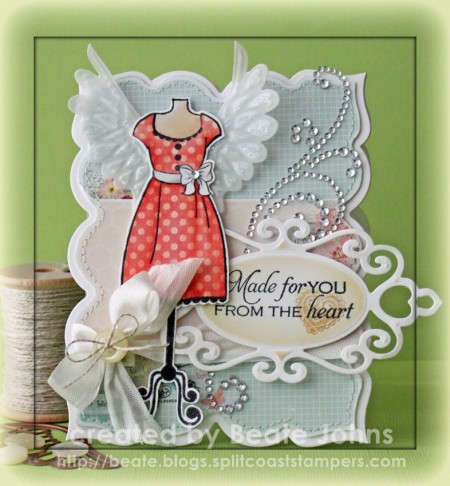
For my card I used The Craft’s Meow’s Sew Lovely stamp set. I stamped the dress form image in Tuxedo Black Memento Ink once on Neenah Solar White cardstock and two times on different patterns from My Mind’s Eye Follow Your Heart Be Happy paper. The patterned paper pieces were cut out, adhered to the cardstock dress form and colored with Copic Markers (R00, R11, R12, R14, T0, T2, E40, E41, E42). Next pieced dress form was cut out, leaving a 1/16″ border of white cardstock.

Two wings from Nina’s Spellbinders Home Sweet Home die pack

were cut out and embossed out of Vellum Cardstock. The embossed part was highlighted even more on the back side with my white Pastel Pencil. On the front Frost Smooch Glitz was added. Once that was dry the wings were adhered under the dress form.

A 2″ strip of Be Happy Paper was adhered over a bigger piece. Both were cut and embossed with the smallest of the Grand Label 23 Nestabilities die. The edges were sanded and the layers were cut down on the embossed edge.  The edges were stitched and seam binding was tied around the lower edge of the horizontal strip. A button was tied on it with  Linen Thread.

A sentiment from the same set was stamped in Tuxedo Black Memento ink  on a piece of white cardstock, cut and embossed with a Fancy Tag 2 die die. The inner edges of the tag were sponged with Vintage Photo Distress ink. The heart is also from Sew Lovely and was stamped in second generation Vintage Photo ink to the right edge of the tag. The tag was adhered to right hand side of the layers with dimensionals, the dress form on the left. Parts of a Finesse Rhinestone Swirl and one Baby Bling Rhinestone on the top of the bow finish off the card front. It was adhered to the card base that was created out white cardstock with the same Grand Label 23 die used for the paper layers.


Now we can’t have a hop without giveaways, can we? I added a fun twist to the giveaways. There is a prize hidden in each of the designers’ blogs, so, I encourage you to comment on each of them to be entered in all the drawings. Now the rules:

  • The prizes are hidden in the blogs and winners will be drawn randomly.
  • One comment per blog please.
  • The giveaways are open to everybody in the world!
  • The winners will be announced on Wednesday, March 21.
  • This is not required, but if you have projects using NinaB Designs stamps, dies and/or bling (see tabs above), please upload it to the NinaB Designs Flickr gallery, so we can all see your beautiful work. And who knows, I may have a Flickr fan giveaway someday :).
  • This is not required, but please consider liking the following Facebook pages: NinaB Designs, Spellbinders Paper Arts, The Craft’s Meow and Want2Scrap. These companies provided some of the prizes today. Join me in thanking them and tell them NinaB Designs sent you. Thank you, friends. 🙂

Here are the prizes that are being given away – 11 prizes and 11 stops in the hop:

Thank you for joining in my excitement with this fabulous team! Now, go be inspired as you visit these talented ladies:

Thanks so much for stopping by! Have a wonderful day.
Hugs and smiles

P.S.: Sorry my blog post went up late. I read the post time wrong! 🙁


Little Darlings stamps is releasing a new collection today called Spring is in the Air. To introduce the four new darling stamps, the design team and a few guest designers are having a blog hop. The hop coincides with the Little Darlings challenge and the theme Spring Colors.

For my first sample I used the new image called Buddies. It was stamped in Tuxedo Black Memento Ink on a piece of white cardstock, cut and embossed with the largest Classic Square Nestabilities die. The image was colored with Copic Markers (Skin: E00, E11, E13  Hair: N5, N7, N9   Jeans: B0000, B91, B93, B95, B97   shirt/frog: YG21, YG23, YG17   Hat: Y23, Y26, Y28, E33   Net: C00, C1, C3, C5    Ground: G43, G46, E31).

It was masked, cloud masks were added and the background was airbrushed with Copic Marker BG01.  Shading was added to the clouds with Copic Markers W00, W0 and W1. The square was adhered to a piece of Kraft cardstock, cut and embossed with the largest Scallop Square Nestabilities die.
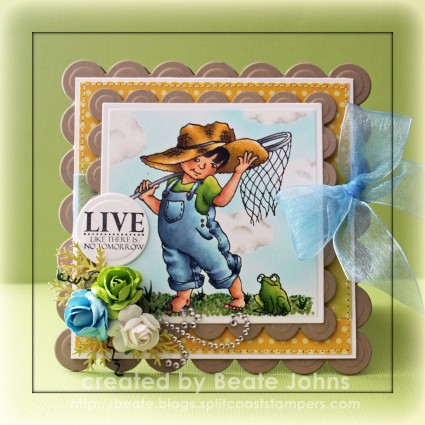
A 2 3/4″ x 4 1/2″ strip of Pebbles Happy Go Lucky Patterned paper was adhered to a 4 1/2″ square of Pebbles May Bouquet Collection. The layers were stitched to a 3/16″ bigger piece of Solar White cardstock. Blue Organdy Ribbon was tied around the horizontal strip before the image was adhered over the center with dimensionals.

The wires of three Zva Creative flowers were twisted together. The ends were rolled up with the help of my paper piercer. Branches punched out of Pebbles paper were added to the flower bouquet and it was adhered to the lower left corner of the image. Part of a Finesse Rhinestone Swirl was adhered next to the flowers.

A sentiment from Whimsy’s Treasured Moments Tickets stamp set was stamped in Tuxedo Black Ink over a piece of cardstock that had been cut and embossed with a Standard Circle Nestabilities die. The sentiment was adhered above the flowers. The layers were adhered to the card base, Kraft cardstock cut and embossed with the second smallest  Grand Scallop Square Nestabilities die.
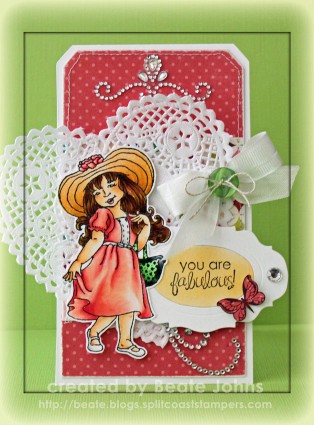
For my second card I used the image Isn’t She Lovely. The girl was stamped in Tuxedo Black Ink on Solar White cardstock and colored with Copic Markers (Skin: E50, E51, E53    Hair: Y26, E33, E35, E37   Dress: R30, R32, R35    Shoes and Trim: W00, W0, W1   Hat: YR20, YR21, YR23    Purse: YG11, YG13, YG17). The image was cut out and set aside.

The card base was cut out of Solar White cardstock with the Tim’s large tag die. A piece of the new Echo Park Graceful This & That paper was cut slightly smaller. The edges were sanded and another piece of the same paper pack was added as a horizontal strip. The edges were then stitched and seam binding was tied around the strip. A heart doily was adhered to the left hand side of the card. The image was adhered over the doily with dimensionals.

A sentiment from Whimsy’s Friendship Ticket Sentiments was stamped over the oval that had been cut with the Large Tage and bookplates die. The oval was airbrushed with Copic Marker YR20, placed back into the bookplate frame and adhered partially under the girl frame. A butterfly from the same set was stamped on the same paper used for the card base and cut out. It was adhered to the lower right of the sentiment panel.

To finish off the card a button was tied on over the bow with Linen thread. One of Nina’s gorgeous new Fancy That Want2Scrap Border bling was adhered to the top of the card. A Rhinestone was added the right hand side of the bookplate and part of a Finesse Rhinestone Swirl underneath it.

Check out what the other designers have created with the new stamps:

Little Darlings Challenge Blog
Jane
Angela
Alberto
Vicky
Janiel
Mindy
Sheri
Sara
Ruby
Angela

Make sure you stop by the Challenge blog. One of the commenters there will receive blog candy!

Do you like the images I used today? Leave me a comment and I will pick a winner on Thurday morning with the help of random.org.

Thanks so much for stopping by! Have a wonderful day!
Hugs and smiles


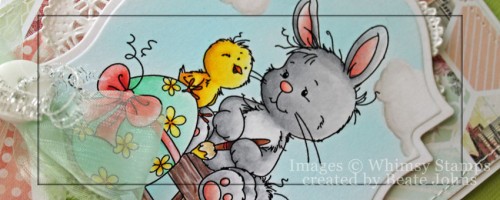
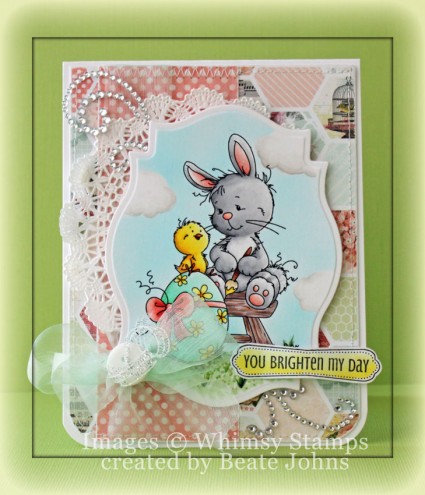
I created this card along with a tutorial how I create masked clouds for the last Whimsy Magazine.  The Wee image Easter Bunny was stamped in Tuxedo Black Memento Ink on Neenah Solar White cardstock. It was cut and embossed with a Label 18 Nestabilities die and colored with  Copic Markers (Bunny: N0, N1, N2, N3, R00, R20   Egg: G000, G00, G02    Flowers: Y02, Y06, Y08    Chick: Y02, Y06, Y08, Y17, YR15, YR18   Stool: E70, E71, E74, E23   Brush: E33, E37, R24   Bow: R20, R21, R22, R24   Ground: G40, G41, G46 W3, E31, E33).

The image was masked and cloud masks were added. The sky was airbrushed with Copic Marker BG01 and the clouds were colored with Copic Markers  (W00, W0, W1).

A 2″ x 5 1/4″ piece of My Mind’s Eye Follow Your Heart Be Happy paper was adhered to a 4″ x 5 1/4″ piece of the same paper pack. The bottom corners were rounded and the edges were sanded and stitched. Ribbon was tied around the vertical strip and topped with a button, tied on with Silver Curling ribbon. A paper doily was adhered to the upper right hand corner and the image was adhered to the layers with dimensionals.

The card base is a 4 1/4″ x 11″ piece of Solar White cardstock, folded in half. The bottom corner were rounded and the layers were adhered on top. A sentiment from Friendship Notables 2 was stamped in Tuxedo Black ink, colored with Copic Markers Y00 and Y02 and adhered to the lower right of the layers. Parts of a Finesse Rhinestone Swirl and additional Rhinestones finish off the card.

Thanks so much for stopping by! Have a wonderful day!
Hugs and smiles

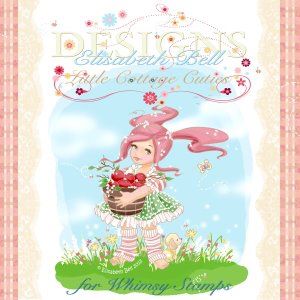
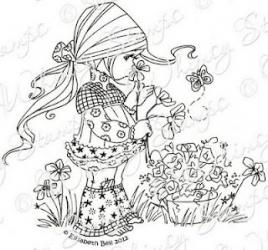
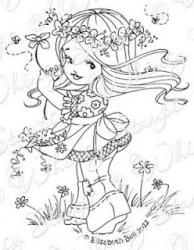
Welcome to the Elisabeth Bell for Whimsy Stamps BLOG HOP!

On Monday we announced the wonderful news that Whimsy Stamps has welcomed the amazing Elisabeth Bell to our family of Whimsy Stamps artists.

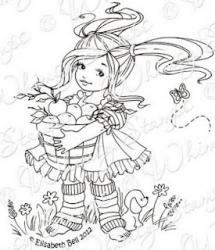
Whimsy Stamps is releasing 4 new Elisabeth Bell Little Cottage Cuties rubber stamps today and these new goodies are available to buy right now from the Whimsy Stamps store along with all your Whimsy favourites.

~ Apple Blossom ~                                  ~ Chloe ~
 

~ Picked Sweet ~                                     ~ Sun Kissed ~

The Whimsy Stamps DT and Special Guests have been previewing these beautiful stamps for the past 2 days, and today we are celebrating their release with a BLOG HOP!

The hop starts today (Wednesday March 7th at 12.00PM EST) and ends on Wednesday March 14th at 12.00PM EST.

For this hop we have five different prize draws! One lucky hopper will win the entire new release of ALL four stamps. We also have four mini candy stops throughout the hop where you can enter to win a new release stamp! We’re not telling you where they are, so be sure to complete the hop to find them!

If you would like to hop along with us today, please CLICK HERE to start the hop at Debbie’s blog.

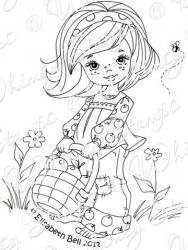
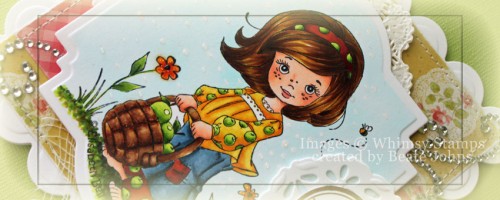
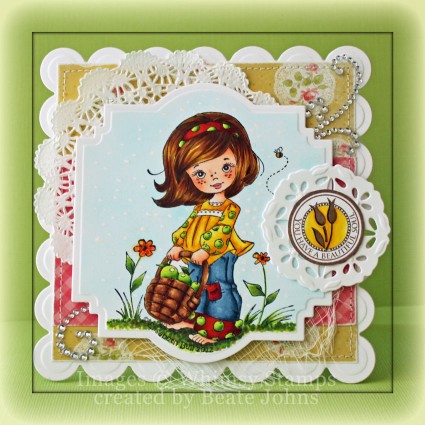
For my sample I stamped Chloe in Tuxedo Black Memento Ink on Neenah Solar White cardstock. The image was cut and embossed with the largest Label 22 Nestabilities die and colored with Copic Markers (Apples: YG01, YG03, YG17    Basket: E31, E33, E35, E37, E37    Skin: E000, E01, E11, R20    Hair: Y26, E33, E35, E37    Shirt: Y13, Y15, Y17    Pants: B93, B95, B97, B99    Hairband: R08, R27, R39     Ground: YG03, YG63, YG67, E31). The image was airbrushed with Copic Marker B12, after I added a few dots with masking fluid. Once the background was airbrushed and the masking fluid rubbed off, I added Glossy Accents over the dots, hoping it would look a bit like spring rain.

A 2 1/2″ x 4 1/2″ piece of My Mind’s Eye Miss Caroline Dolled Up patterned paper was adhered to a 4 1/2″ square of the same paper pack. The edges were sanded and stitched before the paper was adhered to the card front, a piece of Solar White cardstock, cut and embossed with a Grand Scallop Square Nestabilities die. A paper Doily was adhered to the upper left hand side, and some cheesecloth to the lower right before the image was adhered to the center with dimensionals.

A sentiment from Every Day Circle Postmarks was stamped in Rich Cocoa Memento Ink. The center was colored with Copic Markers Y15 and Y17. The sentiment was cut out and adhered to a piece of white cardstock, cut and embossed with a Eyelet Pendant Shapeabilities die. Parts of a sanded finish off the card.

Finally, here is a complete blog hop list in hopping order:

Guess what? You found the first of the candy stops right here. Add your info to Mr. Linky if you are interested in winning one of the newly released stamps.

Thank you so much for hopping with us today and I hope you enjoy the new release!

© 2012 fresh & fun Suffusion theme by Sayontan Sinha