unitydonnafoiledwide.jpg

Today’s tutorial was written by Ashley Newell and it shows you how to add transfer foil to your images. The tutorial goes hand in hand with today’s Product review. It is all about Stix2 adhesives. We were given Stix2 adhesive as well as some of their transfer foil, beads and glitter to try out their products. Fun, fun, fun!

unitydonnafoiledbeate.jpg

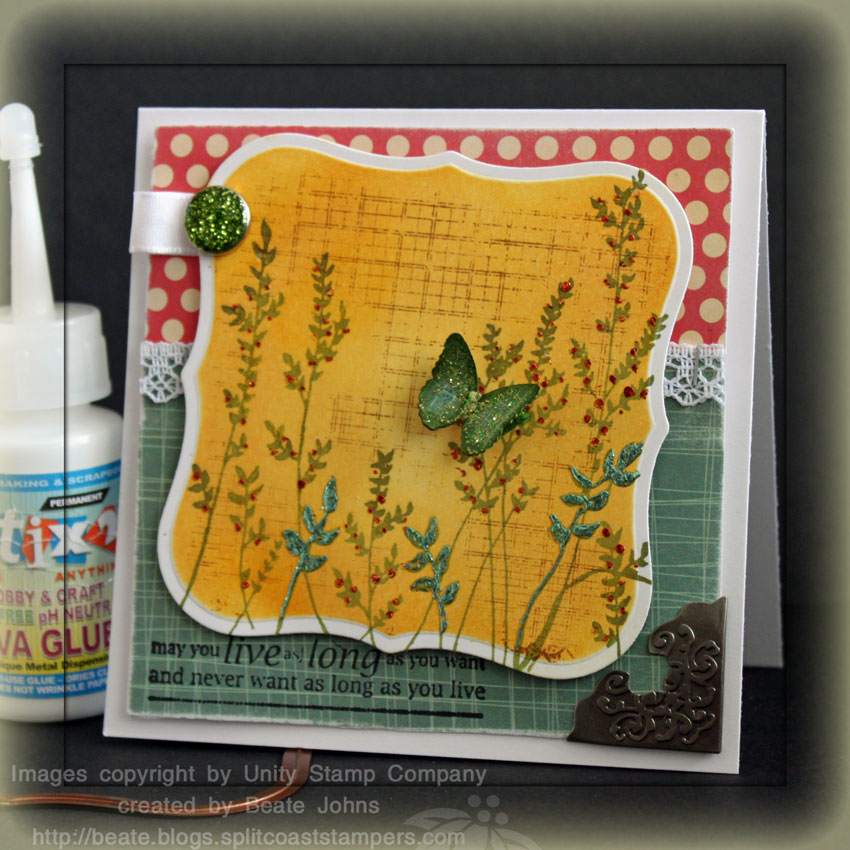
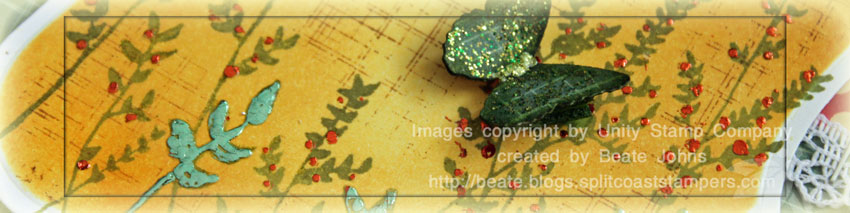
For my sample I inked the Donna Downey stamp first in Peeled Paint, then with a bit of Forest Moss, misted it with water and stamped it on Neenah Solar White. It was cut out with Label 1 Nestabilities and sponged with Wild Honey distress ink while the die was still on the paper. The grid is from Unity’s Capture Life stamp set. It was stamped over the image with Vintage Photo.

The card base is a 4 1/4″ x 8 1/2″ piece of Neenah Solar White cardstock folded in half. it was topped with Cosmo Cricket Early Bird paper that was cut in 3 15/16″ width. Where the two pieces overlap I stapled a strip of lace (Walmart) over it. To dress up the card I added a metal corner on the bottom right and a Recollection brad (Michaels) with a tiny piece of white taffeta ribbon on the top left. The butterfly was punched out with a Martha Stewart punch, Stix2 glitter was added and it was adhered to the card with dimensionals.

The sentiment is from Unity’s set Nothing but Blue Skies. It was stamped in the lower left hand corner in Jet Black Archival ink.

Here is a video for the visual learner:

[youtube]https://www.youtube.com/watch?v=El188p_I4a0[/youtube]

Thanks so much for stopping by! Have a great day! Hugs and smiles

I made this card for a while back for a challenge during VSN. I didn’t even know there was a fruit called Dragon fruit. It looks like Stracciatella Icecream (I think that’s a German flavor…not sure).

These colors are so bright together….so I thought while I am already out of my comfort zone, while not go a bit more outside and use messy stuff. Glitter and beads. So here is what came out of that ….

partyheartyaugvsnbeate.jpg

The card base is a 4 1/4″ x 8 1/2″ piece of Old Olive cardstock, followed by a 4″ square in Basic Black.

Next is a 3 3/4″ square of Whisper White that was dry embossed with the Swiss Dot Cuttlebug Folder.

I added a 1 3/4″ wide strip of Melon Mambo Pattern Designer Paper to the white layer and tied Old Olive 5/8″ wide ribbon around the top edge of it.

I inked the cupcake from Party Hearty with Old Olive, Pretty in Pink and Melon Mambo markers, stamped it twice on Whisper White cardstock and cut them out. Both were adhered to a white square with dimensionals. Glitter and Microbeads were added to the cupcake top.

Both the Melon Mambo and the Black scallop squares were cut with Square Nestabilities. I added more glitter over the Mambo frame. The sentiment was stamped in Black Stazon, punched out with the Window word punch and first layered on a small oval punchout, then on a black large oval.

partyheartyaugvsninside.jpg

The card inside is layered with a 4″ Basic Black square followed by a 1/4″ smaller piece of Whisper White.

That was layered by a 1 1/4″ x 3 3/4″ piece of Melon Mambo Pattern Designer paper. A small strip of Basic Black was punched with the Eyelet Border punch and adhered under the designer paper layer.

The present stamp is also from Party Hearty. It was stamped in Old Olive on Whisper White and punched out with the 3/4″ circle punch. It was adhered over a 1″ black circle on the bottom left.

© 2012 fresh & fun Suffusion theme by Sayontan Sinha