I created this card a couple of weeks ago. I usually don’t make Sympathy cards so I didn’t have one when I needed it (unfortunately). Thank goodness I have this GORGEOUS set from JustRite Stampers called with With Sympathy.
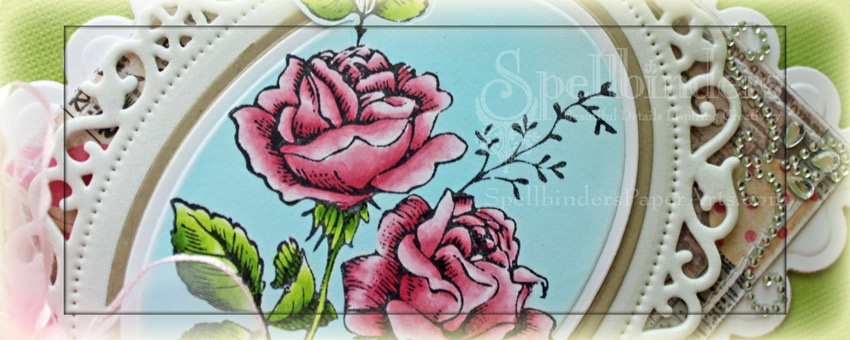
I stamped the frame in Rich Cocoa Memento Ink on a piece of My Mind’s Eye Be Amazing patterned paper. The frame was cut and embossed with the second largest of the Small Classic Oval Nestabilities die as well as the largest Nested Oval Medallion die and the edges were sanded.
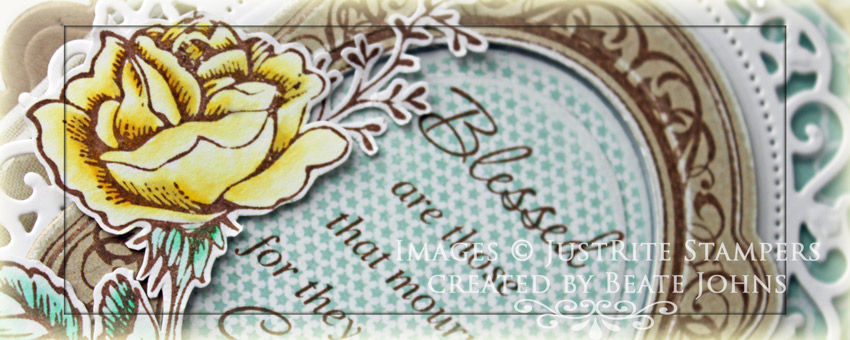
The frame layers were adhered to a piece of white cardstock, cut and embossed with the largest Floral Oval Nestabilities die. A sentiment from With Sympathy was stamped in Rich Cocoa Ink on another piece of Be Amazing Paper, which was cut and embossed with the next smaller classic oval die. The edges were sanded and the oval was taped behind the frame opening.
The Rose from With Sympathy was stamped in Rich Cocoa Memento Ink on Neenah Solar White cardstock. It was colored with Copic Markers (Y00, Y11, Y13, W2, G000, G00, G02), cut out and adhered to the lower left of the frame.
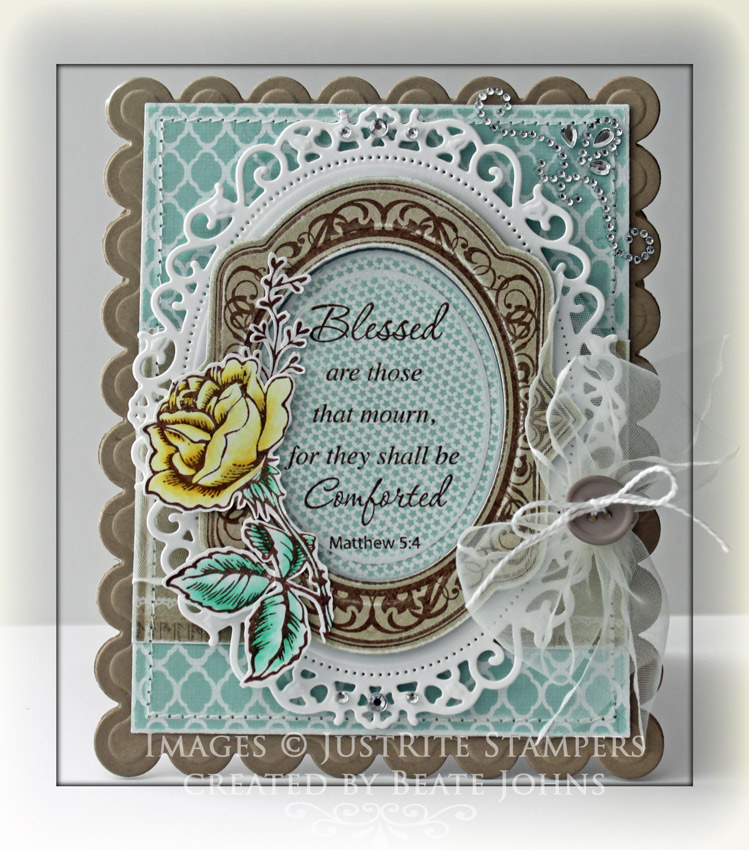 A strip of Be Amazing paper was adhered to a bigger piece of the same paper pack. The paper was cut and embossed with a Grand Rectangle Nestabilities die. The edges were sanded and stitched before May Arts ribbon was tied around the horizontal strip. The bow was topped with a button, tied on with embroidery thread before the layers were adhered to the card base, Kraft cardstock cut and embossed with a Grand Scallop Rectangle die.
Part of a Fancy That! Border Bling was adhered to the upper right hand side to finish off card. Thanks so much for stopping by! Have a wonderful day.
Hugs and smiles
|
|