Today’s tutorial was written by the fabulous Birgit Edblom, aka. Biggan. Her tutorial is on how to create a wonderful paper frame for your main image.
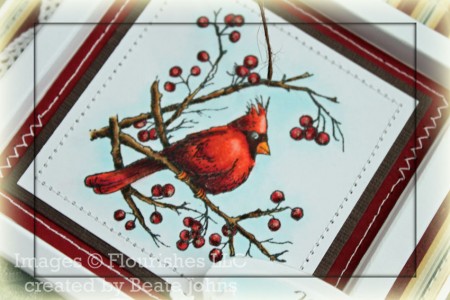
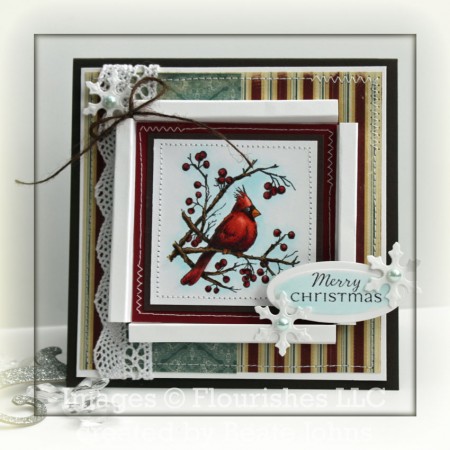
For my sample I used another image that I had colored (and had final touches added by the fabulous Marianne Walker) during my trip to Chicago. The image is from Flourishes new set called Christmas Classic. It was stamped in Tuxedo Black Memento Ink on X-Press It! Blending Card and colored with Copic Markers ( Bird: R08, R27, R29, R39, R59 Beek and feet: YR15, YR18, R08 Branch: E55, E57, E59 Background: B0000 and Spica Clear Glitter Pen).
The image was cut down to a 2 5/8″ square and stitched to a slightly bigger piece of textured Chocolate Chip cardstock. That again was adhered to a 2 15/16″ square of Cherry Cobbler cardstock that had a border stitched to it. Fine brown Burlap String was threaded through the frame before the layers were adhered inside.
A 1 5/8″ x 4 5/8″ piece of Webster’s Pages paper was adhered to a 4 5/8″ square of a different style Webster’s Pages paper. White lace purchased at JoAnn’s was adhered to the edge of the horizontal strip and the layers were stitched to 1/4″ bigger piece of white cardstock. the card base is a 4 7/8″ x 9 3/4″ piece of Chocolate Chip card stock folded in half.
The sentiment is from the same stamp set. It was stamped in Tuxedo Black Memento Ink on Neenah Solar White card stock. It was cut and embossed with Petite Oval Nestabilities. The inner part of the oval was colored with Copic Marker B0000. Three snowflakes cut and embossed with the Snowflake Borderabilities dies were added to the card and topped with Kaisercraft Bliss Pearls.
Here is a video for the visual learner:
[youtube]https://www.youtube.com/watch?v=ZtJ-puFCb94[/youtube]
Thanks so much for stopping by! Have a wonderful day! Hugs and smiles


