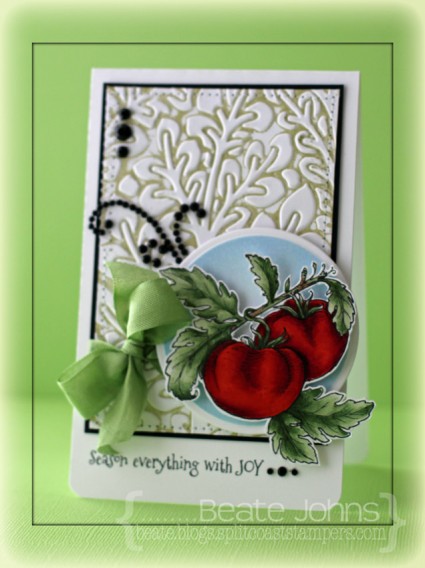
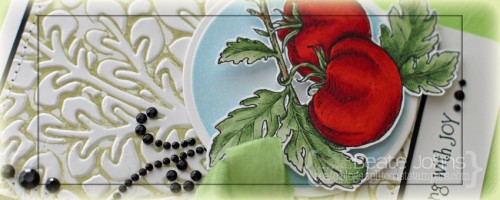
I created this card for Imagine Crafts.  We were to create a card with a theme, picking one of the new Kaleidacolor pad names as the theme. I knew I wanted to use Flourishes Italian Garden tomato image for my card.

Here are stamp by step instructions:

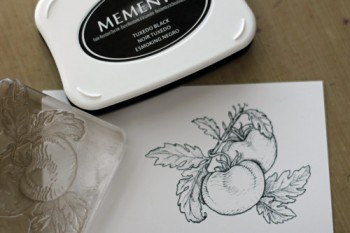
Stamp image in Tuxedo Black Memento Ink.

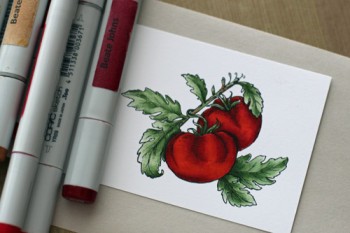
Color image with Copic Markers (YR09, R24, R29, R39, YG61, YG63, YG67, E31, E33, E35) and cut out.

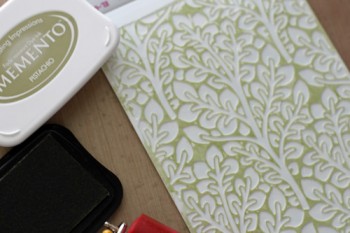
Brayer Pistachio Memento Ink over the inside of the Flora M-Bossabilities folder and emboss a 2 1/2″ x 4 3/8″ piece of white cardstock.

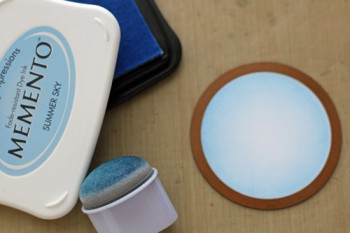
Cut and emboss a piece of white cardstock with the 3rd largest Standard Circle Nestabilities die and sponge the edges of the circle with Summer Sky Memento Ink.

Adhere image over the circle with dimensional adhesive. Stitch embossed background to a slightly bigger piece of black cardstock. Tie ribbon around the lower edge of the embossed layer and tape circle to the lower right of that layer.

Stamp sentiment on lower left of the card base (3 1/2″ x 11″ piece of white cardstock, folded in half) with Tuxedo Black Memento Ink. Finish off the card with black rhinestones.

Thanks so much for coming by! Have a wonderful day!
Hugs and smiles

Yesterday’s tutorial on Splitcoaststampers was written by Joan Ervin. She showcased the Triple Stamping technique. It’s an easy way to add dimension to your card.

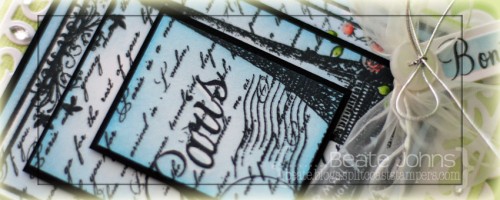
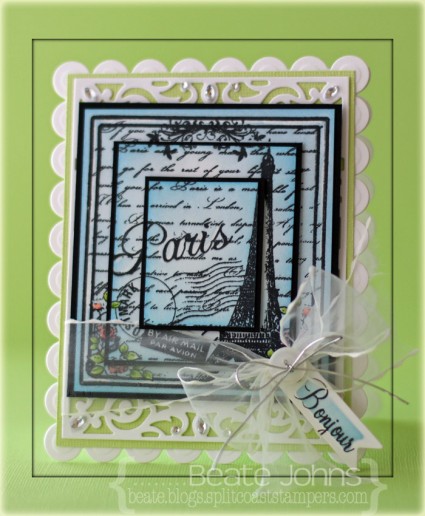
I created a card with that technique with the beautiful Sweet ‘n Sassy Stamp To Paris with Love.  I started by cutting three pieces of Neenah Solar White cardstock in rectangles ( 3 1/2″ x 3 15/16″, 2 1/2″ x 2 15/16″ and 1 1/2″ x 1 15/16″). The layers were adhered on top of each other with repositionable adhesive and the image was stamped over it in Tuxedo Black Memento Ink.  The flowers of the image were colored with Copic Markers (R11, R12, R22, YG01, YG03, YG17).  The frame and the flowers were colored with white crayon before the edges were sponged with Summer Sky and Bahama Blue Memento Ink. Each layer was adhered to a 3/16″ bigger piece of black cardstock.

The layers were stacked on top of each other with foam adhesive squares.  A piece of Solar White cardstock was cut and embossed with a die from the new Spellbinders Filigree Delight set and adhered to a piece of Limeade Bazzill cardstock. The image layers were adhered over it with more foam adhesive squares and May Arts ribbon was tied around the lower part.

More white cardstock was cut and embossed with a tag die from the new Charmed I’m Sure Spellbinders die set. A sentiment from the set was stamped on it with Tuxedo Black ink and the center was sponged with Summer Sky Memento ink. The tag was tied to the bow and a button with silver cord.

The layers were adhered to a card base cut and embossed out of white cardstock with a Grand Rectangle Nestabilities die. Rhinestones from Want2Scrap finish off the card.

Here is a video for the visual learner:

[youtube]https://www.youtube.com/watch?v=8YWHeJtM6vQ[/youtube]

Thanks so much for stopping by! Have a wonderful day!
Hugs and smiles
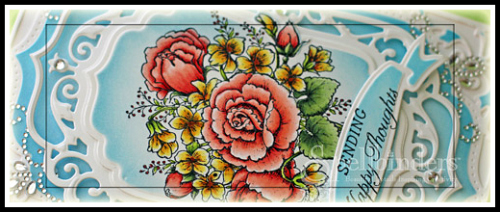
My turn to share another card on the Spellbinders blog today. I hope you have time to check out the entire card and let me know what you think. The image was colored with Copic Markers (Roses: R10, R11, R22 Rose leaves: G40, G43, G46 Violets: Y11, Y13, Y15, E99 Violet Leaves: YG01, YG03, YG17 Berries: R27).

Thanks so much for stopping by! Have a wonderful day!
Hugs and smiles
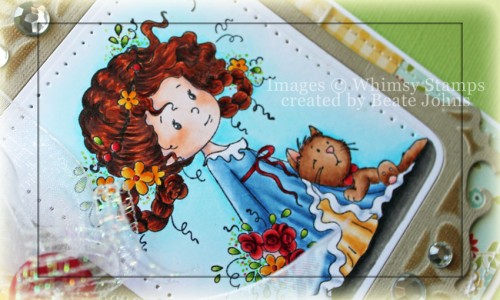
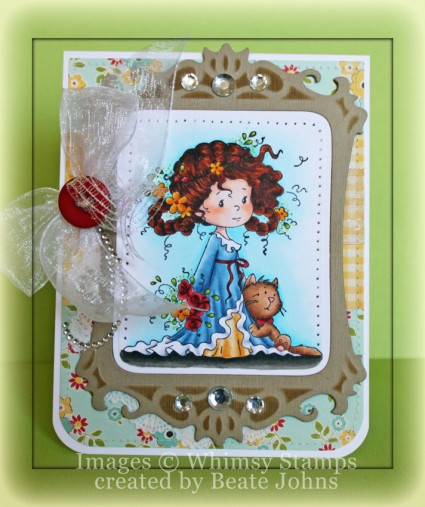
I stamped Rose and Felix in Tuxedo Black Memento Ink on Neenah Classic White cardstock The image was cut and embossed with Spellbinders Classic Frame die and colored with  Copic Markers (Skin: E0000, E00, BV00   Hair: E97, E99, E25, E29   Dress: B41, B52, B45, C0, C2    Skirt: YR30, YR31, Y21   Roses and Belt: R22, R27, R29   Flowers: Y15, Y17, R22, R27   Leaves: YG01, YG03, YG17    Felix: E31, E33, E34    Background: B0000, B000, B00). Another frame was cut and embossed out of Textured Kraft cardstock. The frame was sponged lightly with Vintage Photo Distress ink. The outer edge of the image layer was paper pierced before it was adhered over the Kraft cardstock frame.

A 2 1/2″ x 4″ strip of October Afternoon Sidewalks Paper was  stitched to a 4″ x 5 1/4″ piece of the same paper pack, that had the bottom two corners  rounded. White organdy Ribbon was tied around the horizontal strip. The bow was topped with a button, tied on with iridescent curling Ribbon.

The layers were adhered to the card base, a 4 1/4″ x 11″ piece of Solar White cardstock folded in half. The frame was adhered in it’s center with dimensionals. Part of a Finesse Rhinestone Swirl was adhered under the bow and Rhinestones from a  72 Count Rhinestone pack were added to the frame to finish off the card.

Thanks so much for stopping by. Have a great day!
Hugs and smiles

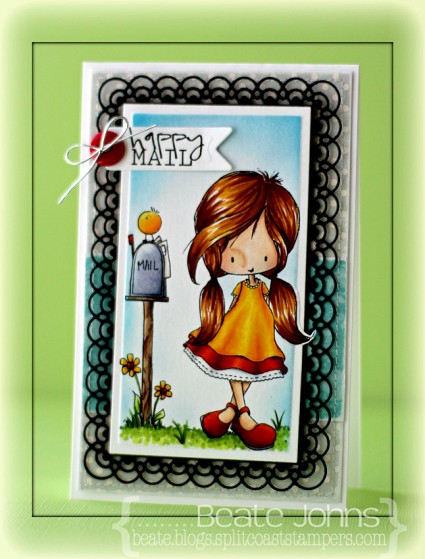
Did you see the new images Tiddly Inks released? They are so cute. For my card I used the new Happy Mail images. They were arranged, printed out on Neenah Solar White cardstock and cut and embossed with the Out of the Box Technique as well as the second smallest of the new 5″ x 7″ Matting Basics A Spellbinders Paper Arts.

The image was colored with Copic Markers (Skin: E50, E21, E33, R20    Hair: YR24, E99, E39, E18   Dress/Bird/Flower: Y13, Y15, Y17, YR15   Mailbox: E31, E34, E29, W3, W5, BV20, BV23, BV25   Flower Center: E99, E09    Grass: YG01, YG03, YG17)  and the edges were sponged first with Summer Sky, then with Bahama Blue Memento Ink. The image was adhered to a piece of black cardstock that had been cut and embossed with the second smallest of the new 5″ x 7″ Detailed Scallops Spellbinders die.

A 2″ x 3 5/16″ piece of My Mind’s Eye Six by Six A Mother’s Love was adhered to a 3 5/16″ x 5 5/16″ piece from the same paper pack. The edges were sanded and stitched before the layers were adhered to the card base, a 3 1/2″ x 11″ piece of Solar White cardstock, folded in half.

The sentiment from Happy Mail was printed out and cut and embossed with a new die from the Charmed I’m Sure Spellbinders Shapeabilities® die. A button was tied to the left hand side of the tag with silver cord before it was adhered to the upper right hand corner of the image layer.

The card works wonderful the current Tiddly Inks Challenge (anything goes.

Thanks so much for stopping by! Have a wonderful day!
Hugs and smiles
 

Happy New Year! I hope you had a wonderful and save New Years Eve!

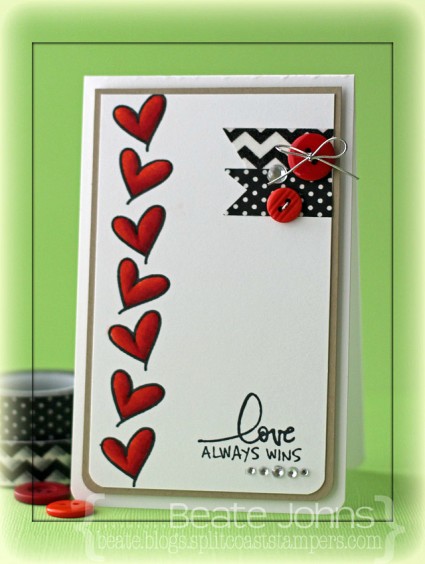
I am excited to be guest designing for Technique Tuesday this month with Ali Edwards newest set called Be Mine. For my card  I started with a 3″ x 5″ piece of Neenah Solar White cardstock. The heart from the set was stamped in Tuxedo Black Memento Ink on the left hand side and colored with Copic Markers (YR09, R24, R29, R39). A sentiment was stamped on the lower right hand side.

Two pieces of Washi Tape were adhered to the upper left side and the bottom corners were rounded. The layer was adhered to a slightly bigger piece of Kraft cardstock. Two buttons were tied to over the washi tapes with silver cord.  The layers were adhered to the card base, a 3 1/2″ x 11″ piece of white cardstock, folded in half, with foam adhesive squares. Rhinestones finish off the card.

Thanks so much for stopping by! Have a wonderful day!
Hugs and smiles
I have another post on the Spellbinders blog today. I hope you have time to check out the entire card. It works great for the current Simon Says Stamp challenge, which is to create a Christmas project.

Thanks so much for stopping by!  I don’t know how much I will be posting over the weekend and next week! I wish you all a wonderful Christmas. Hopefully you get to spend it with loved ones!!!
Hugs and smiles

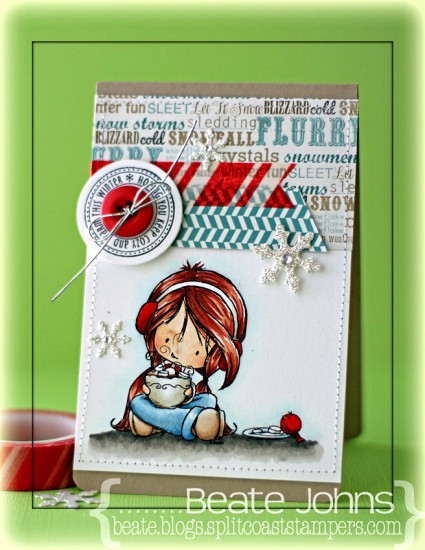
I am back with another cute Tiddly Inks image called Cocoa Wishes. It was printed out on Neenah Solar White cardstock. It was cut 3 1/2″ wide and the image was colored with Copic Markers (Skin: E50, E21, E33, R20   Hair: E13, E15, E19, E18   Jeans: B91, B93, B95, B97   Ear Muffs/shirt/bird: YR09, R24, R29, R39    Cup: E40, E41, E42, E43  ).

Two pieces of  3 1/2″ wide strips of Carta Bella’s Winter Fun patterned paper were adhered above the image and the edges were stitched. The layers were adhered to the card base a 3 1/2″ x 11″ piece of Kraft cardstock, folded in half. The bottom corners were rounded and a piece of red washi tape was adhered on the the paper strips on top.

A sentiment from Snowflake Letters Mini seals was stamped in Tuxedo Black Memento Ink on a piece of white cardstock, cut and embossed with a Standard Circle Nestabilities die. A red button was tied on with a silver cord before the sentiment circle was adhered with foam adhesive squares. A few snowflakes were cut and embossed out of silver glimmer paper with Snowflake Borderabilities dies and adhered to the card to finish it off.

Thanks so much for looking! Have a wonderful day!
Hugs and smiles
Welcome to the Whimsy Stamps December 2012 rubber stamp and die release!

Today, Whimsy Stamps is releasing 20 fantastic new Rubber Stamps & Stamp Sets, 5 wonderful new Whimsy Shapeology Dies, a fabulous new Shape EZ by TLC template and 2 beautiful Whimsy Designer Paper 6×6 packs. These new goodies are available to buy right now from the Whimsy Stamps store along with all your Whimsy favourites.

We are also welcoming two new DT members to the Whimsy family today! We hope you will join us in giving a warm Whimsy welcome to Melissa Andrew and Janette Garcia. We are very excited that these extremely talented gals have joined us here at Whimsy as members of our magazine staff! Welcome Melissa and Janette!

From today until 23 December, the Whimsy DT and Special Guests will be showcasing these new products with a daily mini blog hop. Each mini blog hop has a new release prize hidden somewhere along the way and you have 24hrs to enter each prize draw by leaving a comment on every blog listed for that day.

At the end of release week (Monday 24 December) a ‘Release Round-Up’ will be posted on the Whimsy blog with a complete list of winners from the daily mini blog hops.


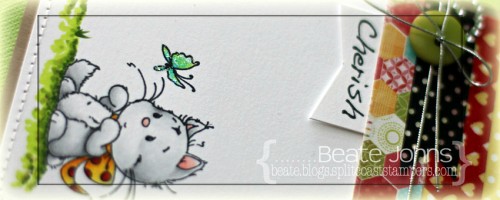
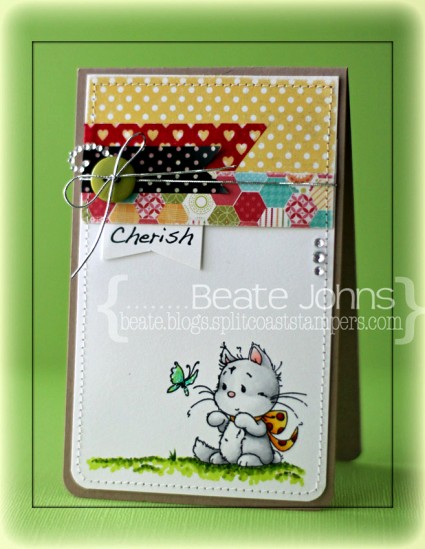
For my card today I used an image from the darling new Playful Kittens stamp set. Again this card works wonderful for the current Simon Says Stamp challenge. Some of my favorites on this card include Washi Tape, Patterned paper, Wee images, Rhinestones and Copic Markers.

The image was stamped with Tuxedo Black Memento Ink on a 3 1/4″ x 5″ piece of Neenah Solar White cardstock. The bottom corner were rounded and the image was colored with Copic Markers (Kitten: C00, N0, N1, N2, R000, R20     Scarf: Y11, Y13, Y15, Y17, YR09, R24, R29, R39      Ground: YG01, YG03, YG17    Butterfly: YG01, BG10, BG11, BG13).

Two 3 1/4″ wide strips of Echo Park So Happy Together paper were sanded and adhered to the top of the image layer. The edges were stitched and two pieces of Washi Tape were adhered to the left hand side of the patterned paper strips. A green button was tied on with silver cord.

A sentiment from the Playful Kittens set was stamped on a scrap piece of paper. It was cut into banner shape and adhered under the paper strips. Stardust Glitter was added over the butterfly wings and rhinestones above the button and to the right hand side of the card.

To be entered into today’s mini blog hop prize draw, be sure to leave a comment on ALL of the DT posts listed below by 12.00pm EST tomorrow:

If you would like to join us as our Guest Designer for our February 2013 release please go to our Guest Designer Contest page to read all about how to enter. Entries close at 12.00pm (EST) on Monday 24 December 2012.

For a full reveal of this month’s fabulous release, please visit the Whimsy blogThanks so much for stopping by. Have a wonderful day!

Hugs and smiles
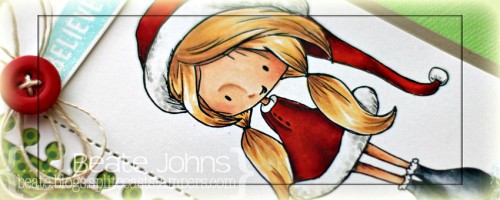
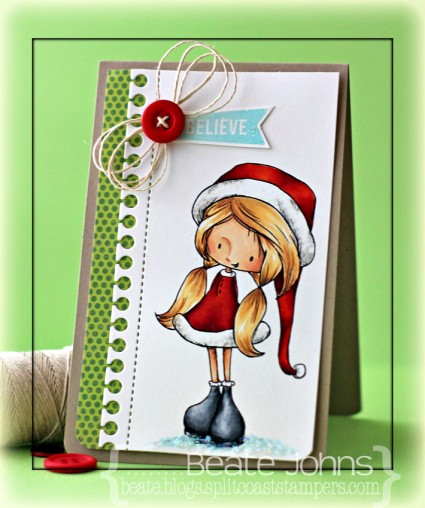
I am exciting to be guest designing for Tiddly Ink this month. For my first card I decided to use the darling Winter Wryn image. I printed her out on Neenah Solar White cardstock and colored her with Copic Markers (Coat/Hat: YR09, R24, R29, R39    Hat/coat trim: W00, W1, W2    Skin: E50, E21, E34    Hair: Y21, Y23, E31, E33     Boots: C1, C3, C5, C7, C9). The cardstock was cut down to 5 1/4″ length and the left hand side was cut with the Notebook Die-namics die. The right hand corner was rounded.

A piece of Carta Bella Merry & Bright paper was adhered on the left to form a 3 1/4″ x 5 1/4″ layer. It was adhered to the card base, a 3 1/2″ x 11″ piece of Kraft cardstock, folded in half. Both bottom corners were rounded.

A sentiment from Kelli Purkey’s Joy stamp set was stamped in Sea Breeze VersaMagic ink on white cardstock. It was embossed with iridescent ice embossing powder and cut out.  Hemp cord was wrapped into a bow and tied together with a bow. The sentiment was taped under it and it was adhered to the upper right hand side.

Do you have any Tiddly Ink images? They are so cute and so much to color.
Hugs and smiles

© 2012 fresh & fun Suffusion theme by Sayontan Sinha