It’s my turn to share on the Spellbinders blog today. The topic this week is sparkles. Now that was an easy one for me. Rhinestones, Brilliance ink and Glimmer Paper.

I hope you have time to check it out and tell me what you think. Have a wonderful day!
Hugs and smiles

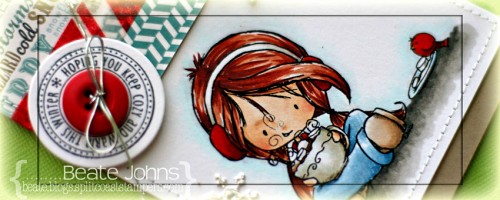
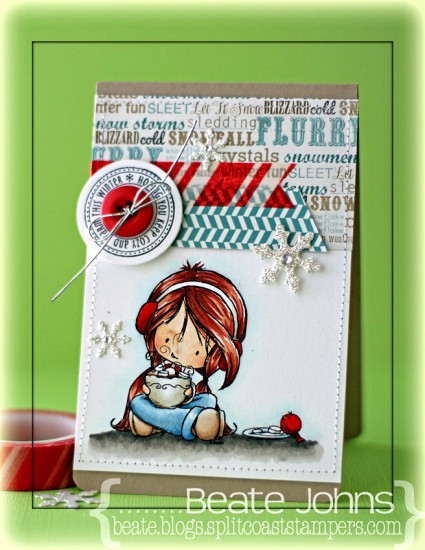
I am back with another cute Tiddly Inks image called Cocoa Wishes. It was printed out on Neenah Solar White cardstock. It was cut 3 1/2″ wide and the image was colored with Copic Markers (Skin: E50, E21, E33, R20   Hair: E13, E15, E19, E18   Jeans: B91, B93, B95, B97   Ear Muffs/shirt/bird: YR09, R24, R29, R39    Cup: E40, E41, E42, E43  ).

Two pieces of  3 1/2″ wide strips of Carta Bella’s Winter Fun patterned paper were adhered above the image and the edges were stitched. The layers were adhered to the card base a 3 1/2″ x 11″ piece of Kraft cardstock, folded in half. The bottom corners were rounded and a piece of red washi tape was adhered on the the paper strips on top.

A sentiment from Snowflake Letters Mini seals was stamped in Tuxedo Black Memento Ink on a piece of white cardstock, cut and embossed with a Standard Circle Nestabilities die. A red button was tied on with a silver cord before the sentiment circle was adhered with foam adhesive squares. A few snowflakes were cut and embossed out of silver glimmer paper with Snowflake Borderabilities dies and adhered to the card to finish it off.

Thanks so much for looking! Have a wonderful day!
Hugs and smiles

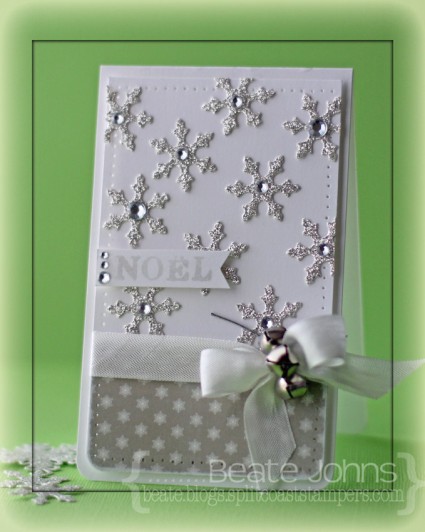
It’s time for a new Crafty Friends Challenge. Charmaine is the hostess and her challenge to us is to create a mostly white card, with just a splash of color. I will also enter the card into the current Simon Says Stamp Challenge, which is to use your favorites. Here I used paper piercing, rhinestones, dies, patterned paper and paper piercing.  The layout of the card is from the current CASE Study card by Windy Robinson.

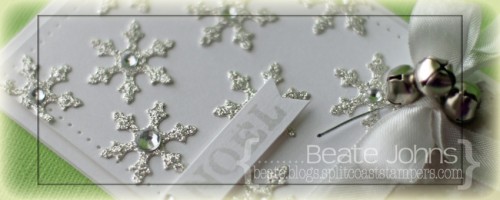
I started by cutting snowflakes out of silver glimmer paper with one of the Snowflake Borderabilities dies.  A 1 3/4″ x 3″ strip of Carta Bella’s Winter Fun patterned paper was adhered to the bottom of a 3″ x 5″ piece of Neenah Solar White cardstock after the edges of the paper were sanded.  The bottom edges were rounded and the edges of the layers were paper pierced.  Seam Binding was tied around the top of the patterned paper and three bells were tied on with silver cord.

The layers were adhered to the card base, a 3 1/4″ x 10 1/2″ piece of Solar White cardstock folded in half with the bottom corners rounded. A sentiment from Simon Says Stamps Small Folded Banners Holiday was stamped in Platinum Stazon on white cardstock. It was cut into banner form. Want2Scrap Rhinestones finish off the card.

Check out my fellow Crafty Friends for more  inspiration:

    Thanks so much for looking! I hope you have time to join us in the challenge. It’s easy and fun! Have a wonderful week!
    Hugs and smiles


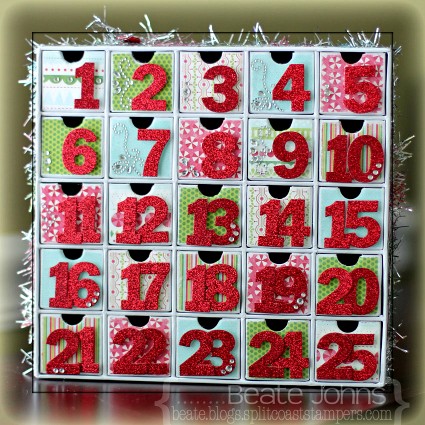
Do you have an Advent tradition? When the kids were little, I had an advent calendar that I filled with small treats every day. As they grew older we started filling the advent calendar with a little hint where the treat is hidden. My kids still love this little scavenger hunt, even though my hints are too easy for them to find (I am not good at this…but it’s the tradition that counts, right?). Well…over the moves the first advent calendar got lost and the one I made for a Splitcoast tutorial years ago, lost a few tins. It was time for a new one.

I really wanted the KaiserCraft Advent calendar to alter, but I couldn’t find it online (last minute as I am), so I ordered this Karen Foster Countdown Calendar. It comes with rubon numbers, but I didn’t use those.

I started by covering each drawer front with Carta Bella Merry & Bright paper. The drawers are tiny.I cut the papers into 1 7/16″ squares, sanded the edges and used a 1/2″ circle punch for the finger holes. I adhered the paper with Scor-Tape. I mention it because I first adhered it with Glue & Seal, thinking liquid adhesive would work better, only to have the paper just come off again.

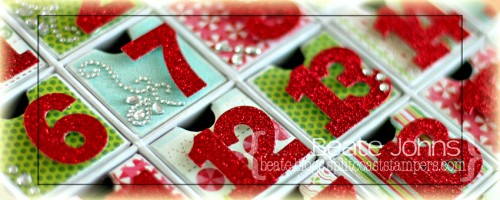
The numbers were cut out of Red Glimmer Paper (Stampin’ Up!) with By the Numbers Die-namics dies. Those were popped up with adhesive foam squares on each drawer. Rhinestones were added to add just a bit more sparkle. I bought the tinsel 2 years ago in my LSS in Ohio. It comes on a pretty wooden spool. Unfortunately I don’t know the maker of it. The sticker came off.

Thanks so much for stopping by! Have a wonderful day!
Hugs and smiles


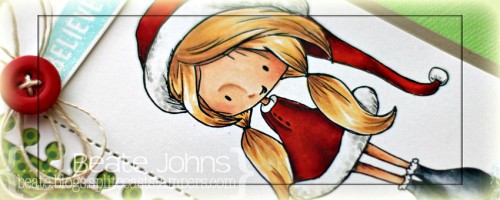
I am exciting to be guest designing for Tiddly Ink this month. For my first card I decided to use the darling Winter Wryn image. I printed her out on Neenah Solar White cardstock and colored her with Copic Markers (Coat/Hat: YR09, R24, R29, R39    Hat/coat trim: W00, W1, W2    Skin: E50, E21, E34    Hair: Y21, Y23, E31, E33     Boots: C1, C3, C5, C7, C9). The cardstock was cut down to 5 1/4″ length and the left hand side was cut with the Notebook Die-namics die. The right hand corner was rounded.
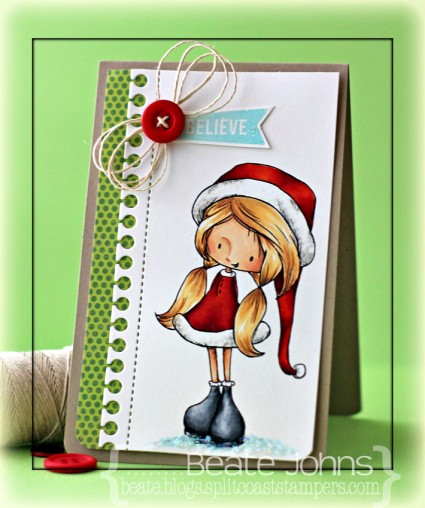
A piece of Carta Bella Merry & Bright paper was adhered on the left to form a 3 1/4″ x 5 1/4″ layer. It was adhered to the card base, a 3 1/2″ x 11″ piece of Kraft cardstock, folded in half. Both bottom corners were rounded.

A sentiment from Kelli Purkey’s Joy stamp set was stamped in Sea Breeze VersaMagic ink on white cardstock. It was embossed with iridescent ice embossing powder and cut out.  Hemp cord was wrapped into a bow and tied together with a bow. The sentiment was taped under it and it was adhered to the upper right hand side.

Do you have any Tiddly Ink images? They are so cute and so much to color.
Hugs and smiles

© 2012 fresh & fun Suffusion theme by Sayontan Sinha