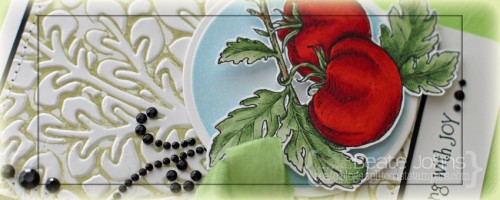
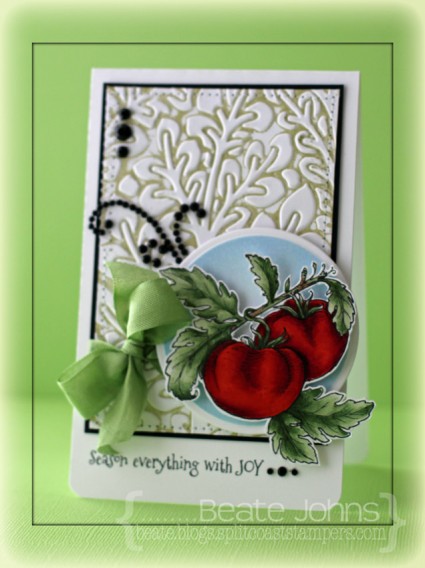
I created this card for Imagine Crafts.  We were to create a card with a theme, picking one of the new Kaleidacolor pad names as the theme. I knew I wanted to use Flourishes Italian Garden tomato image for my card.

Here are stamp by step instructions:

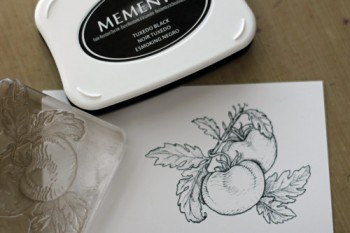
Stamp image in Tuxedo Black Memento Ink.

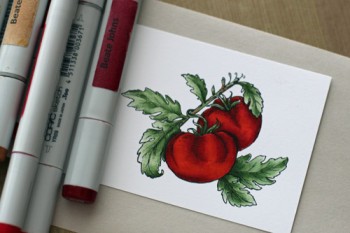
Color image with Copic Markers (YR09, R24, R29, R39, YG61, YG63, YG67, E31, E33, E35) and cut out.

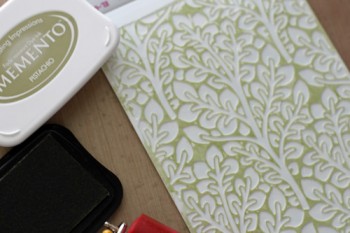
Brayer Pistachio Memento Ink over the inside of the Flora M-Bossabilities folder and emboss a 2 1/2″ x 4 3/8″ piece of white cardstock.

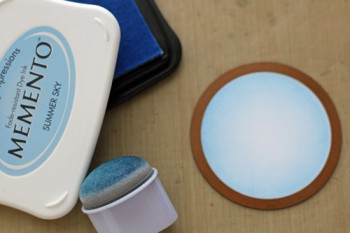
Cut and emboss a piece of white cardstock with the 3rd largest Standard Circle Nestabilities die and sponge the edges of the circle with Summer Sky Memento Ink.

Adhere image over the circle with dimensional adhesive. Stitch embossed background to a slightly bigger piece of black cardstock. Tie ribbon around the lower edge of the embossed layer and tape circle to the lower right of that layer.

Stamp sentiment on lower left of the card base (3 1/2″ x 11″ piece of white cardstock, folded in half) with Tuxedo Black Memento Ink. Finish off the card with black rhinestones.

Thanks so much for coming by! Have a wonderful day!
Hugs and smiles

I am super excited to post my first post as Artist in Resident for Imagine Crafts today. The challenge this month is to use a new Kaleida-color ink pad, the matching Memento Ink  and a Fireworks! Ink spray. That was not an easy challenge for me. I am so not a multi-colored kind of girl. But I made it work. 🙂 I used the new Tomato Vine Kaleidacolor ink pad. The matching Memento Ink colors are Rich Cocoa, Bamboo Leaves, Morocco, Love Letter and Peanut Brittle Memento Ink.

To see step by step instructions for this card click on more.

Continue reading »

Welcome to the NinaB Designs* first team blog hop of 2013! We hope you have had a relaxing holiday break and ready to join us for another year of inspirations and prizes!

*NinaB Designs is a product designer for a few paper crafting companies including Spellbinders, Want2Scrap and Penny Black, and The Craft’s Meow.

For this month’s hop, Nina challenged the team to create a project with the LOVE theme, which can be interpreted in many ways: Valentine, Anniversary and Friendship.

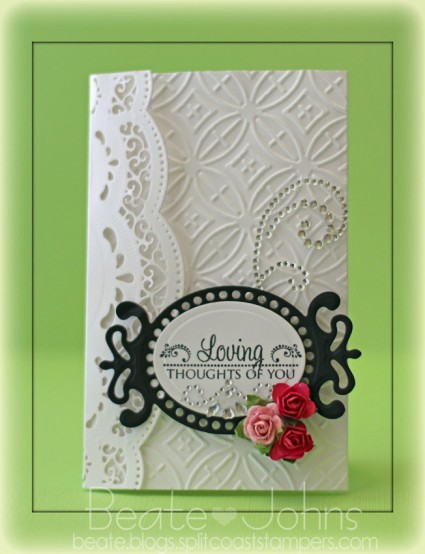
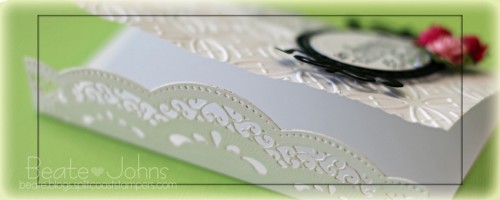
I couldn’t help myself. For my card I used a new M-Bossabilities folder as well as  Scalloped Border dies from the new Spellbinders Winter CHA release. I know, I am a lucky one to have them already. A little birdie told me that Nina designed those border dies.
I started by scoring a 5 1/2″ x 8 1/2″ piece of Neenah Solar White cardstock at 3 1/2″ and 7″.  Next I used three dies from the A 2 Scalloped Border One Spellbinders™ Borderabilities® Card Creator dies to cut and emboss the 1 1/2″ edge of the tri-fold.  The other outer panel was embossed with the new Spellbinders™Infinity M-Bossabilities™ folder.
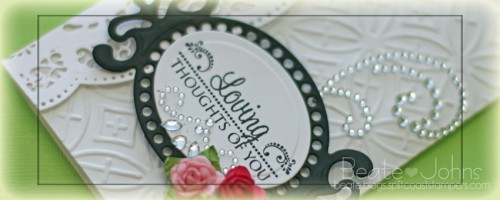
A sentiment from The Craft’s Meow Sent with Love was stamped in Tuxedo Black Memento Ink on a piece of Neenah Solar White cardstock that had been cut and embossed with the 3rd smallest of the Classic Oval SM Nestabilities® dies. It was adhered to black cardstock cut and embossed with one of the Fancy Tags Three dies. A piece of a Beautiful Bloom Bling Border was adhered under the sentiment and flowers were threaded through one of the tag holes and adhered on the back.
The sentiment panel was adhered slightly over the scallop border side to close the card. A piece of a Finesse Rhinestone swirl finish off the card. I picked the black and white (with a splash of pink) color scheme to make the card work for the current Simon Says Stamp Challenge.

The NinaB Designs team is giving away these TWO PRIZE PACKAGES:

Prize Package #1 includes Spellbinders Venetian Accents and Motifs:

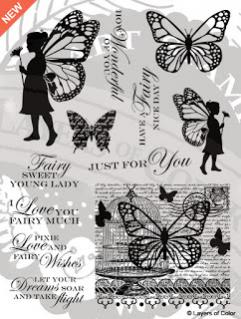
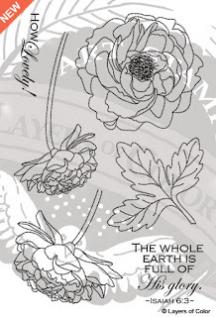
Prize #2 includes 2 retired sets from Layers of Colors stamps:

Winners will be picked randomly from 2 of the designers’ blogs:


Everybody is welcome to comment and be eligible to win. The winners will be announced on  January 22 on Nina’s Blog, where you will also find all the relevant info regarding the giveaways. Finally, please consider liking the following Facebook pages that are represented on today’s hop, so you don’t miss the latest news and happenings:

Thank you for joining us today! Have a wonderful day!
Hugs and smiles 
It’s my turn to share on the Spellbinders blog today. The topic this week is sparkles. Now that was an easy one for me. Rhinestones, Brilliance ink and Glimmer Paper.

I hope you have time to check it out and tell me what you think. Have a wonderful day!
Hugs and smiles
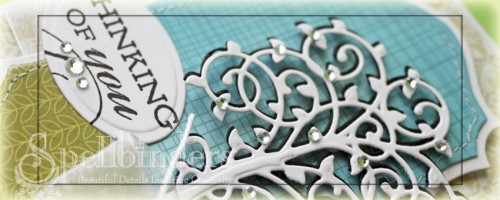
I get to share another card on the Spellbinders Blog today. It showcases the new Shapeabilities® Die D-Lites™ Whimsical Tree. I hope you have time to check out the entire post.

Since last week’s little die give-away went so well, let’s do it again. I still have the Create-a-Flake Two die set. If you go to the Spellbinders blog and leave a comment, come back here and leave one on this post and let me know. That will enter you in the raffle for the Create-a-Flake Two die set. I will pick a winner on Friday with the help of random.org. Make sure to check back to see if you won.

Thanks so much for stopping by! Have a wonderful day!
Hugs and smiles
 

Nina is the hostess for the new Crafty Friends Challenge and she gave us this gorgeous photo to be inspired by:

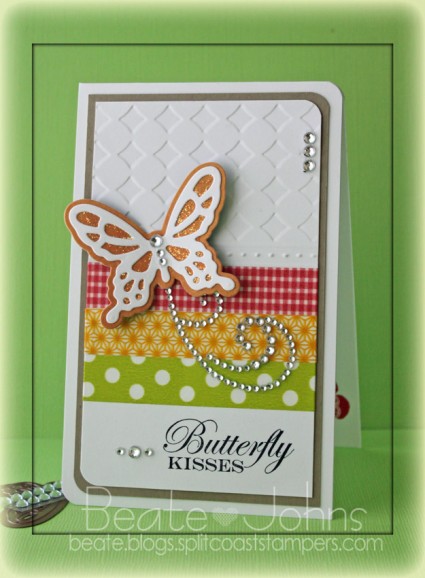
Freckled Fawn is sponsoring this challenge. Each entry in the challenge will also be an entry in a raffle to win a $15 gift certificate from them. They have gorgeous Washi Tapes in their store. The yellow and green one featured on my card are from Freckled Fawn.

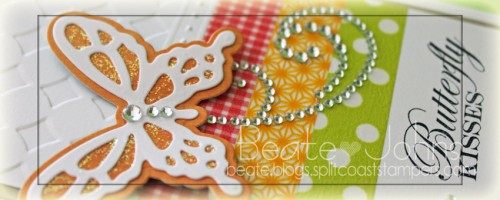
I took the inspiration pretty literally and incorporated the stripes, the butterfly and the colors shown on the photo. I started by about 2″ (eyeballed it) of a 3″ x 5″ piece of Neenah Solar White cardstock with the Simplicity M-Bossabilities folder. Next I took out my Scor-Buddy and first scored a line, then went along the next 1/8″ spaced line with my Cutter Bug Bee (to create the dots), then added another score line. Under that score line I added gingham red ( Elmer’s), the yellow sunburst and green polka dotted Freckled Fawn Washi tapes.

One of the sentiments of Butterfly Kisses was stamped inTuxedo Black Memento Ink to the lower right of the panel. The upper right and lower left corner were rounded. The layer was first adhered to a 3/16″ bigger piece of Kraft cardstock, then to the card base a 3 1/2″ x 11″ piece of Solar White cardstock folded in half.

A solid Butterfly shape was cut out out of Echo Park’s Paradise Beach Paper, the detailed one out of Solar White cardstock. The detailed one was adhered to the solid shape and Diamond Stickles was added where the orange paper showed through. Part of a Finesse Rhinestone swirl under the butterfly and more rhinestones from a Sleek Strips Silver Rhinestones finish off my card.

Check out my fellow Crafty Friends for more  inspiration:

    Thanks so much for looking! I hope you have time to join us in the challenge. It’s easy and fun! Have a wonderful week!
    Hugs and smiles


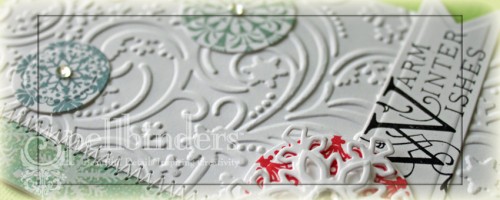
Here is a little sneak peek of the card I am sharing at the  Spellbinders blog today.  I hope you have time to check out my quick tutorial for this card on the Spellbinders blog. If you have time to comment there, come back and let me know.

If you do that (comment there and then here) it will enter you in a raffle for my gorgeous Create-a-Flake Four Snowflake die set. It just retired (meaning Spellbinders Paper Arts is out of those dies and you soon won’t get them anymore. Still available in stores while supplies last).

I will pick a winner on Sunday with the help of random.org. International readers are invited to enter the raffle too.

Thanks so much for stopping by! Have a wonderful day! I know mine will be. I am in Arizona right now hanging out with my fellow Spellblogger and the Spellbinders Blog team.

Hugs and smiles

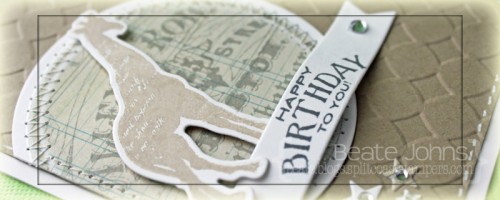
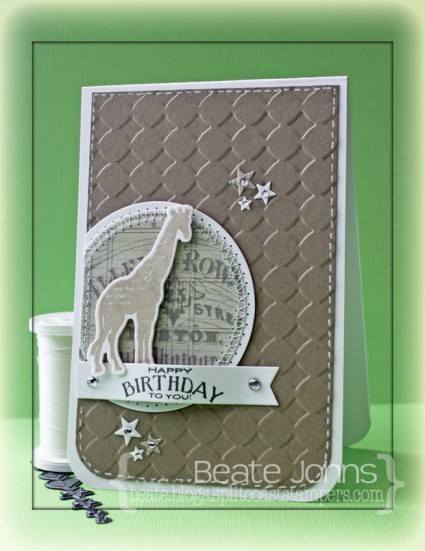
I created this card for last week’s Inspiration challenge.  For my sample I chose this darling stuffed giraffe.  The color scheme for this card came from last week’s  Ribbon Reel Challenge.  The sketch is from the current CASE study challenge.

I started by cutting a piece of Neenah Solar White cardstock with the giraffe die from MFT’s Spectacular Circus stamp and die set. The matching giraffe stamp was stamped over it in Wheat VersaMagic ink. A piece of Pink Paislee Portfolio patterned paper was cut and embossed with a Standard Circle Nestabilities die. The edges were sanded before the circle was stitched to a slightly bigger white cardstock circle.

A 3 1/2″ x 5 1/4″ piece of Kraft cardstock was embossed with the Simplicity M-Bossabilities folder. The bottom corners were rounded and a the edges were faux stitched with a Signo white gel pen. The layer was adhered to the card base, a 3 3/4″ x 11″ piece of white cardstock folded in half before the partial circle was adhered to the left hand side. The giraffe was adhered to the circle with foam adhesive squares.

One of the sentiment from Circus Spectacular was stamped in Gray Flannel Memento ink on a piece of white cardstock, cut with one of MFT’s Sentiment Strips die-namics die. One of the sides was cut straight and the sentiment was adhered underneath the circle with Scor-Tape on the edges and two foam adhesive squares on top of each other in the center.

Stars were cut out Solar White cardstock as well as the same paper that was used for the circle with SimonSaysStamp exclusive Holiday Shapes die. The stars were adhered to the card and topped with rhinestones. A rhinestone on each end of the sentiment strip finishes off the card.

Thanks so much for stopping by! Have a wonderful day!
Hugs and smiles
The new Crafty Friends Challenge is super easy. Charmaine is the hostess and she is asking you to incorporate dry embossing into your project. I combined the challenge with yesterday’s Hope You Can Cling to Challenge.

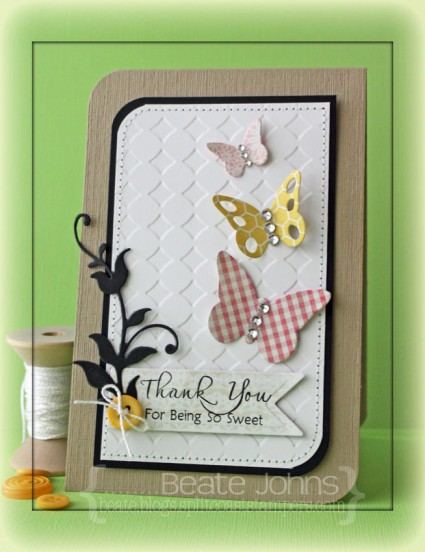
I started out by embossing a 3″ x 5″ piece of Neenah Solar White cardstock with the Simplicity M-Bossabilities folder. The bottom right and top left corners were rounded. The layer was stitched to a 3/16″ bigger piece of black cardstock, before it was adhered with foam adhesive squares to the card base, a 3 1/2″ x 11″ piece of textured Kraft cardstock, folded in half.

Three butterflies were cut out of My Mind’s Eye Honey patterned paper, topped with rhinestones from a Sleek Strips Silver Rhinestones. Another piece of Honey paper was cut and embossed with a Spellbinders Nested Pennants die. The edges were sanded and stamped with a sentiment of MFT’s Thanks a Bunch Stamp set in Jet Black Archival ink.

A flourish was cut out of black cardstock , adhered to the left hand side of the Pennant sentiment strip and topped with a yellow button.

Check out my fellow Crafty Friends for more Halloween inspiration:


Thanks so much for looking! I hope you have time to join us in the challenge. It’s easy and fun! Have a wonderful week!
Hugs and smiles

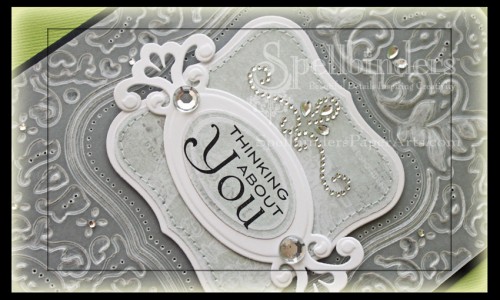
I have a quick tutorial on the Spellbinders blog today showing off how to use M-Bossabilities (or any other embossing folder) to create a Pergamano look.

I hope you have time to hop on over an check it out. Have a wonderful day!
Hugs and smiles
© 2012 fresh & fun Suffusion theme by Sayontan Sinha