I created this card last week for the CAS challenge on Spitcoast, the CAS-ual Friday challenge and that week’s CAS(E) this Sketch!. I started by cutting three leaves with the new MFT Falling Leaves Die-namic dies out of 7 Gypsies Conservatory paper. The edges of the leaves were sponged with Vintage Photo Distress Ink, layered together with foam adhesive squares and tied on top with black embroidery thread.

The bottom right and top left of a  3″ x 5″ piece of Teresa Collins Spring Fling patterned paper were rounded, the edges were sanded and the paper was stitched to a 1/8″ bigger piece of black cardstock. The layers were adhered to the card base, a 3 1/2″ x 11″ piece of Kraft cardstock folded in half.

A sentiment from the new Falling Leaves stamp set was stamped in Jet Black Archival ink on the bottom right of the card. The leaves were adhered to the upper right hand side of the card. Black Baby Bling Rhinestones were adhered above and underneath the leaves to finish off that card.

Thanks so much for looking! Have a wonderful day!
Hugs and smiles

Today I am joining in as a special guest of Melanie Muenchinger in the Gina K Designs October Inspiration blog hop, showcasing the newest stamp set from Gina K Designs, Stately Flowers 5. Stately Flowers 5 is the fifth in a series of hand drawn official state flowers, and is available for purchase in both premium quality clear photopolymer and red rubber.
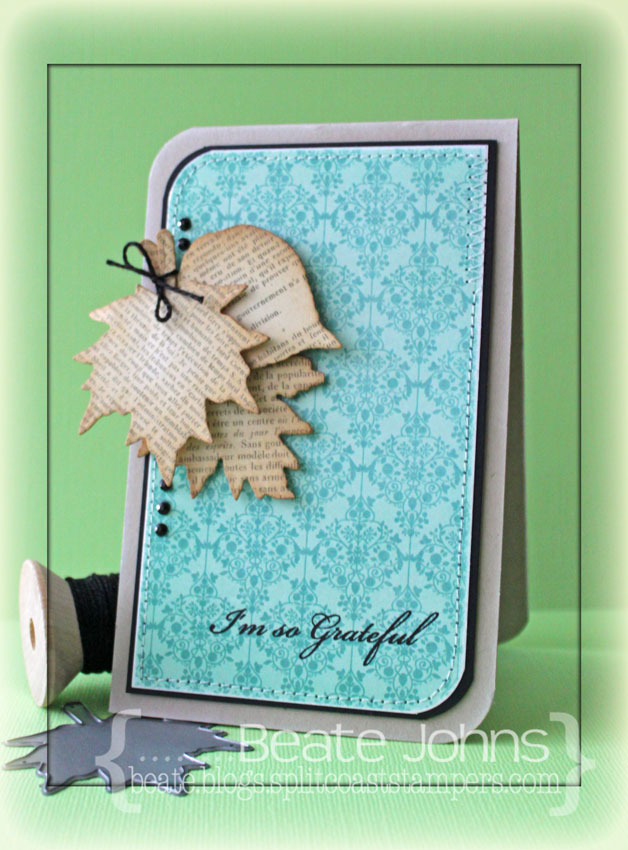
This set includes flowers for Oklahoma, South Dakota, and Kansas, but the mistletoe and sunflower have been specifically grouped together with all your upcoming fall and winter holiday cardmaking needs in mind, and the sentiments to match!


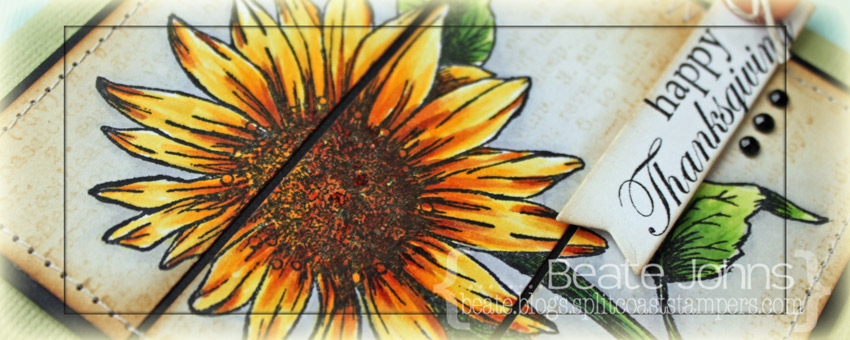
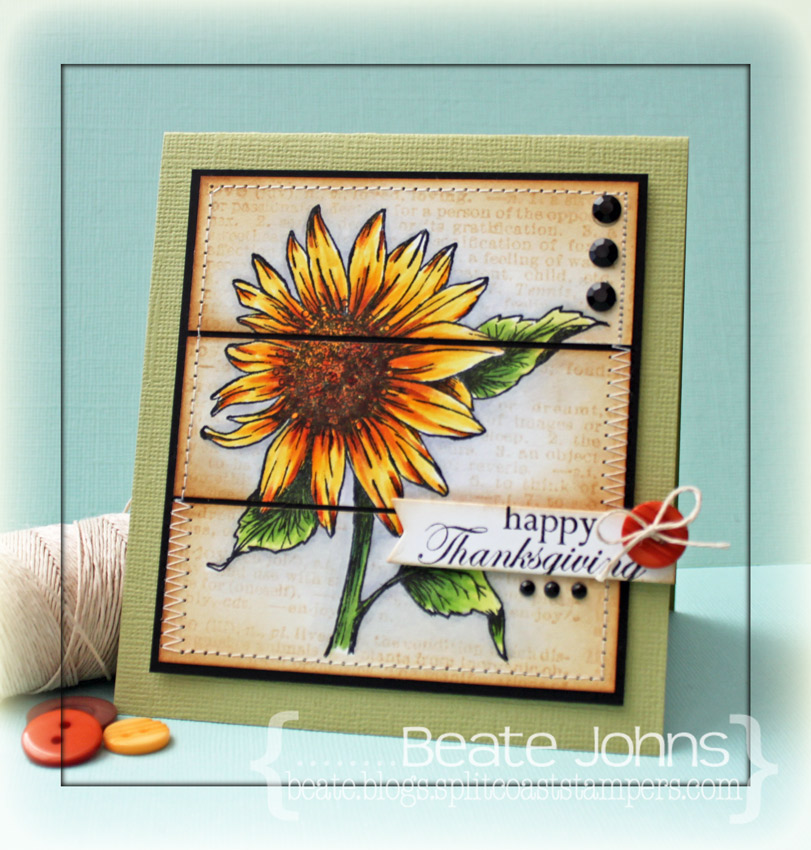
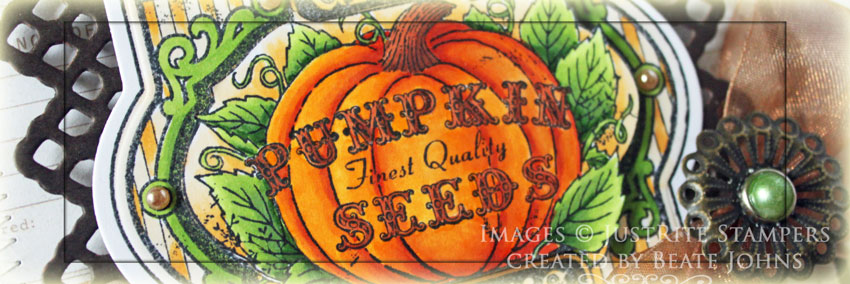
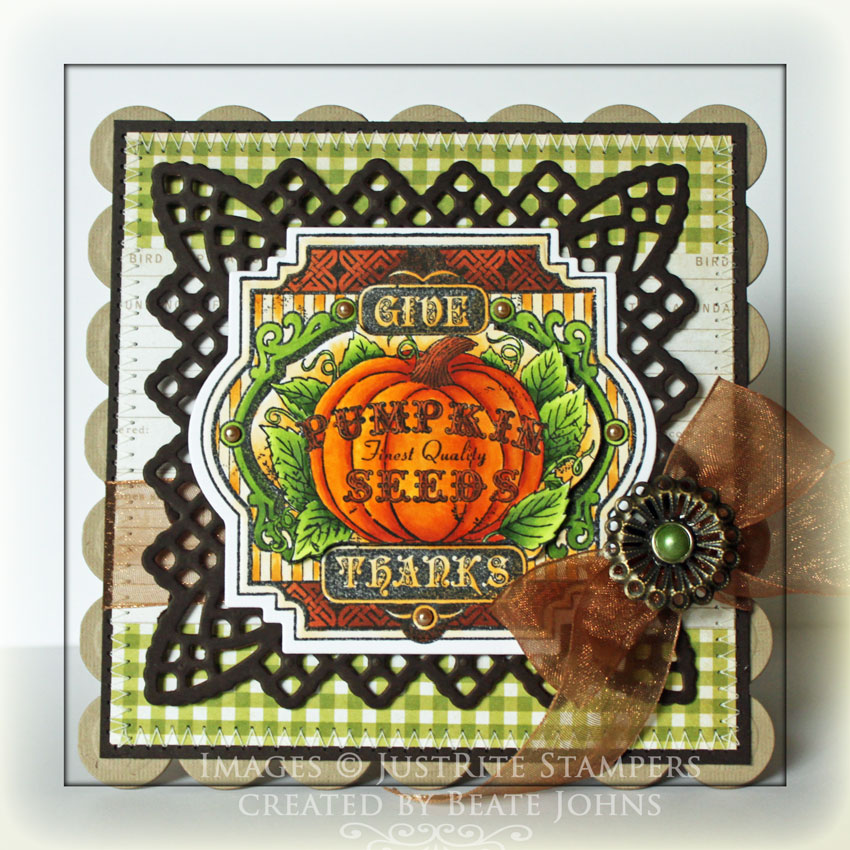
I am excited to be hopping with Melanie today. For my first card I started with by stamping the sunflower in Tuxedo Black Memento Ink on 3 1/2″ x 3 3/4″ piece of white cardstock. It was colored with Copic Markers (Y13, Y15, Y17, E97, E99, YG21, YG25, YG63, YG67, C00, C1, BV20). The image was masked, then a background was stamped over it in Antique Linen Distress ink. The image was cut in three 1 1/4″ wide strips and the edges were sponged with Antique Linen and Vintage Photo Distress ink.

I ran the strips through my Xyron and adhered them to a slightly bigger piece of black cardstock. The edges of the layers were stitched. The layers were adhered to the card base with foam adhesive squares, a 4 1/4″ x 9 1/2″ piece of Lizzard Bazzill cardstock folded in half.

A sentiment from the set was stamped on a piece of white cardstock, cut with one of the Sentiment Strip Die-namic dies. The edges were lightly sponged with Vintage Photo Distress Ink. A button was tied to the upper right hand side of the sentiment strip. The strip was then adhered to the lower right side of the card. Black Rhinestones finish off the card.

I created a second card with that set with last week’s Color Challenge on SCS.

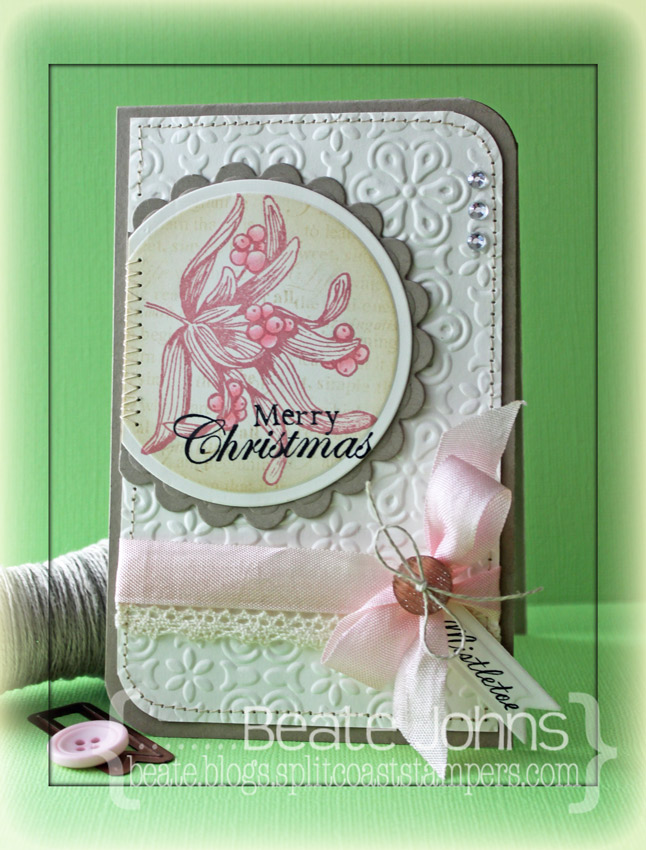
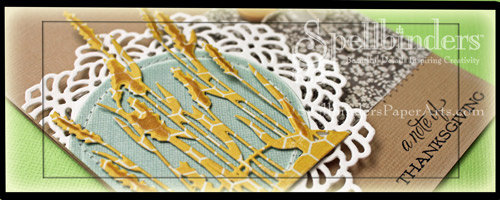
I started by stamping the Mistletoe image in Pink Petunia VersaMagic ink on Neenah Natural White cardstock. It was cut and embossed with a Standard Circle Nestabilities die. The die was kept over the cardstock, the image was masked and the bigger sentiment was stamped over the circle with Antique Linen Distress ink. The edges were sponged with the same color. The image was adhered to a piece of Kraft cardstock, cut and embossed with a Scallop Circle Nestabilities die. Part of the right side was cut off and the edge was stitched.

A 3 1/4″ x 5 1/4″ piece of Natural White cardstock was embossed with the Elegance M-Bossabilities folder. The bottom left and top right corner  were rounded before the edges of the layer were stitched and the circle layer was adhered to the top left. A sentiment was stamped on to the circle layer with Versafine ink.

May Arts Crochet Ribbon was adhered to the lower part of the layer. Pink Seam binding was tied above it.  A Spellbinders Pennant die was used to cut and emboss more Natural White cardstock. The word Mistletoe was stamped on it before it was tied to the bow with Linen thread and a button. Everything was adhered to the card base, a 3 1/2″ x 11″ piece of Kraft cardstock, folded in half. Three rhinestones on the top right edge finish off the card.

Be sure to visit the illustrator of Stately Flowers 5,
today for more samples with her set,
as well as inspiration from the lovely talented 
who is also guest designing this month!
For a full link list of participating designers,

Thanks so much for stopping by! Have a wonderful day!
Hugs and smiles

I created a Thanksgiving card with one of Spellbinders brand new Die D-Lites die. I hope you have time to hop on over and check it out.

Thanks so much for stopping by! Have a wonderful day!
Hugs and smiles

It’s my turn to post a Savvy Saturday video on the Spellbinders blog. I created a place card holder and shaped coaster to dress up the Thanksgiving table.

I hope you have time to check out the post on the Spellbinders blog, watch the video and tell me what you think.

Have a wonderful weekend!
Hugs and smiles

I wish you all a wonderful day, filled with family and friends, turkey and football (well…if you like football).

I created this card to send to my In-Laws. I love the new JustRite Stampers Autumn Label 22 Stamp set and knew I wanted to use it for my Thanksgiving card.

I stamped the biggest image twice in Tuxedo Black Memento ink on Neenah Solar White cardstock. I cut and embossed one of the images with the Label 22 Nestabilities die. From the other I cut the pumpkin image out. The images were colored with Copic Markers (Pumpkin: Y17, YR15, YR18   Leaves: YG01, YG03, YG63, YG67   Stem, Frame top/bottom: E97, E99, E37   Stripes/words: YR30, 1/5th YR31, YR31) and the pumpkin image was adhered to the complete image with dimensionals. Both layers were adhered to a piece of Canyon Brown Cardstock, cut and embossed with a Lace Doily Accent die.

A 2 3/4″ x 4 1/2″ strip of MME Lost &Found 2 Breeze paper was adhered to a 4 1/2″ square from the same paper pack. The layers were stitched to a 3/16″ bigger piece of Canyon Brown cardstock. Antique Gold Organdy Ribbon was threaded through one of the Lace Doily holes before the image layers were adhered to the card front layers with dimensionals. The ribbon was tied into a bow and topped with fancy Brad bought at Hobby Lobby.

The layers were adhered to the card base, a piece of Kraft cardstock cut and embossed with one of the Grand Scalloped Square Nestabilities dies. Baby Bling Creme Pearls finish off the card front.

Thanks so much for stopping by! Have a wonderful Thanksgiving day and weekend!
Hugs and smiles

© 2012 fresh & fun Suffusion theme by Sayontan Sinha