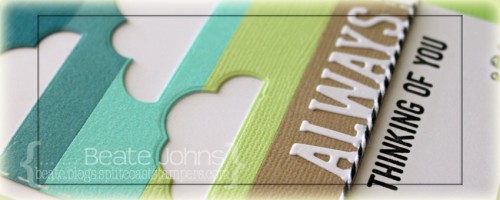
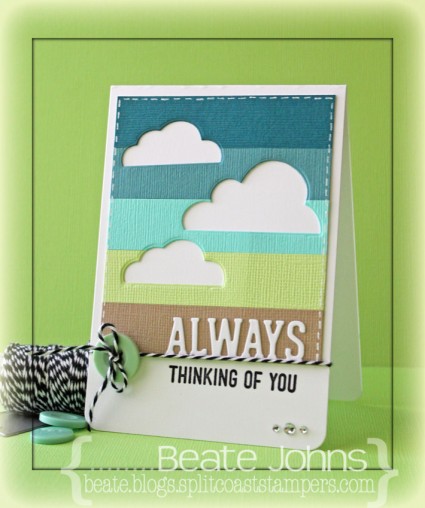
I created this card a few weeks ago for a CASE study challenge.  For this one I paired 3/4″ x 3 1/4″ wide strips of different colored blue Bazzill cardstock were adhered to a slightly bigger white base. Clouds were cut out with Flat Bottom Cloud Die-namic dies.

The layer was adhered to the card base, a 3 1/2″ x 11″ piece of Neenah Solar White cardstock, folded in half. The bottom corners were rounded. A sentiment from Simon Says Stamps On Edge stamp set was stamped underneath the colored cardstock layers in Tuxedo Black Memento Ink.

White cardstock was cut with the Simon Says Stamp die Always and adhered right on the edge of the colored cardstock edge.  Black Doodlebug Twine was tied right under that edge and topped with a button. Faux Stitching was added to the colored cardstock with a white gel pen. Three rhinestones from a Sleek Strips Silver Rhinestones finish off the card.

Thanks so much for stopping by! Have a wonderful day.
Hugs and smiles

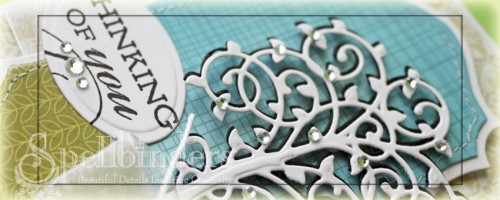
I get to share another card on the Spellbinders Blog today. It showcases the new Shapeabilities® Die D-Lites™ Whimsical Tree. I hope you have time to check out the entire post.

Since last week’s little die give-away went so well, let’s do it again. I still have the Create-a-Flake Two die set. If you go to the Spellbinders blog and leave a comment, come back here and leave one on this post and let me know. That will enter you in the raffle for the Create-a-Flake Two die set. I will pick a winner on Friday with the help of random.org. Make sure to check back to see if you won.

Thanks so much for stopping by! Have a wonderful day!
Hugs and smiles


ello and welcome to Day 4 of our June Rubber & Die Release Showcase!

On Wednesday (20 June) Whimsy Stamps released this month’s new rubber designs, new Shapeology dies and new Shape EZ by TLC. From then until 26 June the Whimsy Stamps DT and Special Guests are showcasing these fabulous new goodies with a daily mini blog hop and I am part of today’s hop!

Each mini blog hop has a new release prize hidden somewhere along the way and you have 24hrs to enter each prize draw.

To be entered into today’s mini blog hop prize draw, be sure to leave a comment on ALL of the DT’s posts listed below by 12.00PM EST tomorrow. All winners will be announced on the Whimsy blog on 27 June.

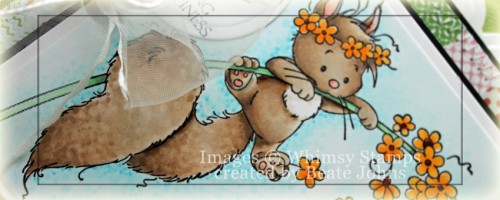
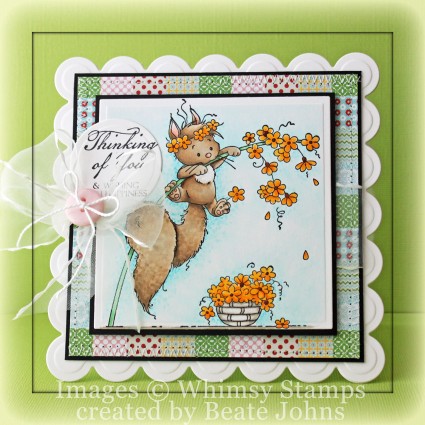
I stamped the new Fluffy Hanging in There in Tuxedo Black Memento Ink on Neenah Solar White cardstock,. It was cut and embossed with the largest  Classic Square Nestabilities die. The image was colored with Copic Markers (Fluffy: E40, E41, E42, E43, R00, R21, W3   Flowers: Y35, Y38, E97  Stem: YG41, YG45    Basket: W00, W3). The image was adhered to a slightly bigger black cardstock layer.

A piece of Lily Bee Designs Handmade Patterned paper was stitched to a slightly bigger piece of black cardstock. Sheer white ribbon was tied around the layers and topped with a pink button. The layers were adhered to the card base, white cardstock cut and embossed with a Grand Scallop Square Nestabilities die.

A sentiment from Everyday Sayings Notables 4 was stamped in Tuxedo Black Memento Ink on a piece of white cardstock, cut and embossed with a Standard Circle Nestabilities die.

To take a peek at today’s fabulous new release creations, please click on the links below…

Zoe McGrath (Special Guest)

Remember that the entire new release is available to buy right now from the Whimsy Stamps store along with all your Whimsy favourites.

Thanks for stopping by and don’t forget to pop back to the Whimsy blog tomorrow for more new release creations!
Hugs and smiles

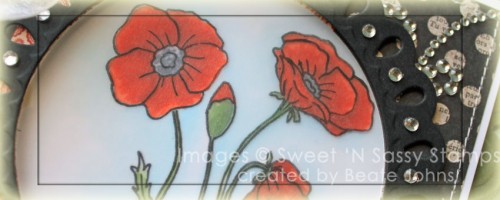
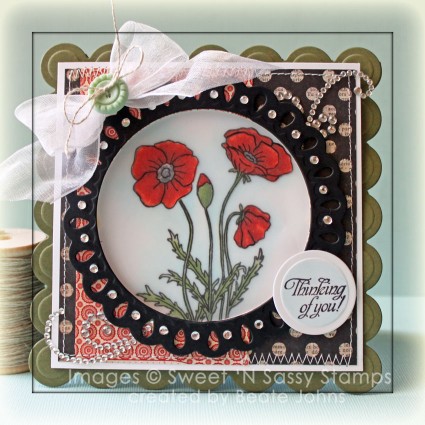
Wednesday’s tutorial on Splitcoaststampers was written by the wonderful Holly McMillen. She showed us how to create a Frosted Window look. For my video sample I chose the Sweet ‘n Sassy Stamp set called Poppies & Greetings. The image was stamped twice in Tuxedo Black Memento Ink, once on Neenah Solar White cardstock, once on Vellum paper.  Both were colored with Copic Markers( cardstock: Poppies: R08, R27, R39   Leaves: G21, G24, G28   Poppies Center: C7, C10   Sky: B0000, B000  Vellum: R05, G21, C5). The vellum image was adhered over the cardstock with dimensionals.

A 2 1/4″ x 4 1/4″ strip of MME Lost & Found Union Square Patterned Paper were adhered to a 4 1/4″ square of the same paper pack. The layers were stitched to a 3/16″ bigger piece of Neenah Solar White cardstock and a window was cut into the center with a Standard Circle Nestabilities die. The image was adhered behind the window.

A frame was cut with the largest Tear Drop Circle and a Standard Circle Nestabilities die out of black cardstock. The frame was adhered around the window and Baby Bling Rhinestones were added to the frame. Parts of a Finesse Rhinestone Swirl were adhered to the upper right and lower left corner of the layers. A bow was tied out of White Organdy ribbon and adhered to the upper left hand corner.

A sentiment from Poppies & Greetings was stamped in Tuxedo Black Ink on a piece of Solar White cardstock, cut and embossed with a Standard Circle die. The raised part was colored with Copic Marker B0000. The layers were adhered to the card base, Always Artichoke cardstock cut and embossed with a Grand Scallop Square Nestabilities die.

Here is a video for the visual learner:

[youtube]https://www.youtube.com/watch?v=xvT48jfPBOI[/youtube]

Thanks so much for stopping by! Have a wonderful day!
Hugs and smiles

© 2012 fresh & fun Suffusion theme by Sayontan Sinha