Yesterday’s tutorial on Splitcoaststampers was written by Joan Ervin. She showcased the Triple Stamping technique. It’s an easy way to add dimension to your card.

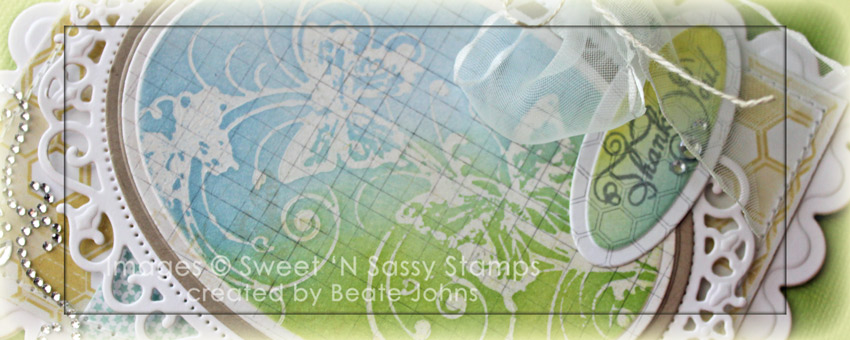
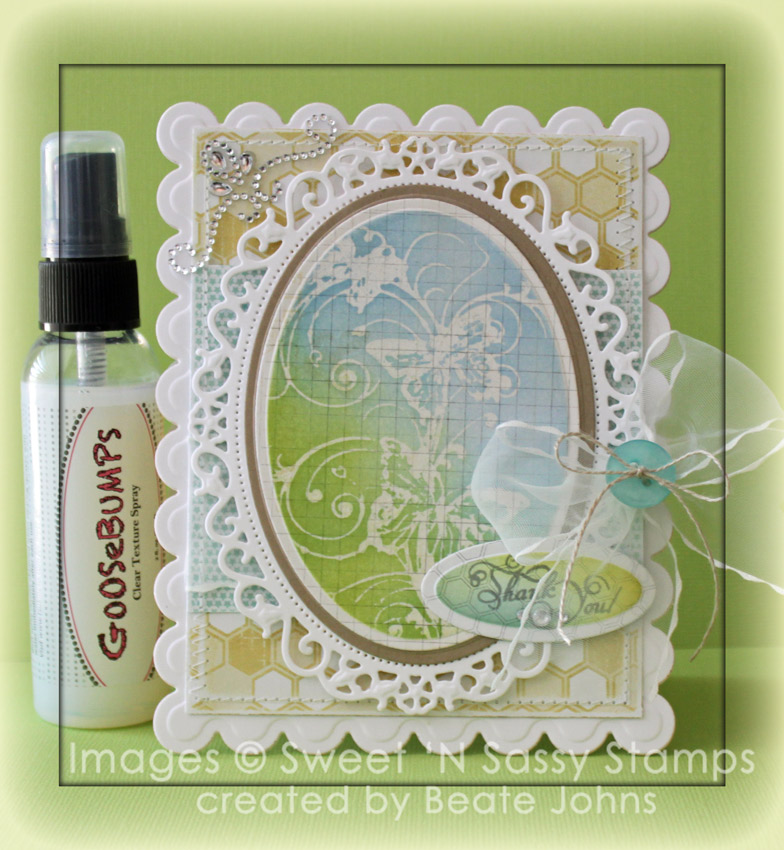
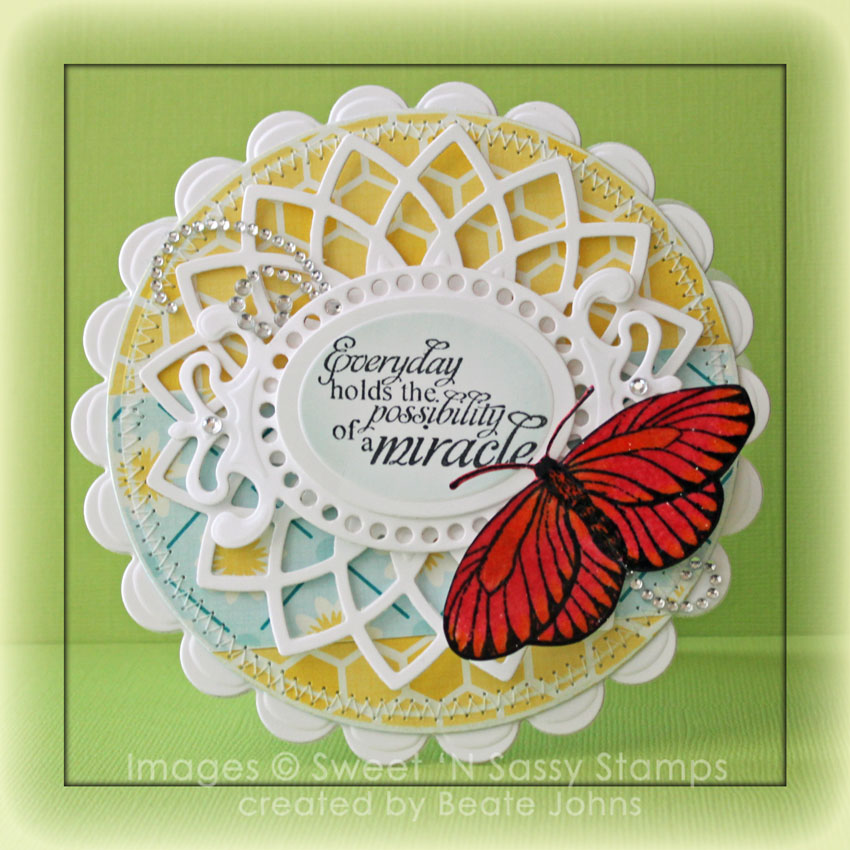
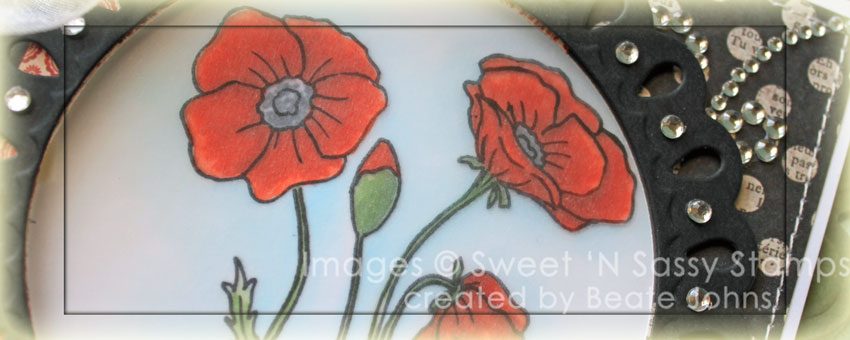
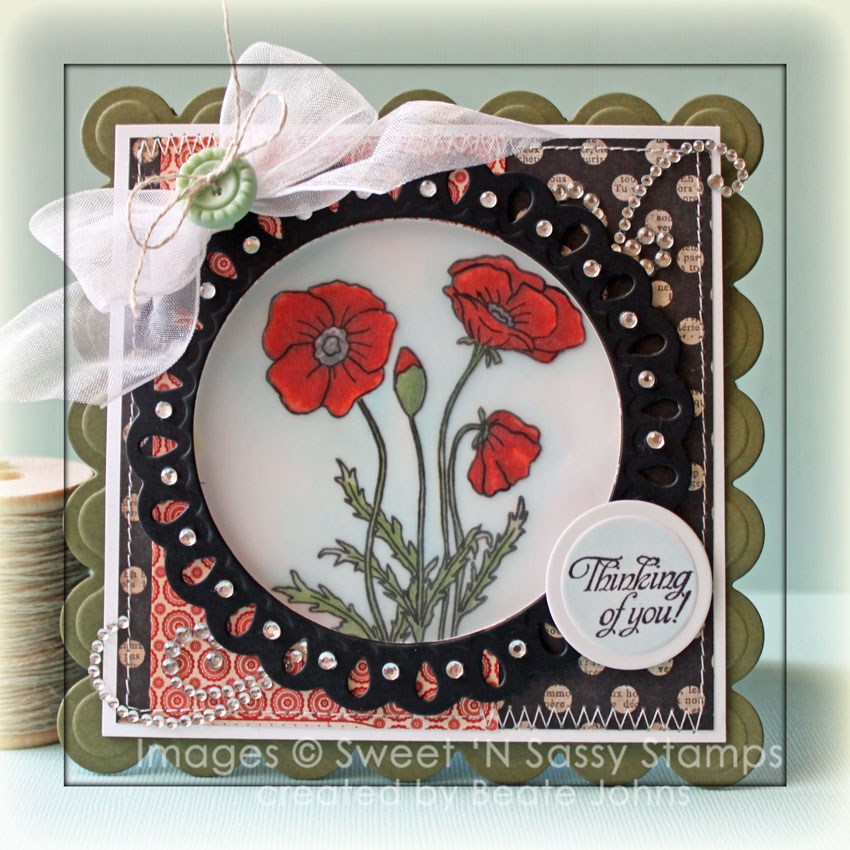
I created a card with that technique with the beautiful Sweet ‘n Sassy Stamp To Paris with Love.  I started by cutting three pieces of Neenah Solar White cardstock in rectangles ( 3 1/2″ x 3 15/16″, 2 1/2″ x 2 15/16″ and 1 1/2″ x 1 15/16″). The layers were adhered on top of each other with repositionable adhesive and the image was stamped over it in Tuxedo Black Memento Ink.  The flowers of the image were colored with Copic Markers (R11, R12, R22, YG01, YG03, YG17).  The frame and the flowers were colored with white crayon before the edges were sponged with Summer Sky and Bahama Blue Memento Ink. Each layer was adhered to a 3/16″ bigger piece of black cardstock.

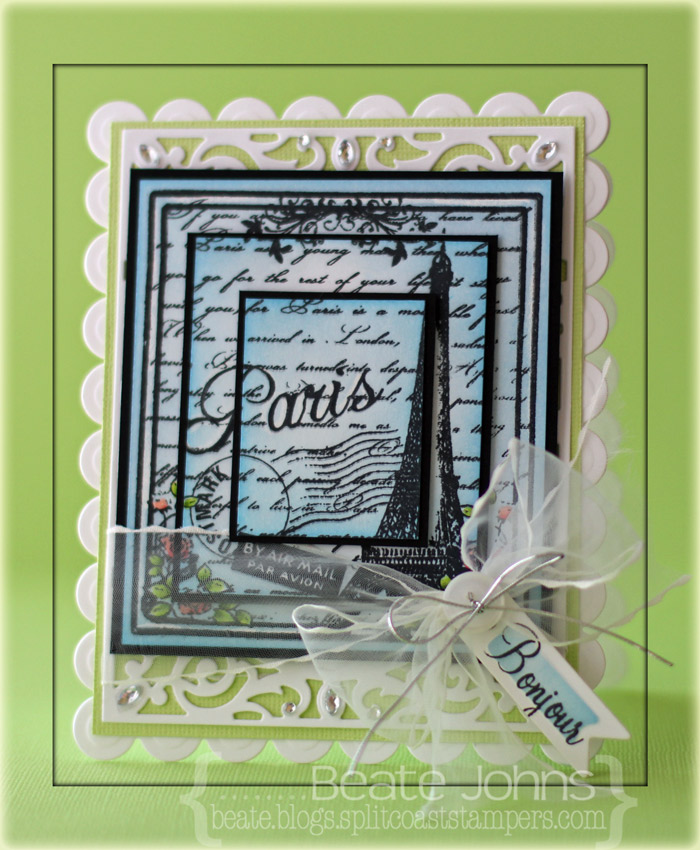
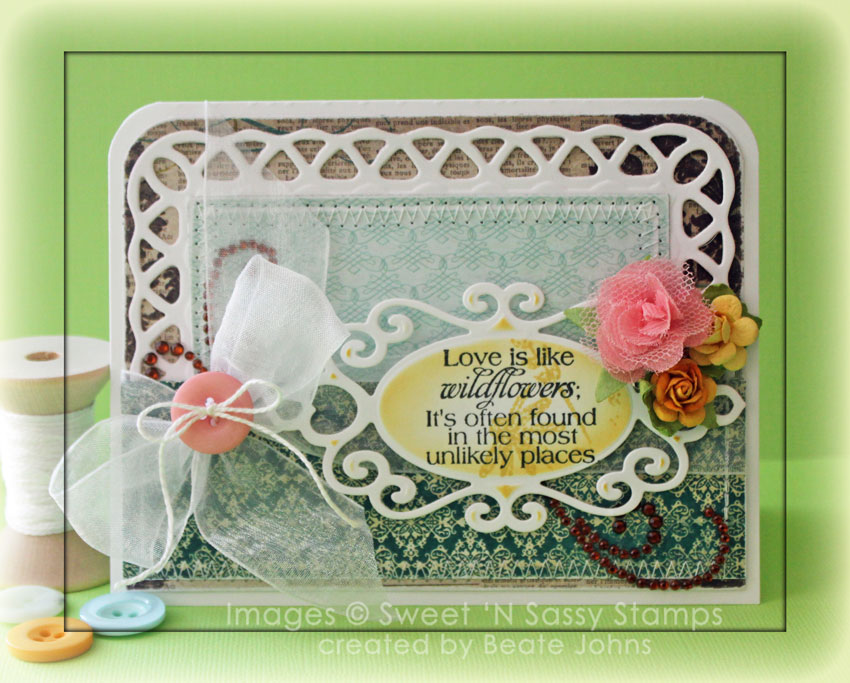
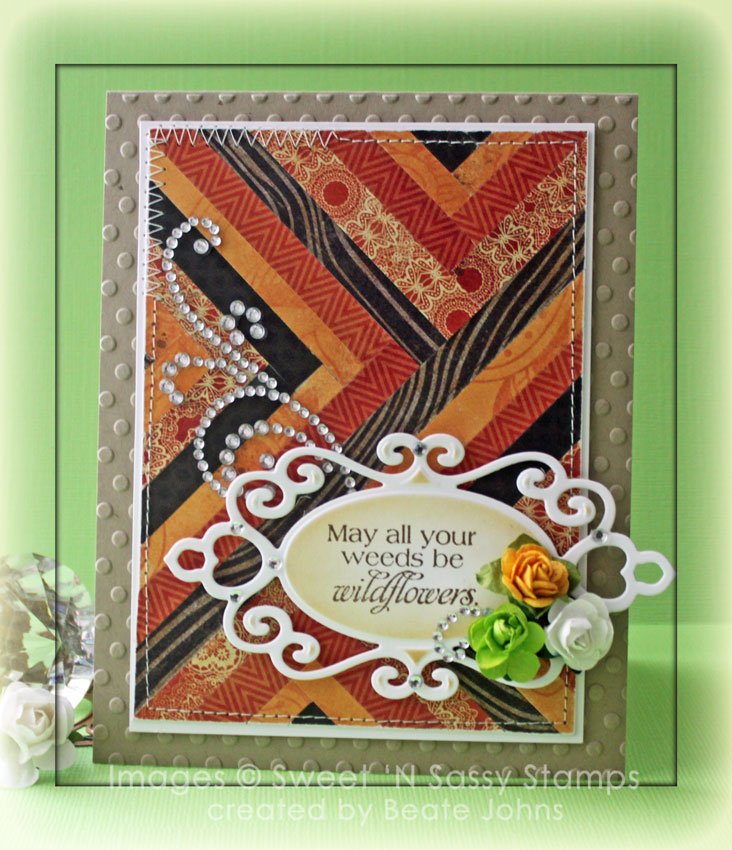
The layers were stacked on top of each other with foam adhesive squares.  A piece of Solar White cardstock was cut and embossed with a die from the new Spellbinders Filigree Delight set and adhered to a piece of Limeade Bazzill cardstock. The image layers were adhered over it with more foam adhesive squares and May Arts ribbon was tied around the lower part.

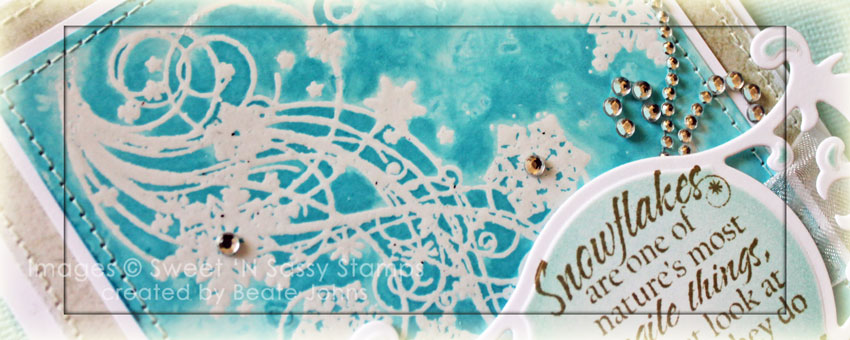
More white cardstock was cut and embossed with a tag die from the new Charmed I’m Sure Spellbinders die set. A sentiment from the set was stamped on it with Tuxedo Black ink and the center was sponged with Summer Sky Memento ink. The tag was tied to the bow and a button with silver cord.

The layers were adhered to a card base cut and embossed out of white cardstock with a Grand Rectangle Nestabilities die. Rhinestones from Want2Scrap finish off the card.

Here is a video for the visual learner:

[youtube]https://www.youtube.com/watch?v=8YWHeJtM6vQ[/youtube]

Thanks so much for stopping by! Have a wonderful day!
Hugs and smiles

When I first saw Tsukineko’s Goosebumps Texture Spray last summer at CHA, I knew I had to have it. You can create your own resist papers. You can also add great texture to your projects.

For this technique I added some Goosebumps Spray to a Blending tool. The image from the Butterfly Flourish was dabbed with the tool and stamped on  My Mind’s Eye Be Amazing Patterned paper, that had been cut and embossed with a Petite Oval Nestabilities die. After the spray dried, the image was sponged with Summer Sky and Pear Tart Memento Ink. The oval was layered first on a piece of Kraft paper cut with a Petite Oval die, then on a piece of Neenah Solar White cardstock, cut and embossed with the largest Floral Oval Nestabilities die.

Two pieces of Be Amazing paper were cut and embossed with a Grand Rectangle Nestabilities die. The edges were sanded and stitched before May Arts ribbon was tied around the horizontal strip. The bow was topped with a button, tied on with embroidery thread before the layers were adhered to the card base, white cardstock cut and embossed with a Grand Scallop Rectangle die.

More patterned paper was cut and embossed with the smallest Petite Oval Nestabilities die, sponged with Summer Sky and Pear Tart Memento Ink before the sentiment from that set was stamped in London Fog Memento Ink. Fancy That! Border Bling on the top left corner finished off the card.

Here is a video for the visual learner:

[youtube]https://www.youtube.com/watch?v=KQJ3wUPouWA[/youtube]

Thanks so much for stopping by! Have a wonderful day!
Hugs and smiles

I’m a day early with a very special birthday surprise….tomorrow is my dear friend Korin Sutherland’s birthday! A group of her friends are getting together today for a fun early birthday party, since tomorrow is the fantastic April Release Blog Hop for Sweet ‘n Sassy Stamps, and we didn’t want to take the spotlight from that. After all, our sweet girl deserves her OWN day in the spotlight! So please join us as we celebrate Korin’s birthday a little early! After all – you can never have too much celebration, can you?!?!

For my project I used the Sweet ‘n Sassy Rose Cottage image. It was stamped in Tuxedo Black Memento Ink on Neenah Solar White cardstock and colored with Copic Markers (Y13, Y 15, Y17, YR15, YR18, YG11, YG13, YG17, BG0000, BG000, BG01) and cut and embossed with a Classic Square Nestabilities die.

Two butterflies were stamped, colored and cut out and adhered over the main square. Frost Smooch Glitz was added over the butterfly. The square was adhered to a card base, cut and embossed with the Lace Doily Motif die out of Solar White cardstock.

A little while ago I shot a video about the Basic Blending techniques with Copic Markers.

[youtube]https://www.youtube.com/watch?v=0CbZKf4LRjY[/youtube]


Below is the whole birthday party train….prepare yourself for some fantastic cupcakes and ice cream from these talented ladies!!

And feel free to leave Korin some early birthday love, either on her blog, her Facebook page, or the Sweet ‘n Sassy Stamps Facebook page!

Thanks so much for stopping by! Have a wonderful day!
Hugs and smiles

Today’s tutorial on Splitcoaststampers was written by Joan Boardee. She shows us how to use both Copic Markers and Distress Inks to color an image.

For my sample I used Sweet n’ Sassy Everyday Miracles. I stamped the butterfly in Black India Ink on Neenah Classic White cardstock. Part of the image was colored with Copic Markers Y15 and Y17. Next Worn Lipstick Distress Ink was applied directly with the ink pad. The image was misted with water. After the paper dried, the image was cut out and embossed with clear embossing powder.

Three pieces of Solar White cardstock were cut and embossed with a Lotus Pendant die, a Fancy Tag 3 die and a Classic Oval Nestabilities die. A sentiment from the Everyday Miracles was stamped in the center of the the Classic Oval die cut and the edges were sponged with Tumbled Glass Distress Ink. The oval was adhered over the Fancy Tag die cut and that was adhered to the Lotus die cut.

Pieces of Echo Park Country Drive Patterned Paper were cut and embossed with the smallest Grand Circle Nestabilities die. The edges were sanded and stitched before the layers were adhered to a scallop circle card base, cut and embossed with Grand Scalloped Circle Nestabilities die. A couple of Baby Bling Rhinestones and parts of a Finesse Rhinestone Swirl finished off the card.

Here is a video for the visual learner:

[youtube]https://www.youtube.com/watch?v=f_1dAy-D5dU[/youtube]

Thanks so much for stopping by! Have a wonderful day.
Hugs and smiles

Here is another project created with the fabulous Faber-Castell products we were lucky enough to have to review. 🙂

The new Butterfly Flourish image from Sweet n’ Sassy was inked with Black PITT Big Brush Pen and stamped on a Frayed Canvas Triangle from Maya Roads. The butterfly were colored with PITT Aquarelle Pencils (105, 111, 117, 125, 153, 166), the background with Cotton Candy Gelato.

The word stamps are from the Sweet n’ Sassy stamp set You. They were inked with the black Big Brush Pen and stamped over the triangle. A tiny flower was stitched to the banner with a small button and Linen thread.

Altered art and Mixed Media are usually not my thing. I am grateful that tutorials and product reviews push me out of my comfort zone. It was fun creating samples with the Faber-Castell pens, gelatos and pencils.

Thanks so much for stopping by! Have a wonderful day!
Hugs and smiles

Wednesday’s tutorial on Splitcoaststampers was written by the wonderful Holly McMillen. She showed us how to create a Frosted Window look. For my video sample I chose the Sweet ‘n Sassy Stamp set called Poppies & Greetings. The image was stamped twice in Tuxedo Black Memento Ink, once on Neenah Solar White cardstock, once on Vellum paper.  Both were colored with Copic Markers( cardstock: Poppies: R08, R27, R39   Leaves: G21, G24, G28   Poppies Center: C7, C10   Sky: B0000, B000  Vellum: R05, G21, C5). The vellum image was adhered over the cardstock with dimensionals.

A 2 1/4″ x 4 1/4″ strip of MME Lost & Found Union Square Patterned Paper were adhered to a 4 1/4″ square of the same paper pack. The layers were stitched to a 3/16″ bigger piece of Neenah Solar White cardstock and a window was cut into the center with a Standard Circle Nestabilities die. The image was adhered behind the window.

A frame was cut with the largest Tear Drop Circle and a Standard Circle Nestabilities die out of black cardstock. The frame was adhered around the window and Baby Bling Rhinestones were added to the frame. Parts of a Finesse Rhinestone Swirl were adhered to the upper right and lower left corner of the layers. A bow was tied out of White Organdy ribbon and adhered to the upper left hand corner.

A sentiment from Poppies & Greetings was stamped in Tuxedo Black Ink on a piece of Solar White cardstock, cut and embossed with a Standard Circle die. The raised part was colored with Copic Marker B0000. The layers were adhered to the card base, Always Artichoke cardstock cut and embossed with a Grand Scallop Square Nestabilities die.

Here is a video for the visual learner:

[youtube]https://www.youtube.com/watch?v=xvT48jfPBOI[/youtube]

Thanks so much for stopping by! Have a wonderful day!
Hugs and smiles

Today I am sharing another card I created for a VSN challenge in the beginning of the month. This challenge was to add a snowflake into your design.

For my sample I cut and embossed a piece of Cryogen White cardstock with a Classic Square Nestabilities die, stamped it with a Snowflake from Sweet ‘n Sassy Stamps Snowflake Silhouette in Spun Sugar Distress ink and stitched it to a piece of Pink Pirouette cardstock, cut and embossed with the largest Postage Stamp Nestabilities die.

I cut and embossed more shimmery cardstock with dies from the retired Create a Flake one  Spellbinders die pack (you can still find Create a Flake 2 and the new Create a Flake 3 packs in stores), sponged the centers with New Sprout Memento ink,  and topped with Vintage Glass Glitter Shards. The layers were topped with a tiny button and tied together with wire before the snowflake was adhered to the pink snowflake layers.

The card base is a 4 1/4″ x 11″ piece of Cryogen White cardstock, folded in half with the bottom corners rounded. A 1 3/4″ wide strip of My Mind’s Eye Lost & Found 2 Rosy paper was adhered to the lower half and May Arts Organdy Ribbon was tied over it. The snowflake layers were adhered to the card base with dimensionals. Part of a Finesse Rhinestone swirl and additional Rhinestones finish off the card.

Thanks so much for stopping by! Have a wonderful day!
Hugs and smiles

One of last weekend’s VSN challenges was to create a card with the Salted Background Technique. That was the perfect time for me to create a a video for that technique.

I had received the newest order from Sweet ‘n Sassy Stamps latest release. I knew I wanted to use the gorgeous Snowflake Swirl image for that technique. I embossed the Swirl and a few snowflakes on a 3 1/2″ x 4 1/2″ piece of Glossy Cardstock Tumbled Glass Distress Re-inker was brushed over the cardstock, rock salt was sprinkled over it and the cardstock was misted with water. After the background dried, it was adhered to a 1/4″ bigger piece of Neenah Solar White cardstock.

A 4 1/4″ x 5 1/4″ piece of MME Lost & Found 2 Sunshine paper was sanded and the edges were stitched. The salted background layers were adhered to the paper.

A sentiment from the Snowflake swirl was stamped in Frayed Burlap on a piece of Neenah Solar White cardstock that had been cut and embossed with a Fancy Tags 3 die. The embossed parts were sponged with Tumbled Glass ink.

White Organdy Ribbon was threaded through the tag and tied around the layers. The bow was topped with a button that was tied on with silver curling ribbon.  The layers were adhered to the card base, a 4 1/2″ x 11″ piece of white cardstock folded in half. Baby Bling and parts of a Finesse Rhinestone swirl finish off the card.


Here is a video for the visual learner:

[youtube]https://www.youtube.com/watch?v=ULQ1XTRI304[/youtube]

Thanks so much for stopping by! Have a wonderful day!

Hugs and smiles

Hello and welcome to the Sweet ‘n Sassy Stamps Birthday Blog Hop!  Sweet ‘n Sassy Stamps is so excited to be celebrating four wonderful years!  A fantastic group of Sweet ‘n Sassy Stamps design team members past and present, along with some special friends, have put together this fabulous Birthday Blog Hop to kick off a whole month of fun. We have 36 stops so the hop will take place over three days – feel free to take your time visiting each blog!  You have until 11:59pm EST November 9th to leave comments on as many blogs as you can.  On Saturday, November 12th Sweet ‘n Sassy Stamps will announce FOUR winners (chosen at random from comments on random stops along the hop); each lucky winner will receive a prize pack including stamps, dies, paper & twine valued at $40!

If you have been following along already you should have come from Cathy McCauley.  If you are only starting here, please head back to the SNSS blog and go from there.  You won’t want to miss any stops along the way!  Also, don’t forget to comment on as many stops as you can….the more comments the better your chance of winning one of the fabulous prize packs! 🙂

I created this card for several of last weeks challenges:  Moxie Fab World Tuesday Trigger, Splitcoaststampers Way To Use it Challenge and the CPS Sketch.

I started by picking paper from the MME Lost & Found 2 Breeze paper pack so it would fit the Way to use it challenge (use newsprint paper).  A lighter blue paper was cut  embossed with a Grand Classic Square Nestabilities die. The edges were sanded. It was cut down so it would be stitched t0 a piece of Neenah Solar White cardstock that had been cut and embossed with the Largest Lattice Rectangle die.

The newsprint patterned paper measures 4″ x 5 1/4″. The top two corners were rounded and the edges were sanded before the lattice layers were adhered. A 1 3/4″ x 5 1/4″ strip of another pattern from the same paper pack was adhered over the lattice layers and May Arts White Organdy Ribbon was tied around those.  The bow was topped with a Basic Grey button that was tied on with Embroidery floss.

A piece of Solar White cardstock was cut and embossed with one of the Fancy Tag 2 dies. The tag was sponged with  Scattered Straw Distress ink and a sentiment from Sweet ‘n Sassy’s Wildflower stamp set was stamped in it’s center with Tuxedo Black Memento ink. Part of the Wildflower image was stamped over the panel while the die was still on it to create more interest.

Parts of a brown Finesse Rhinestone swirl were adhered above the bow and underneath a flower cluster to finish off the card.

Your next stop on the hop is Janice Melton, but just in case there are any hiccups, here is the whole list of celebrants on this party train:

Beate Johns – you are here
Thanks so much for stopping by! Good luck winning the prizes! Have a wonderful day.
Hugs and smiles

I created this card for the Moxie Fab Tuesday Trigger this week.

The image reminded me of a technique I had seen but never used, Herringbone technique. I saw a video a couple years back and have had the technique in the back of my mind every since. I picked some paper from MMME Stella Rose Mabel Paper and cut them in strips varying between 1/8″ and 15/16″.

A piece of cardstock was ran through the Xyron (if you don’t have a Xyron, you can just apply double sided adhesive over your entire piece of cardstock). I started  taping one of my wood grain brown paper strips diagonal across the paper piece. Next I placed another piece of the same paper pattern on a diagonal to create a T. Another piece from the same pattern was adhered to the other side of the first diagonal strip creating another T shape on the opposite side of the first. Then I filled in the four sections with paper strips of different pattern.

The paper was trimmed to a 3 1/2″ x 4 3/4″ and stitched to a 3/16″ bigger piece of Neenah Solar White cardstock. The card base is a 4 1/4″ x 11″ piece of Kraft cardstock folded in half. The card front was embossed with Cuttlebugs Polka Dot Embossing folder.

A piece of Solar White cardstock was cut and embossed with one of the Fancy Tag 2 dies. The tag was sponged with Antique Linen Distress ink and a sentiment from Sweet ‘n Sassy’s Wildflower stamp set was stamped in it’s center with Rich Cocoa Memento ink.

Two Zva Creative Flowers as well as a Recollection one were tied together and adhered to the tag before it was adhered to the card with dimensionals. Part of a Finesse Rhinestone Swirl and two pieces of Baby Bling on the tag finish off the tag.

Thanks so much for stopping by! Have a wonderful weekend
Hugs and smiles

© 2012 fresh & fun Suffusion theme by Sayontan Sinha