Today is the last day of CAS-ual Friday Stamps sneak peek sets. The last new set featured is called Countdown. A special thanks to Michele Gross for letting me play along. I had a blast designing with those fun new stamps!!!

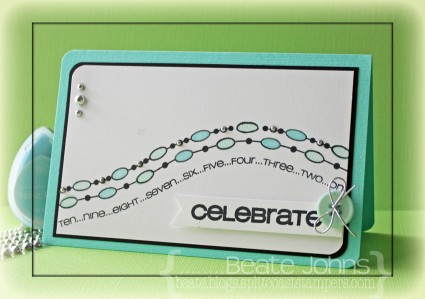
I created this card on Sunday for the Featured Stamper Challenge on Splitcoaststampers. I picked this card to case. Obviously I didn’t read the description, because only after being done with my card I saw that the featured stamper didn’t create this card, but received it through a swap. Oh well… I love the wavy line of the  snowflakes and wanted to re-create that with the acrylic stamps. I love that about clear stamps.

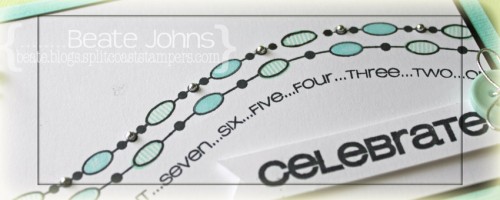
I lined up the strip with the ovals on my acrylic block first, then added the countdown strip underneath. Both were inked with Tuxedo Black Memento Ink and stamped on a 3″ x 5″ piece of Neenah Solar White cardstock. Next I filled in the ovals with the solid oval stamp and Sea Breeze VersaMagic ink and the striped ones with Aquatic Splash Versamagic.  The upper left and lower right corner were rounded and layered on a piece of black cardstock, that was 1/8″ bigger.

The card base is a 7″ x 5 1/2″ piece of Patina Bazzill Cardstock, folded in half. Again the corners were rounded  and little adhesive silver pearls were added. A sentiment from the strip was stamped on a 1/2″ wide strip of white cardstock. The left side was cut and a button was tied on with silver cord on the right. The sentiment was adhered to the lower right side with foam adhesive squares.

Make sure you check the CAS-ual Fridays Stamp blog to see more samples created with the new set.  Thanks so much for stopping by! Have a wonderful day!

Hugs and smiles

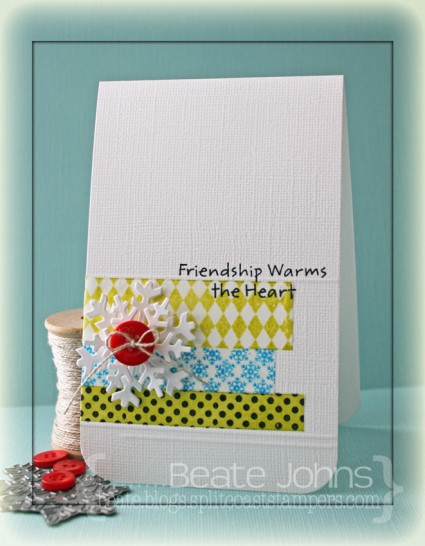
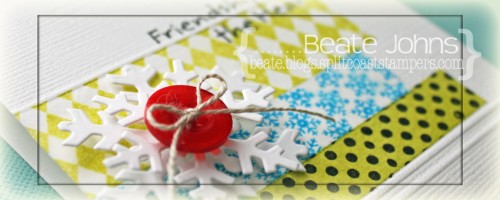
I created this card for a Featured Stamper challenge last month. Cheryl has such a wonderful gallery, I wanted to case another card of hers. This time I chose this CAS washi tape card.  I created my Washi Tape strips out of Tissue Stock from Canvas Corp. I cut strips in different sizes.

The biggest strip was stamped with the the smallest diamond images from Distressed Diamonds stamp set in Pear Tart Memento Ink. The thin strip was stamped with the snowflake background from Christmas Ornaments in Bahama Blue Memento Ink.  The last strip was sponged with Pear Memento Ink and stamped with a background stamp from By the Numbers in Jet Black Archival ink.

The card base is a 3 1/2″ x 11″ piece of textured Whisper White Stampin’ Up! cardstock folded in half. The bottom corners were rounded. A line was scored at 3/4″ on the bottom. Then the Faux Washi tape strips were adhered with a Xyron glue stick. Another line was scored right above the tissue strips, as well a partial strip 1/8″ under the lower score line.

A sentiment from Merry Kissmas was stamped on the right hand side partially on, partially off the highest tissue paper strip.  Neenah Solar White cardstock was cut with the two largest Let it Snowflake die-namic dies. They were stacked with foam adhesive squares and topped with a button.

Thanks so much for stopping by today! Have a wonderful day!
Hugs and smiles
 

P.S.: Today’s Holiday Blitz Tutorial on Splitcoaststampers was written by the wonderful Clare Buswell. She is showing how to create a pierced Luminaria.  I hope you have time to check it out!

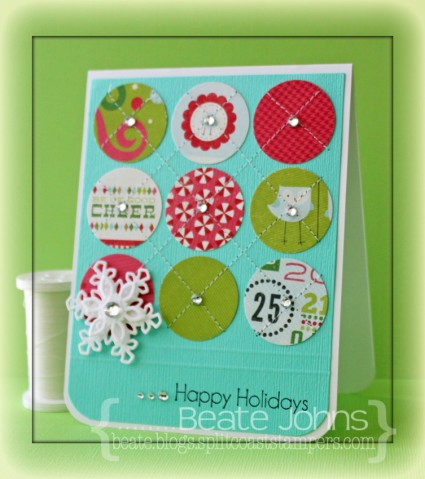
I created this card for last week’s Featured Stamper challenge. I loved this layout from Cheryl’s card and decided to use it and just change it a tiny bit. I changed the colors, the direction of the stitching and made it a Christmas card.

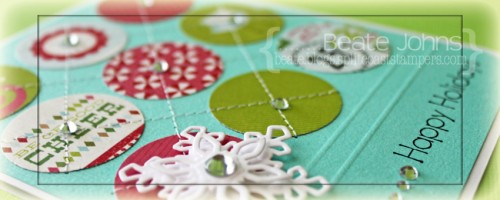
I was too lazy to cut and emboss 9 circles with my Circle Nestabilities, so I used my 1 1/4″ circle punch to cut circles out of Carta Bella’s Merry & Bright patterned paper. They were adhered to the top of a 4 1/8″ x 5 1/4″ piece of Patina Bazzill Cardstock.  Two lines were scored at the 4 1/8″ and 4 3/8″ with my Scor-Buddy. Lines were stitched diagonally through the circles and the bottom corners were rounded.


A sentiment from Taylored  Expressions Very Merry stamp set was stamped on the bottom right corner of the cardstock with Jet Black Archival ink. The layer was adhered to the card base, a 4 1/4″ x 11″ piece of Neenah Solar White cardstock, folded in half.  White cardstock was cut and embossed with two small Create a Flake 4 Spellbinders dies. They were adhered together with more foam adhesive square. A rhinestone was added to the center of the flake. It was adhered to the lower left circle. More rhinestones from a Sleek Strips Silver Rhinestones were adhered in the center of each circle and to the left of the sentiment to finish off the card.

Thanks so much for stopping by! Have a wonderful weekend!
Hugs and smiles

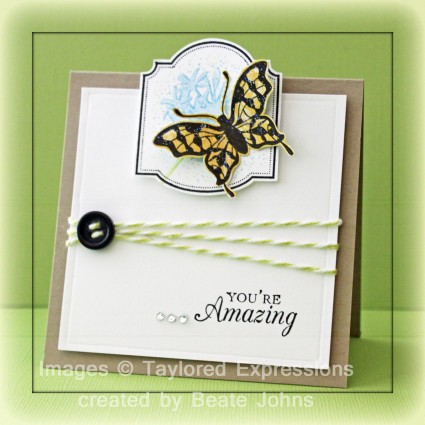
On Wednesday a new Product Focus was published on Splitcoaststampers. This time we got to review the Perfect Squares Tool. So when I was creating a card for last Sunday’s Featured Stamper Challenge, I used that tool to cut and score my layers.

The Featured Stamper was Angela R. I hope you have time to check out her gallery on SCS. She creates beautiful cards. For my case I chose this cad of hers. I kept the layout, but changed the topper and the ribbon. I also added a little bling. Just a little. 🙂

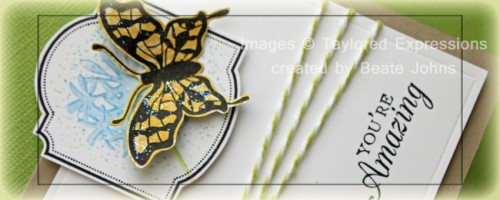
I started by stamping the Butterfly from Taylored Expressions Make it Amazing in Jet Black Archival Ink and cut it out. The frame from the same set was stamped with Jet Black Ink on Neenah Solar White cardstock. The frame was hand cut before a flower image was inked with Sky Blue and New Sprout Memento Markers and stamped in it’s center. A few dots in each color were added before the butterfly was adhered over the flower with Scor-Tape (under the body), and double stacked foam adhesive (under the wings).

A 3 1/4″ white cardstock square was cut and a border was embossed 1/8″ in. A sentiment from Make it Amazing was stamped to the lower right side with Jet Black ink. Honeydew Twine was threaded through a black button and tied around the layer before it was adhered to the card base with dimensional. The card base is a 3 3/4″ x 7 1/2″ piece of Kraft cardstock, folded in half.

The image layers were adhered to the card with foam adhesive squares. Three rhinestones from a Sleek Strips Silver Rhinestone and Frost Smooch Glitz over the butterfly finish off the card.

Thanks so much for stopping by! Have a wonderful day!
Hugs and smiles
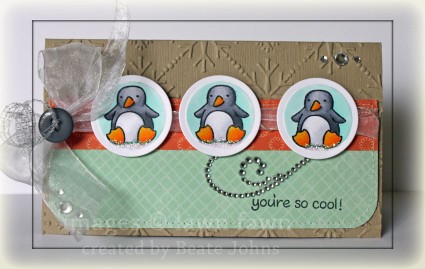
I created this card a while back for a Featured Stamper Challenge at Splitcoaststampers. The featured stamper that day was Tenia Sanders-Nelson. She has an amazing gallery of CAS cards. While those are not easy to make for me, I gave it a whirl. I picked Tenia’s Trick or Treat card and used Winter images from Lawn Fawn’s Cute Critters in the Snow.

I cut and embossed three circles out of Neenah Solar cardstock with Classic Circle Nestabilities dies. The small penguin image was stamped in each center with Tuxedo Black Memento Ink and colored with Copic Markers (Y15, Y17, YR15, C0, C1, C3, C5, C7, BG10, BG11). Glitter was added underneath each Penguin.

The card base is a 6″ x 6″ piece of Kraft cardstock folded in half. The card front was embossed with a Snowflake Embossing folder from Sizzix. A 3/4″ x 5 3/4″ piece of Echo Park Walk in the Park was stitched to a 1 1/2″ x 5 3/4″ piece of Echo Park Holly Jolly Christmas cardstock, after the bottom corners were rounded. Before the layers were adhered to the card base, May Arts Organdy Ribbon was tied around the paper strips. The ribbon was topped with a Basic Grey Button tied on with May Arts Silver Curling Ribbon.

The images were adhered over the ribbon with dimensionals. Silver Rhinestones and part of a Finesse Rhinestone Swirls finish off the card front.

Thanks so much for stopping by! Have a wonderful day!
Hugs and smiles
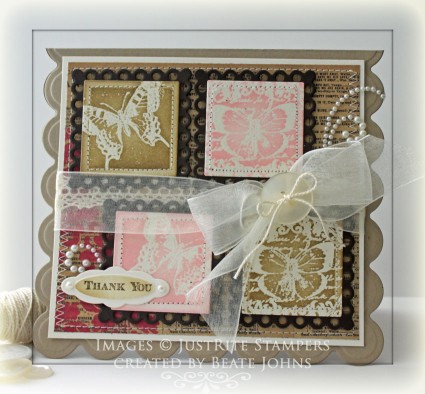
Yesterday’s Featured Stamper on Splitcoaststampers was Anne Harada.  I cased this card of hers for the Featured Stamper challenge as well as the current JustRite Stampers challenge. I kept the top part of her card as a layout and the butterflies. I switched the blue with pink and her gorgeous lace (didn’t have double sided lace like that) with Crochet Lace topped with Organdy Ribbon.

I stamped two butterfly images from the new Botanical Butterflies set two times each in Embossing Ink on Natural White cardstock and embossed them with clear embossing powder. The images were cut and embossed with a Classic Square Nestabilities die and two images were sponged with Spun Sugar, two with Frayed Burlap Distress ink. The squares were stitched to pieces of Canyon Brown Cardstock, that had been cut and embossed with a Eyelet Square Nestabilities die.

A 4 3/8″ x 4 3/4″ piece of MME Lost & Found 2 Blush Patterned paper was stitched to a 3/16″ bigger piece of Natural White cardstock. Crochet Lace was adhered over the center horizontally before the four butterfly squares were adhered with dimensionals. Ivory Ogandy Ribbon was tied over the lace and topped with a button, tied on with cream embroidery floss.

A sentiment from Fleur De Lis Label 20 was stamped in Walnut Stain Distress ink on a piece of Natural White cardstock, that had been cut and embossed with a Blossom Tags & Accent die. The inner part of the die cut was sponged lightly with Frayed Burlap ink. It was adhered to the lower left butterfly square.  Two Baby Bling pearls were added to the sentiment and parts of a Finesse Pearl Swirl were added above the sentiment and above the ribbon bow.

The card base was cut and embossed with a Grand Scallop Square Nestabilities die. The layers were adhered to the card base.

You still have time to participate in the JustRiteStampers challenge. You have to create a Thank you card and add a link to the JustRite Stampers blog before Wednesday evening. You can win stamp sets if your card get chosen as a winner!

The card also works for this month Inspiration Emporium Challenge. We are to use our favorite tool! Besides my sewing machine, I LOVE my Nestabilities dies and my Blending tool. Sponging with the Blending tool and Craft mat create such gorgeous results! I have one blending tool for each color group so I don’t have to change the foam everytime I sponge.

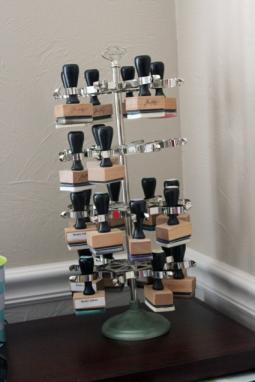
Don’t they look pretty on four Craft Spinners put together? I hope you try out the challenges! JustRiteStampers will give away stamp sets, Inspiration Emporium a $50 gift certificate for the store. So what are you waiting for! Get your stamp on!

Thanks so much for stopping by! Have a wonderful day.
Hugs and smiles

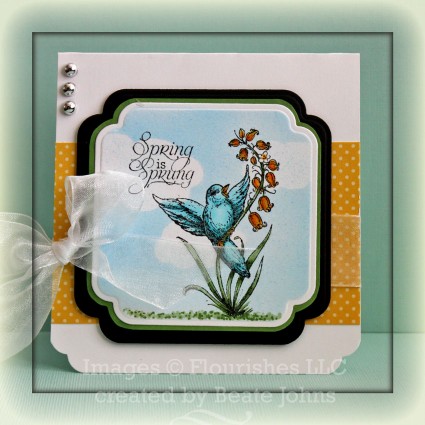
I created this card for yesterday’s Featured stamper Challenge on Splitcoast. Saturday my latest order of Flourishes stamps, the new release, arrived and I couldn’t wait to try them out. So I picked this card from Mary Beth. It is a CAS card, and I usually have a hard time with them. Casing a card helps, but still I had to add a bit of patterned paper, just a few pearls and some ribbon.

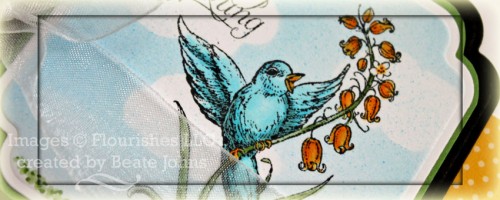
I stamped an image from Flourishes Spring has Sprung in Tuxedo Black Memento ink on Neenah Solar White cardstock, cut and embossed it with a Label 13 Nestabilities die and colored it with Copic Markers (BG000, BG01, BG72, Y21, Y38, G21, G24, G28).

Cloud masks cut with the Cloud Die-namics die out of Tim Holtz Mask Sheets were adhered over the image and it was airbrushed with Copic Marker B12.  I took the masks and carefully airbrushed a bit more with the brush side of Copic B12 to add a few speckles. The image was adhered to a piece of Celery cardstock that was hand cut to a slightly bigger layer. The edges of the paper were colored with Copic Marker G24 to match the image. Both layers were adhered to a piece of black cardstock, cut and embossed with the next size label12 die.

The card base is a 4 1/4″ x 9″ piece of Neenah Solar White cardstock folded half. The lower corners were rounded with a decorative corner chomper, to match the edges of the Label die. A 2 1/2″ x 4 1/4″ strip of October Afternoon Modern Homemaker paper was adhered to the card base and White Organza ribbon was tied around it.

The image was adhered to the card with dimensionals. Silver Recollection Pearls on the top left of the card finish off the card.

Thanks so much for stopping by! Have a wonderful day.
Hugs and smiles

© 2012 fresh & fun Suffusion theme by Sayontan Sinha