I am excited to participate in today’s Hippity Hop blog hop. I created this paper cone as an alternate version of last weeks tutorial. Make sure to check out all the other blog hop participants. You can find them listed on the Ippity Blog.

ipjustwantedtosaycone.jpg

 The paper used here is from Scenic Route. The rim was cut out of Chocolate Chip cardstock with Jumbo Scallop Borderabilities. KaiserCraft Pearls were added to dress it up a bit. Inside the rim I taped a wide strip of tissue paper. It was tied with 1/4″ wide green Silk May Arts Ribbon.

The tag was stamped directly on Scenic Route paper in Rich Cocoa Memento ink. It is from Ippity’s Just Wanted to say stamp set. I stamped the bird in Peeled Paint on White cardstock, cut it out and mounted it on the tag with dimensionals. To finish it off I added some Stardust Stickles.

lifeslittlemomentsacrylicwide.jpg

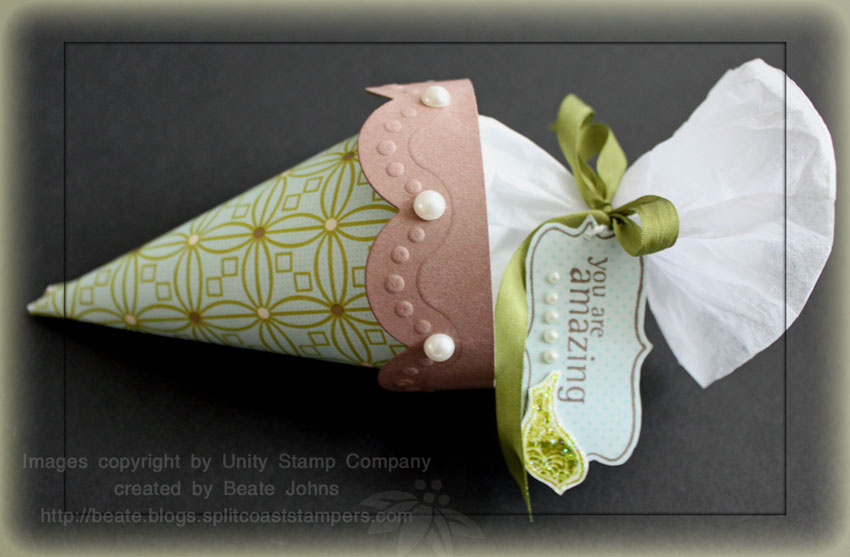
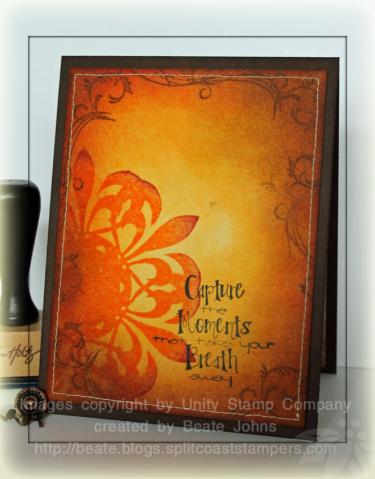
My centerpiece base is part of a Manila file folder cut with Label 8 Nestabilities. The Vintage Blossom stamp was inked with Pearl Acrylic Paint Dabber and stamped on the bottom right of the label. After it dried (I helped along a bit with my heat gun) I stamped the Giving it all meaning background over it with Vintage Photo Distress ink. I also added swirls with one of the stamps from Growing with Unity.

lifeslittlemomentsacrylicresistfull.jpg

Next the label was sponged with Spiced Marmelade, Fired Brick, Peeled Paint and Vintage Photo Distress inks.It was layered on a slightly bigger piece of Chocolate Chip cardstock that had been sponged with Walnut Stain Distress ink. The sentiment is from Ippity’s Life’s little Moments. It was stamped in Black Stazon on another piece of Manila File folder. It was cut out as an oval to fit one of  Tim’s Ornate Plates. Two small swirls were added with Vintage photo before the oval was sponged with Dried Marigold and Fired brick. The Ornate plate was attached to the label layers with matching brads.

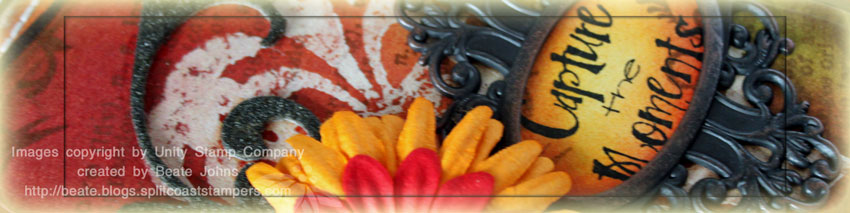
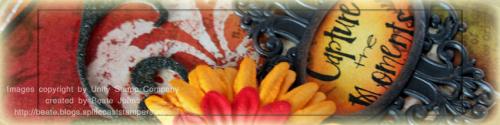
A grungeboard swirl was first inked with Walnut Stain ink, then embossed with Walnut Stain Distress embossing powder. It was adhered to the card front, one of the ends hidden behind Daisy Doodle Flowers. The flowers were topped with a Making Memories Brad.

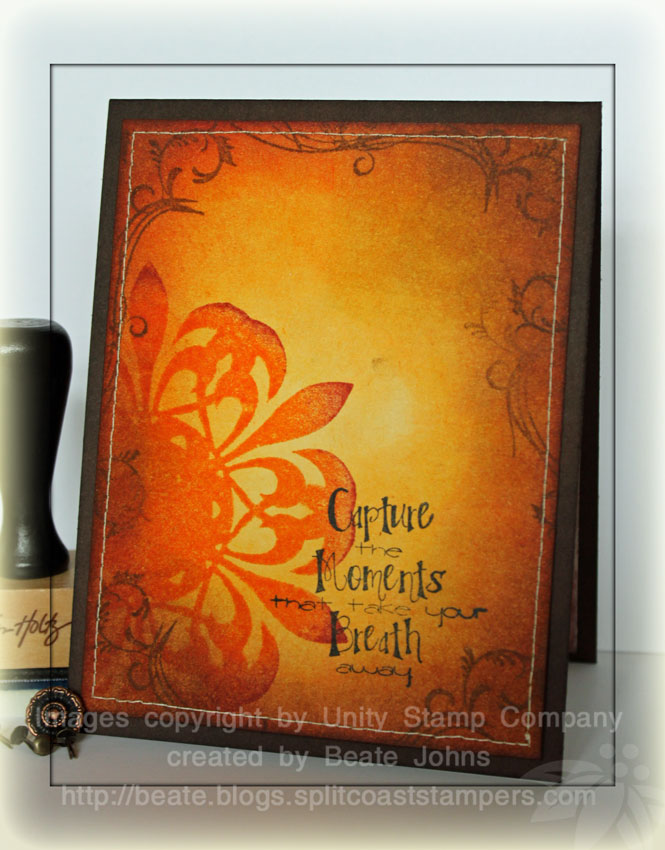
A 3 15/16″  x 5 3/16″ piece of Manila File folder was sponged with the same inks as the center piece, the edges were inked with Pearl Acrylic Paint Dabber. A border was stitched around the layer before it was adhered to the 4 1/4″ x 5 1/2″ Chocolate Chip card base.

lifeslittlemomentsacrylicin.jpg

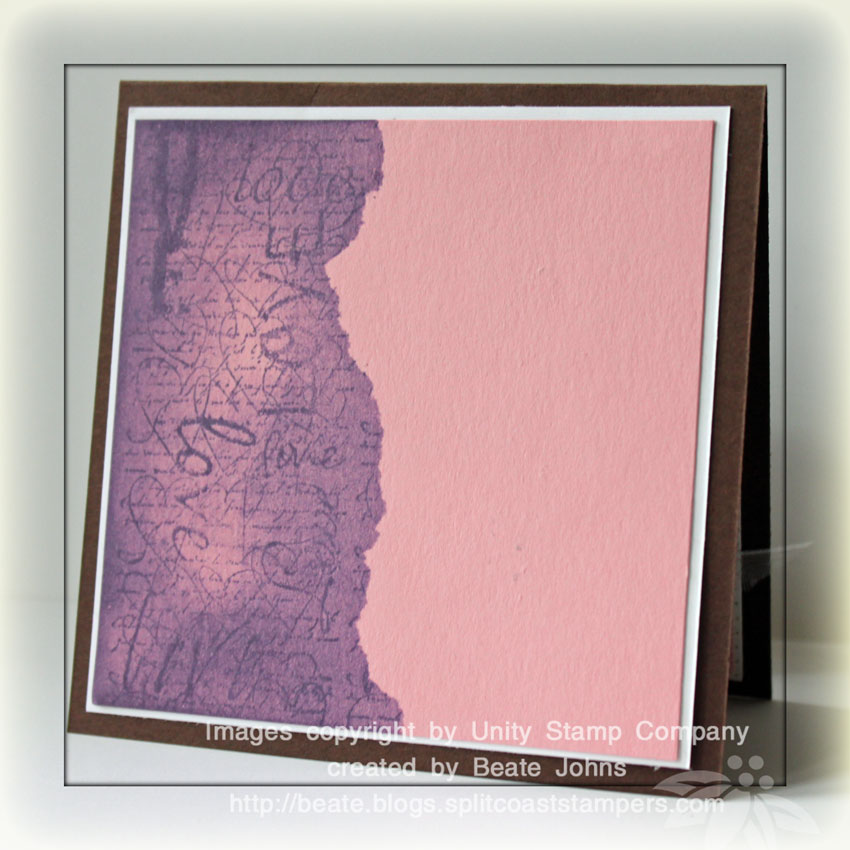
The inside layer of the card was also sponged like the outer layers and stamped with the Vintage Blossom and the swirl image used on the front. Here I had room to stamp the entire sentiment. I could only use the first two lines on the card front.

Here is a video for the Acrylic Resist technique for the visual learner:

[youtube]https://www.youtube.com/watch?v=lLM0m5OPL_Q[/youtube]

Check the Unity Blog to find a list of 50 blogs that participated in today’s Friends with Flair Friday.

ippityfauxtearingwidebeate.jpg

Last week’s tutorials you might have missed in the newsletter was faux tearing. I created the sample for the video with the Color challenge combofrom that week. Let’s just say that was not my favorite combo. LOL

ippityfauxtearingfrontbeate.jpg

The card base is a 4 1/4″ x 8 1/2″ piece of Chocolate Chip cardstock folded in half. The card front was sponged with Rich Cocoa Memento ink. Next is a 3 15/16″ square of Whisper White cardstock topped with a 3 3/4″ square of Pretty in Pink cardstock.

The left side of the Pretty in Pink layer was sponged with Dusty Concord and stamped with the background strip of Ippity’s Because of you in the same color. The layers were stitched together and a sentiment from the same set was stamped in Rich Cocoa to the right. White Organdy Ribbon was tied over the sponged side of the layers. Clear Kaiser Rhinestones on the top right finished off the card base.

For the main image I stamped the heart twice. Once in Rich Cocoa, once in Dusty Concord.  The brown image was cut out with Octagon Nestabilities and layered it on a slightly bigger scallop Octagon. The purple heart was cut out, taped to the brown image with dimensionals and covered with Stardust stickles. Tiny Twinkleswere added to the heart while the Stickles layer was still wet.

ippityfauxtearinginsidebeat.jpg

The inside of the card is created the same as the card front. It shows of the technique better, since the faux torn layer is not covered up.

Here is a video for the visual learner:

[youtube]https://www.youtube.com/watch?v=tbTc7cQesUc[/youtube]

Have a wonderful day! Hugs and smiles

© 2012 fresh & fun Suffusion theme by Sayontan Sinha