inkadinkadoturtlewide.jpg

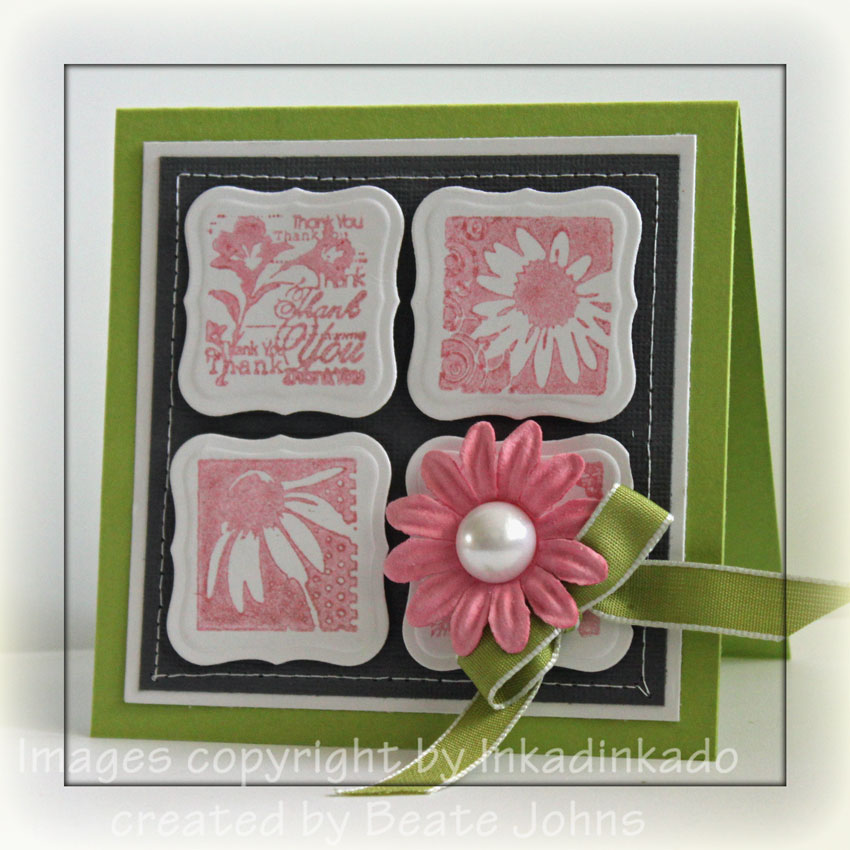
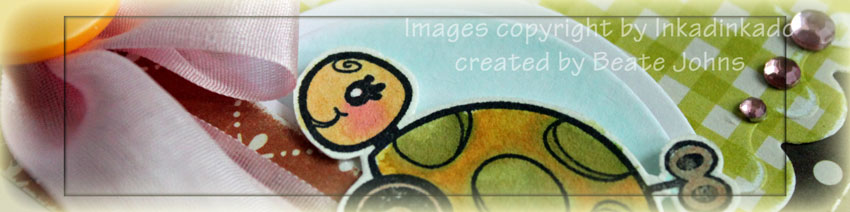
Isn’t this turtle adorable? I created this card for the Inkadinkado Product Review a while back. I stamped the Turtle in Tuxedo Black Memento Ink on Watercolor paper and colored her with Aqua Painter and Inkadinkado Watercolor Markers.

inkadinkadoturtlewatercolor.jpg

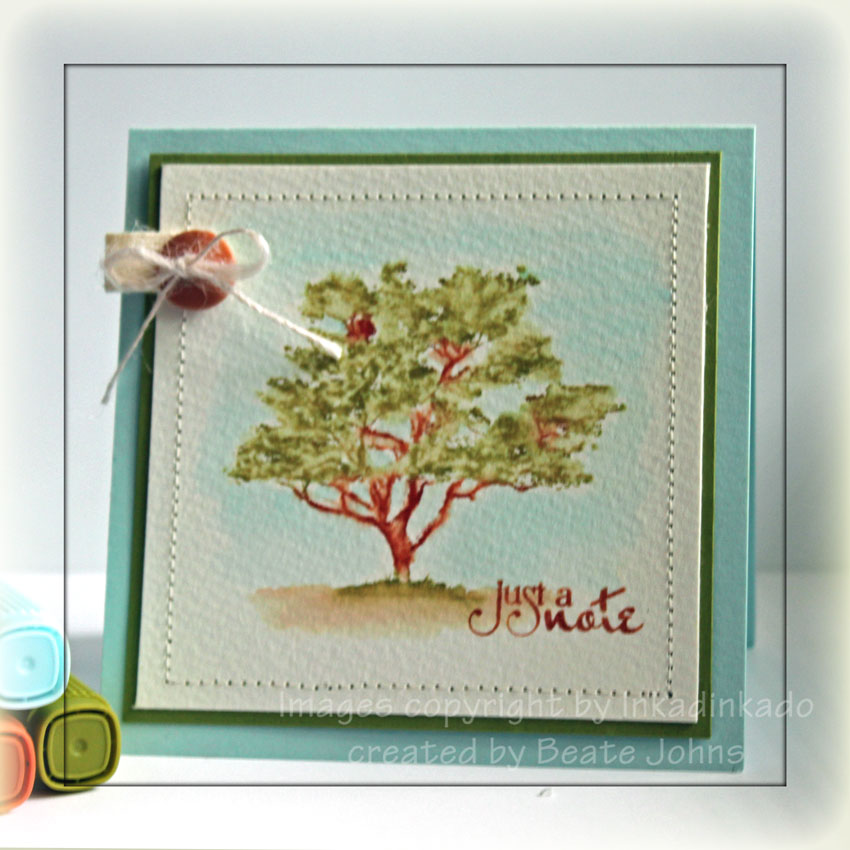
The card base is a 4 1/4″ x 8 1/2″ piece of Kraft cardstock folded in half. A 3 3/4″ piece of Weathervane October Afternoon Paper was sanded and stitched on a 3 15/16″ square of Whisper White cardstock. The next layer is another piece of Weathervane October Afternoon Paper. It was cut with Square Nestabilities.

A 7/8″ x 4 1/4″ piece of October Afternoon paperwas sanded and then stitched to white piece of cardstock strip, that had been cut with Scalloped Scallop Die-namic die. Pink Silk Ribbon was tied around the layers and topped with a Basic Grey button.  I cut a 1/2″ circle with Circle Nestabilities out of Neenah Solar White cardstock and colored the inside of the circle with the sky blue watercolor Marker. The turtle was taped over the circle with dimensionals.

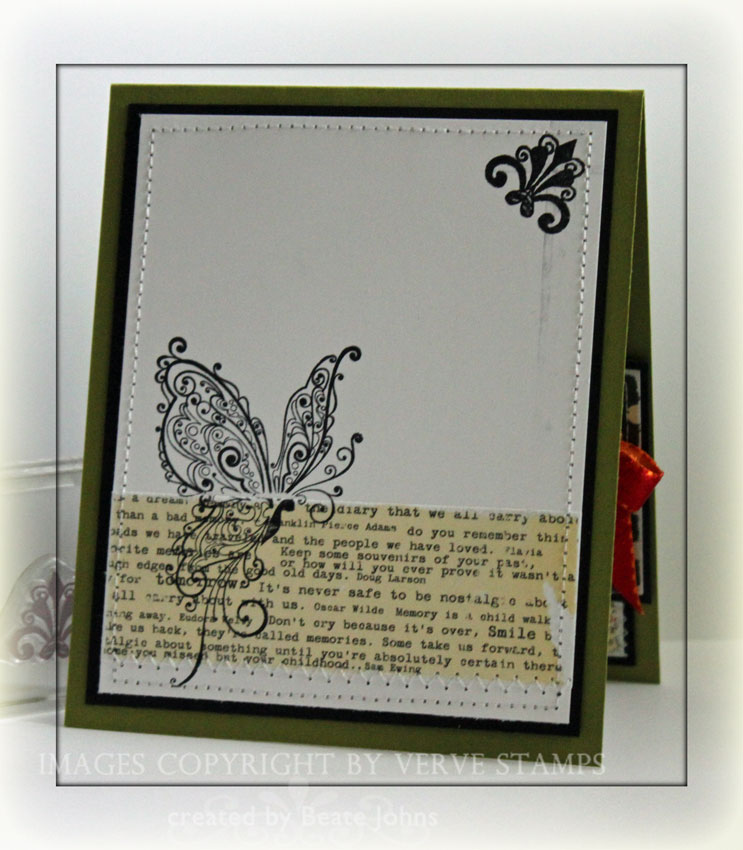
The sentiment is from Verve’s Bountiful Backgrounds. I love the backgrounds in the set, but I love the sentiments and the fonts they are written in even more. The sentiment was stamped in Tuxedo Black Memento Ink on the top left of the scalloped paper square. Three pink Kaisercraft Rhinestones were added to the top right of that square to finish off the card.

Thanks so much for stopping by. Have a wonderful day! Hugs and smiles

I made this card for the Inkadinkado product review last week on SCS. I received the Flower Inchies stamp set as well as an Iridescent Pigment ink and decided to combine both to make this card.

inkadinkadoshimmeryflowers.jpg

My card base is a 3 3/4″ x 7 1/2″ piece of Sour Apple cardstock folded in half. A 3 1/8″ square of Basic Grey cardstock was sewn to a Whisper White cardstock square that measures 3 3/16″. I cut four white cardstock pieces with the smalles of the Label 1 Nestabilities and stamped  images in Blush Iridescent Pigment ink on three of my four labels. On the fourth label I added a pink Prima Daisy Doodle Flower with a bit of retired Stampin’ Up! ribbon underneath. The flower was topped off with the largest half pearl in Stampin’ Up! Pretties kit. It was adhered with Glossy Accents.

You can’t see it in the photograph, but the the flowers shimmery so pretty, like they were stamped on Shimmery cardstock.

Thanks so much for stopping by! Have a wonderful day! Hugs and smiles

inkadinkadotreewatercolorwi.jpg

Splitcoast is featuring a new Product review today. We had the opportunity to play with Inkadinkado’s new ink pads and watercolor markers. My favorite thing were the Watercolor Marker. They are soooo cool! They have a dabber point on one side, and a fine point on the other. The dabber is specifically made for us stamper in mind. Just add it directly to your stamp by painting or dabbing it on, mist and stamp!

The cool thing is if you brush the ink on first, then go over and dab on several places, it will give you different shades of the same color.

For my card the Dogwood stamp from Inkadinkado was inked up with Terra Cotta and Olive Green Marker and stamped on Watercolor paper. I added sky with the sky blue marker and my aqua painter. I just scribbled marker on an acrylic block and picked the ink up from there with my aqua painter. The same was done with the ground with Terra Cotta Marker.

inkadinkadotreewatercolorbe.jpg

The sentiment is from Verve’s Accent Notes was inked with the Terra Cotta marker and stamped on the lower right hand corner.

The card base is a 4 1/4″ x 8 1/2″ piece of Sno Cone cardstock folded in half. The 3 5/8″ square of watercolor paper was stitched to a 3 7/8″ square of Old Olive cardstock. To add a little something something….I stitched a tiny bit of twill to a button and adhered that to the top left of the card.

Here is a video about the new Markers:

[youtube]https://www.youtube.com/watch?v=L5GVsJnzg0Q[/youtube]

Make sure to also check out today’s tutorial by Sharon Tidwell. She shows you how to use Watercolor Crayons on Canvas. Have a wonderful day! Hugs and smiles

inkadinkadoencausbutterflwi.jpg

I have another Encaustic card to share with you. This one I created for the sketch challenge on SCS. The background was created with yellow, red and orange wax on top and green and a bit of brown wax on the bottom.

The background was layered first on Basic Black Cardstock, then on a scalloped textured white rectangle cut with Long Rectangle Nestabilities.The Butterfly image is from Inkadinkado and was stamped on the background with Jet Black Archival Ink.

inkadinkadooencausticbutter.jpg

The card base is a 4 1/4″ x 10 1/4″ piece of Old Olive cardstock folded in half.  A 3 1/2″ x 4 1/2″ piece of The Thrift Store October Afternoon paper was sanded and stitched on a  3 7/8″ x 4 3/4″ pieces of Basic Black cardstock. The top right corner was stamped with a stamp from Verve’s Accent Notes in Jet Black Archival ink. The horizontal piece is a 2″ square of Thrift Store paper. It was also sanded and stitched to a 3/16″ bigger piece of Basic Black cardstock.

The sentiment is also from Accent Notes. it was stamped on Textured White cardstock and cut out with Petite Oval Nestabilities. It was layered on black scallop oval. A bow out of double sided May Arts ribbon finishes off the card front.

inkadinkadooencbutterfinsid.jpg

The layer sizes on the inside of the card are the same as on the card front. The horizontal layer is 1 1/4″ wide was sanded and then stitched on the inside layers. The Verve Accent stamp was stamped on the top right and the Inkadinkado butterfly on the bottom left.

Thanks so much for looking! Have a great day! Hugs and smiles

© 2012 fresh & fun Suffusion theme by Sayontan Sinha