Happy New Year! I hope you had a wonderful and save New Years Eve!

I am excited to be guest designing for Technique Tuesday this month with Ali Edwards newest set called Be Mine. For my card  I started with a 3″ x 5″ piece of Neenah Solar White cardstock. The heart from the set was stamped in Tuxedo Black Memento Ink on the left hand side and colored with Copic Markers (YR09, R24, R29, R39). A sentiment was stamped on the lower right hand side.

Two pieces of Washi Tape were adhered to the upper left side and the bottom corners were rounded. The layer was adhered to a slightly bigger piece of Kraft cardstock. Two buttons were tied to over the washi tapes with silver cord.  The layers were adhered to the card base, a 3 1/2″ x 11″ piece of white cardstock, folded in half, with foam adhesive squares. Rhinestones finish off the card.

Thanks so much for stopping by! Have a wonderful day!
Hugs and smiles

I am back with another cute Tiddly Inks image called Cocoa Wishes. It was printed out on Neenah Solar White cardstock. It was cut 3 1/2″ wide and the image was colored with Copic Markers (Skin: E50, E21, E33, R20   Hair: E13, E15, E19, E18   Jeans: B91, B93, B95, B97   Ear Muffs/shirt/bird: YR09, R24, R29, R39    Cup: E40, E41, E42, E43  ).

Two pieces of  3 1/2″ wide strips of Carta Bella’s Winter Fun patterned paper were adhered above the image and the edges were stitched. The layers were adhered to the card base a 3 1/2″ x 11″ piece of Kraft cardstock, folded in half. The bottom corners were rounded and a piece of red washi tape was adhered on the the paper strips on top.

A sentiment from Snowflake Letters Mini seals was stamped in Tuxedo Black Memento Ink on a piece of white cardstock, cut and embossed with a Standard Circle Nestabilities die. A red button was tied on with a silver cord before the sentiment circle was adhered with foam adhesive squares. A few snowflakes were cut and embossed out of silver glimmer paper with Snowflake Borderabilities dies and adhered to the card to finish it off.

Thanks so much for looking! Have a wonderful day!
Hugs and smiles

I created this card a while ago for an inspiration challenge on Splitcoast.  I started with a 3″ x 5″ piece of Neenah Solar White cardstock . The bottom two corners were rounded and the Petite Christmas Tree was cut in the lower right corner. Carta Bella’s Merry & Bright patterned paper was adhered behind the tree cut out and the layers were stitched to a slightly bigger piece of black cardstock.

White cardstock was cut and embossed with a Spellbinders Nested Pennants die and a sentiment from the new Small Folded Banners Holidays was stamped over it in Jet Black Archival ink. A button was tied on to the right edge with silver cord before it was adhered to the upper left edge. Red striped washi tape was adhered over it.

Silver Rhinestones were adhered under the sentiment and on top of the tree. Baby Bling red rhinestones were added to the tree to finish off the card.

Thanks so much for stopping today! Have a wonderful day!
Hugs and smiles

Nina is the hostess for the new Crafty Friends Challenge and she gave us this gorgeous photo to be inspired by:

Freckled Fawn is sponsoring this challenge. Each entry in the challenge will also be an entry in a raffle to win a $15 gift certificate from them. They have gorgeous Washi Tapes in their store. The yellow and green one featured on my card are from Freckled Fawn.

I took the inspiration pretty literally and incorporated the stripes, the butterfly and the colors shown on the photo. I started by about 2″ (eyeballed it) of a 3″ x 5″ piece of Neenah Solar White cardstock with the Simplicity M-Bossabilities folder. Next I took out my Scor-Buddy and first scored a line, then went along the next 1/8″ spaced line with my Cutter Bug Bee (to create the dots), then added another score line. Under that score line I added gingham red ( Elmer’s), the yellow sunburst and green polka dotted Freckled Fawn Washi tapes.

One of the sentiments of Butterfly Kisses was stamped inTuxedo Black Memento Ink to the lower right of the panel. The upper right and lower left corner were rounded. The layer was first adhered to a 3/16″ bigger piece of Kraft cardstock, then to the card base a 3 1/2″ x 11″ piece of Solar White cardstock folded in half.

A solid Butterfly shape was cut out out of Echo Park’s Paradise Beach Paper, the detailed one out of Solar White cardstock. The detailed one was adhered to the solid shape and Diamond Stickles was added where the orange paper showed through. Part of a Finesse Rhinestone swirl under the butterfly and more rhinestones from a Sleek Strips Silver Rhinestones finish off my card.

Check out my fellow Crafty Friends for more  inspiration:

    Thanks so much for looking! I hope you have time to join us in the challenge. It’s easy and fun! Have a wonderful week!
    Hugs and smiles


Today I am sharing a CAS card I created a while back, when I was playing with the Pazzles electronic die cutter. I think I am getting old. I really prefer dies and a regular die cutting machine over electronic ones and messing with sticky mats.

The focal point here is a speech bubble cut with a Say What Die-namics die out of Neenah Solar White cardstock. It was stamped in Jet Black Archival ink with a sentiment and frame from the Say What stamp set.

The card base is a 3 1/2″ x 11″ piece of Solar White cardstock. The bottom corners were rounded and a thin border was drawn with a Copic Multiliner.  A strip of black polka dotted Washi Tape was adhered to the center of the card and a kraft cardbstock tag (cut with the Pazzles) was adhered slightly askew over it. A strip of Heart and Clouds Washi Tape and Tiny Hearts Washi Tape were adhered underneath the black one before the speech bubble was adhered over those with foam adhesive squares.

Twine was tied through the tag hole and the three dots stamp from Say What was stamped in black on the bottom right of the tag. Three rhinestones from Sleek Strips Silver Rhinestones finish off the card.

Thanks so much for stopping by! Have a wonderful day!
Hugs and smiles

I created a quick tutorial on how to fold half circles into a Christmas tree for today’s tutorial on Splitcoaststampers.  I started out by cutting a circle out of Teresa Collins Christmas Cottage with the smallest of the Grand Circle Nestabilities die.  The circle was cut in half, folded and decorated with rhinestones.

A stamp from the Lollipop Treat stamp set was stamped in Jumbo Java VersaMagic Ink on Neenah Solar White cardstock. It was cut out and adhered under the tree.

The upper right and lower left corner of a 3″ x 5″ piece of Kraft cardstock were rounded. The bottom was stamped with a background stamps from the Lollipop Treat set and a sentiment from  Document It – December in Moonlight White Brilliance Ink. The edges were pierced before the Christmas tree was adhered with foam adhesive squares.

A piece of black polka dotted Washi Tape was adhered to the top right corner of the kraft cardstock. It was topped with a button, tied on with silver cord. The layer was adhered to the card base, a 3 1/2″ x 11″ piece of white cardstock. A sentiment from Christmas Ornaments was stamped to the lower right edges of the card with Tuxedo Black Memento Ink.

Here is a video for the visual learner:

[youtube]https://www.youtube.com/watch?v=7u8oJd3g384[/youtube]

Thanks so much for stopping by! Have a wonderful day!
Hugs and smiles

I created this card for a Featured Stamper challenge last month. Cheryl has such a wonderful gallery, I wanted to case another card of hers. This time I chose this CAS washi tape card.  I created my Washi Tape strips out of Tissue Stock from Canvas Corp. I cut strips in different sizes.

The biggest strip was stamped with the the smallest diamond images from Distressed Diamonds stamp set in Pear Tart Memento Ink. The thin strip was stamped with the snowflake background from Christmas Ornaments in Bahama Blue Memento Ink.  The last strip was sponged with Pear Memento Ink and stamped with a background stamp from By the Numbers in Jet Black Archival ink.

The card base is a 3 1/2″ x 11″ piece of textured Whisper White Stampin’ Up! cardstock folded in half. The bottom corners were rounded. A line was scored at 3/4″ on the bottom. Then the Faux Washi tape strips were adhered with a Xyron glue stick. Another line was scored right above the tissue strips, as well a partial strip 1/8″ under the lower score line.

A sentiment from Merry Kissmas was stamped on the right hand side partially on, partially off the highest tissue paper strip.  Neenah Solar White cardstock was cut with the two largest Let it Snowflake die-namic dies. They were stacked with foam adhesive squares and topped with a button.

Thanks so much for stopping by today! Have a wonderful day!
Hugs and smiles


P.S.: Today’s Holiday Blitz Tutorial on Splitcoaststampers was written by the wonderful Clare Buswell. She is showing how to create a pierced Luminaria.  I hope you have time to check it out!

Today Splitcoast is posted a product review on Xyron‘s new 1″ Mini Sticker Maker and the new glue stick. I used both products on a card I created for last week’s Free For All Challenge.

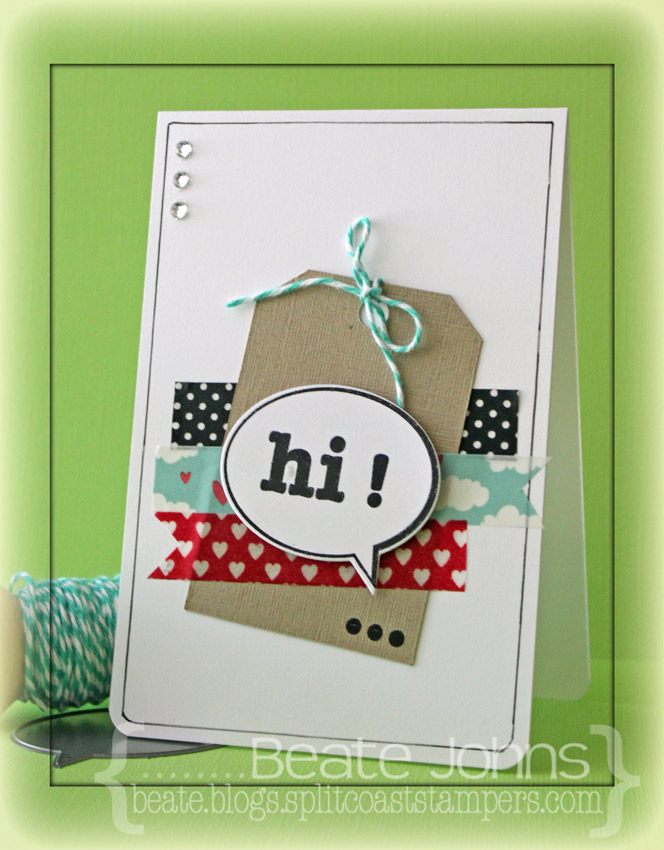
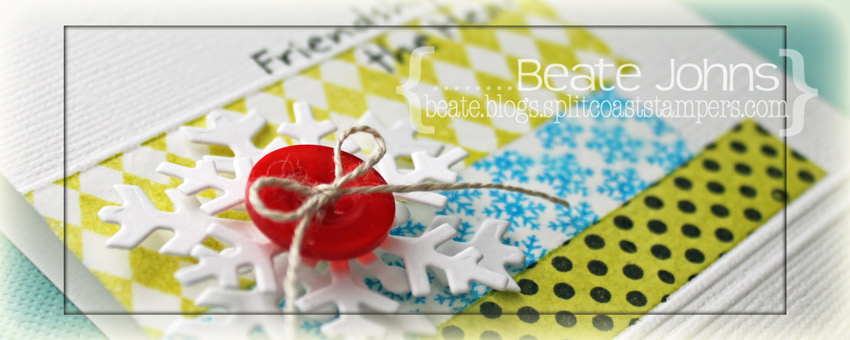
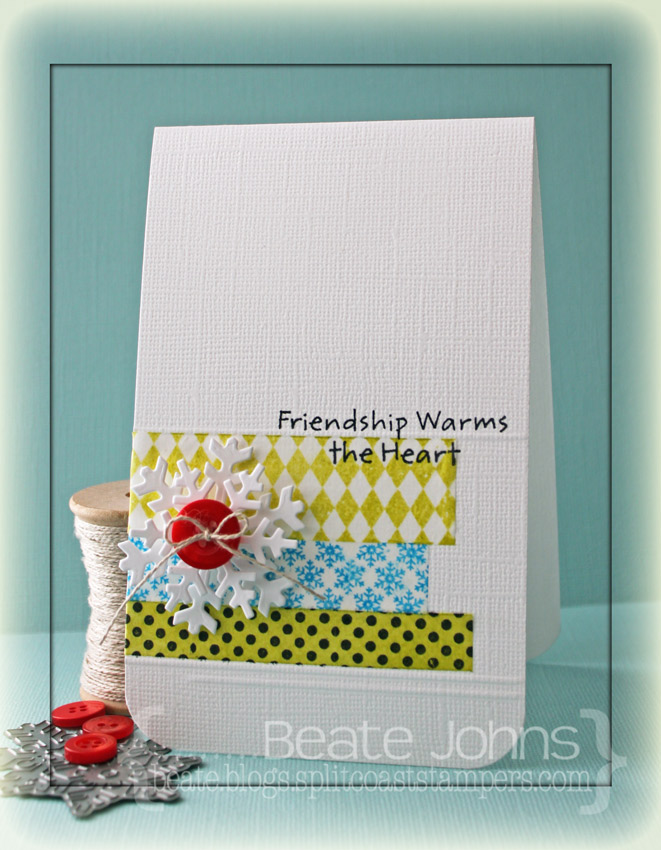
I had recently discovered Freckled Fawn Washi tape and was eager to use it on a card. For this card, I covered a 3 1/2″ x 4 3/4″ piece of Neenah Solar White cardstock with three different tapes. The edges were stitched and one of SimonSaysStamp  Talk Bubbles die was used to cut a window on the lower right hand corner.

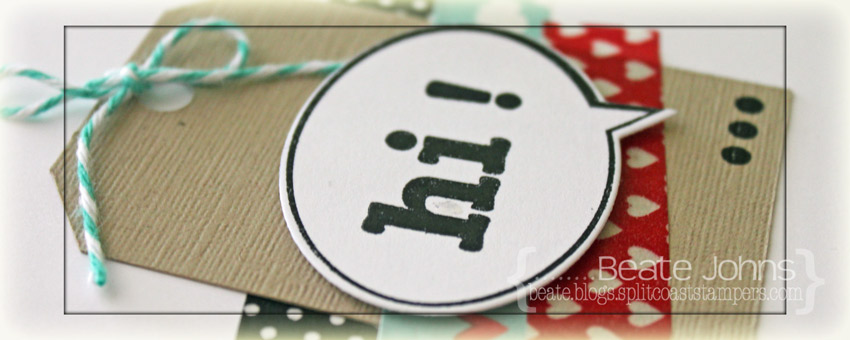
A sentiment from SimonSaystamps For the Record was stamped in Jet Black Archival ink on Solar White cardstock. It was adhered (with Xyron Glue stick) behind the window before the layers were adhered to a 3/16″ bigger piece of black cardstock. A border was drawn with aCopic Multiliner on the inside edge of the talk bubble.

Hearts were cut out of black cardstock with the Holiday Shapes die. Three were adhered to the upper left hand side and one little red baby bling rhinestone was added to the biggest heart. The layers were adhered to the card base, a 4 1/4″ x 11″ piece of Kraft cardstock folded in half with  foam adhesive squares. A border was doodled around the big layer to finish off the card.

If you haven’t checked out Freckled Fawn yet, get yourself something to drink, sit in a comfortable chair and go and check it out. It’s Washi Tape heaven!!! Their tapes are so pretty and I love how they staged their product photos. If you like their product, please go and like Freckled Fawn and Simonsaysstamp on facebook. Freckled Fawn was sweet enough to sponsor a little Washi Tape giveaway.

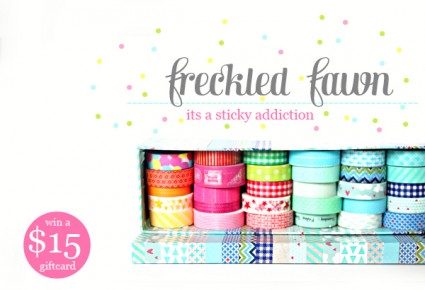
To enter be eligible for the drawing, just leave a comment under this post AND like Freckled Fawn on facebook. I will pick a winner with the help of random.org  this Saturday! You will love this tape. Good luck with the drawing!!!

P.S.: When you go to the Freckled Fawn Facebook page, please post that I sent you. This way I know you were there and liked them. Thank you!

Thanks so much for stopping by! Have a wonderful day!
Hugs and smiles

© 2012 fresh & fun Suffusion theme by Sayontan Sinha