Are you on Pinterest? Do you pin things and tell yourself you will create something like that at one point later on? A blogging friend of mine, Kendra Wietstock, is posting a Pinterest inspired project from the first of December until the 21st on her blog. I thought I join her today.

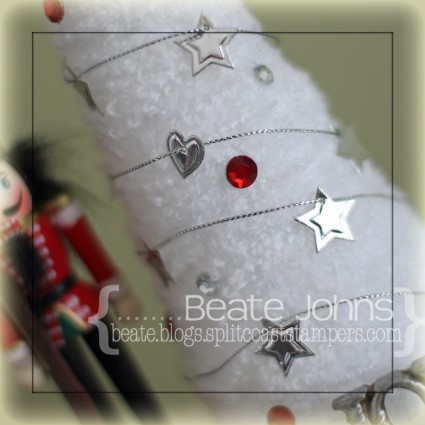
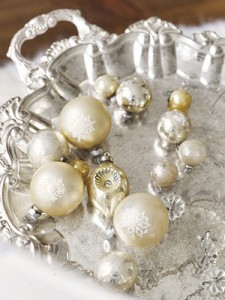
Ever since I saw a Christmas tree made out of string on Pinterest, I knew I wanted to try it. But when buying string for it, I changed my mind a bit and bought fuzzy white yarn instead. I had seen a Christmas tree decor at Target that I liked and thought I could re-create it with the string tree technique. Plus white and silver would work great with the current Moxie Fab World challenge.

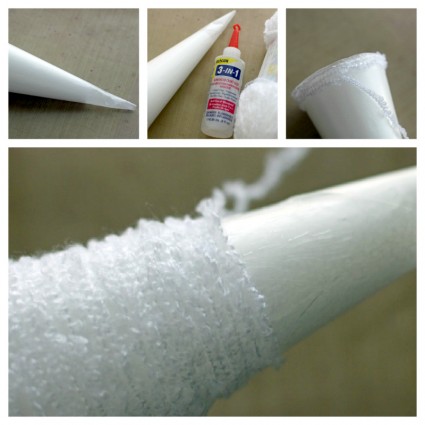
Well…it worked kind of. I wrapped a styrofoam cone with wax paper. Then started glueing the string to the cone.

Once I wrapped the entire cone and the glue was dry, I took the styrofoam cone out and tried to separate the my string tree from the was paper. Note to self: This doesn’t work the with fuzzy yarn! LOL So I stuck the styrofoam cone back in and started on the decoration.

I cut and embossed hearts and stars out of shiny silver paper (bought at a scrapbook store back in Ohio) with the small dies from Sweet Folk Art. They were strung up on silver cord and adhered to the tree. The tree was topped with a star created out of the same paper cut with the bigger star die. Red and Silver rhinestones finish off the tree.

I am happy with how it turned out, even if it’s a bit different then the pinterest idea I started out with.  Thanks so much for stopping by! Have a wonderful Sunday!
Hugs and smiles


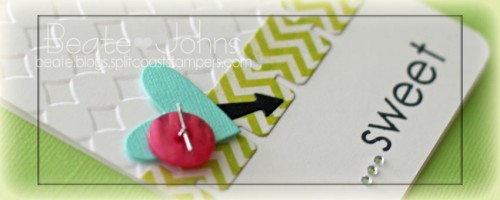
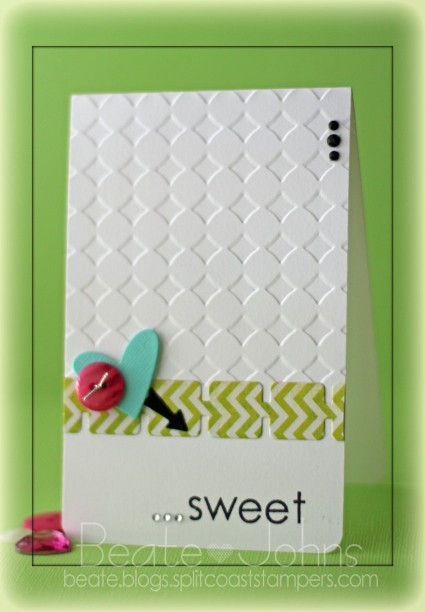
While creating yesterday’s card, I cut a strip of the MME Lime Twist Life is a Party Paper with the second die from MFT’s Retro Square Die-namics dies. It was too pretty to throw away, so I created another card with it. The card base is a 3 1/2″ x 11″ piece of  Neenah Solar White cardstock, folded in half. The upper 3/4 (and a bit of the back) was embossed with the Simplicity M-Bossabilities folder and that Life is a Party paper strip was adhered where the embossing ended.

A heart was cut out of Patina Fourz Bazzill cardstock with the smallest heart from Hearts a Plenty Die-namics die. It was topped with a pink button, tied on with silver cord and adhered with foam adhesive squares to the left hand side of the retro strip. A tiny arrow from MFT’s Flags & Tags Die-namics set was cut out of black cardstock and adhered to the right of the heart, pointing to the sentiment.

The sentiment was stamped with Melanie’s new Lots of Letters set in Tuxedo Black Memento Ink. The bottom corners of the card were rounded. Black and silver Rhinestones from Want2Scrap finish off the card. This card is another entry for the Keen on Neon Moxie Fab World Challenge.

Thanks so much for stopping by! Have a wonderful day.
Hugs and smiles

I am excited to be joining in the Gina K. Designs Design Team December Inspiration Blog Hop! Gina and the Design Team will inspire you with many beautiful ideas, and as you hop through their blogs, make sure to leave a comment on each of them because a few random comments will be chosen and those stampers will each win a grab bag of Gina K. Designs products! To see the full list of winners, check the Big News forum at Stamp TV a couple of days after the hops.

The new Melanie Muenchinger set called Lots of Letters  is just perfect for my new love of Clean and simple cards. It  is available in both clear photopolymer and red rubber.

This is the first letter and number set from Gina K. Designs and is packed with frames and elements that will help your stamped cards, pages or personalized designs shine!   Gina K. also carries matching Silhouette Studio cut files for only 99 cents each which make creating beautiful and professional cut designs with these stamps a breeze. The square and circles images are also perfect for your dies and punches, fitting perfectly in a ¾” or larger die or punch.

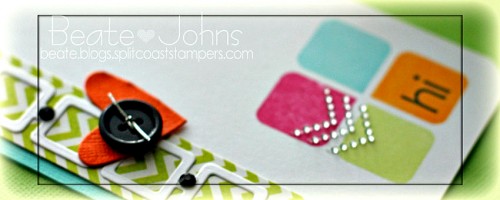
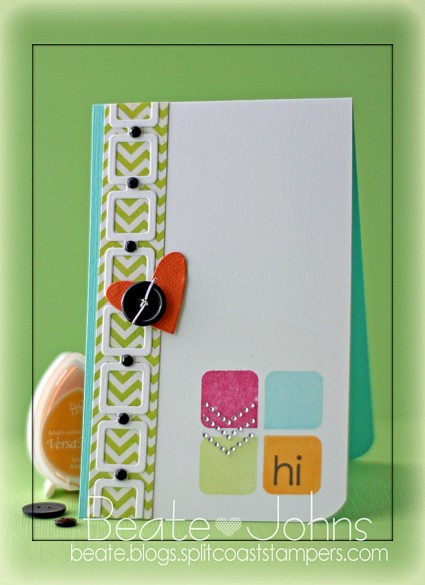
I created this card not just for Melanie’s blog hop, but also as an entry for the Keen on Neon Moxie Fab World Challenge.  I started with a 3″ x 5″ piece of white cardstock. The bottom right corner was rounded before I stamped the square stamp with the one rounded edge  four times in the right corner  (once in Mango Madness VersaMagic ink, once in Key Lime VersaMagic ink, once in Sea Breeze VersaMagic and once in Rose Bud Memento Ink). Hi was stamped in the orange square with Tuxedo Black Memento Ink.


More white cardstock was cut and embossed with MFT’s Retro Squares Die-namic die and adhered over a thin strip of MME Life of the Party patterned paper (old pack…I wish I had more. Love the funky colors). The white cardstock piece was adhered to the right hand side of the  card base, a 3 1/2″ x 11″ piece of Patina Fourz Bazzill cardstock, folded in half. The retro square strip was adhered to the left hand side, leaving only about 1/4″ of the Patina base showing.

A heart was cut out of orange Core’dinations cardstock with the smallest heart from Hearts a Plenty Die-namics die. It was topped with a button that was tied on with silver cord. The heart was adhered slightly above the center of the retro squares strip. Black rhinestones were added to the square strip and silver chevron rhinestones to the colorful stamped squares to finish off the card.

Please see Melanie’s blog for the full link list of blog hop participants! Also, if you come back tomorrow, you will see another card created with the Lots of Letter sets and with leftovers from what I used (or tried to use) on this car).  And this afternoon, I am posting some super exciting Splitcoaststampers news here! I am tickled pink about this!

Thanks so much for stopping by! Have a wonderful day!
Hugs and smiles

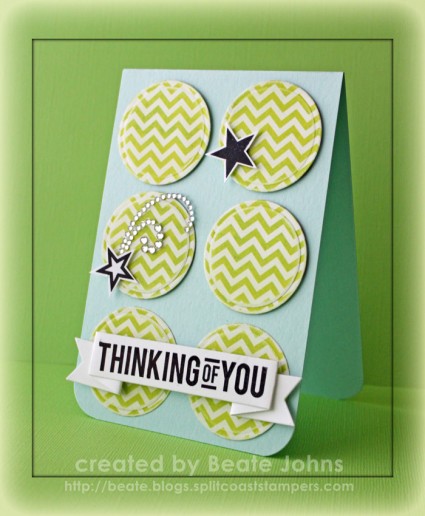
I had fun with Saturday’s Inspiration challenge. For this sample I chose the target sheet on the Empiral style website as my inspiration piece. I thought the layout would make a great card sketch. I thought the finished card would work great for the current Tuesday Trigger on Moxie Fab World, so I will be entering it there as well.

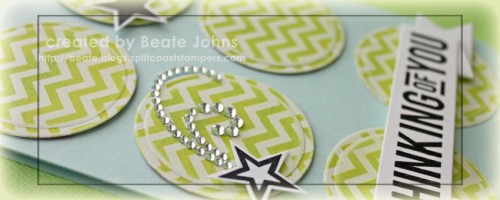
The card base is a 3 3/4″ x 11″ piece of Sno Cone cardstock, folded in half. The bottom corners were rounded. Six circles were cut with a Standard Circle Nestabilities die out of an old My Mind’s Eye Lime Twist Life of the Party patterned paper pack.  The edges of the paper were sanded. The four top circles were adhered to the card front with foam adhesive squares, the bottom two circles with regular adhesive.

A piece of Neenah Solar White cardstock was cut with Simon Says Stamps exclusive Memory Box Banner die. A stamp from the Saying it with Banners set was stamped in the center of the banner with Jet Black Archival ink. The banner was folded and adhered over the bottom two circles with foam adhesive squares.

Two star images from Shoot for the Stars were stamped in Jet Black Archival ink on Neenah Solar White cardstock, cut out and adhered to two of the circles. Part of a Finesse Rhinestone Swirl was adhered next to one of the stars to finish off the card.

Thanks so much for stopping by! Have a wonderful day!
Hugs and smiles

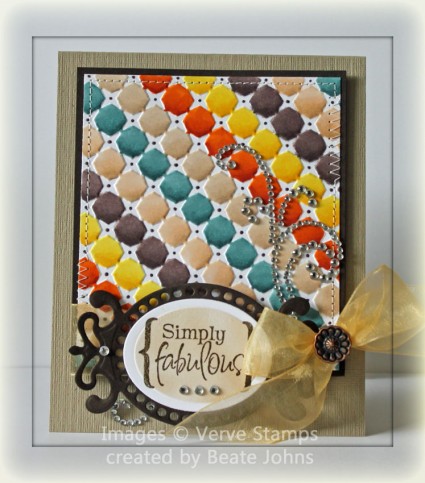
This weeks Moxie Fab World Tuesday Trigger looked tough. I was not about to enter that challenge. But then I saw the awesome Free For All Challenge Lydia hosted. That along with a new embossing folder I received that day gave me an idea for a card that would work for both challenges.

I started by embossing a 3 1/2″ x 4″ piece of Neenah Solar White cardstock. I colored each of the embossed cubes with Copic Markers (BG72, BG73, E30, E31, YR15, YR18, Y13 , Y15, E74, E77, E41, E42) and the tiny dots with E77. The layer was stitched to a 1/4″ bigger piece of Canyon Brown cardstock. Another piece of Canyon Brown cardstock was cut and embossed with a Fancy Tag 3 die.

A piece of white cardstock was cut and embossed with a Classic Oval Nestabilities die. A sentiment from Verve’s Beautiful Kindness was stamped in Walnut Stain Distress Ink was stamped on the oval. The inner part was airbrushed with Copic Marker E42 before it was adhered to the Fancy Tag die cut. Yellow Organdy Ribbon was threaded through the die cut frame and  tie around the layers.

The layers were adhered to the card base a 4 1/4″ x 10 1/2″ piece of Textured Kraft cardstock, folded in half. Part of a Finesse Rhinestone Swirl was adhered over the bow and a small one on the left under the tag. Small Baby Bling Rhinestones on the sentiment panel finish off the card.

Thanks so much for stopping by! Have a wonderful day!
Hugs and smiles

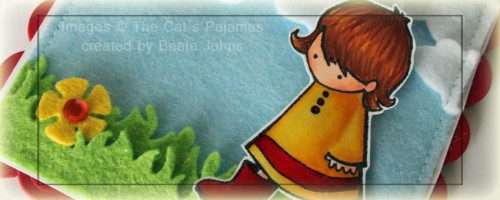
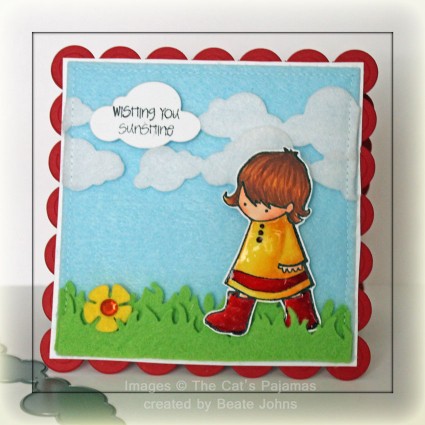
The Cat’s Pajamas Tuesday challenge as well as the next challenge on Moxie Fab World is to use Felt on your project. I decided to create a scene with it. I cut grass, clouds and a flower with TCP’s CutUp dies and the background with the smallest Classic Square Grand Nestabilities die.

The background, the clouds and one grass layer were stitched to a 3/16″ bigger piece of white cardstock. A second grass layer was adhered over the first one. The flower was taped to the left side of the grass layers and topped with an orange Want2Scrap Rhinestone.

The girl is from the set Wet Puddle. It was stamped in Tuxedo Black Memento Ink on Neenah Solar white cardstock. It was colored with Copic Markers (jacket: Y13, Y15, Y17, W2   boots: R24, R27, R39   skin: E000, E01, E11   Hair: YR31, E33, E37) and cut out. The raincoat and boots were covered in Glossy Accents. Once it dried, it was adhered to the scene with dimensionals.

Another row of clouds was cut out of white cardstock. One cloud was cut out and a sentiment of the set was stamped in Tuxedo Black ink in its center.

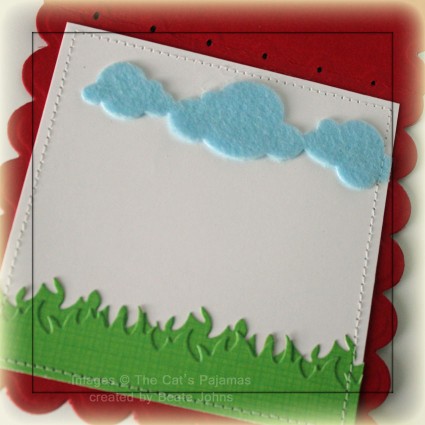
For the inside of the card two pieces of grass were cut out of Echo Park Country Drive patterned paper, clouds out of the blue felt I had used on the front for the background. The pieces were stitched to a 3 7/8″ square of white cardstock.

Thanks so much for stopping by! Have a wonderful day!
Hugs and smiles

© 2012 fresh & fun Suffusion theme by Sayontan Sinha