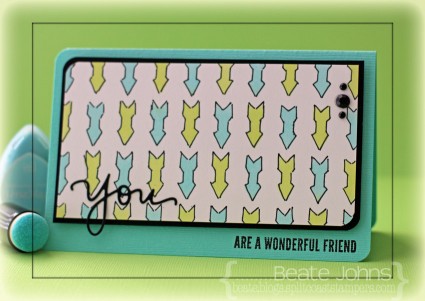
For my third Imagine Crafts project this month I thought I use my favorite VersaMagic ink colors (Key Lime and Sea Breeze) along with a new Arrows stencil from Donna Salazar.

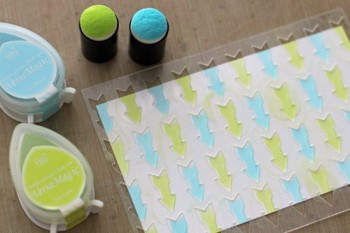
I started by placing the stencil over a 2 5/8″ x 5″ piece of white cardstock and sponged the arrows alternating Key Lime and Sea Breeze VersaMagic Inks.

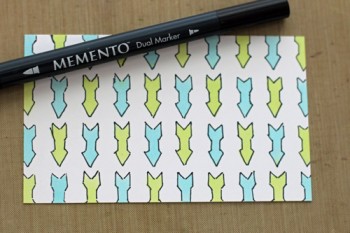
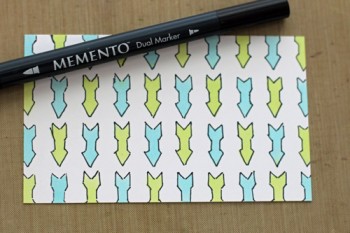
The arrows were outlined with Tuxedo Black Memento Marker.

Round top left and bottom right corner and adhere to a slightly bigger piece of black cardstock.

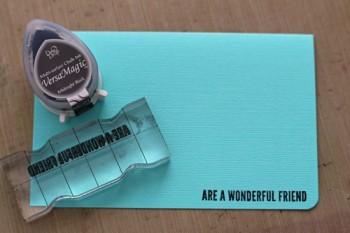
Stamp sentiment in Midnight Black VersaMagic Ink on the bottom right of the card base, a 5 1/2″ x 7″ piece of Patina Bazzill cardstock, folded in half.

Round bottom right and upper left corner and adhere arrow layer with dimensional adhesive. Finish off card by adding three black rhinestones on the top right of the arrow layer.

Thanks so much for stopping by! Have a wonderful day!
Hugs and smiles

Love is in the air and Simon Says Stamp has made it even more fun to create projects to show someone that you love them with their 2013 Valentine’s Day Release.   I was asked to create a project using something from this release to share in today’s Valentine’s Day Blog Hop.

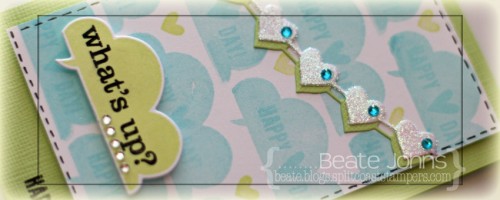
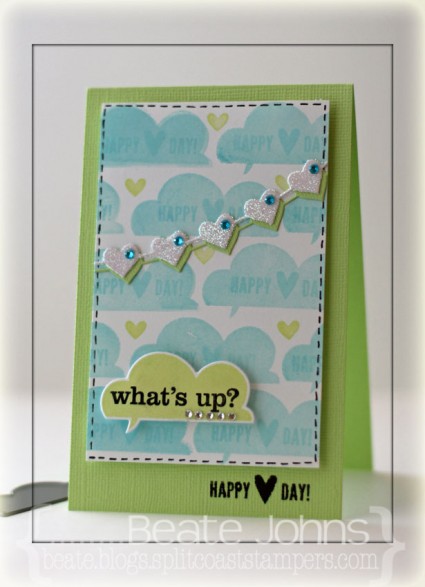
For my card I combined several of the new Simon Says Exclusive stamp set and dies.  I started  by stamping an image from Talk Bubbles 2 all over a  3″  x 4 5/8″ piece of Neenah Solar White cardstock in Sea Breeze VersaMagic ink. Small hearts from the new Lots of Hearts set were added in Key Lime VersaMagic ink in between the clouds. A sentiment from Just a Love Note was stamped in each bubble with the same ink.  Faux stitching was added to the edges with a black gel pen.

A cloud was cut with one of the Talk Bubbles 2 dies out of Solar White ink and stamped with the matching stamp in Key Lime ink. A sentiment from Talk Bubbles 2 was stamped into the cloud, rhinestones were added underneath and the cloud was adhered to the lower left of the layer with foam adhesive squares.

The card base is a 3 1/2″ x 11″ piece of Bazzill Limeade cardstock folded in half. The sentiment that I used inside the clouds was stamped in black in on the bottom right corner before the cloud panel was adhered over it with foam adhesive squares.  White and Limeade cardstock was cut with the new String of Hearts Craft die. I ran the white cardstock heart strip through my Xyron and covered it in glitter. It was adhered on top of the green hearts and both strings were adhered over the cloud background.

Last week I created another card with new Simon Says clear stamps. Just in case you missed it, you can find it here.

And now to the giveaway part! Leave a comment on this blog post and one lucky winner will receive a Simon Goodie Bag (if you know Heidi, it will be a good one!).  We will draw the winner on Thursday morning 1/31/13 at 9:00 AM EST. so be sure to leave your comment by then.

Thanks for visiting! The next stop in the Simon Says Stamp Valentine’s Day Blog Hop is the amazing Stephanie Klauck . If while hopping, you encounter a broken link, you can go back to the beginning for links to everyone who is participating in the hop.

Have a wonderful day! Hugs and smiles
 

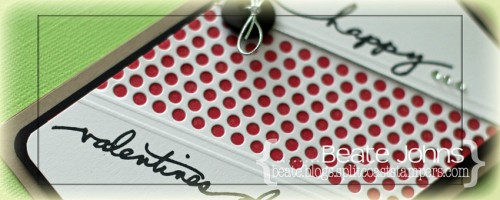
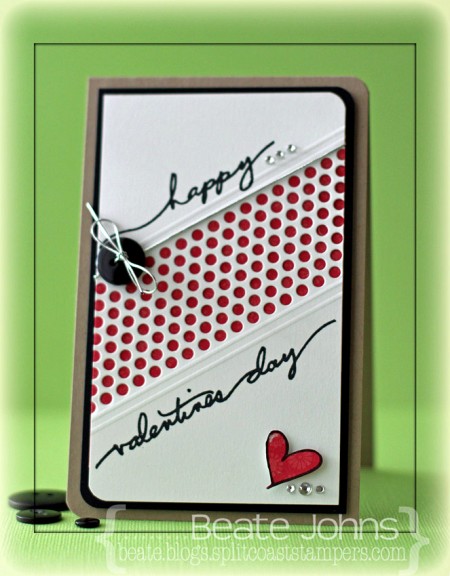
It’s time for me to share with you another card made with the new Ali Edwards Be Mine stamp set. I started with a 3″ x 5″ piece of  Neenah Solar White cardstock. I cut the circle border die at an angle across the width of the layer. Above and underneath the border cut I scored two lines with my Scor-Pal.

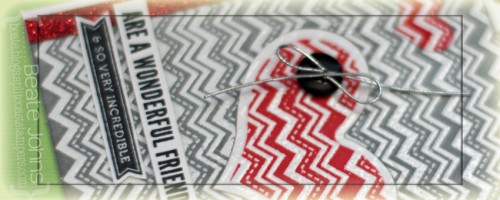
A piece of Echo Park So Happy Together was adhered behind the circle border. The words of one of the sentiments were inked up separately with Tuxedo Black Memento Ink and stamped above and underneath the border.  The top right and bottom left corner were rounded. Silver cord was wrapped above the top of the border and topped with a button.

The layer was adhered to a slightly bigger piece of black cardstock, before it was adhered to the card base, a 3 1/2″ x 11″ piece of Kraft cardstock, folded in half. A heart from Be Mine was stamped with Tuxedo Black ink on So Happy Together patterned paper, cut out and adhered to the lower right of the card. Rhinestones next to the heart and happy finish off the card.

I hope you have time to check out everyone else’s work with this set. Comment on each blog and you might win a $25 gift certificate for the Technique Tuesday store!!!


Thanks so much for stopping by! Have a wonderful day!
Hugs and smiles
Usually on the 15th we have a NinaB. Designs blog hop. Because everyone is so busy this month we decided to skip it. I thought it would be fun to post  card showcasing Nina’s stamps anyway. The card also works great for the current Simon Says Stamp challenge, which is to showcase your favorites. Some of my favorites are using dies, rhinestones, Memento Inks and my trusted corner chomper.

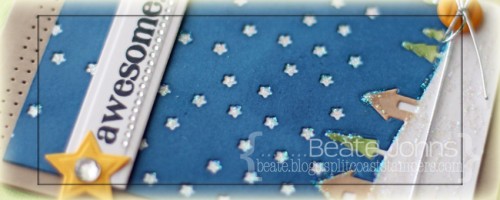
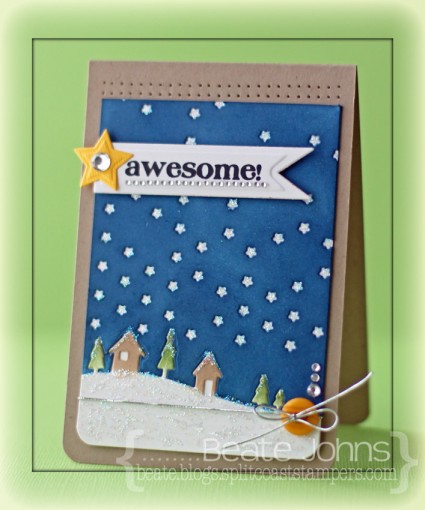
I started my card with a 3″ x 4 1/4″ piece of Neenah Solar White cardstock. The lower part was cut with the Country Landscape Memory Box die. The upper part was cut with the Simon Says Stamp exclusive Falling Stars die.  The houses were sponged with Toffee Crunch, the trees with Bamboo Leaves Memento Ink. The sky was sponged with Nautical Blue Memento ink. The bottom corners were rounded before the layers were adhered to another piece of white cardstock exactly the same size.

Stardust Stickles was added on the bottom, on top of the trees and houses as well as in the star holes. Silver cord was wrapped around the lower edge and topped with a yellow button. A sentiment from Just Sayin’ was stamped in Tuxedo Black Memento Ink on white cardstock that had been cut and embossed with one of the Nested Lacey Pennant Nestabilities® dies.

Yellow Bazzill cardstock was cut and embossed with the smallest Star Nestabilities® die. The star was adhered to the right hand side of the sentiment and topped with a rhinestone. The sentiment strip was adhered to the image layer with foam adhesive squares. the layer was adhered to the card base, a 3 1/2″ x 10″ piece of Kraft cardstock, folded in half with more foam adhesive squares. More rhinestones (under the sentiment and above the button) and a double row of paper piercing above the layer finish off the card.

Thanks so much for looking! Have a wonderful weekend!
Hugs and smiles

Today’s tutorial on Splitcoaststampers is written by Judy Maddigan and super fun. My little Santa cracked me up wobbling back and forth. I hope you try it out.

I made two samples. One really simple one with pieces cut out of Carta Bella Merry & Bright paper cut with Simon Says Stamp exclusive Christmas Trees dies. The tree was decorated with Silver Stickles and Red Baby Bling Rhinestones.  A tiny star was cut out of Desert Marigold Fourz Bazzill paper with another die from the Holiday Trees set.

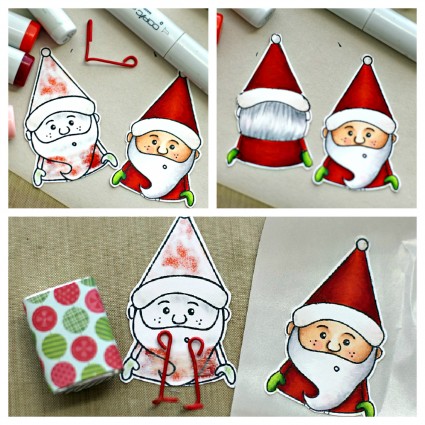
The santa (from Simon Says Stamp Gnome Sweet Gnome ) was a bit more tricky, since the stamp comes only with his face, not the back.  I stamped it twice in Tuxedo Black Memento Ink on Neenah Solar White cardstockand cut them out. I flipped one over and traced the lines from the front to the back, leaving off his face and his thumbs.

The images were then colored with Copic Markers (Red: YR09, R24, R29, R39    Mittens: YG01, YG03, YG17    Beard/Hair: N0, N1, N3   Hat trim: W00, W1   Skin: E50, E21, E34, R20). Red paperclips that had been unbend and reshaped were adhered to the inside of the back with Scor-Tape. The front was run through my Xyron and adhered over the back, hiding the paper clip ends. The Santa as well as the tree were adhered to a covered Hershey’s Nugget with Glossy Accents.

Here is a video what these little rockers do: They crack me up, especially that little Santa Gnome.

[youtube]https://www.youtube.com/watch?v=-dLGB22EbVY[/youtube]

And here is a video on how to create the rocker for the visual learner:

[youtube]https://www.youtube.com/watch?v=7CR8qa_D_c8[/youtube]

Thanks so much for stopping by! Have a wonderful day!
Hugs and smiles
I am the hostess for the new Crafty Friends Challenge. Since I have been on a CAS card kick lately, I thought it would be fun if that was my challenge to do. Create a clean and simple card.

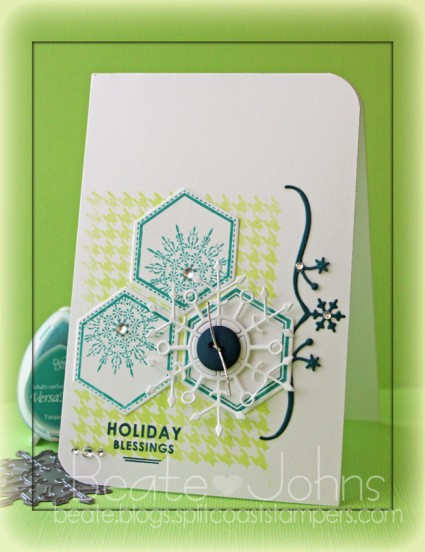
I created my card a while ago for a Featured Stamper Challenge on Splitcoaststampers. I started with a 3 1/2″ x 11″ piece of Neenah Solar White cardstock, folded in half. The top right and bottom left corners were rounded and the background stamp from Simon Says Stamp exclusive Music 2 My Ears stamp set was stamped on the left hand side in Key Lime VersaMagic Ink.

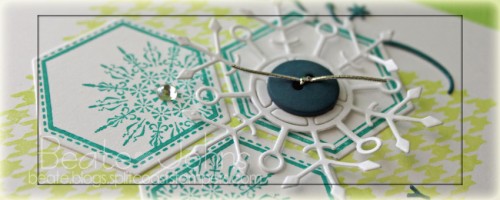
More white cardstock was cut with one of the Holiday Labels dies. Two of the Hexagons were stamped with the snowflake hexagon from the Holiday Labels stamp set in Turquoise Gem VersaMagic Ink, on with the Hexagon outline stamp. The hexagons were adhered over the stamped background. A snowflake was cut out of white cardstock with the Faceted Snowflake die, topped with a button that was tied on with silver cord and adhered to the empty hexagon.

Blue Calipso Fourz Bazzill cardstock was cut with the Snowflake Bracket die and adhered to the right hand side next to the Hexagons. A sentiment from the Holiday Label set was stamped in Ocean Depth VersaMagic ink to the lower left corner. Rhinestones from a Sleek Strips Silver Rhinestone pack finish off the card.

Check out my fellow Crafty Friends for more  inspiration:

    Thanks so much for looking! I hope you have time to join us in the challenge. It’s easy and fun! Come back Monday and Tuesday for more CAS inspiration!!!  Have a wonderful week!
    Hugs and smiles


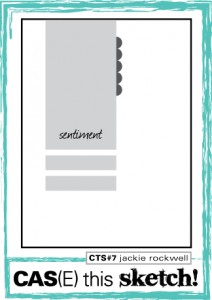
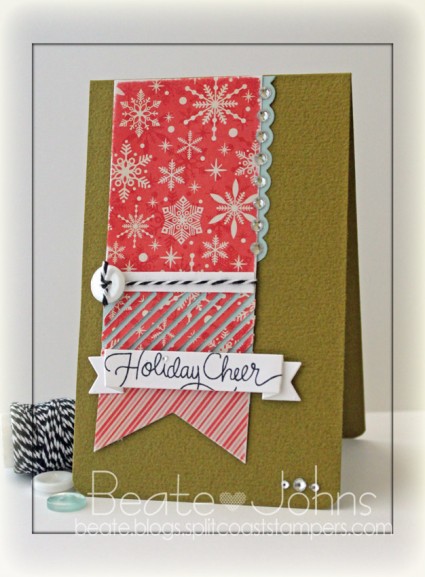
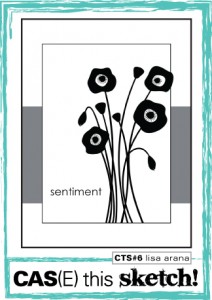
I have another Clean and Simple card to share with you that is mostly made with supplies from the new Simon Says Stamp December card kit. I created the card for the current CAS(E) this sketch challenge. I will also enter it into the current Simon Says Stamp Challenge, because the current one is anything goes! One lucky entry will win a $50 shopping spree!!!

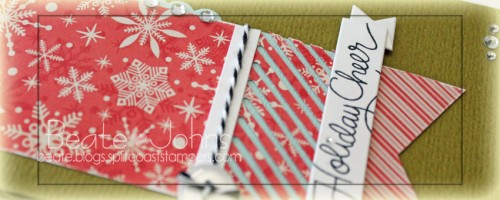
I started by cutting two red papers of Pink Paislee Sidewalks patterned paper (included in kit) in 2″ wide strips. The bottom was cut with one of MFT’s Fishtail Flags Die-namics die and the center was cut with Simon Says Stamp Air Vent die. Sea Salt Bazzill cardstock (included in kit) was adhered behind the vent and a 1/4″ strip of white cardstock was adhered above. A white button was tied on to the side of that paper strip with Beetle Black twine.


A 2 1/2″ long strip of Sea Salt cardstock was cut with MFT’s small scalloped border die and adhered to the top right of the strip. Rhinestones from a Sleek Strip Silver Rhinestones pack were adhered next to each scallop. The banner strip was adhered to the card base, 3 1/2″ x 11″ piece of green Bazzill cardstock (included in kit), folded in half. The bottom corners were rounded.

A sentiment from Merry Everything (included in kit) was stamped in Tuxedo Black Memento Ink on a piece of Neenah Solar White cardstock that had been cut with a small folded  Banner die.  It was adhered slightly off center underneath the vent die cut. A tiny rhinestone was adhered as the dot over the i and three rhinestones from the Sleek strip pack were adhered on the bottom right corner to finish off the card.

Thanks so much for stopping by! Have a wonderful day!
Hugs and smiles
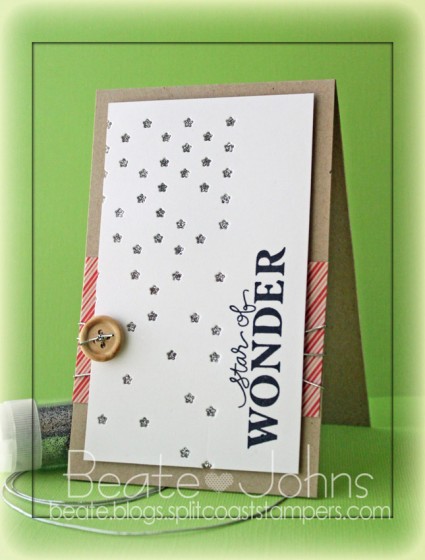
I recently got the new Simon Says Stamp December card kit in the mail and couldn’t wait to play with it. I had missed the deadline of the latest CAS(E) this sketch, but I wanted to create a card with it anyway. It definitely works for the current Simon Says Stamp Challenge, because the current one is anything goes! You could win a $50 shopping spree if you enter!!! And with me being broke because I ordered a new camera, 2 lenses, wireless memory card and kids presents on Black Friday, that would be wonderful!

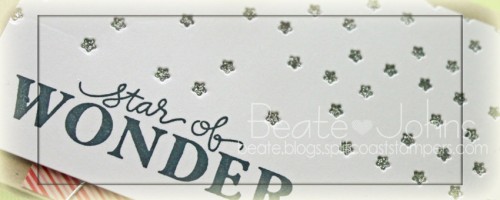
I started by cutting the right side of a 3″ x 5″ piece of white cardstock (from kit) with the Simon Says Falling Stars die. Packing tape was adhered behind the stars and Sterling Glitter was rubbed over it.  A sentiment from Merry Everything stamp set (included in kit) was stamped in Tuxedo Black Memento Ink on the right side of the cardstock piece.

The card base is a 3 1/2″ x 11″ piece of Neenah Desert Storm cardstock (included in kit) folded in half. A 2″ x 3 1/2″ piece of Pink Paislee Sidewalk patterned paper (included in kit) was taped to the lower half of the card base and silver cord was tied around the card base. A wooden button (included in the kit) was adhered to the left hand side of the white layer to finish off the card.

Thanks so much for stopping by! Have a wonderful day! I know mine will be! My new camera is scheduled to arrive today!!!
Hugs and smiles

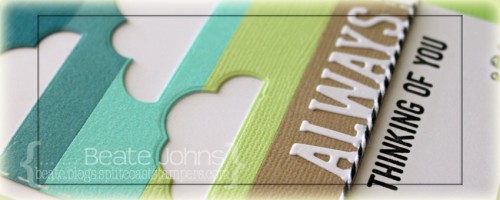
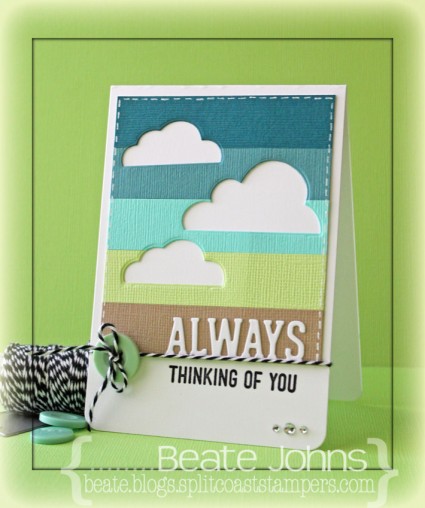
I created this card a few weeks ago for a CASE study challenge.  For this one I paired 3/4″ x 3 1/4″ wide strips of different colored blue Bazzill cardstock were adhered to a slightly bigger white base. Clouds were cut out with Flat Bottom Cloud Die-namic dies.

The layer was adhered to the card base, a 3 1/2″ x 11″ piece of Neenah Solar White cardstock, folded in half. The bottom corners were rounded. A sentiment from Simon Says Stamps On Edge stamp set was stamped underneath the colored cardstock layers in Tuxedo Black Memento Ink.

White cardstock was cut with the Simon Says Stamp die Always and adhered right on the edge of the colored cardstock edge.  Black Doodlebug Twine was tied right under that edge and topped with a button. Faux Stitching was added to the colored cardstock with a white gel pen. Three rhinestones from a Sleek Strips Silver Rhinestones finish off the card.

Thanks so much for stopping by! Have a wonderful day.
Hugs and smiles

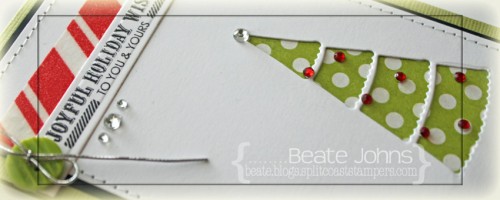
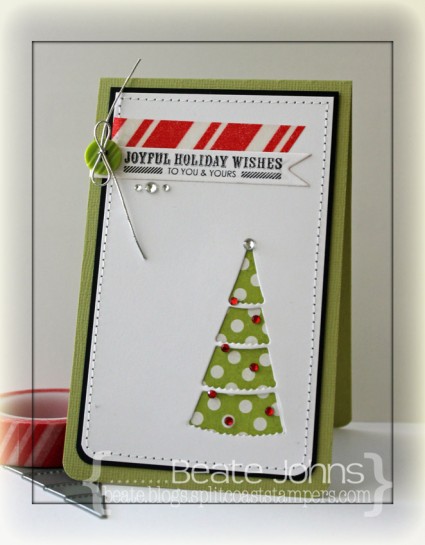
I created this card a while ago for an inspiration challenge on Splitcoast.  I started with a 3″ x 5″ piece of Neenah Solar White cardstock . The bottom two corners were rounded and the Petite Christmas Tree was cut in the lower right corner. Carta Bella’s Merry & Bright patterned paper was adhered behind the tree cut out and the layers were stitched to a slightly bigger piece of black cardstock.

White cardstock was cut and embossed with a Spellbinders Nested Pennants die and a sentiment from the new Small Folded Banners Holidays was stamped over it in Jet Black Archival ink. A button was tied on to the right edge with silver cord before it was adhered to the upper left edge. Red striped washi tape was adhered over it.

Silver Rhinestones were adhered under the sentiment and on top of the tree. Baby Bling red rhinestones were added to the tree to finish off the card.

Thanks so much for stopping today! Have a wonderful day!
Hugs and smiles
© 2012 fresh & fun Suffusion theme by Sayontan Sinha