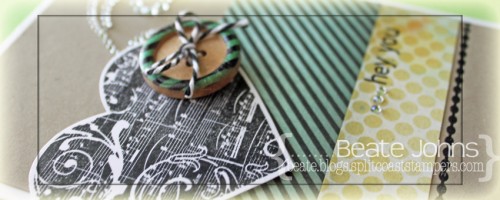
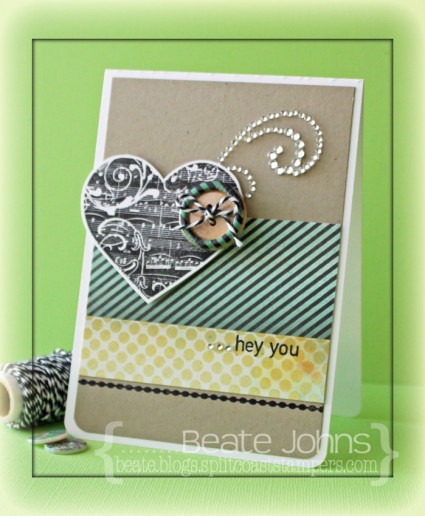
I created this card back in November with the Simon Says Stamp November Card kit.  I started by stamping the heart from Music to my Ears (stamp set included in kit) in Midnight Black VersaMagic Ink on white cardstock (from kit). After the ink dried, I cut out the heart.

Two strips of BasicGrey Serenade patterned paper were adhered to a 3 3/4″ x 5 1/4″ piece of Neenah Desert Storm cardstock (included in kit). The border strip from the set was stamped underneath the paper strips and a sentiment on top. The layers were adhered to the card base, a 4″ x 11″ piece of white cardstock, folded in half.

Doodlebug black twine was tied to a BasicGrey button (both included in kit) . The button was adhered to the heart and the heart was adhered to the left hand side of the card. Want2Scrap rhinestones finish off the card.

Thanks so much for stopping by! Have a wonderful day!
Hugs and smiles

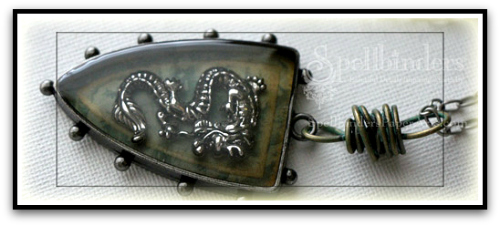
I have another post on the Spellbinders blog today. Rebecca and I created a necklace for her. It was fun and easy. I hope you have time to check out the post and let me know what you think.

Thanks so much for stopping by! Have a wonderful day!
Hugs and smiles

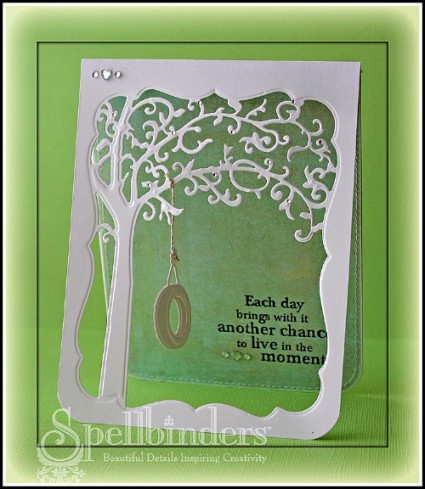
Hi everyone! I am very excited to be able to give you a sneak peek of a soon-to-be released  Spellbinders Paper Arts die called Just Swingin’. I love this die set. You can use it several different ways, making it very versatile.
 

Supply List:


Cross Promotional Partners:

  • Basic Grey: Aspen Frost 6″ x 6″ paper pack
  • Flourishes: Country Road
  • Want2Scrap: Fancy Bling Border

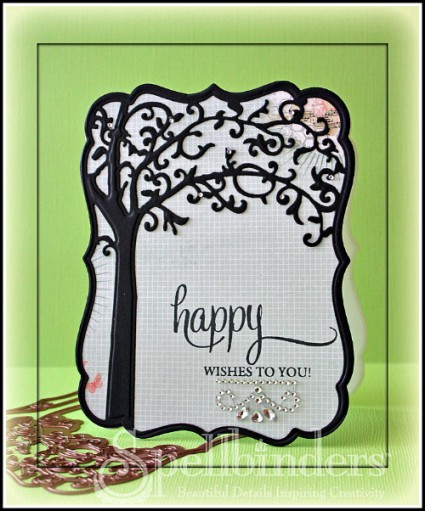
I started by folding a 4 1/4″ x 11″ piece of white cardstock in half and round the bottom corners. Unfold the card base and place wax paper over the front. Adhere the die down with removable tape (or  Post-It notes).
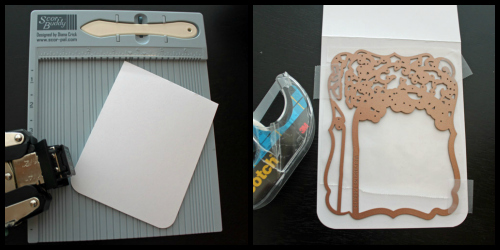
I ran the die/cardstock combo through my Grand Calibur, first with the cutting, then with the embossing sandwich. (Hint: This is an intricate die, you might have to run it through your machine twice to get the detail cut completely.) I carefully pulled the die off the card front.
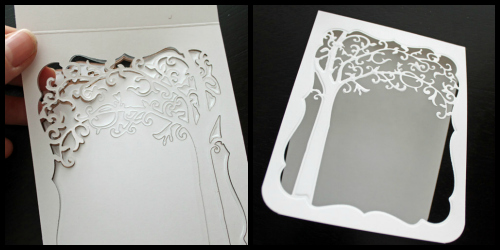
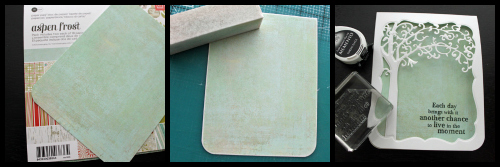
I cut a piece of Basic Grey Aspen Frost paper a tiny bit smaller then 4 1/4″ x 5 1/2″. The corners we rounded and the edges were sanded, then stitched.  It was adhered into the inside of the card and a sentiment from Flourishes Country Road was stamped with black ink on the bottom right corner.
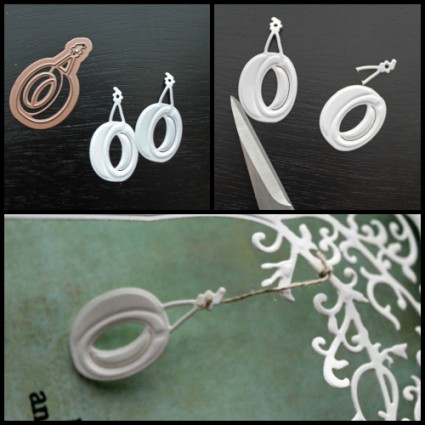
I cut and embossed the tire swing twice out of white cardstock. On one I cut off the hanger before I adhered it to the back of the other tire. I wanted to have the embossed tire on both sides, since I planned on hanging the tire from the tree with a piece of linen thread. This way, even when the tire swings, it looks great, no matter what side is showing.
To show you a different way to use the dies, I created a shaped card with the outline die that comes with the frame. I love creating shaped cards. Have you tried creating shaped cards with Spellbinders dies yet?
 

For the official giveaway rules, click HERE.

To enter the Giveaway, enter HERE!   The entry is now closed!

I hope you have time to check out the other Spellbinders blog posts today. I personally can’t wait to see what everyone else has created! Thanks so much for stopping by! Have a wonderful day.

Becky Fleck

Debbie Olson

Hugs and smiles

Questions? [email protected] No entries will be accepted at this email address.

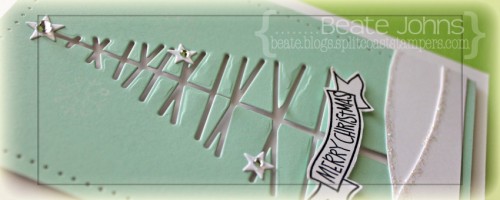
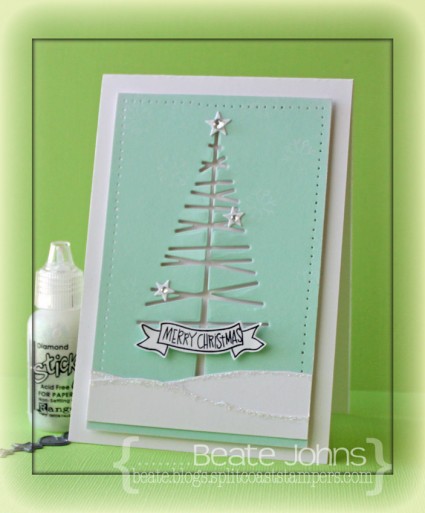
I received my Holiday Card Kit from Simon Says Stamp and had to play with it right away. I made two quick cards with it. I can’t wait to color the cute Gnome that comes in the stamp set. I am sure I will get to that soon.  For the first one I started by cutting the Mod tree in a 3 1/4″ x 5″ piece of Shallows paper (came in the kit). The edges were sanded and the side and top edge pierced.

Two 3 1/4″ strips of white cardstock were torn, adhered to the lower part of the layer and the edges were topped with Diamond Stickles.  The layers were adhered to the card base with foam adhesive squares, a 3 3/4″ x 11″ piece of white cardstock (from kit), folded in half. More white cardstock was cut with the Holiday Shapes die. Three stars were added to the tree and topped with a rhinestones.

A sentiment from Gnome for the Holidays (included in the kit) was stamped in the banner outline from the same set, cut out and adhered under the tree to finish off the card.

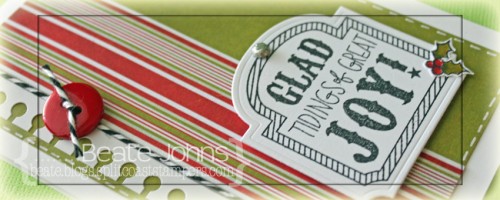
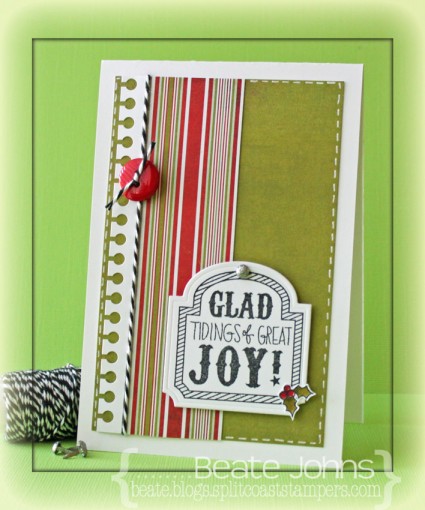
For my second card I stamped the label image from Gnome for the Holidays in Jet Black Archival ink on white cardstock, that had been cut with Simon Says Stamps exclusive Apothecary Label dies.  A little silver glitter brad (included in kit) was added on the top of the label.

Part of a Doodlebug Francy Frills cardstock sticker (included in the kit) was adhered to a 1 3/8″ x 5″ piece of Aspen Frost Basic Grey (one sheet of each design included in the kit)  paper strip. Both were adhered to a 3 1/4″ x 5″ piece of the same paper kit. Black Doodlebug Twine (from the November kit) was tied around the layers and topped with a button  before the layers were adhered to the card base, a 3 3/4″ x 11″ piece of white cardstock, folded in half.

Faux stitching was added with a white gel pen. The tiny holly image from Gnome for the Holidays was stamped in Tuxedo Black Memento Ink on Neenah Solar White cardstock and colored with Copic Markers (R24, R29, R39, YG93, YG97). The imag was cut out and adhered to the lower right of the label to finish off the card.

There is only a limited amount of those card kits available. I am glad I got mine!

Thanks so much for stopping by! Have a wonderful day! It’s Friday!!!! Wohoo
Hugs and smiles

It’s my turn to share on the Spellbinders blog again. This time I used a Medallion Die D-Lites die. I created the cards for the current CAS-ual Fridays challenge (use Kraft) and the CAS(E) this sketch challenge.

I hope you have time to check out the post! Thanks so much for stopping by! Have a wonderful day!
Hugs and smiles

© 2012 fresh & fun Suffusion theme by Sayontan Sinha