
Don’t you love that word? Thumping. I don’t know why, I think it’s a cool word. Another word I like to say is WHACK. For this technique you ink up your stamp, don’t stamp but turn it rubber side up. Now WHACK it with a darker shade of marker. That’s Thumping. LOL
You can see a step by step tutorial today on Splitcoast. I made this card while taking pictures of the tutorial.
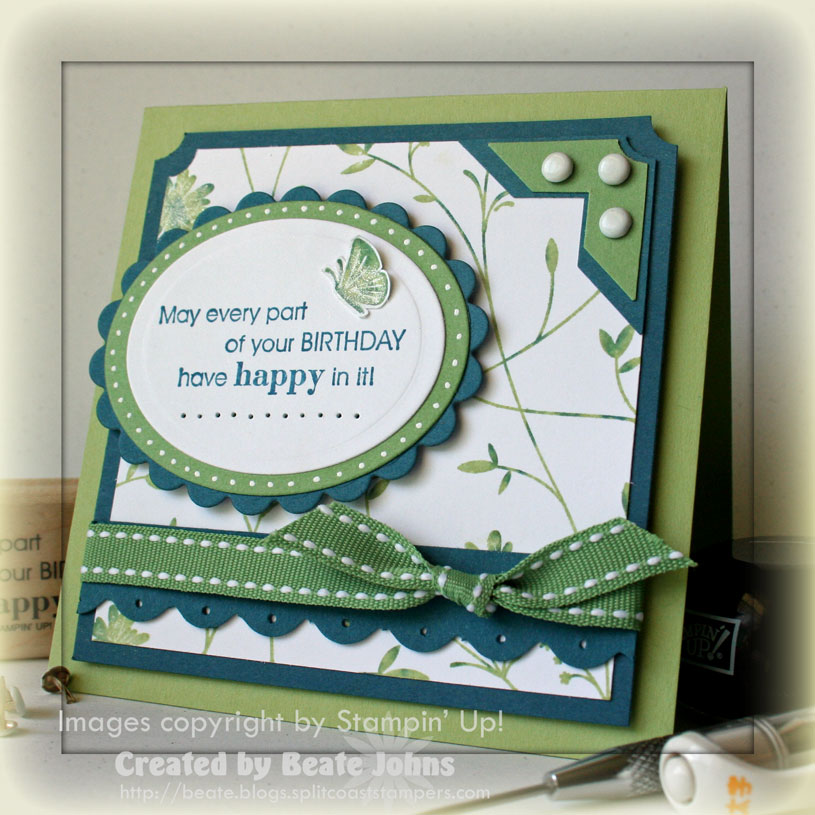
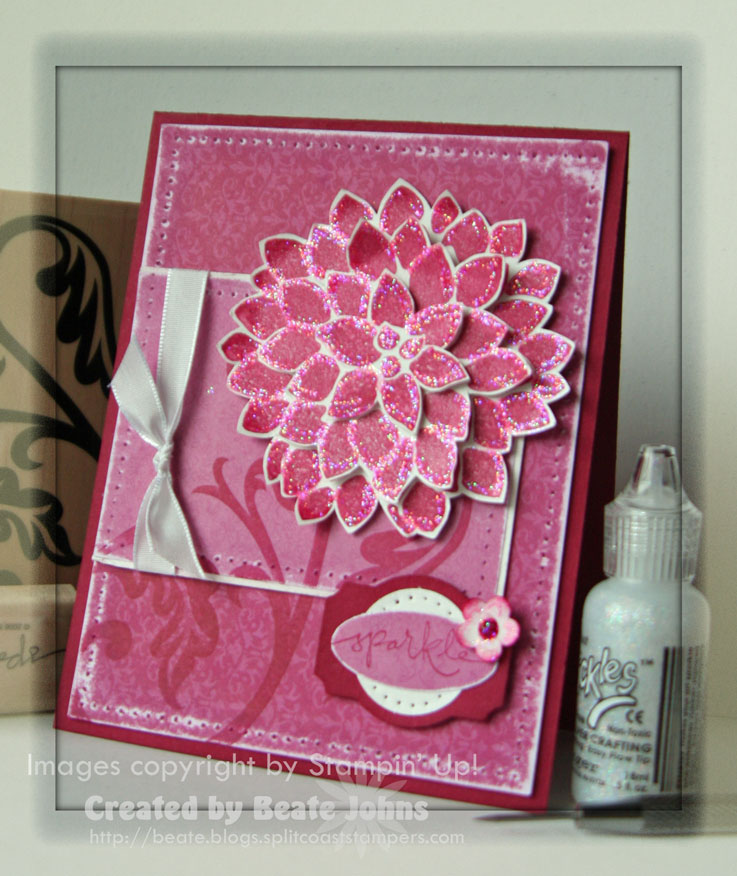
The card base is a 4 1/4″ x 8 1/2″ piece of Certainly Celery cardstock folded in half.
I inked up the Pretty Petals background with Certainly Celery ink and WHACKED it with my Not Quite Navy Marker.
Next I huffed (breathed heavily) on it and stamped it on a 3 1/2″ square of Whisper White cardstock. The top two corners were punched with the ticket corner punch and it was layered on a 1/4″ bigger piece of Not Quite Navy cardstock. That layer also had the top two corners punched. A double photo corner (with ticket corner punched points) was added to the top left and white brads finished the corner off.
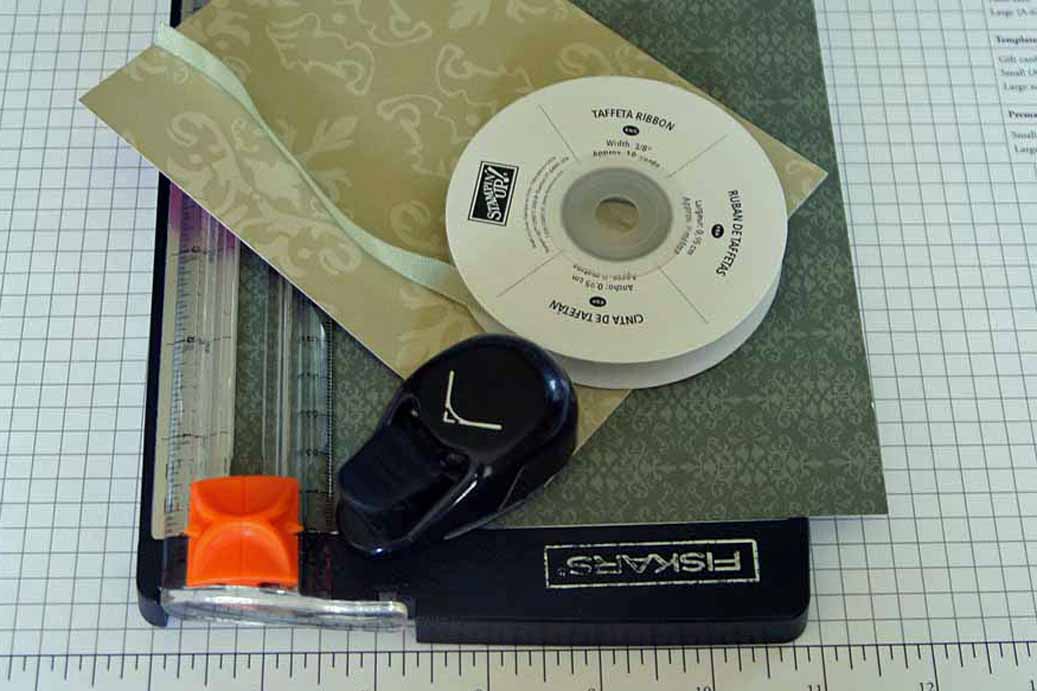
I added scallops with my corner rounder to a 5/8″ x 3 3/4″ strip of Not Quite Navy and paper pierced a hole in each scallop. That strip was adhered to the lower half of the front and Wild Wasabi Double Stitched ribbon was tied around both layers.
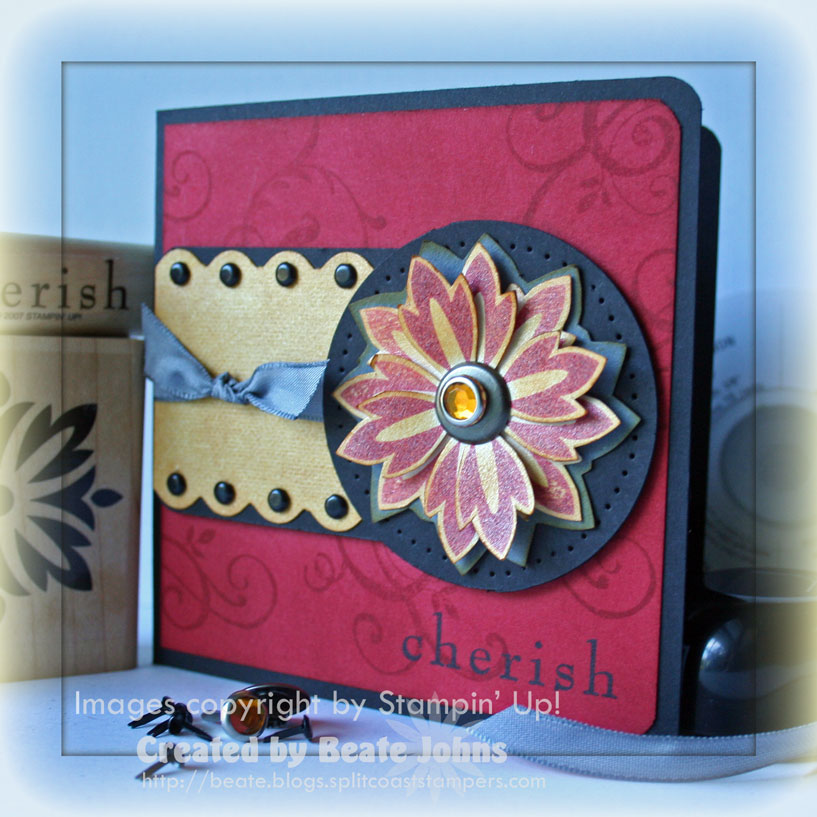
The sentiment is from the Occasional Mini catalog set Full of Life. It’s stamped in Not Quite Navy on Whisper White. I cut the sentiment out with my Nestabilities oval and dry embossed that layer as well with the same template (YOU NEED NESTABILITIES!!!). It was layered on a Wild Wasabi oval cut with the next size Nestabilities die. I added a white gel pen border to that. Last is a scallop oval out of Not Quite Navy cardstock. You guessed it. Cut with Nestabilities.
I paper pierced a line underneath my sentiment and added a tiny butterfly from the Pretty Petals background (stamped the same way as the background before, but outlined with the marker as well before stamping) on the top right. I used my Sakura Gelly Roll Stardust Pen on that butterfly, then while the pen lines were still wet smeared them with my finger to make the lines less pronounced. (The pens are not quite clear, but have a silvery shine otherwise.)
The sentiment layers were attached with dimensionals to the White/Not quite Navy layers, which in turn were adhered with dimensionals to the card base.
Now…get your markers out and start whacking your inked up stamps. It works well with solid images or images that are mostly solid, but with fine details. I love to WHACK (maybe I should rename the technique WHACKING. LOL) the Kind Thoughts butterfly.
If you decide to try it out, post a link to your card here. I wanna see it. Plus….I will raffle away one Sakura Gelly Roll Stardust pen. Every card entry counts as one Raffle entry.


