Here is the sketch for this weekend:

wsc-_40.jpg

To participate in the challenge and be entered in the  raffle, make a card with this layout and upload it either to your blog, or to an online gallery.

 If you upload your card on SCS, put WSC40  (NO SPACE INBETWEEN WSC AND 40) in the keyword section. That way we can look at all of them at once!

Post a link to your card to this blog entry as a comment. Please add your entry# to it.

I will determine the winner  with Random.org on Monday at 11:00 a.m.

kind-thoughts-petal-patch-d.jpg

I had used this layout for my Dahlia card on Wednesday.

To see samples made with this sketch now, check out the blogs of


Cambria Turnbow

Charmaine Ikach

Jenn Balcer

Laurie Schmidlin

Lori Craig

MJ Albright

Sharon Harnist

Have fun creating! I can’t wait to see what you come up with.

SCS submissions

Last Sunday Featured Stamper was BeckyTE. She has an amazing gallery. Her coloring is jaw dropping gorgeous!!! I picked this card to case. It worked perfect for last weeks Weekend challenge as well.

touch-of-nature-zindorf-bir.jpg

I started out by stamping the bird from Touch of Nature in Black StazOn on  a 2 3/4″ x 3 1/4″ piece of watercolor paper.

I colored it in wiht More Mustard, Old Olive, Close to Cocoa and Really Rust classic ink and Aqua Painter.

Next I covered the entire image with my Versamarker and embossed the image with clear embossing powder. The swirl from Baroque Motifs was stamped in Blue Bayou . Then I first brayered Soft Sky over the entire image, then sponged the piece with Blue Bayou. I sponged a little More Mustard ink in the center and added more Blue Bayou. I added highlights with a white gel pen and distressed the edges with the Cutter Kit.

The card base is a 4 1/4″ x 11″ piece of sponged Old Olive cardstock folded in half. It is layered with a 4″ x 5 1/4″ piece of sponged Really Rust cardstock followed by a 3 3/4″ x 5″ piece of Fall Flower Designer paper. I distressed the edges and sponged it first with Soft Sky, then with Blue Bayou. Then I stamped Faux stitched lines with my Argyle stamp from All in a Row. Did you know that this set is retiring in Australia!!! I hope it won’t do the same here in July! I would be really sad about that. I also paper pierced the edges of the Designer paper and added a 1/4″ sponged Blue Bayou circle in each corner. The circles were topped off with white brads.

I inked up the leaves from Touch of Nature in Old Olive and stamped them in second generation on a 1 1/4″ circle of watercolor paper. The edges were sponged with Old Olive. Then it was layered on a sponged 1 3/8″ really Rust circle and finally on a sponged Old Olive scallop circle. Kind from Baroque Motifs was stamped in the center of the circle and the edges of that circle were paper pierced. Finally I added a Aged Copper Hardware piece to the top left of the scallop circle to tie Kraft Taffeta ribbon on it.

Donna Moore, aka. Shadowmills, started the craze of the Dahlia fold on Splitcoast a while back. It got even more popular when it was a Technique challenge a month or so ago. Today we are revealing a step by step tutorial on Splitcoast written by Donna for the Dahlia Fold. I finally couldn’t hold out any longer (yes, that’s right…didn’t do it yet!) and had to try it out.

This is going out to Charmaine’s Mother-in-Law today! Keep her in your thoughts and prayers and help us shower her with well wishes and cards.

kind-thoughts-petal-patch-d.jpg

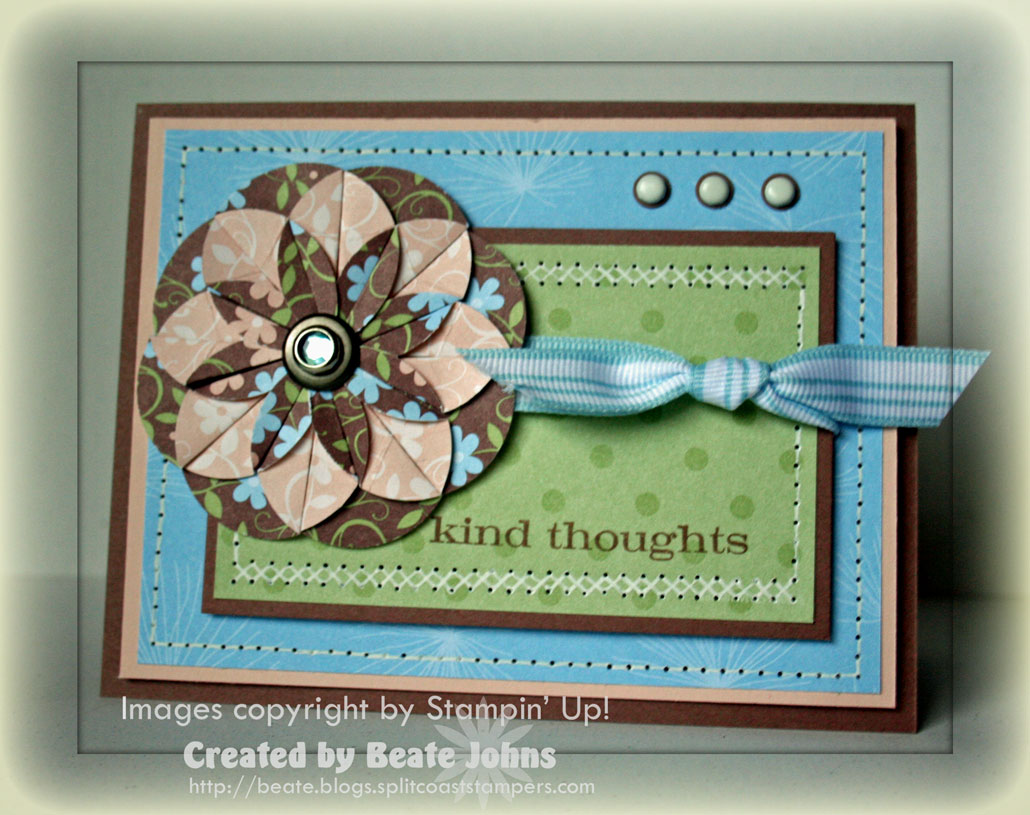
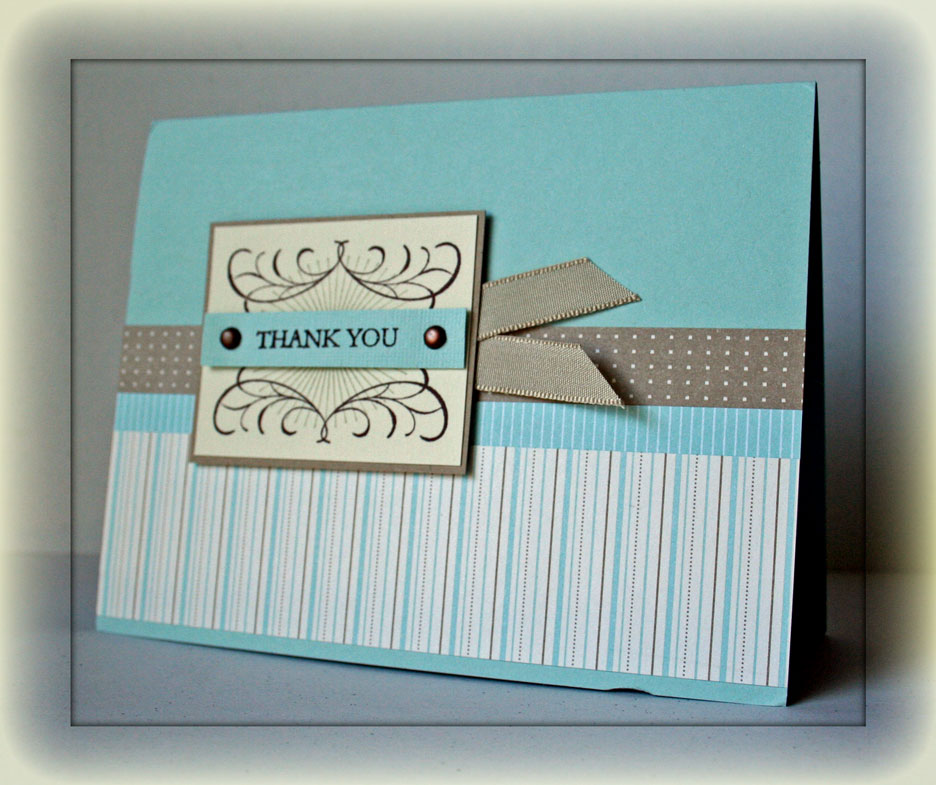
Are you proud of me? I kept it a rectangle card.

You might not know that, but most of my cards start out as a 4 1/4″ x 5 1/2″ card only to be chopped back down to a 4 1/4″ square because I can’t make them look right!

This is a card with a lot of favorites of mine on there: Paper Piercing, my first LOVED designer paper, white brads, rhinestone brads, white gel pen, striped ribbon…..What’s not to love! LOL

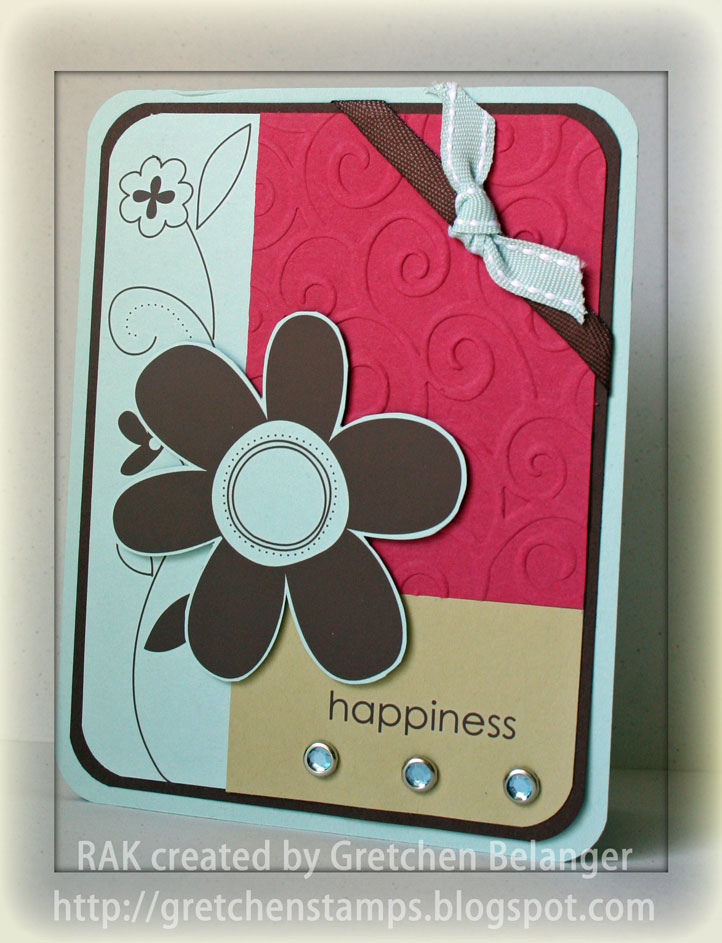
So…back to the card! The card base is a 5 1/2″ x 8 1/2″ piece of Close to Cocoa cardstock folded in half, followed by a 4″ x 5 1/4″ piece of Blush Blossom and a 3 3/4″ x 5″ piece of Petal Patch Designer Paper. I am still sad this discontinued. I like it okay in the new colors (Fall Flowers), but I absolutely LOVED this one.

I taped the Blush Blossom and DP layer together and paper pierced the edges. Next I added the white gel pen lines to make it look like faux stitching.

The inner rectangle layers measure 2 5/8″ x 4 3/8″ for the Close to Cocoa layer and 2 1/2″ x 4 1/4″ for the Certainly Celery Prints designer paper. I added more faux stitching to these layers, tied Bashful Blue Striped Grosgrain Ribbon around it horizontally and stamped the sentiment from Kind Thoughts on the bottom right in Close to Cocoa classic ink.

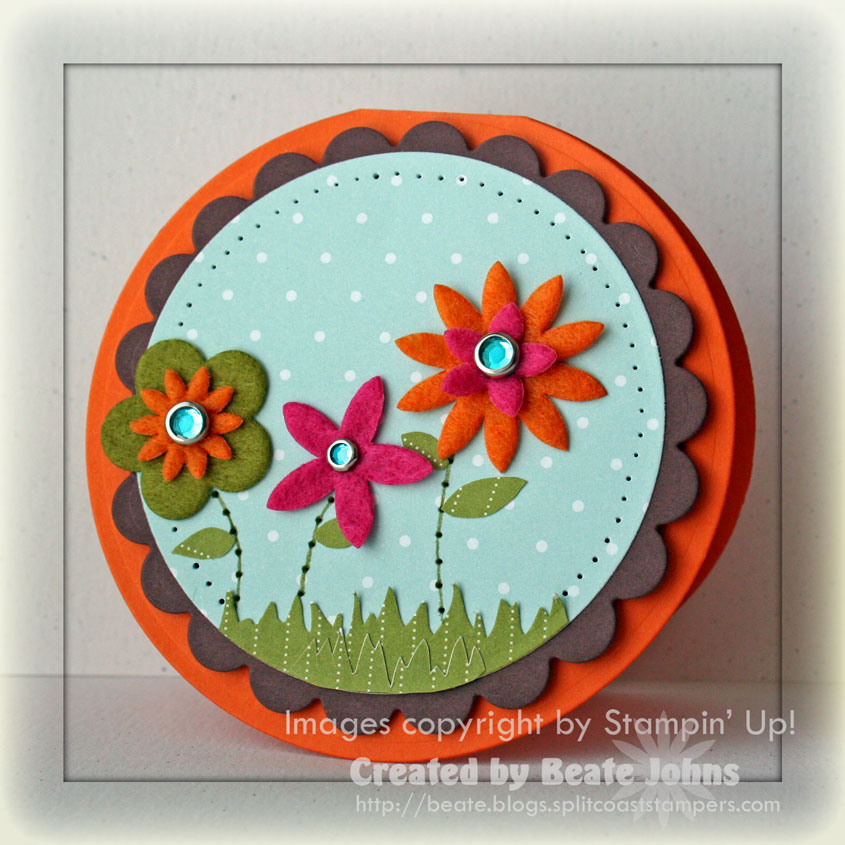
I used eight 1 3/8″ circle punch outs from the Petal Patch Designer Paper (sniff, sniff) to make my flower and added a Jumbo Pewter Eyelet with a Ice Circle Rhinestone brad in it’s center.

To finish it off, I added three 1/4″ Close to Cocoa circles on the top right with white brads in their center. I can’t help myself. I love doing that!

wsc39-winner-darlene.jpg

Random.org picked #68 as the winner of this weekend’s sketch challenge.

That’s Darlene with this great card! You can see more of her work in her Splitcoast gallery.

Thank you to all who participated in the challenge. Like always, the cards you made were amazing!!! I love checking them out!

rak-0318-gretchen-belanger.jpg

Gretchen sent me this gorgeous card she made for the last “Be Inspired Challenge”.

I absolutely love it! Thank you soooo much!

You can see more of Gretchen’s work on her blog Making Time for Creativity.

Yesterday’s Technique Challenge was perfect for my sample for today’s Be Inspired challenge.  The technique challenge was fun. Ink up the indented side of a cuttlebug folder, add cardstock and run through your Cuttlebug. That will add ink and  dry emboss  your cardstock at the same time.

 I knew I had to use black, lots of green as well as circles for this challenge.

one-of-a-kind-super-funky-tlc160-bic5.jpg

I inked up the circle cuttlebug folder with Black Craft ink and ran a 4″ square of Old Olive cardstock through the CB.

Next I cut it down with a wavy line. I added a Shimmery White strip behind it and cut it with my corner rounder to add the scallops.

I added textured Soft Sky cardstock to turn the layers back to a 4″ square and paper pierced the Soft Sky edge as well as the wavy edge of the Old Olive piece. What can I say? I am paper piercing addicted! And if you like paper piercing too or you want to try it out as a challenge, head on over to Sharon Johnson’s blog. That’s her challenge for this week.

For the sentiment I chose “You are one of a Kind” from One of a Kind. I stamped it in Black StazOn on Shimmery White cardstock, punched it out with the small oval punch. It was layered first on a 1″ black circle punchout, then ona a sponged Ruby Red Designer Label punch. I paper pierced the 1″ circle and added a white dotted border on the Designer Label with the white gel pen.

I tied striped Pumpkin Pie grosgrain ribbon around the Old Olive section and attached the card front to the 4 1/4″ square Basic Black card base.

bic5-sea-green-foam-by-ivan-reyes-target.jpg

Use this Sea Green Foam print by Ivan Reyes as inspiration and starting point for your card or project. Use the colors, layout or image….

I can’t wait to see what you come up with. Check out the cards made by the Inspiration Challenge Team:

 Charmaine Ikach

Danielle Lounds

Dawn McVey

Jenn Balcer

Silke Ledlow

Susan Roberts

rak-dawn-mcvey-0316.jpg

Dawn McVey is so sweet!

Not only did she agree to be on my new Inspiration Team, but she also sent me this amazing card!

How lucky am I???

I love her style. Make sure you check out her blog My Favorite Things.

Last week’s Way to Use it Challenge was to use cardstock only for the card base. For the rest of the card we were only to use Designer paper. I wasn’t sure if we were allowed to use image stamps. So I didn’t.

 I am still pretty much in love with my Nestabilities, so I used my biggest circle die to make the base of this card out of Pumpkin Pie cardstock. Different shaped cards are so much fun!!! Hmm….maybe that should be a challenge sometimes on my blog.

pierced-fusion-flowers-wt15.jpg

I cut a scallop circle out of Chocolate Chip paper and a slightly smaller circle out of Soft Sky Prints Designer paper.

Next I cut grass out of Old Olive Prints designer paper and used paper piercing for my flower stems. I also paper pierced above the grass the edge of the Soft Sky Prints Designer Paper.

The flowers are from the Flower Fusion tin! Can you tell that I love the new felt flowers and the colors they come in? I added Ice Circle Rhinestone brads in the center of each flower.

0313-rak-jennifer-greco.jpg

Jennifer Greco sent me this gorgeous card.

You can see more of Jennifer’s work on her blog Glitter in My Hair!

Have a great day!

© 2012 fresh & fun Suffusion theme by Sayontan Sinha