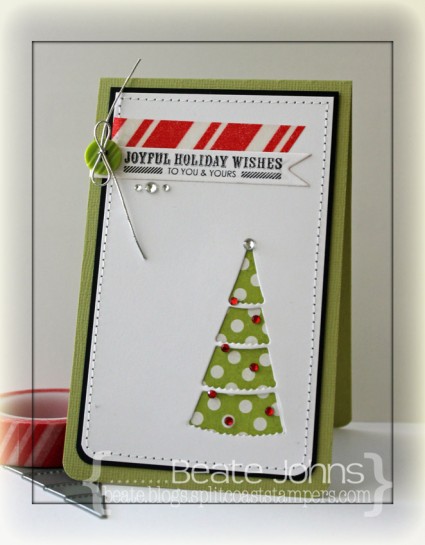
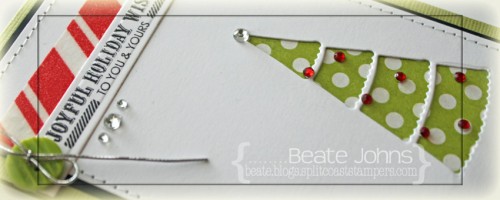
I created this card a while ago for an inspiration challenge on Splitcoast.  I started with a 3″ x 5″ piece of Neenah Solar White cardstock . The bottom two corners were rounded and the Petite Christmas Tree was cut in the lower right corner. Carta Bella’s Merry & Bright patterned paper was adhered behind the tree cut out and the layers were stitched to a slightly bigger piece of black cardstock.

White cardstock was cut and embossed with a Spellbinders Nested Pennants die and a sentiment from the new Small Folded Banners Holidays was stamped over it in Jet Black Archival ink. A button was tied on to the right edge with silver cord before it was adhered to the upper left edge. Red striped washi tape was adhered over it.

Silver Rhinestones were adhered under the sentiment and on top of the tree. Baby Bling red rhinestones were added to the tree to finish off the card.

Thanks so much for stopping today! Have a wonderful day!
Hugs and smiles

Nina is the hostess for the new Crafty Friends Challenge and she gave us this gorgeous photo to be inspired by:

Freckled Fawn is sponsoring this challenge. Each entry in the challenge will also be an entry in a raffle to win a $15 gift certificate from them. They have gorgeous Washi Tapes in their store. The yellow and green one featured on my card are from Freckled Fawn.

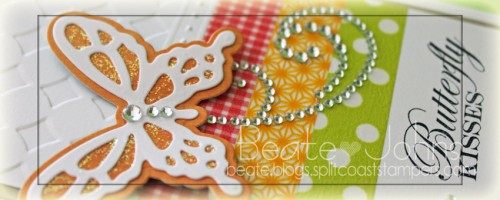
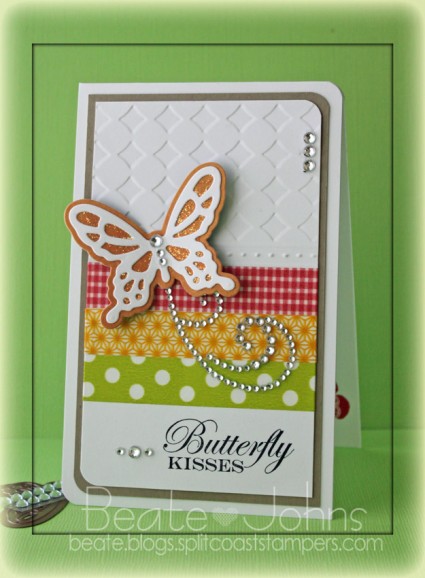
I took the inspiration pretty literally and incorporated the stripes, the butterfly and the colors shown on the photo. I started by about 2″ (eyeballed it) of a 3″ x 5″ piece of Neenah Solar White cardstock with the Simplicity M-Bossabilities folder. Next I took out my Scor-Buddy and first scored a line, then went along the next 1/8″ spaced line with my Cutter Bug Bee (to create the dots), then added another score line. Under that score line I added gingham red ( Elmer’s), the yellow sunburst and green polka dotted Freckled Fawn Washi tapes.

One of the sentiments of Butterfly Kisses was stamped inTuxedo Black Memento Ink to the lower right of the panel. The upper right and lower left corner were rounded. The layer was first adhered to a 3/16″ bigger piece of Kraft cardstock, then to the card base a 3 1/2″ x 11″ piece of Solar White cardstock folded in half.

A solid Butterfly shape was cut out out of Echo Park’s Paradise Beach Paper, the detailed one out of Solar White cardstock. The detailed one was adhered to the solid shape and Diamond Stickles was added where the orange paper showed through. Part of a Finesse Rhinestone swirl under the butterfly and more rhinestones from a Sleek Strips Silver Rhinestones finish off my card.

Check out my fellow Crafty Friends for more  inspiration:

    Thanks so much for looking! I hope you have time to join us in the challenge. It’s easy and fun! Have a wonderful week!
    Hugs and smiles


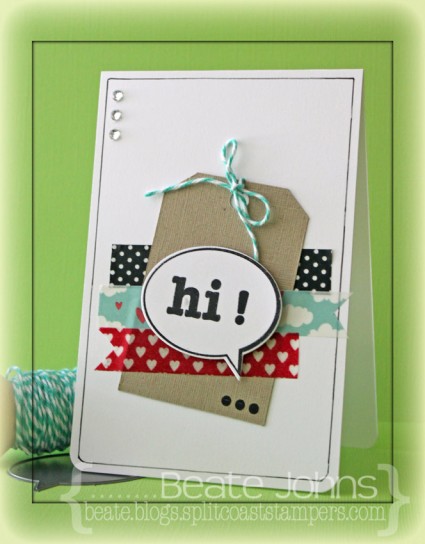
Today I am sharing a CAS card I created a while back, when I was playing with the Pazzles electronic die cutter. I think I am getting old. I really prefer dies and a regular die cutting machine over electronic ones and messing with sticky mats.

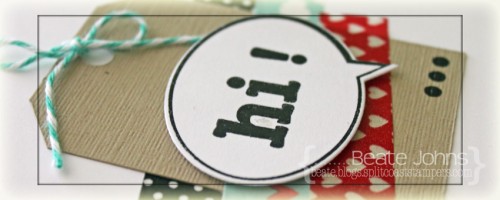
The focal point here is a speech bubble cut with a Say What Die-namics die out of Neenah Solar White cardstock. It was stamped in Jet Black Archival ink with a sentiment and frame from the Say What stamp set.

The card base is a 3 1/2″ x 11″ piece of Solar White cardstock. The bottom corners were rounded and a thin border was drawn with a Copic Multiliner.  A strip of black polka dotted Washi Tape was adhered to the center of the card and a kraft cardbstock tag (cut with the Pazzles) was adhered slightly askew over it. A strip of Heart and Clouds Washi Tape and Tiny Hearts Washi Tape were adhered underneath the black one before the speech bubble was adhered over those with foam adhesive squares.

Twine was tied through the tag hole and the three dots stamp from Say What was stamped in black on the bottom right of the tag. Three rhinestones from Sleek Strips Silver Rhinestones finish off the card.

Thanks so much for stopping by! Have a wonderful day!
Hugs and smiles

Welcome to the monthly NinaB Designs team blog hop. NinaB Designs is a product designer for a few paper crafting companies including Spellbinders, Want2ScrapPenny Black, and The Craft’s Meow. For this month’s hop, Nina challenged us to create something with Winter and Holidays in mind.
The holidays provide many opportunities for paper crafters to give an extra personal touch to every occasion.  Whether you are doing place cards for a dinner, tags for gift giving or even just hand made projects using your supplies on hand, it is a blessed season indeed!

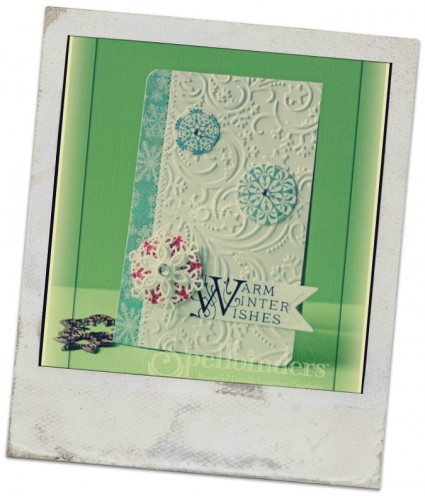
As you can see it’s my post from yesterday’s Spellbinders Blog. We moved the blog hop right before I left for my trip to Arizona and I didn’t have time to create a new one. I used The Craft’s Meow Vintage Snowflake Set to stamp the circles with Versamagic ink. You can see a better picture on the Spellbinders blog. If you comment there, and then come back and post on yesterday’s post as well, you will be entered in a drawing for my Create-a-Flake 4 dies.

To welcome you back to our blog hop, we are giving away PRIZE PACKAGES so be sure to hop along!  Winners will be picked randomly from 2 of the designers’ blogs:
Everybody is welcome to comment and be eligible to win. The winners will be announced on  November 23 on Nina’s Blog, where you will also find all the relevant info regarding the giveaways.  Finally, please consider liking the following Facebook pages that are represented on today’s hop, so you don’t miss the latest news and happenings:
Penny Black Inc. 

Thank you for joining us today!

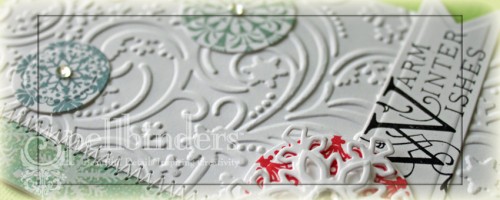
Here is a little sneak peek of the card I am sharing at the  Spellbinders blog today.  I hope you have time to check out my quick tutorial for this card on the Spellbinders blog. If you have time to comment there, come back and let me know.

If you do that (comment there and then here) it will enter you in a raffle for my gorgeous Create-a-Flake Four Snowflake die set. It just retired (meaning Spellbinders Paper Arts is out of those dies and you soon won’t get them anymore. Still available in stores while supplies last).

I will pick a winner on Sunday with the help of random.org. International readers are invited to enter the raffle too.

Thanks so much for stopping by! Have a wonderful day! I know mine will be. I am in Arizona right now hanging out with my fellow Spellblogger and the Spellbinders Blog team.

Hugs and smiles

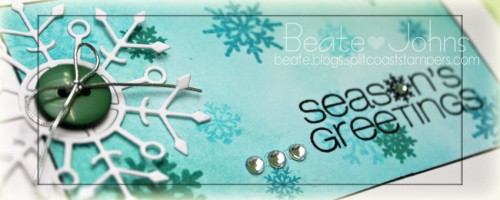
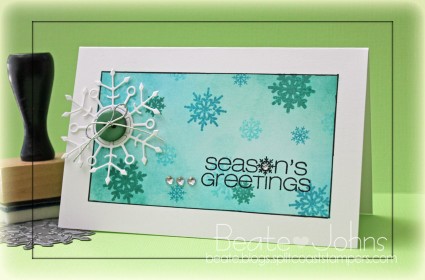
Today’s featured new CAS-ual Fridays Stamps set is called Snowflake Greetings. As the name says it has quite an assortment of snowflakes as well as greetings. My card was created out of  5 1/2″ x 7″  piece of Neenah Solar White cardstock. It was folded in half and  a 3/4″ border was masked off with Eclipse Tape.

The center of the card was sponged with Evergreen Bough and Broken China Distress inks. Snowflakes were stamped with those same colors as well as Tumbled Glass Distress ink.

A border was drawn with a Copic Multiliner and a sentiment was stamped in the lower right corner of the sponged area with Jet Black Archival Ink.  Three rhinestones from Sleek Strip Silver Rhinestones were adhered to the left of the sentiment.

White cardstock was cut with the Faceted Snowflake die. A green button was tied on with silver cord before the snowflake was adhered to the upper right hand corner of the sponged area.

Make sure you check the CAS-ual Fridays Stamp blog to see more samples created with the new set.  Thanks so much for stopping by! Have a wonderful day!

Hugs and smiles

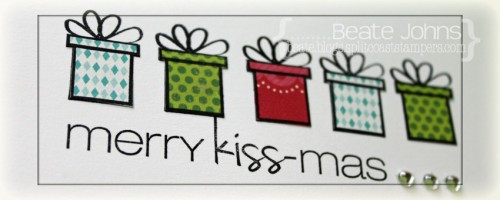
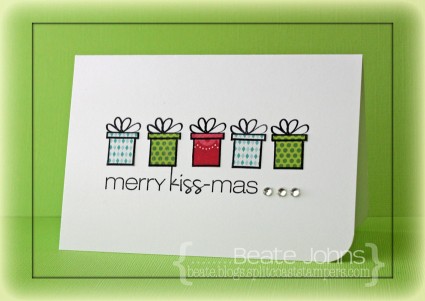
Today’s featured new CAS-ual Friday stamp set is called Merry Kiss-mas.  As soon as I saw the little gifts, I knew I wanted to line them up and dress them up with patterned paper.

I used my favorite Christmas Paper Pack Carta Bella’s Merry & Bright for that.  The card base is a 5 1/2″ x 7 1/2″ piece of Neenah Solar White cardstock folded in half. Five presents were stamped in the center of the card with Tuxedo Black Memento Ink.

The bottom right corner was rounded and a sentiment was stamped right under the presents.  Don’t you just love that font? Three rhinestones from Sleek Strips Silver Rhinestones next of the sentiment finish off the card. Now this is one quick Christmas card.

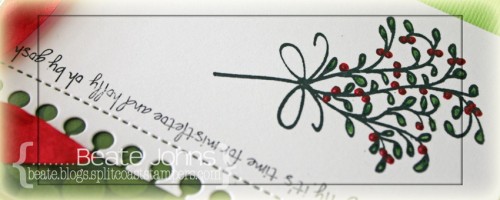
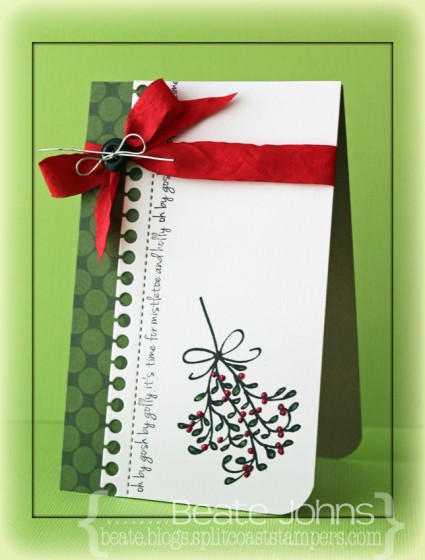
For my second card I had to use Debby Hughes amazing layout again. I can see this becoming one of my go to sketches for CAS cards. For this one I started by cutting the edge of a 3″ x 5 1/2″ piece of white cardstock with the Notebook Edge Die-namics die. The mistletoe image was stamped in Tuxedo Black Memento Ink. It was colored with Copic Markers (G24, G28) and Liquid Pearls were added to create the berries.

The long thin sentiment was stamped in Tuxedo Black Memento Ink along the notebook edge before red ribbon was tied around the top of the layers. The bow was topped off with a button, tied on with silver cord. The layers were adhered to the card base, a 3 1/2″ x 11″ piece of Kraft cardstock folded in half. The bottom corner was rounded to finish off the card.

Make sure you check the CAS-ual Fridays Stamp blog to see more samples created with the new set.  Thanks so much for stopping by! Have a wonderful day!

Hugs and smiles


I am super excited to be guest designing for the CAS-ual Friday Stamps new release this month. Today and the next three days the design team will showcase the new gorgeous sets from the second CAS-ual Friday Stamps release and they are sweet enough to let me play along. The set being showcased today is called 8 Happy Nights. It’s a stylish and fun Hanukkah set! I couldn’t help myself and made two cards.
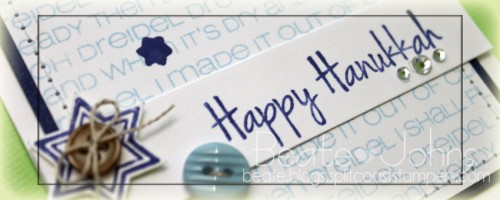
Both of my cards are CAS, both use Summer Sky Memento Ink for the background sentiment, and Paris Dusk Memento Ink for the darker blue ink.
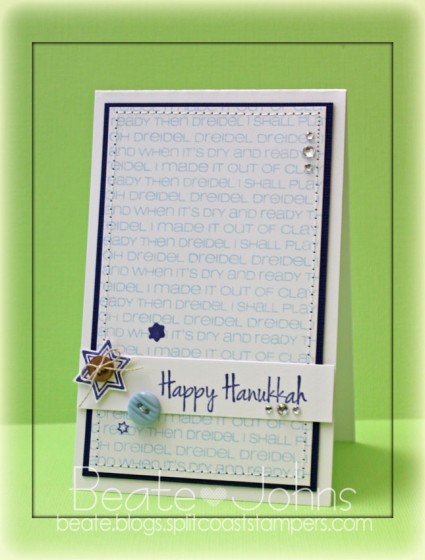
My first card base is a piece of  3 1/2″ x 11 piece of Neenah Solar White cardstock, folded in half.  A 3″ x 5″ piece of Solar White cardstock was stamped with a long sentiment stamp of that set in Summer Sky Memento ink. That layer was stitched to a slightly bigger dark blue Core’dination cardstock piece, before it was adhered to the card base.

The layout for this card is from the current sketch challenge form Operation Write Home. The sentiment was stamped on a 3 1/2″ x 3/4″ white cardstock strip in Paris Dusk Memento Ink.  The big star was stamped also in Paris Dusk ink, cut out and stitched to the upper left hand side along with a button and Linen Thread. A second, light blue button was stitched to the lower edge of that strip.

Two smaller stars were stamped around the buttons. Rhinestones from a Sleek Strips Silver Rhinestones strip finish off this card.
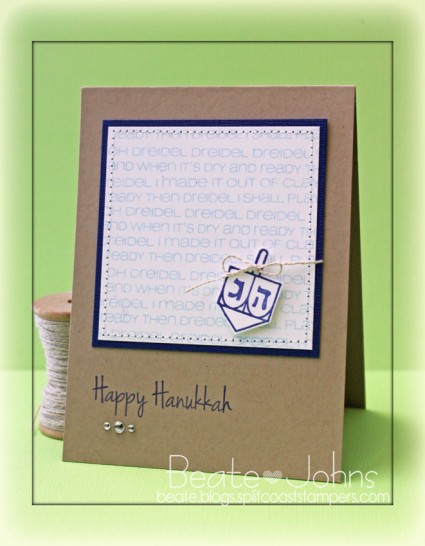
A 3″ square of Solar White cardstock was stamped with the same stamp and ink as the background for the first card. Again it was stitched to a slightly bigger piece of dark blue Core’dinations cardstock.  The layers were adhered to the card base, a 4″ x 10 1/2″ piece of Kraft cardstock, folded in half.

The dreidel image was stamped in Paris Dusk Memento Ink  on white cardstock and cut out. Linen thread was tied around the handle and the image was adhered to the layer with foam adhesive squares.  The sentiment was stamped under the background layer. More Sleek Strip Rhinestones finish off the card.

Make sure you check the CAS-ual Fridays Stamp blog to see more samples created with the new set.  Thanks so much for stopping by! Have a wonderful day!

Hugs and smiles

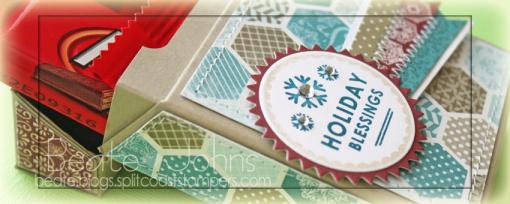
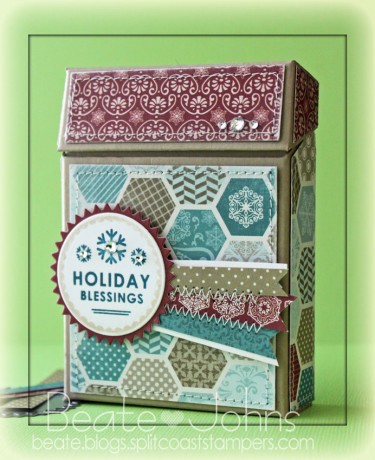
Today’s Holiday Blitz tutorial is written by Susan Culotti. She shows us how to create a flip top box (like it’s used for cigarettes or crayons). I shot the video and created this box as a sample.

My box base is a piece of Kraft cardstock. The patterned paper used to decorate the box is from Carta Bella’s Winter Fun patterned paper. Holiday Apothecary Labels stamps and dies were used to dress up the box.  Rhinestones from Sleek Strips Silver Rhinestones finish off the box.

Here is a video for the visual learner:
[youtube]https://www.youtube.com/watch?v=5M9mODY5weM[/youtube]

Thanks so much for stopping by! Have a wonderful day!
Hugs and smiles

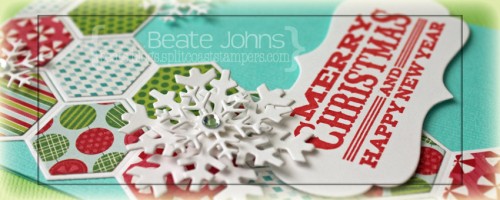
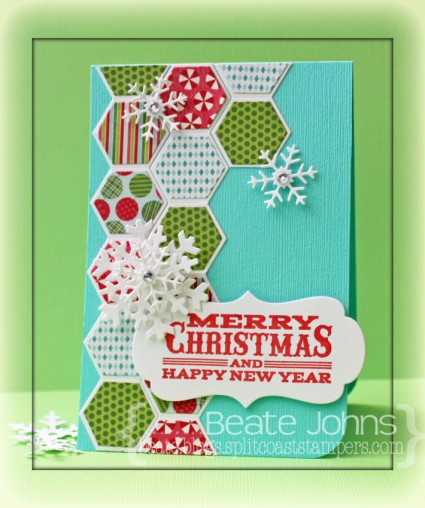
I created a card last month for a featured stamper challenge on Splitcoaststampers.  I had picked this card to case, mostly because I had just gotten MFT’s Hexagon dies and wanted to try them out. I cut Neenah Solar White cardstock the larger strip. I cut slightly smaller pieces out of Carta Bella’s Merry & Bright patterned paper. The patterned paper pieces were fed through a Xyron sticker maker and adhered to the larger white strip.

The card base is a 3 1/2″ x 11″ piece of Patina Bazzill Cardstock, folded in half. The bottom right corner  was rounded. The hexagon strips were adhered to the left hand side of the card. More white cardstock was cut with MFT’s Let it Snowflake and Framed Greetings die.

A sentiment from Seasonal Sentiments was stamped in Red VersaMagic ink was stamped on the Framed Greeting die cut and adhered on the lower right card base.  The snowflake were sprinkled over the card and topped with rhinestones from a Sleek Strip Silver Rhinestone to finish off the card.

Thanks so much for looking! Have a wonderful day!
Hugs and smiles
P.S.: Today’s tutorial is written by my wonderful colleague and friend Lori Craig. She is showing us how to create colored glass.

© 2012 fresh & fun Suffusion theme by Sayontan Sinha