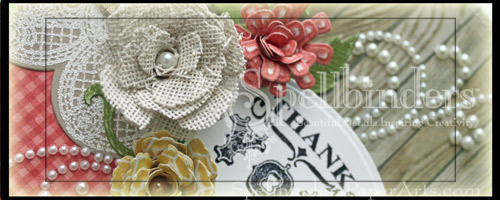
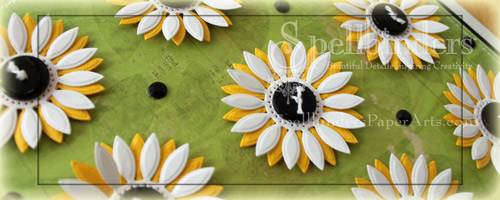
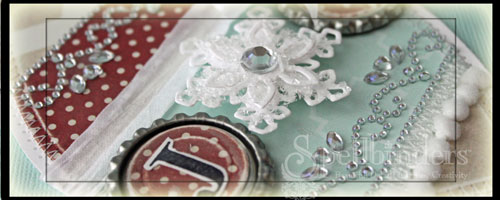
It’s time to post on the Spellbinders blog today. This week’s theme is to show you “Things you can do with the Grand Calibur”. For me it’s mostly cutting paper and cardstock, but today I pulled out bottle caps that had been in my stash for quite a while and used them as part of a Christmas Ornament.

I hope you  have time to check out the entire ornament and the step by step instructions on the Spellbinders Blog. Thanks so much for stopping by! Have a wonderful day.
Hugs and smiles

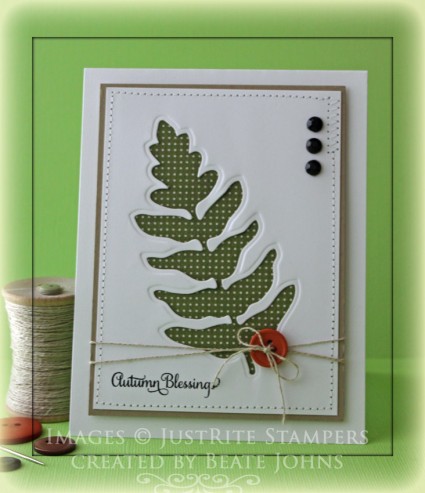
I created this card for a Free For all Challenge on Splitcoaststampers. We were to create a card with fall leaves. I had seen so many negative die cuts on Pinterest and love the look. I decided to create a card like that for this challenge.

A piece of 3 1/2″ x 4 3/4″ piece of Neenah Solar White cardstock and cut and embossed with one of the Spellbinders Foliage dies. A piece of BBP All Hallow’s Eve patterned paper was adhered behind it before the layers were stitched to a 3/16″ bigger piece of Kraft cardstock.

A sentiment from JustRite Stamper’s Antique Autumn Tags One was stamped in Jet Black Archival Ink to the lower left of the layers. A button was tied on with Linen Thread before the layers were adhered to the card base, a 4 1/4″ x 11″ piece of Solar White cardstock, folded in half. Three black Rhinestones were adhered to the top right to finish off the card.

Thanks so much for stopping by! Have a wonderful day!
Hugs and smiles

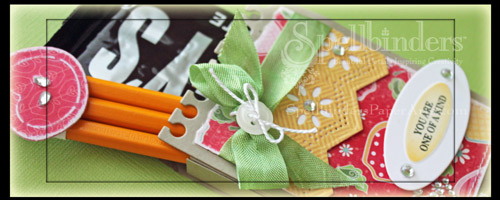
Today on the Spellbinders blog I show step by step instructions on how to make this little ensemble. I hope you have time to check it out and tell me what you think.

Thanks so much for stopping by! Have a wonderful day!
Hugs and smiles


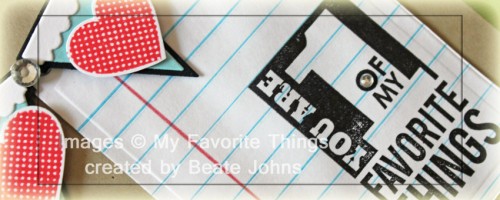
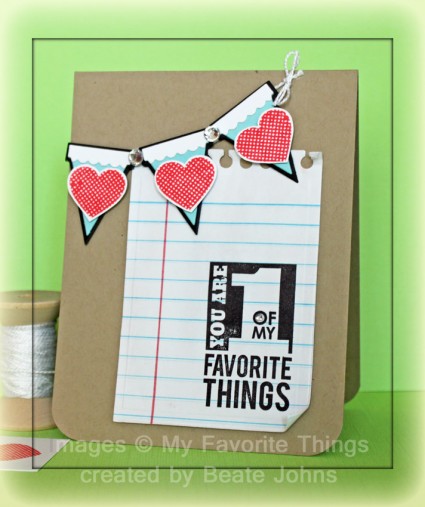
The first challenge from last weekend’s Virtual Stamp Night was to create a card with Note book paper.  The paper we have at home was really thin, so I first adhered a piece of copy paper behind it to give it a bit more stability. Then I cut and embossed it with a die from Spellbinders Office Supplies set.  Next I stamped an image from MFT My Favorite Sentiments in  Jet Black Archival Ink on the lower right of the layer.  It was adhered to the lower right of the card base, a 4 1/4″ x 11″ piece of cardstock, folded in half with the bottom corners rounded.

Black, Berrylicious and White cardstock were cut with Banner Day Die Die-namics and adhered on top of each other. Three hearts from Tag You’re It stamp set were stamped in Ladybug Memento Ink on white cardstock, cut out and taped to the center of each banner piece. Rhinestones in between each banner piece and one in the sentiment finish off the card.

Thanks so much for stopping by! Have a wonderful Monday!
Hugs and smiles

The coming week is all about Halloween projects on the Spellbinders blog. So for my video post today I thought I share how to make this little treat bag. I hope you have time to check it out and tell me what you think. I also posted a couple of pictures of Rebecca there.

Thanks so much for stopping by!
Have a wonderful weekend! Hugs and smiles

Hello and welcome to Day 2 of our September Rubber & Die Release Showcase!

On Wednesday (19 September) Whimsy Stamps released this month’s new rubber designs, Shapeology dies, Whimsy Designer Paper packs and Shape EZ templates. From then until 25 September the Whimsy Stamps DT and Special Guests are showcasing these fabulous new goodies with a daily mini blog hop and I am part of today’s hop!

Each mini blog hop has a new release prize hidden somewhere along the way and you have 24hrs to enter each prize draw.

To be entered into today’s mini blog hop prize draw, be sure to leave a comment on ALL of the DT’s posts listed below by 12.00PM EST tomorrow. All winners will be announced on the Whimsy blog on 26 September.
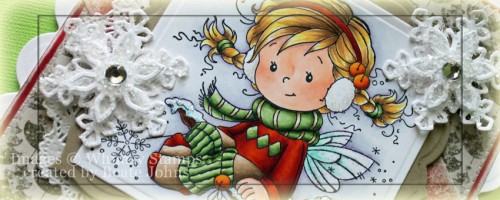
For my sample today I used the darling new Wee Image called Holly. I stamped it in  Tuxedo Black Memento Ink on Neenah Solar White cardstock . It was colored with  Copic Markers (Skin: E000, E00, E01, BV00 Hair: Y11, YR21, E43 Scarf/Stockings G40, G43, G46 Shirt/socks/berries: YR15, R05, R08, R27 Pants/socks: E41, E42, E43, E44   Leaves: G21, G24, G28   Branch: E23, E27, E29, E97    Wings: Bg10, BG11   Bells: Y35, Y38, E97    Snow: B000, B000    Ear muffs: W0, W1    Background: C0, C1, BV00) and it was cut and embossed with the largest of the Classic Square SM dies. The square was adhered to kraft cardstock, cut and embossed with the largest Label Twenty-Six die.
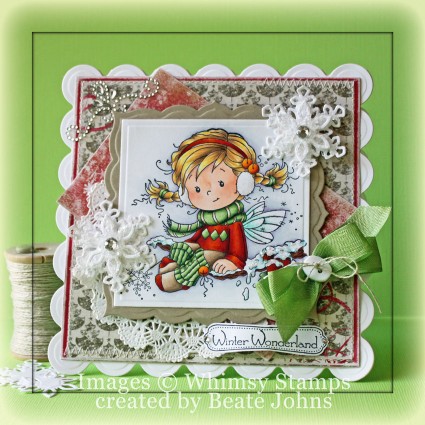
Vintage Christmas Paper was cut and embossed with the second smallest Grand Square Nestabilities die. The edges were sanded and stitched before it was adhered to white cardstock, cut and embossed with a Grand Scallop Square Nestabilities die. A 2 1/2″ x 4 5/8″ piece of Vintage Christmas paper was sanded and adhered diagonally over the card front. A paper doily was adhered to the lower left corner and the image layers were adhered to the center of the layers with foam adhesive squares.  Glitter was glued over the snow with Glossy Accents, and sparkle was added to the wings with  Frost Smooch Glitz.

Snowflakes were cut and embossed out of white cardstock, stacked with foam adhesive squares and topped with Vintage Glass Glitter Shards. They were added to the edges of the image. Green seam binding was tied into a double bow and topped with a button to be placed to the lower right side of the image.

A sentiment from the new Holiday Notables 2 was stamped in Tuxedo Black on white cardstock. It was cut out and adhered to the lower right of the card front. A piece of Fancy That! Border Bling on the top left finished off the card front. It was then adhered to the card base, white cardstock, folded in half and cut and embossed with the same Grand Scallop Square Nestabilities die.

To take a peek at today’s fabulous new release creations, please click on the links below…


Remember that the entire new release is available to buy right now from the Whimsy Stamps store along with all your Whimsy favorites.

Thanks for stopping by and don’t forget to pop back to the Whimsy blog tomorrow for more new release creations! Have a wonderful day!
Hugs and smiles

I created a CAS Fall Thank you card for my blog post on the Spellbinders blog today. I hope you have time to check it out and tell me what you think.

Thanks so much for stopping by! Have a wonderful day!
Hugs and smiles
Hello, friends! After a much needed summer break, the NinaB Designs team is back to showcase some of Nina‘s designs for our monthly hop. Make sure you check out the new Summer CHA Releases by Spellbinders, Want2Scrap and Penny Black, and her monthly release by The Craft’s Meow.
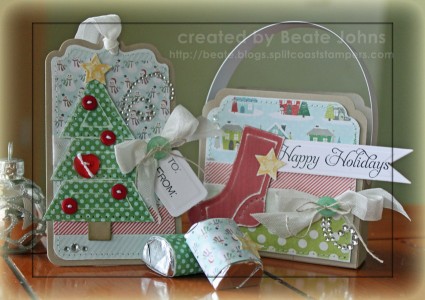
For this month’s hop, Nina challenged us to create something with gift-giving in mind. For my project I decided to create a tag and a matching small box. You can find the tutorial for the box HERE.

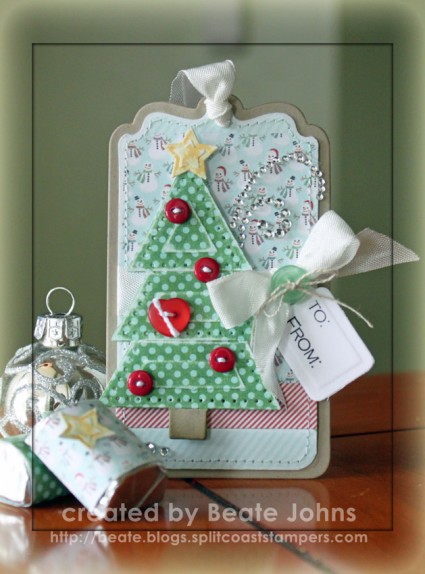
I started by creating a tag. The tag base was cut and embossed out of Kraft cardstock with a die from Tags & Flags. My Mind’s Eye Winter Wonderland paper was cut and embossed with the same die, sanded and cut down on the embossed edge. 3/8″ wide strip of paper from the same paper pack was added before the edges were stitched and seam binding was tied around the paper. It was then adhered to the tag base.
More Winter Wonderland paper was cut and embossed with the tree die from Sweet Folk Art. A small piece of Kraft cardstock was cut and embossed with the same die to create the tree stem. Buttons were stitched to the tree. Handmade Lilybeedesigns paper was cut and embossed with the small star from Sweet Folk Art, sanded and adhered to the top of the tree.
Neenah Solar White cardstock was cut and embossed with the rectangle tag die from Home Sweet Home. A sentiment from The Craft’s Meows Season’s Greetings in Jet Black Archival Ink. It was tied to the seam binding bow along with a button with Linen Thread.  Part of a Finesse Rhinestone Swirl above the bow and three small rhinestones from a Sleek Strips Silver Rhinestones on the bottom left were added to finish the tag.
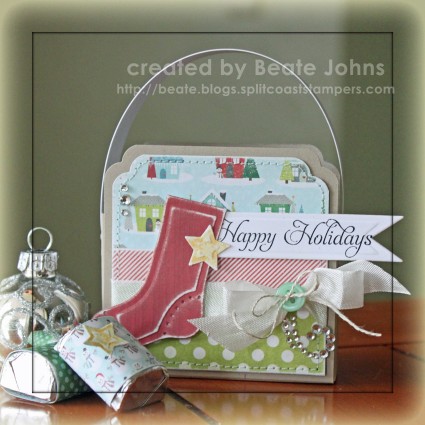
The box base was created out of Kraft cardstock and was decorated with more Winter Wonderland paper and seam binding. The top corners were cut with Crop-a-Dile Cloud Chomper. Another sentiment from Season’s Greetings was stamped on Solar White cardstock, cut and embossed with a  Nested Lacey Pennant die. Again part of a Finesse Rhinestone Swirl and rhinestones from a Sleek Strip Silver Rhinestones on the bottom left were added to finish the box.
Hershey Nuggets were covered with 1″ wide strips of the Winter Wonderland paper. If I had some Candy Canes, I think I would have added those to my box, but it’s a bit too early to find those in the stores.


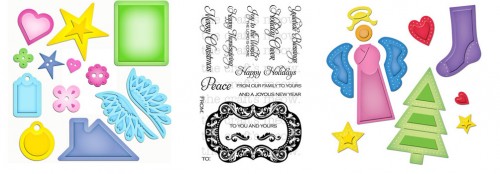
Here are these NinaB. Designs products I used for my project:
To welcome you back to our hop, we are giving away these TWO PRIZE PACKAGES:
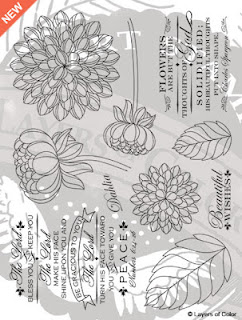
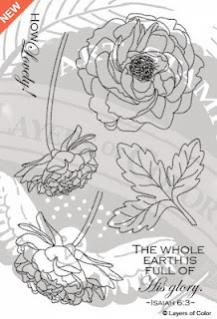
Prize #2 includes The Craft’s Meow’s Vintage Rides and Retired Layers of Colors Dotted Dahlias and Dotted Peonies Stamp sets:
Winners will be picked randomly from 2 of the designers’ blogs:
Nina
Brackett
* Beate Johns
(you are here!) * Beatriz
Jennings
* Clare Buswell * Heather Jensen * Jennie
Harper
* Julie Overby * Lea Lawson * Linda LucasViola
Mahr

Everybody is welcome to comment and eligible to win. Nina will announce the winners on  September 22 on her blog.
Finally, please consider liking the following Facebook pages that are represented on today’s hop, so you don’t miss the latest news and happenings: 


I hope we’ll inspire you all today! Happy hopping! Thanks so much for stopping by! Have a wonderful day!
Hugs and smiles 
My Spellbinders blog post today is for a quick and easy wall hanging with Julianna Hudgins gorgeous new Jewel Flowers and Flourishes. I hope you have time to check it out.

Thanks so much for stopping by! Have a wonderful day!
Hugs and smiles

I have a quick video tutorial on the Spellbinders blog, showing how to create this little treat box. I hope you have time to check it out.  The sentiment is from a JustRite Stampers set that will be released in the middle of September. It’s called Grand Sentiments and it’s gorgeous!

Have a great weekend!
Hugs and smiles
© 2012 fresh & fun Suffusion theme by Sayontan Sinha