Today is the last day of CAS-ual Friday Stamps sneak peek sets. The last new set featured is called Countdown. A special thanks to Michele Gross for letting me play along. I had a blast designing with those fun new stamps!!!

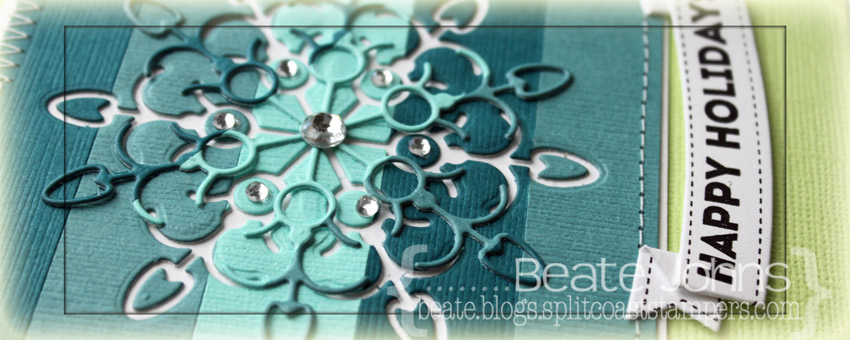
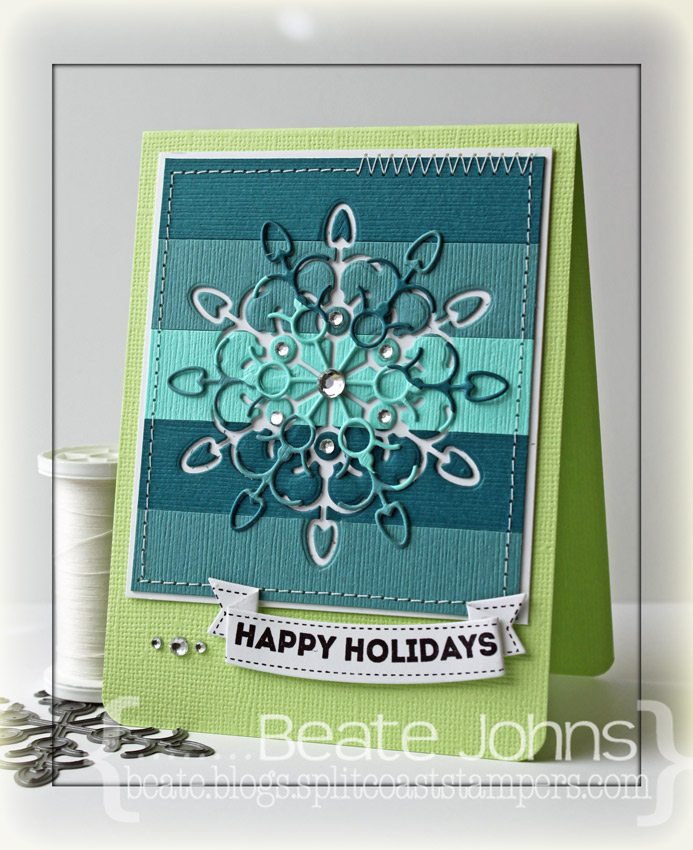
I created this card on Sunday for the Featured Stamper Challenge on Splitcoaststampers. I picked this card to case. Obviously I didn’t read the description, because only after being done with my card I saw that the featured stamper didn’t create this card, but received it through a swap. Oh well… I love the wavy line of the  snowflakes and wanted to re-create that with the acrylic stamps. I love that about clear stamps.

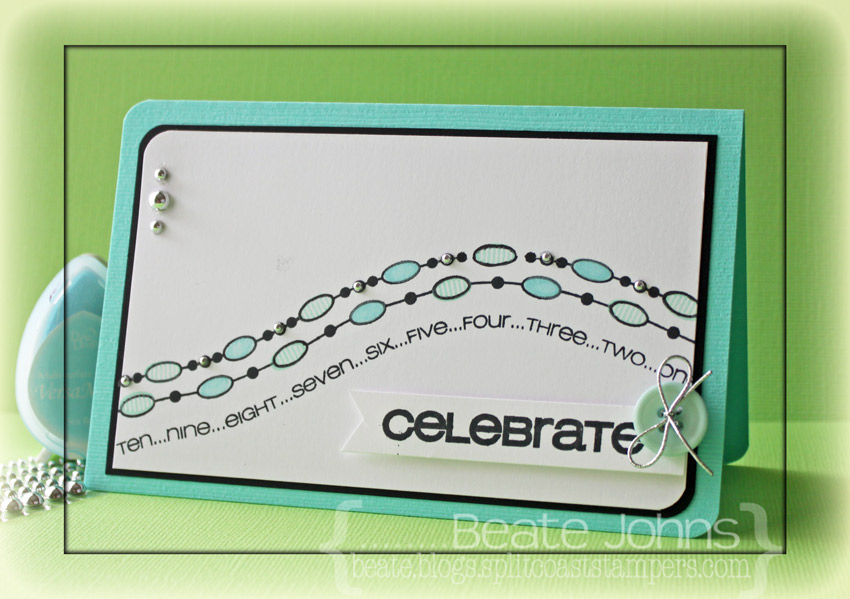
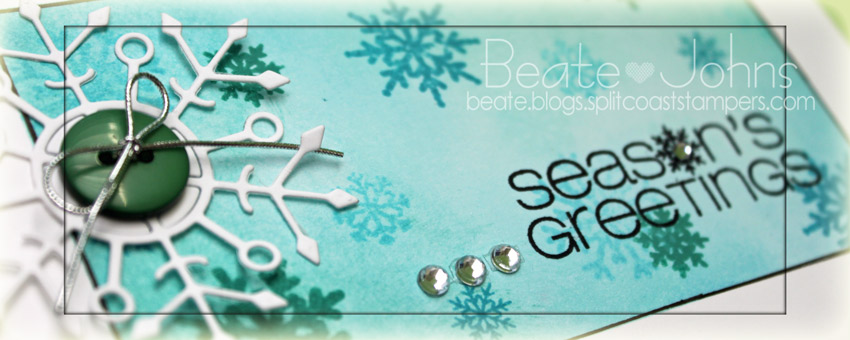
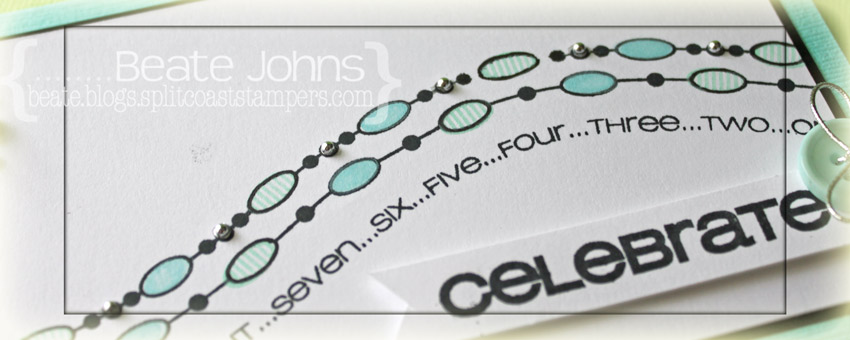
I lined up the strip with the ovals on my acrylic block first, then added the countdown strip underneath. Both were inked with Tuxedo Black Memento Ink and stamped on a 3″ x 5″ piece of Neenah Solar White cardstock. Next I filled in the ovals with the solid oval stamp and Sea Breeze VersaMagic ink and the striped ones with Aquatic Splash Versamagic.  The upper left and lower right corner were rounded and layered on a piece of black cardstock, that was 1/8″ bigger.

The card base is a 7″ x 5 1/2″ piece of Patina Bazzill Cardstock, folded in half. Again the corners were rounded  and little adhesive silver pearls were added. A sentiment from the strip was stamped on a 1/2″ wide strip of white cardstock. The left side was cut and a button was tied on with silver cord on the right. The sentiment was adhered to the lower right side with foam adhesive squares.

Make sure you check the CAS-ual Fridays Stamp blog to see more samples created with the new set.  Thanks so much for stopping by! Have a wonderful day!

Hugs and smiles

Today’s featured new CAS-ual Fridays Stamps set is called Snowflake Greetings. As the name says it has quite an assortment of snowflakes as well as greetings. My card was created out of  5 1/2″ x 7″  piece of Neenah Solar White cardstock. It was folded in half and  a 3/4″ border was masked off with Eclipse Tape.

The center of the card was sponged with Evergreen Bough and Broken China Distress inks. Snowflakes were stamped with those same colors as well as Tumbled Glass Distress ink.

A border was drawn with a Copic Multiliner and a sentiment was stamped in the lower right corner of the sponged area with Jet Black Archival Ink.  Three rhinestones from Sleek Strip Silver Rhinestones were adhered to the left of the sentiment.

White cardstock was cut with the Faceted Snowflake die. A green button was tied on with silver cord before the snowflake was adhered to the upper right hand corner of the sponged area.

Make sure you check the CAS-ual Fridays Stamp blog to see more samples created with the new set.  Thanks so much for stopping by! Have a wonderful day!

Hugs and smiles


I don’t know if you ever went to my Copic page and checked out the cubbies I store my Copic Markers in. I LOVE those cubbies. Each cubbie compartment bottom is slanted and can hold 12 Various Ink Refills or about 30 Sketch Markers. Each cubbie has five compartments. I was sad when the site closed and I couldn’t get anymore cubbies (yes, 7 are not enough…I need a few more).

Well….good news for me and anyone still looking for the perfect marker storage solution. They are BACK! You can order again. And I am super happy to tell you that one lucky reader of mine will be able to WIN two of these cubbies (7 are featured here).  How cool is that? If you know you NEED some of these, you can order them at Studio 3 Solutions.

All you have to do is comment on this post. I am sorry, these  cubbies are solid and expensive to ship. That’s why this blog candy is only open for readers living in the US or those who have a US address.

Tell me how you store your markers (or pencils).  I will pick a winner on Friday with the help of random.org.

Good luck winning these cubbies! If you don’t win, you can always order. They are so worth their prize. Have a wonderful day!
Hugs and smiles

Today’s featured new CAS-ual Friday stamp set is called Merry Kiss-mas.  As soon as I saw the little gifts, I knew I wanted to line them up and dress them up with patterned paper.

I used my favorite Christmas Paper Pack Carta Bella’s Merry & Bright for that.  The card base is a 5 1/2″ x 7 1/2″ piece of Neenah Solar White cardstock folded in half. Five presents were stamped in the center of the card with Tuxedo Black Memento Ink.

The bottom right corner was rounded and a sentiment was stamped right under the presents.  Don’t you just love that font? Three rhinestones from Sleek Strips Silver Rhinestones next of the sentiment finish off the card. Now this is one quick Christmas card.

For my second card I had to use Debby Hughes amazing layout again. I can see this becoming one of my go to sketches for CAS cards. For this one I started by cutting the edge of a 3″ x 5 1/2″ piece of white cardstock with the Notebook Edge Die-namics die. The mistletoe image was stamped in Tuxedo Black Memento Ink. It was colored with Copic Markers (G24, G28) and Liquid Pearls were added to create the berries.

The long thin sentiment was stamped in Tuxedo Black Memento Ink along the notebook edge before red ribbon was tied around the top of the layers. The bow was topped off with a button, tied on with silver cord. The layers were adhered to the card base, a 3 1/2″ x 11″ piece of Kraft cardstock folded in half. The bottom corner was rounded to finish off the card.

Make sure you check the CAS-ual Fridays Stamp blog to see more samples created with the new set.  Thanks so much for stopping by! Have a wonderful day!

Hugs and smiles


Some of my cards are featured on the Simon Says Blog today!!! Which is not only sweet for me, but also sweet for you.

Heidi, the wonderful owner of SSS gave me a coupon code for everyone.  The code is valid today and tomorrow. It’s BEATE5 and it gives you $5 off any order placed at Simon Says Stamp.  USA and Canada orders over $75 ship for free.

I hope you have time to check out the Simon Says Blog. Did I mention that I am so excited!
Have a wonderful day!
Hugs and smiles

I am super excited to be guest designing for the CAS-ual Friday Stamps new release this month. Today and the next three days the design team will showcase the new gorgeous sets from the second CAS-ual Friday Stamps release and they are sweet enough to let me play along. The set being showcased today is called 8 Happy Nights. It’s a stylish and fun Hanukkah set! I couldn’t help myself and made two cards.

Both of my cards are CAS, both use Summer Sky Memento Ink for the background sentiment, and Paris Dusk Memento Ink for the darker blue ink.

My first card base is a piece of  3 1/2″ x 11 piece of Neenah Solar White cardstock, folded in half.  A 3″ x 5″ piece of Solar White cardstock was stamped with a long sentiment stamp of that set in Summer Sky Memento ink. That layer was stitched to a slightly bigger dark blue Core’dination cardstock piece, before it was adhered to the card base.

The layout for this card is from the current sketch challenge form Operation Write Home. The sentiment was stamped on a 3 1/2″ x 3/4″ white cardstock strip in Paris Dusk Memento Ink.  The big star was stamped also in Paris Dusk ink, cut out and stitched to the upper left hand side along with a button and Linen Thread. A second, light blue button was stitched to the lower edge of that strip.

Two smaller stars were stamped around the buttons. Rhinestones from a Sleek Strips Silver Rhinestones strip finish off this card.

A 3″ square of Solar White cardstock was stamped with the same stamp and ink as the background for the first card. Again it was stitched to a slightly bigger piece of dark blue Core’dinations cardstock.  The layers were adhered to the card base, a 4″ x 10 1/2″ piece of Kraft cardstock, folded in half.

The dreidel image was stamped in Paris Dusk Memento Ink  on white cardstock and cut out. Linen thread was tied around the handle and the image was adhered to the layer with foam adhesive squares.  The sentiment was stamped under the background layer. More Sleek Strip Rhinestones finish off the card.

Make sure you check the CAS-ual Fridays Stamp blog to see more samples created with the new set.  Thanks so much for stopping by! Have a wonderful day!

Hugs and smiles

Today’s Holiday Blitz tutorial is written by Susan Culotti. She shows us how to create a flip top box (like it’s used for cigarettes or crayons). I shot the video and created this box as a sample.

My box base is a piece of Kraft cardstock. The patterned paper used to decorate the box is from Carta Bella’s Winter Fun patterned paper. Holiday Apothecary Labels stamps and dies were used to dress up the box.  Rhinestones from Sleek Strips Silver Rhinestones finish off the box.

Here is a video for the visual learner:
[youtube]https://www.youtube.com/watch?v=5M9mODY5weM[/youtube]

Thanks so much for stopping by! Have a wonderful day!
Hugs and smiles

I created a card last month for a featured stamper challenge on Splitcoaststampers.  I had picked this card to case, mostly because I had just gotten MFT’s Hexagon dies and wanted to try them out. I cut Neenah Solar White cardstock the larger strip. I cut slightly smaller pieces out of Carta Bella’s Merry & Bright patterned paper. The patterned paper pieces were fed through a Xyron sticker maker and adhered to the larger white strip.

The card base is a 3 1/2″ x 11″ piece of Patina Bazzill Cardstock, folded in half. The bottom right corner  was rounded. The hexagon strips were adhered to the left hand side of the card. More white cardstock was cut with MFT’s Let it Snowflake and Framed Greetings die.

A sentiment from Seasonal Sentiments was stamped in Red VersaMagic ink was stamped on the Framed Greeting die cut and adhered on the lower right card base.  The snowflake were sprinkled over the card and topped with rhinestones from a Sleek Strip Silver Rhinestone to finish off the card.

Thanks so much for looking! Have a wonderful day!
Hugs and smiles

P.S.: Today’s tutorial is written by my wonderful colleague and friend Lori Craig. She is showing us how to create colored glass.

I created a quick tutorial on how to fold half circles into a Christmas tree for today’s tutorial on Splitcoaststampers.  I started out by cutting a circle out of Teresa Collins Christmas Cottage with the smallest of the Grand Circle Nestabilities die.  The circle was cut in half, folded and decorated with rhinestones.

A stamp from the Lollipop Treat stamp set was stamped in Jumbo Java VersaMagic Ink on Neenah Solar White cardstock. It was cut out and adhered under the tree.

The upper right and lower left corner of a 3″ x 5″ piece of Kraft cardstock were rounded. The bottom was stamped with a background stamps from the Lollipop Treat set and a sentiment from  Document It – December in Moonlight White Brilliance Ink. The edges were pierced before the Christmas tree was adhered with foam adhesive squares.

A piece of black polka dotted Washi Tape was adhered to the top right corner of the kraft cardstock. It was topped with a button, tied on with silver cord. The layer was adhered to the card base, a 3 1/2″ x 11″ piece of white cardstock. A sentiment from Christmas Ornaments was stamped to the lower right edges of the card with Tuxedo Black Memento Ink.

Here is a video for the visual learner:

[youtube]https://www.youtube.com/watch?v=7u8oJd3g384[/youtube]

Thanks so much for stopping by! Have a wonderful day!
Hugs and smiles

I created this card for a Way to Use it Challenge (no fall colors) and a CASE study challenge.  I just LOVED the card we had to case and it made me create not just one but several cards. For this one I paired 3/4″ x 3 1/4″ wide strips of different colored blue Bazzill cardstock were adhered to a slightly bigger white base. I used the new Simon Says Stamp Curvy Snowflake die to cut a negative image in the center.  The edges were stitched and the snowflake die cut was adhered over the negative cut.

The layers were adhered to the card base, a 3 3/4″ x 10″ piece of Limeade Bazzill cardstock, folded in half. The bottom corners were rounded.

A piece of Solar White cardstock was cut and with Holiday Folded Banner die. The sentiment and frame is from the same named Simon Says Stamps exclusive stamp set and was stamped on the banner with Jet Black Archival ink. The banner was adhered to the lower right edge of the snowflake panel. Rhinestones on the snowflake and next to the banner finish off the card.

Thanks so much for looking! Have a wonderful day!
Hugs and smiles

P.S.: Today’s Holiday Blitz tutorial on Splitcoaststampers was created by Theresa Momber. She shows you how to turn a circle die cut into a darling basket.


© 2012 fresh & fun Suffusion theme by Sayontan Sinha