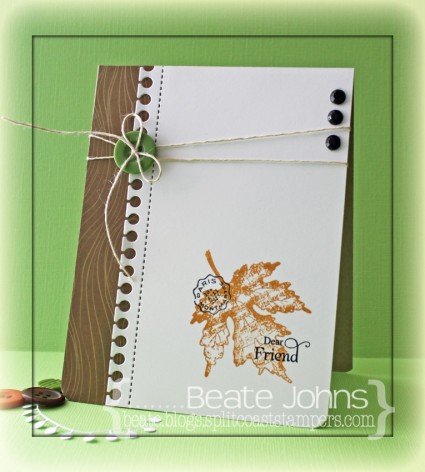
I created this card for a CAS challenge at Splitcoaststampers. I had seen one of Debby Hughes cards (I am a big fan) and saw a layout I just had to case! 

I started by cutting one edge of a 3 1/2″ x 5 1/2″ piece of Neenah Solar White cardstock with MFT’s Notebook Edge Die-namics die. A piece of My Mind’s Eye Six by Six Gnome Sweet Gnome paper was adhered behind it to form a 4 1/4″ x 5 1/2″ card front. A button was tied on with hemp cord on the upper corner before the layer was adhered to the card base, a 4 1/4″ x 11″ piece of Kraft cardstock, folded in half.

The bottom corners were rounded and a leaf from JustRite Stampers Shabby Chic Autumn Leaves was stamped on the lower right corner with Peanut Brittle Memento Ink.  A sentiment and postage stamp image were stamped over it with with Jet Black Archival ink. Three black rhinestones on the top right finish off the card.

This card works perfectly for the newest Simon Says Stamp Challenge which is called Autumn Leaves. I hope you have time to participate. You could win a $50 shopping spree at Simon Says Stamp online store. I LOVE Simon Says Stamp.


Thanks so much for looking! Have a wonderful day!
Hugs and smiles

Simon Says Stamp Challenge Blog

Hello and welcome to Day 4 of our October Rubber & Die Release Showcase!

On Wednesday (24 October) Whimsy Stamps released this month’s new rubber designs, Shapeology dies, Whimsy Designer Paper packs and Shape EZ templates. From then until 30 October the Whimsy Stamps DT and Special Guests are showcasing these fabulous new goodies with a daily mini blog hop!

Each mini blog hop has a new release prize hidden somewhere along the way and you have 24hrs to enter each prize draw.

To be entered into today’s mini blog hop prize draw, be sure to leave a comment on ALL of the DT’s posts listed below by 12.00PM EST tomorrow. All winners will be announced on the Whimsy blog on 31 October.

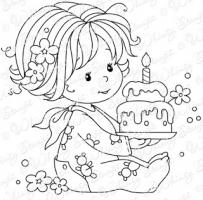
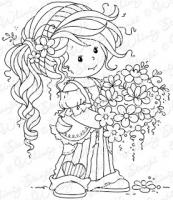
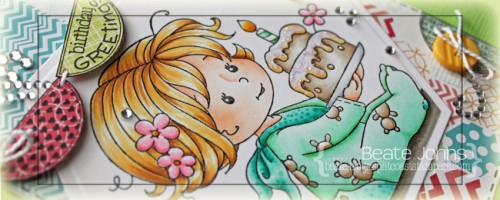
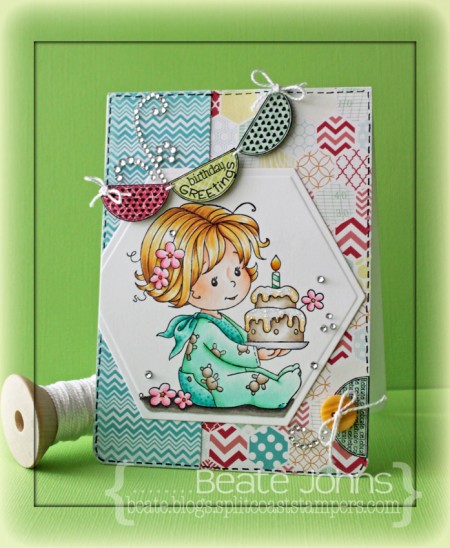
For my sample today I used  the darling Birthday Baby Girl Wee image. It was stamped in Tuxedo Black Memento Ink on Neenah Solar White cardstock . It was colored with  Copic Markers (Hair: Y21, Y23, E33   Skin: E0000, E00, E01   Sleeper: G0000, G000, G00, G02, BG10, BG11, BG13, BG15   Flowers: RV10, RV13    Teddy/cake: E40, E41, E42    Frosting: YR30, YR31    Ground: W3, W5 W7) and cut and embossed with a Hexagon Nestabilities die. Diamond Stickles were applied over the bubbles and the cake frosting.

Two pieces of Echo Park’s Everday Eclectic paper were adhered to a 4″ x 5 1/2″ rectangle. The bottom corners were rounded and the edges were sanded, before a faux stitched border was added with a Copic Multiliner.  The image layer was adhered to the left side, slightly hanging over the edge. The part that was hanging over was cut off.

Four pieces of the Everyday Eclectic paper were stamped with stamps from the Celebration Circle Pennant set. The half circles were cut out and three were strung up as a banner with embroidery thread. The fourth half circle was adhered to the lower right hand side and a button was tied over it. The layers were adhered to the card base, a 4″ x 11″ piece of white cardstock, folded in half. Parts of a Finesse Rhinestone swirl and a few Sleek Strips Silver Rhinestones finish off the card.

To take a peek at today’s fabulous new release creations, please click on the links below…

Remember that the entire new release is available to buy right now from the Whimsy Stamps store along with all your Whimsy favorites.

Thanks so much for stopping by! Have a wonderful day!
Hugs and smiles

comment #59.

That is Becky Johnson. Thank you all for your kind comments. I am very excited to have two cards featured in the book.

Have a great weekend!
Hugs and smiles

Hello and welcome to Day 3 of our October Rubber & Die Release Showcase!

On Wednesday (24 October) Whimsy Stamps released this month’s new rubber designs, Shapeology dies, Whimsy Designer Paper packs and Shape EZ templates. From then until 30 October the Whimsy Stamps DT and Special Guests are showcasing these fabulous new goodies with a daily mini blog hop!

Each mini blog hop has a new release prize hidden somewhere along the way and you have 24hrs to enter each prize draw.

To be entered into today’s mini blog hop prize draw, be sure to leave a comment on ALL of the DT’s posts listed below by 12.00PM EST tomorrow. All winners will be announced on the Whimsy blog on 31 October.

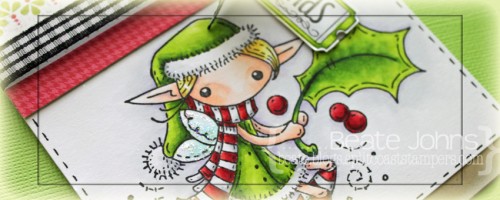
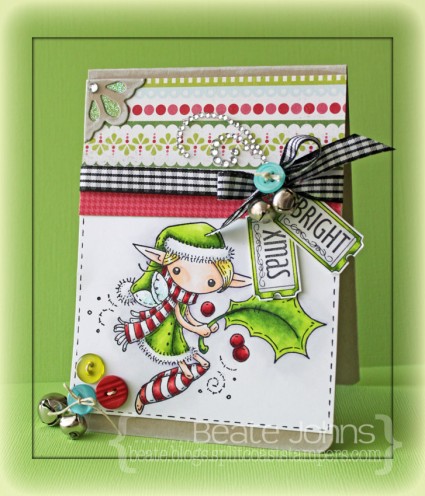
For my card today I used this super cute Meljen’s Designs Holly Christmas Fairy. She was stamped in Tuxedo Black Memento Ink on Neenah Solar White cardstock . It was colored with  Copic Markers (Reds: R32, R35, R37, R39 Greens: YG01, YG03, YG17 Skin: E0000, E00, E01 Hair: Y11, Y13, E31 Wings: BG000, BG10 Background: C00, C1, BV00). The wings were covered with Stardust Stickles and a faux stitched border added with a Copic Multiliner.

The card base is a 4 1/4″ x 11″ piece of Kraft cardstock folded in half. The edges were inked with Moonlight Brilliance ink and the bottom corners of the card were rounded. Three buttons were stitched to the bottom right corner of the image layer before it was adhered to the lower half of the card.

Two pieces of Carta Bella’s Merry & Bright patterned paper were adhered above each other . Black Gingham ribbon was tied around them before they were adhered to the card base. The ribbon bow was topped with a button and two little bells were tied underneath.

Two tickets from the new Holiday Mini Tickets were stamped in Tuxedo Black ink on white cardstock, colored with Copic Markers and cut out. The sentiments were adhered underneath the bow. Kraft cardstock was cut with a Corner die. The edges were sponged with Moonlight white ink and green Carta Bella paper was adhered underneath. Glitter was adhered over the openings. A rhinestones from Sleek Strips Silver Rhinestones was adhered on the top corner of the corner die. Part of a Finesse Rhinestone swirl above the bow finish off the card.

To take a peek at today’s fabulous new release creations, please click on the links below…

Remember that the entire new release is available to buy right now from the Whimsy Stamps store along with all your Whimsy favorites.

Thanks so much for stopping by! Have a wonderful day!
Hugs and smiles

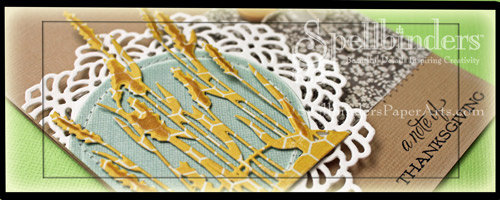
I created a Thanksgiving card with one of Spellbinders brand new Die D-Lites die. I hope you have time to hop on over and check it out.

Thanks so much for stopping by! Have a wonderful day!
Hugs and smiles

Welcome to the Whimsy Stamps October 2012 rubber stamp and die RELEASE (Holiday Collection Part 2)!

Today, Whimsy Stamps is releasing 23 fantastic new rubber stamps & stamp sets, 5 wonderful new Shapeology dies, 2 fabulous new Shape EZ templates and 2 beautiful 6×6 paper packs. These new goodies are available to buy right now from the Whimsy Stamps store along with all your Whimsy favorites.

From today until 30 October the Whimsy DT and Special Guests will be showcasing these new products with a daily mini blog hop. Each mini blog hop has a new release prize hidden somewhere along the way and you have 24hrs to enter each prize draw by leaving a comment on every blog listed for that day.

At the end of release week (Wednesday 31 October) we will post a Release Round-Up on the Whimsy blog. This will include a selection of DT work from the new release week together with a complete list of winners from the daily mini blog hops.
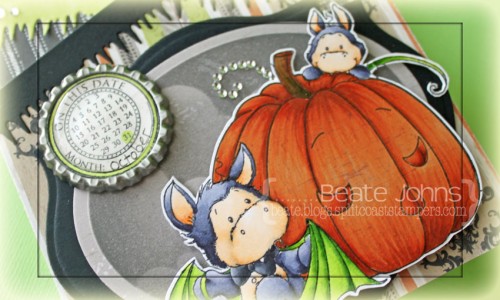
For my first sample I chose the adorable Wee Boo image. It’s so cute, I can’t stand it. I stamped it in Tuxedo Black Memento Ink on Neenah Solar White cardstock . It was colored with  Copic Markers (Little Dragons: BV20, BV23, BV25, BV29, E50, E51, E53, R20   Pumpkin: E95, E97, E99   Wings: YG01, YG03, YG17   Bow: C5, C7, C9) and cut out.  The image was stamped again on Echo Park’s Chillingworth Manor patterned paper, colored , cut out and adhered to the main image.

Another piece of Chillingsworth Manor was cut and embossed with the largest of the Classic Oval LG dies. Cloud dies (cut with Spellbinders Whimsy dies) were adhered over it and the layer was sponged with Gray Flannel Memento ink. It was then layered on a piece of black cardstock, cut and embossed with the largest Label Eighteen die. The image was adhered over the spooky background with  foam adhesive squares.
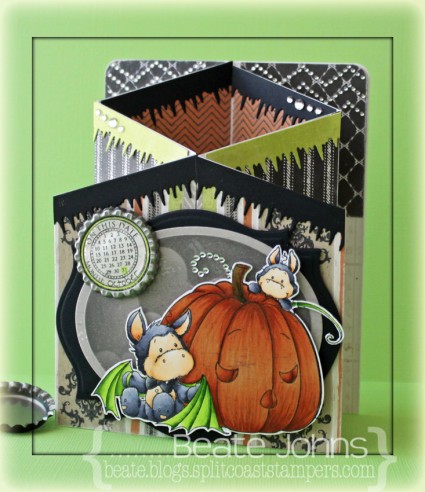
Last week’s tutorial on Splitcoast was so much fun, I had to make another Concertina card. The card base was created with Neenah Solar White cardstock and lined with more Chillingworth patterned paper. Black and green paper were cut with Icicle Border  die and adhered to the top. I think it could be used for “goo” as well as icicles.

The date circle is from Everyday Circle Postmarks and was stamped in Tuxedo Black on more Chillingworth paper. It was cut out and the 31st as well as a circle border were colored with Copic Marker YG01. I ran a bottle cap through my Grand Calibur (cutting plate and Raspberry adapter plate) to flatten it, adhered the sentiment in the center and topped it with a Epoxy Dot. It was adhered with foam adhesives to the upper left hand side of the image.

Part of a Finesse Rhinestone swirl,  a few rhinestones from a Sleek Strips Silver Rhinestones and a few rows of a Beautiful Border Bling – Chevrons finish off the card. In case you missed it last week, here is a video for this fold for the visual learner:

[youtube]https://www.youtube.com/watch?v=Whpy-eDRcac[/youtube]

Thanks so much for stopping by! Have a wonderful day!
Hugs and smiles

To be entered into today’s mini blog hop prize draw, be sure to leave a comment on ALL of the DT posts listed below by 12:00PM EST tomorrow:

Finally, here is a full reveal of the wonderful October release. Don’t forget to visit today’s DT and leave a comment on their blog posts to be entered into the draw to win a new release stamp!

[Please note that the following pictures are not to scale]
4 Crissy Armstrong rubber stamps
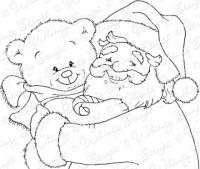
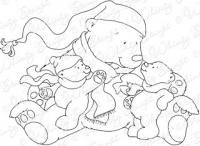
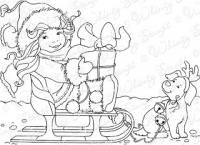
Crissy Armstrong ~ Santa & Teddy ~ Sheltering Love ~ The Littlest Reindeer 
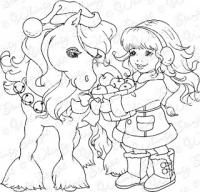
4 Elisabeth Bell rubber stamps
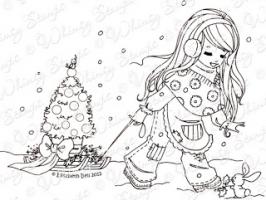
Apple Blossom’s Skates ~ Chloe’s Little Light ~ Little Jack Drumming ~ Sunkissed’s Christmas Tree

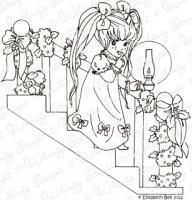

4 Kenny K rubber stamps
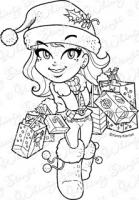
Fashionista ~ Jet Setter ~ Santa ~ Xmas Shopping

3 Meljen’s Designs rubber stamps
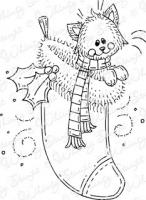
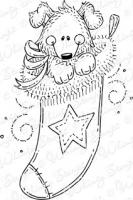
Holly Christmas Fairy ~ Stocking Kitten ~ Stocking Puppy
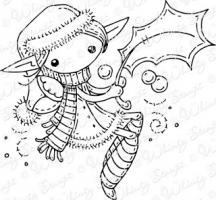
3 Sylvia Zet rubber stamps
Batty Boo ~ Birthday Baby Girl ~ Ruby Whimsy
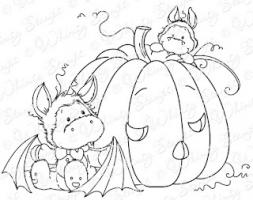
5 Raindrop Echo Designs rubber stamp sets
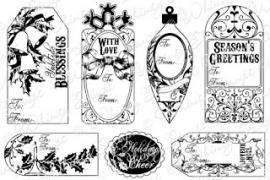
Candy Canes ~ Holiday Mini Tickets ~ Tis The Season Notables 5 ~ Vintage Holiday Gift Tags ~ Holiday Notables 3
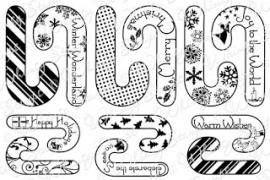
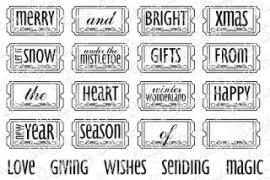
5 Shapeology dies
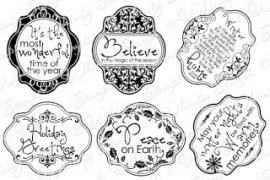
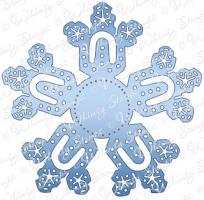
Candy Canes set ~ Holiday Gift Tags set ~ Christmas Tree ~ Holiday Sentimentables set ~ Snowflake Doily
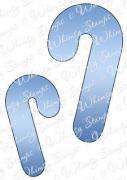
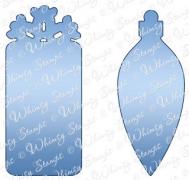
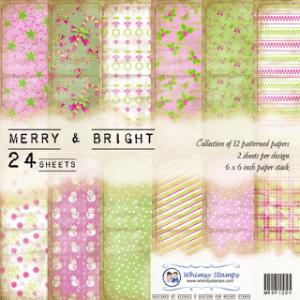
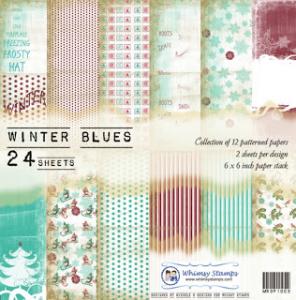
2 6×6 Paper Stacks
Merry and Bright ~ Winter Blues

24 sheets per pack – 12 designs, 2 of each printed on heavy weight slightly textured papers.
Acid and Lignin free.
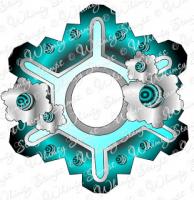
2 Shape EZ by TLC templates
Snowflake Card ~ Snowy Ball
Thanks so much for stopping by and I hope you enjoy our new release!
Have a great day! Hugs and smiles

P. S.: How about a little giveaway? Would you like to win last month released Hazel and the Whimsy Halloween Grunge Paper? If so, just add your name to the inlinkz underneath. Open only for people with US address. Sorry.

I will pick a winner with the help of random.org on Sunday!


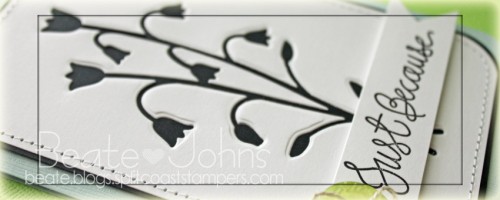
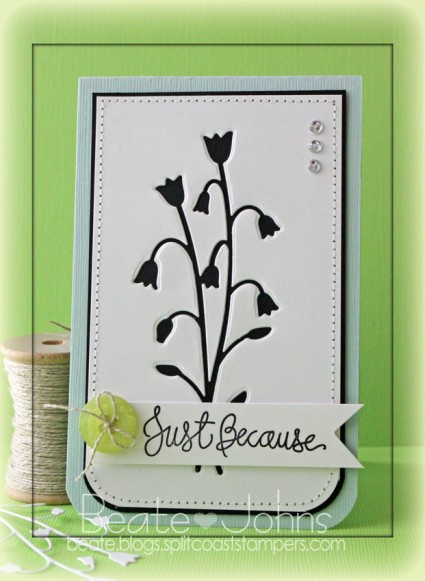
Last Friday the Free For All Challenge at Splitcoaststampers was to create a card with negative die cut shapes. I had a lot of fun with it and created four cards!!! That is pretty amazing for me. Usually I get two cards done per day, tops. But I had so much fun, I just couldn’t stop.

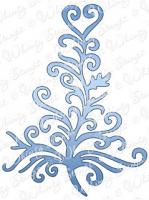
For this card I started with a 3″ x 5″ piece of Neenah Solar White cardstock. The bottom corners were rounded and the Meadow Rue die was cut out in the center of the cardstock. The layer was adhered to a 3/16″ bigger piece of black cardstock and the edges were stitched.

The layers were adhered to the card base, 3 1/2″ x 11″ piece of Seasalt Canvas Bazzill cardstock, folded in half. A sentiment from Simonsaysstamp’s Handwritten Sentiment stamp set was stamped on a  7/8″ wide strip white cardstock with in Jet Black Archival ink. The right edge was cut banner style and a green button was tied on to the upper left side of the strip with Linen Thread. The sentiment strip was adhered to the card with foam adhesive squares. Three rhinestones from a Sleek Strips Silver Rhinestones finish off the card.

Thanks so much for stopping by! Have a wonderful day!
Hugs and smiles

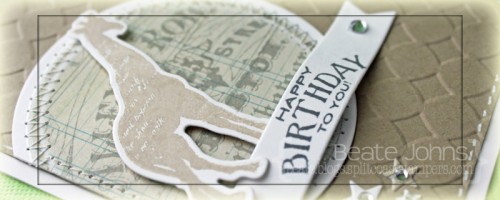
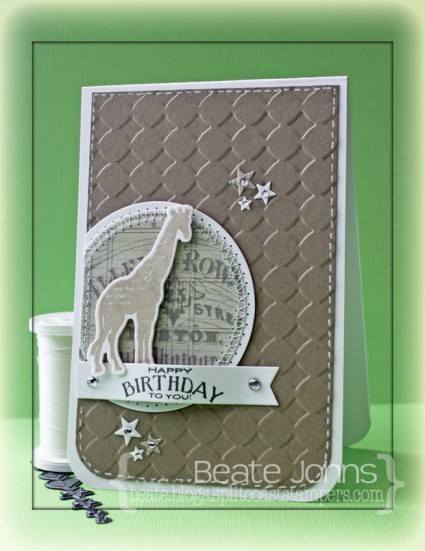
I created this card for last week’s Inspiration challenge.  For my sample I chose this darling stuffed giraffe.  The color scheme for this card came from last week’s  Ribbon Reel Challenge.  The sketch is from the current CASE study challenge.

I started by cutting a piece of Neenah Solar White cardstock with the giraffe die from MFT’s Spectacular Circus stamp and die set. The matching giraffe stamp was stamped over it in Wheat VersaMagic ink. A piece of Pink Paislee Portfolio patterned paper was cut and embossed with a Standard Circle Nestabilities die. The edges were sanded before the circle was stitched to a slightly bigger white cardstock circle.

A 3 1/2″ x 5 1/4″ piece of Kraft cardstock was embossed with the Simplicity M-Bossabilities folder. The bottom corners were rounded and a the edges were faux stitched with a Signo white gel pen. The layer was adhered to the card base, a 3 3/4″ x 11″ piece of white cardstock folded in half before the partial circle was adhered to the left hand side. The giraffe was adhered to the circle with foam adhesive squares.

One of the sentiment from Circus Spectacular was stamped in Gray Flannel Memento ink on a piece of white cardstock, cut with one of MFT’s Sentiment Strips die-namics die. One of the sides was cut straight and the sentiment was adhered underneath the circle with Scor-Tape on the edges and two foam adhesive squares on top of each other in the center.

Stars were cut out Solar White cardstock as well as the same paper that was used for the circle with SimonSaysStamp exclusive Holiday Shapes die. The stars were adhered to the card and topped with rhinestones. A rhinestone on each end of the sentiment strip finishes off the card.

Thanks so much for stopping by! Have a wonderful day!
Hugs and smiles

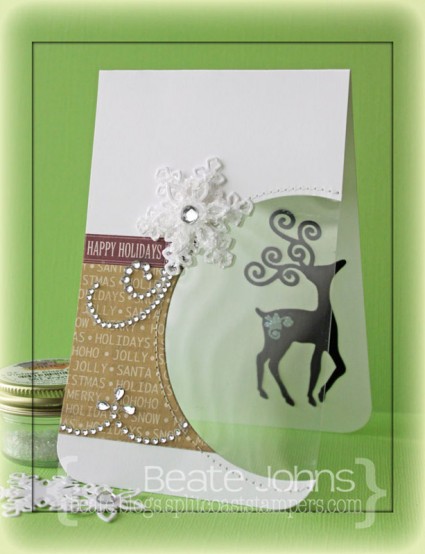
It’s time for another Craft Friends Challenge. This time it’s all about Glitz and Glam. Add some sparkles to your project, anyway you like.

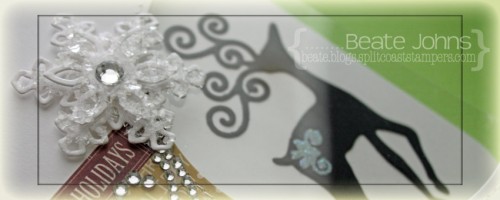
For my sample I created a CAS Christmas card. I started with a 3 1/2″ x 11″ piece of Neenah Solar White cardstock. The paper was folded in half and the bottom corners were rounded.  Two pieces of  Carta Bella Christmas Day Paper were adhered to the lower half of the card. A window was cut with the largest of the Standard Circle  (SM) Nestabilities dies at the right edge of the card. Acetate was adhered behind the card front and the edges of the window were stitched.

A piece of black cardstock was cut and embossed with the reindeer die from the new Frosty Forms die set from Spellbinders. Moonlight Brilliance ink was used on the embossed piece on it’s back and it was embossed with iridescent ice embossing powder. The reindeer was adhered on the inside of the card on the right, so it could be seen through the partical circle window.

A layered snowflake was created by cutting and embossing Solar White cardstock with the two smallest Create-a-Flake 4 dies. The smaller one was adhered to the bigger one with foam adhesive squares. A rhinestone was added in the center of the smaller snowflake and the rest of both snowflakes was covered with Glossy Accents. Vintage Glass Glitter Shards was added over the snowflake and it was adhered to the upper left side of the circle window. Part of a Fancy Waves! Border Bling was adhered to the lower edge of the patterned paper. Part of a Finesse Rhinestone swirl under the snowflake finish off the card.

Check out my fellow Crafty Friends for more Glitz & Glam inspiration:

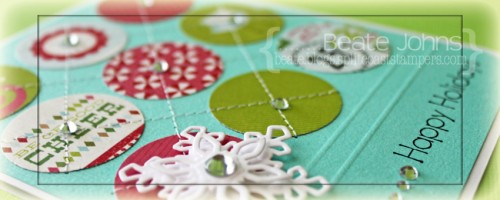
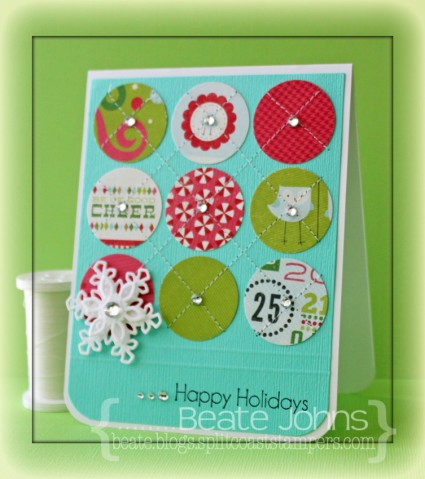
I created this card for last week’s Featured Stamper challenge. I loved this layout from Cheryl’s card and decided to use it and just change it a tiny bit. I changed the colors, the direction of the stitching and made it a Christmas card.

I was too lazy to cut and emboss 9 circles with my Circle Nestabilities, so I used my 1 1/4″ circle punch to cut circles out of Carta Bella’s Merry & Bright patterned paper. They were adhered to the top of a 4 1/8″ x 5 1/4″ piece of Patina Bazzill Cardstock.  Two lines were scored at the 4 1/8″ and 4 3/8″ with my Scor-Buddy. Lines were stitched diagonally through the circles and the bottom corners were rounded.


A sentiment from Taylored  Expressions Very Merry stamp set was stamped on the bottom right corner of the cardstock with Jet Black Archival ink. The layer was adhered to the card base, a 4 1/4″ x 11″ piece of Neenah Solar White cardstock, folded in half.  White cardstock was cut and embossed with two small Create a Flake 4 Spellbinders dies. They were adhered together with more foam adhesive square. A rhinestone was added to the center of the flake. It was adhered to the lower left circle. More rhinestones from a Sleek Strips Silver Rhinestones were adhered in the center of each circle and to the left of the sentiment to finish off the card.

Thanks so much for stopping by! Have a wonderful weekend!
Hugs and smiles

© 2012 fresh & fun Suffusion theme by Sayontan Sinha